manuals.online logo
Brands
  1. Home
  2. •
  3. Brands
  4. •
  5. RH
  6. •
  7. Indoor Furnishing
  8. •
  9. RH LUCE Programming manual

RH LUCE Programming manual

LUCE MIRROR
30" x 40" (76cm x 102cm)
ASSEMBLY & I NSTAL L AT I ON I NSTRUCT I ONS
ENGLISH
LUCE MIRROR ENGLISH
RH.COM
REVISION 04/23/22
LUCE MIRROR
STORAGE
1. Do not stack anything on top of the mirror
2. Keep the mirror packaged until installation.
3. Store mirror upright on the long edge.
MIRROR HANDLING INSTRUCTIONS
CAUTION :
1. Remove vertically from package.
2. Always carry mirror vertically as illustrated. Carrying flat will cause
breakage.
BEFORE YOU BEGIN
1. Professional installation recommended.
2. These instructions are provided for your safety. It is important that
they are read carefully and completely before installation of the
fixture.
3. For your safety, it is recommended that two people hang the fixture.
4. Check with a professional to ensure your wall can tolerate a fixture
weighing 40 Ibs (19 kg).
5. When wall mounting, stud mounting is strongly recommended.
PARTS INCLUDED
(A) Mirror With Bracket (1)
(B) Screw - M4 x 30 mm (5)
(C) EZ Mini Anchor 14 x 44 mm (5)
(D) Aluminum Hanger 18" (46 cm) (1)
TOOLS NEEDED
(A) Carpenter's level
(B) Phillips head screwdriver
(B)
(C)
(D)
(A)
LUCE MIRROR ENGLISH
RH.COM
REVISION 04/23/22
INSTALLATION OF MIRROR
1. Unpack all parts and place them on a protected work surface.
2. Determine the exact location of the fixture and mark the holes on the
wall surface using the holes in the aluminum hanger (D) as a guide.
3. Drill small holes on each point location on the wall. Each hole should
be just large enough to accommodate EZ mini anchor (C).
4. Insert the EZ mini anchors (C) into the holes on the wall.
5. Mount the aluminum hanger (D) into the wall using screws (B).
6. Check that the aluminum hanger fixture is securely screwed into the
wall.
7. Place the mirror with hanger cleat (A) into the aluminum hanger
fixture.
8. Installation is complete.
**NOTE: MAKE SURE THAT THE TWO (2) CLEATS (1 ON MIRROR AND 1 ON WALL) ARE LOCKED AND SECURED WITH EACH OTHER. A LEVEL
CHECK IS HIGHLY RECOMMENDED. CHECK AND ADJUST IF NEEDED.
CLEANING INSTRUCTIONS
1. To clean, use a soft dry or damp cloth.
2. Do not use abrasive cleaners.
FIGURE 4 FIGURE 5
WALL
OK NOT OK
BACKSIDE
(A)
FIGURE 1
(B)
(D) (C)
FIGURE 2 FIGURE 3
MIRROR
WALL
(B) (C)
LUCE MIRROR
26" x 48" (66cm x 122cm)
ASSEMBLY & I NSTAL L AT I ON I NSTRUCT I ONS
ENGLISH
LUCE MIRROR ENGLISH
RH.COM
REVISION 04/23/22
LUCE MIRROR
STORAGE
1. Do not stack anything on top of the mirror.
2. Keep the mirror packaged until installation.
3. Store mirror upright on the long edge.
MIRROR HANDLING INSTRUCTIONS
CAUTION:
1. Remove vertically from package.
2. Always carry mirror vertically as illustrated
Carrying flat will cause breakage.
BEFORE YOU BEGIN
1. Professional installation recommended.
2. Tool and materials required:
Carpenter's level
Phillips head screwdriver
3. These instructions are provided for your safety.
It is important that they are read carefully and
completely before installation of the fixture.
4. For your safety, it is recommended that two
people hang the fixture.
5. Check with a professional to ensure your wall
can tolerate a fixture weighing 44 Ibs (20 kg).
6. When wall mounting, stud mounting is
strongly recommended.
PARTS INCLUDED
(A) Mirror With Bracket (1)
(B) Screw - M4 x 30 mm (5)
(C) EZ Mini Anchor 14 x 44 mm (5)
(D) Aluminum Hanger 18" (46 cm) (1)
LUCE MIRROR ENGLISH
RH.COM
REVISION 04/23/22
INSTALLATION OF MIRROR
WALL MOUNTING
1. Unpack all parts and place them on a protected work surface.
2. Determine the exact location of the fixture and mark the holes on the
wall surface using the holes in the aluminum hanger (D) as a guide.
3. Drill small holes on each point location on the wall.
Each hole should be just large enough to accommodate EZ mini
anchor (C).
4. Insert the EZ mini anchors (C) into the holes on the wall.
5. Mount the aluminum hanger (D) into the wall using screws (B).
6. Check that the aluminum hanger fixture is securely screwed into the
wall.
7. Place the mirror with hanger cleat (A) into the aluminum hanger
fixture.
8. Installation is complete.
BACKSIDE
FIGURE 1
A
FIGURE 2
Wall
C
B
D
C
Wall
MIRROR
B
FIGURE 3
LUCE MIRROR ENGLISH
RH.COM
REVISION 04/23/22
**NOTE: MAKE SURE THAT THE TWO (2) CLEATS (1 ON MIRROR
AND 1 ON WALL) ARE LOCKED AND SECURED WITH EACH OTHER.
A LEVEL CHECK IS HIGHLY RECOMMENDED. CHECK AND ADJUST
IF NEEDED.
FIGURE 4
OK NOT OK
FIGURE 3
LUCE MIRROR ENGLISH
RH.COM
REVISION 04/23/22
WARRANTY
If you are not completely satisfied with your purchase, please contact
us to return or exchange your item(s) within 30 days of the delivery
date, with proof of purchase. Note that returns or exchanges are not
accepted for special orders, items that have been installed, mattresses
and/or foundations no longer in their original packaging, and other
items listed below. Other exclusions may apply. Contact us for details.
Unfortunately, galleries cannot accept returns of furniture or other large
items.
CARE INSTRUCTIONS
1. To clean, use a soft dry or damp cloth.
2. Do not use abrasive cleaners.
LUCE MIRROR
36" x 48" (91cm x 122cm)
ASSEMBLY & I NSTAL L AT I ON I NSTRUCT I ONS
ENGLISH
LUCE MIRROR ENGLISH
RH.COM
REVISION 04/23/22
LUCE MIRROR
STORAGE
1. Do not stack anything on top of the mirror.
2. Keep the mirror packaged until installation.
3. Store mirror upright on the long edge.
MIRROR HANDLING INSTRUCTIONS
CAUTION:
1. Remove vertically from package.
2. Always carry mirror vertically as illustrated
Carrying flat will cause breakage.
BEFORE YOU BEGIN
1. Professional installation recommended.
2. Tool and materials required:
Carpenter's level
Phillips head screwdriver
3. These instructions are provided for your safety.
It is important that they are read carefully and
completely before installation of the fixture.
4. For your safety, it is recommended that two
people hang the fixture.
5. Check with a professional to ensure your wall
can tolerate a fixture weighing 57 Ibs (26 kg).
6. When wall mounting, stud mounting is
strongly recommended.
PARTS INCLUDED
(A) Mirror With Bracket (1)
(B) Screw - M4 x 30 mm (6)
(C) EZ Mini Anchor 14 x 44 mm (6)
(D) Aluminum Hanger 24” (61 cm) (1)
LUCE MIRROR ENGLISH
RH.COM
REVISION 04/23/22
INSTALLATION OF MIRROR
1. Unpack all parts and place them on a protected work surface.
2. Determine the exact location of the fixture and mark the holes on the
wall surface using the holes in the aluminum hanger (D) as a guide.
3. Drill small holes on each point location on the wall.
Each hole should be just large enough to accommodate EZ mini
anchor (C).
4. Insert the EZ mini anchors (C) into the holes on the wall.
5. Mount the aluminum hanger (D) into the wall using screws (B).
6. Check that the aluminum hanger fixture is securely screwed into the
wall.
7. Place the mirror with hanger cleat (A) into the aluminum hanger
fixture.
8. Installation is complete.
BACKSIDE
FIGURE 1
A
FIGURE 2
B
D
WALL
C
FIGURE 3
WALL
Mirror
BC
LUCE MIRROR ENGLISH
RH.COM
REVISION 04/23/22
**NOTE: MAKE SURE THAT THE TWO (2) CLEATS (1 ON MIRROR
AND 1 ON WALL) ARE LOCKED AND SECURED WITH EACH OTHER.
A LEVEL CHECK IS HIGHLY RECOMMENDED. CHECK AND ADJUST
IF NEEDED.
FIGURE 2
OK NOT OK
FIGURE 3
LUCE MIRROR ENGLISH
RH.COM
REVISION 04/23/22
WARRANTY
If you are not completely satisfied with your purchase, please contact
us to return or exchange your item(s) within 30 days of the delivery
date, with proof of purchase. Note that returns or exchanges are not
accepted for special orders, items that have been installed, mattresses
and/or foundations no longer in their original packaging, and other
items listed below. Other exclusions may apply. Contact us for details.
Unfortunately, galleries cannot accept returns of furniture or other large
items.
CARE INSTRUCTIONS
1. To clean, use a soft dry or damp cloth.
2. Do not use abrasive cleaners.

Other manuals for LUCE

1

Other RH Indoor Furnishing manuals

RH ASTON QUEEN BED User manual

RH

RH ASTON QUEEN BED User manual

RH ST. JAMES User manual

RH

RH ST. JAMES User manual

RH MAISON CANED QUEEN BED WITH FOOTBOARD User manual

RH

RH MAISON CANED QUEEN BED WITH FOOTBOARD User manual

RH Mereo User manual

RH

RH Mereo User manual

RH ESSEX TRACK WINDOW User manual

RH

RH ESSEX TRACK WINDOW User manual

RH HESTON ROUND DINING TABLE User manual

RH

RH HESTON ROUND DINING TABLE User manual

RH Mereo User manual

RH

RH Mereo User manual

RH LUCENT Instruction manual

RH

RH LUCENT Instruction manual

RH 18TH C. SPINDLE TURNED QUEEN BED User manual

RH

RH 18TH C. SPINDLE TURNED QUEEN BED User manual

RH MARLOW Programming manual

RH

RH MARLOW Programming manual

RH THADDEUS FORGED BRASS User manual

RH

RH THADDEUS FORGED BRASS User manual

RH CLOUD MODULAR RIGHT-CORNER CONSOLE TABLE User manual

RH

RH CLOUD MODULAR RIGHT-CORNER CONSOLE TABLE User manual

RH Activ 200 User manual

RH

RH Activ 200 User manual

RH Secur24 User manual

RH

RH Secur24 User manual

RH APOLLO FLOOR LAMP User manual

RH

RH APOLLO FLOOR LAMP User manual

RH Focus User manual

RH

RH Focus User manual
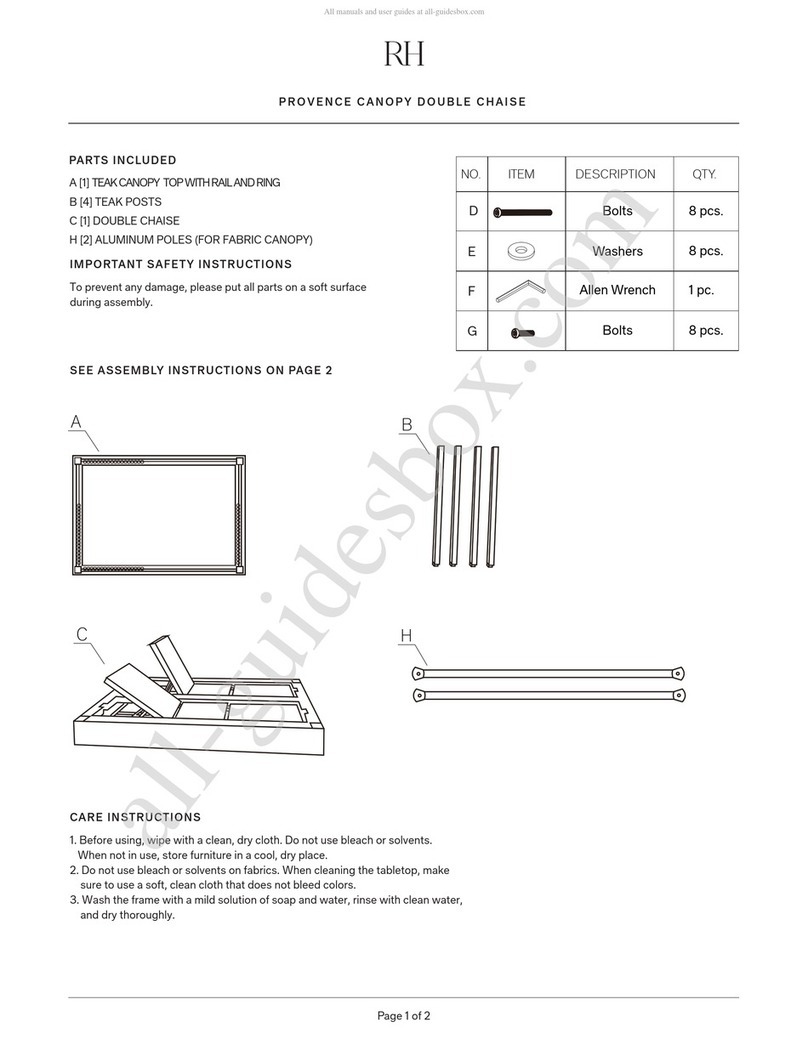
RH STACKED CANOPY BED User manual

RH

RH STACKED CANOPY BED User manual

RH LUCE Programming manual

RH

RH LUCE Programming manual

RH PROVENCE User manual

RH

RH PROVENCE User manual
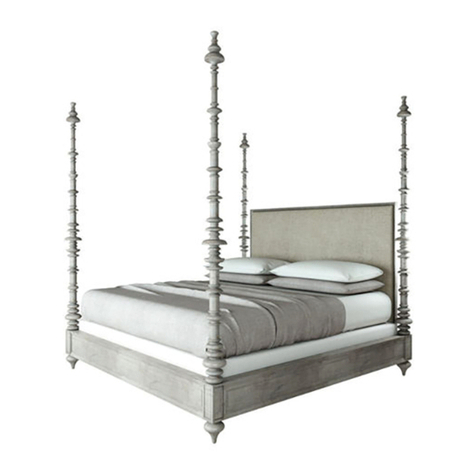
RH NICCOLO User manual

RH

RH NICCOLO User manual

RH LUCIDA COFFEE TABLE User manual

RH

RH LUCIDA COFFEE TABLE User manual

RH UTILITAIRE TASK TABLE LAMP Instruction manual

RH

RH UTILITAIRE TASK TABLE LAMP Instruction manual

RH MAISON PANEL KING BED User manual

RH

RH MAISON PANEL KING BED User manual

RH BEZIER SHELTER BED User manual

RH

RH BEZIER SHELTER BED User manual
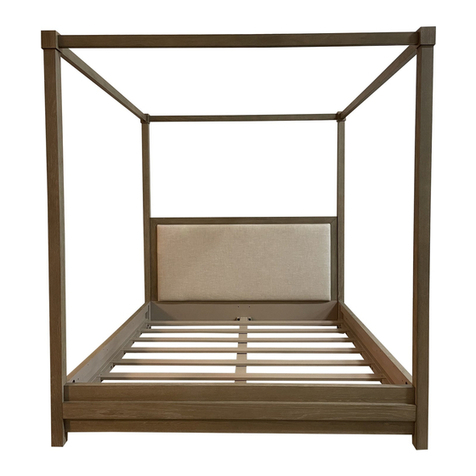
Popular Indoor Furnishing manuals by other brands

Rauch M2669 Assembly instructions

Rauch

Rauch M2669 Assembly instructions

TEMPUR Hybrid Flex Instructions for use and care

TEMPUR

TEMPUR Hybrid Flex Instructions for use and care

Herman Miller Sayl manual

Herman Miller

Herman Miller Sayl manual

Vivo DESK-V000KW instruction manual

Vivo

Vivo DESK-V000KW instruction manual

Invacare Dacapo Basic user manual

Invacare

Invacare Dacapo Basic user manual

Sobro SOSTB300 user manual

Sobro

Sobro SOSTB300 user manual

Home affaire Skini 3893 5457 Assembly instructions

Home affaire

Home affaire Skini 3893 5457 Assembly instructions

SWT ZEOLITE-61 quick start guide

SWT

SWT ZEOLITE-61 quick start guide

FMD Bora 2 Assembly instructions

FMD

FMD Bora 2 Assembly instructions

Gautier 310.085 Assembly instructions

Gautier

Gautier 310.085 Assembly instructions

BABYHOOT Alford instructions

BABYHOOT

BABYHOOT Alford instructions

Teknik Barrister Home Credenza 5421458 manual

Teknik

Teknik Barrister Home Credenza 5421458 manual

SPIELTEK 100 Series user manual

SPIELTEK

SPIELTEK 100 Series user manual

Strata Furniture Denali Arms Assembly instructions

Strata Furniture

Strata Furniture Denali Arms Assembly instructions

möbelando Iwaniska I MEGV111R Assembling Instruction

möbelando

möbelando Iwaniska I MEGV111R Assembling Instruction

avaks BASIC PS 1065 Assembly instructions

avaks

avaks BASIC PS 1065 Assembly instructions

Axor Citterio M 34133XX1 parts list

Axor

Axor Citterio M 34133XX1 parts list

Dorel Home Products C048412 Assembly instructions

Dorel Home Products

Dorel Home Products C048412 Assembly instructions

manuals.online logo
manuals.online logoBrands
  • About & Mission
  • Contact us
  • Privacy Policy
  • Terms and Conditions

Copyright 2025 Manuals.Online. All Rights Reserved.