9
WARNINGS:
• Do not slam the doors when opening and closing.
• Do not put material or objects on top of the machine.
• The water used for the washing and the rinsing is not potable because of the presence of chemical additives. In
case of contact with skin or eyes wash them immediately with plenty of water and check the safety instructions of
the detergent manufacturer. If necessary, contact a doctor.
• Some important rules must be followed for the use of this appliance:
1) Never touch the appliance with wet hands or feet
2) Never use the appliance when barefooted
3) Do not install the appliance in places exposed to water splashes.
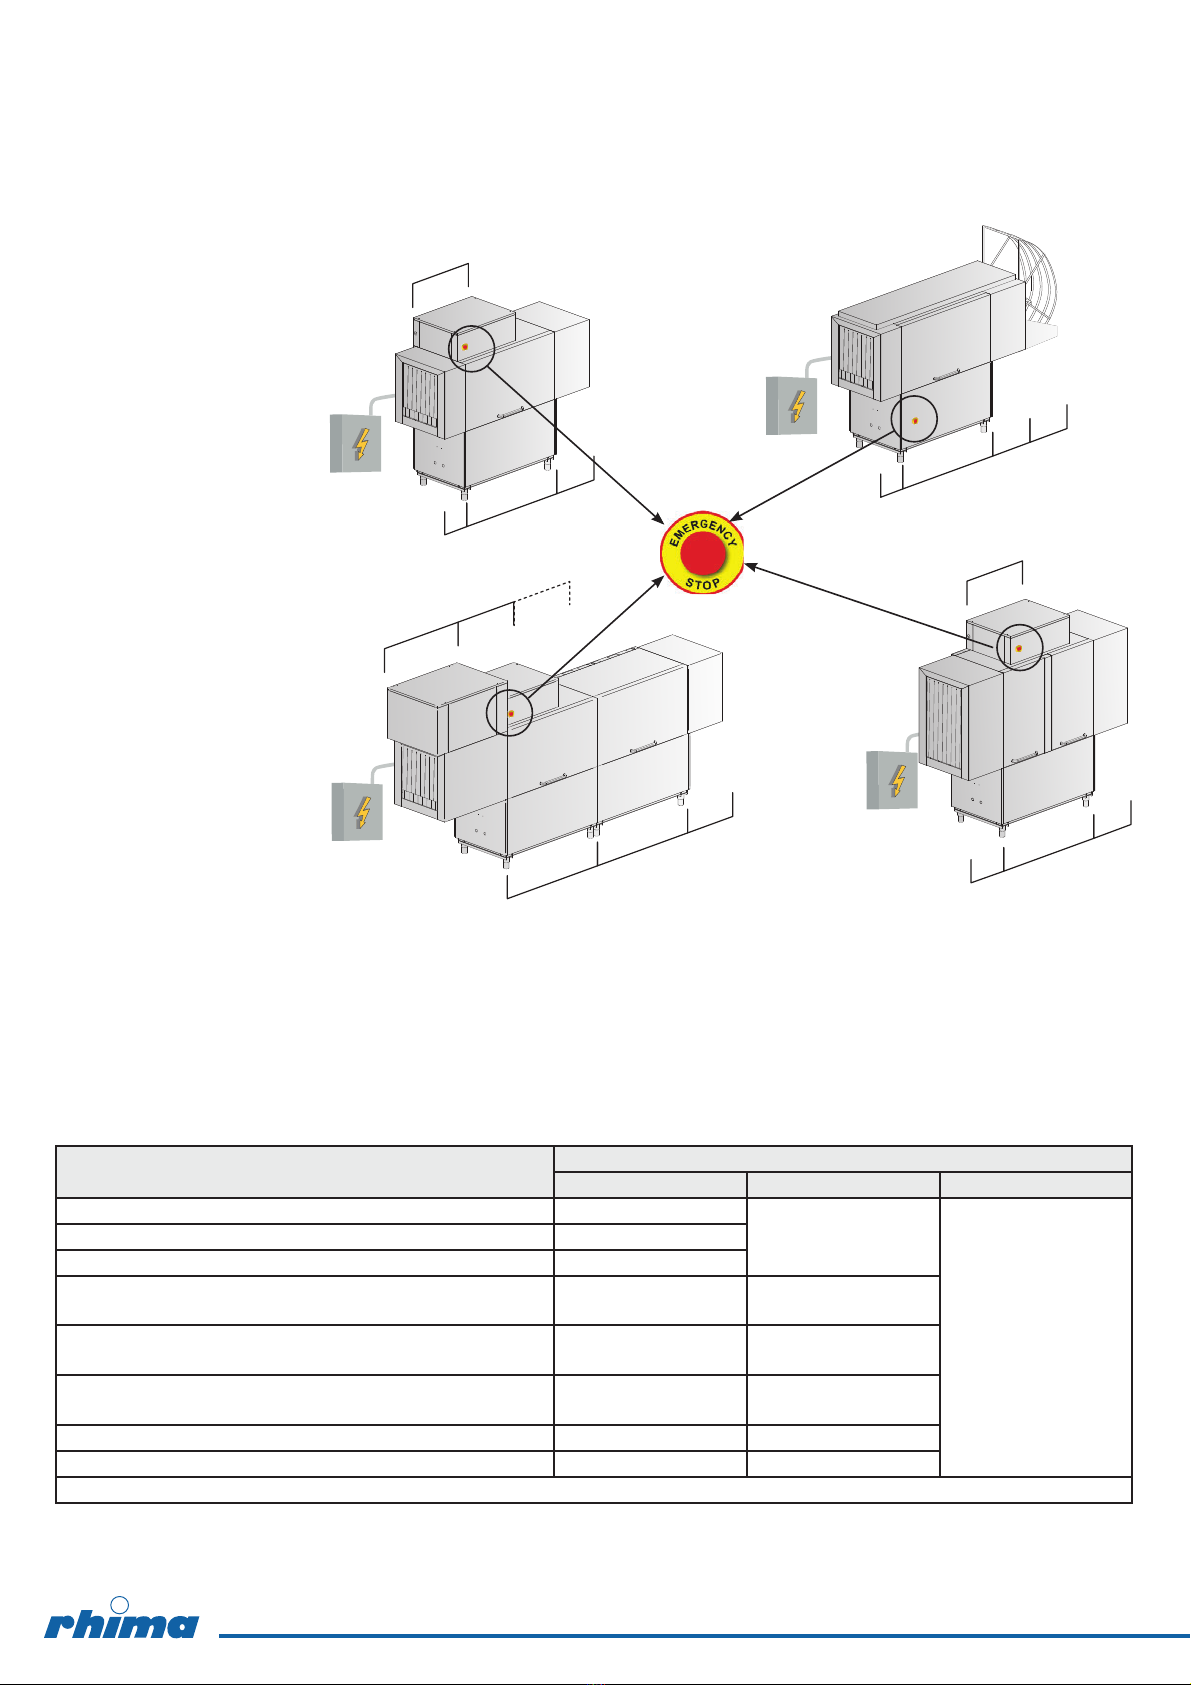
• This machine must be disconnected from the main electrical supply after use at the end of the day and for
any service/maintenance operation. Switch offthe main switch located on the wall, which shall be installed
by a professional installer. Shut the water supply valve(s).
• In case a crate or bin becomes stuck, first switch offthe wall-mounted main switch and then remove the cause of
the block.
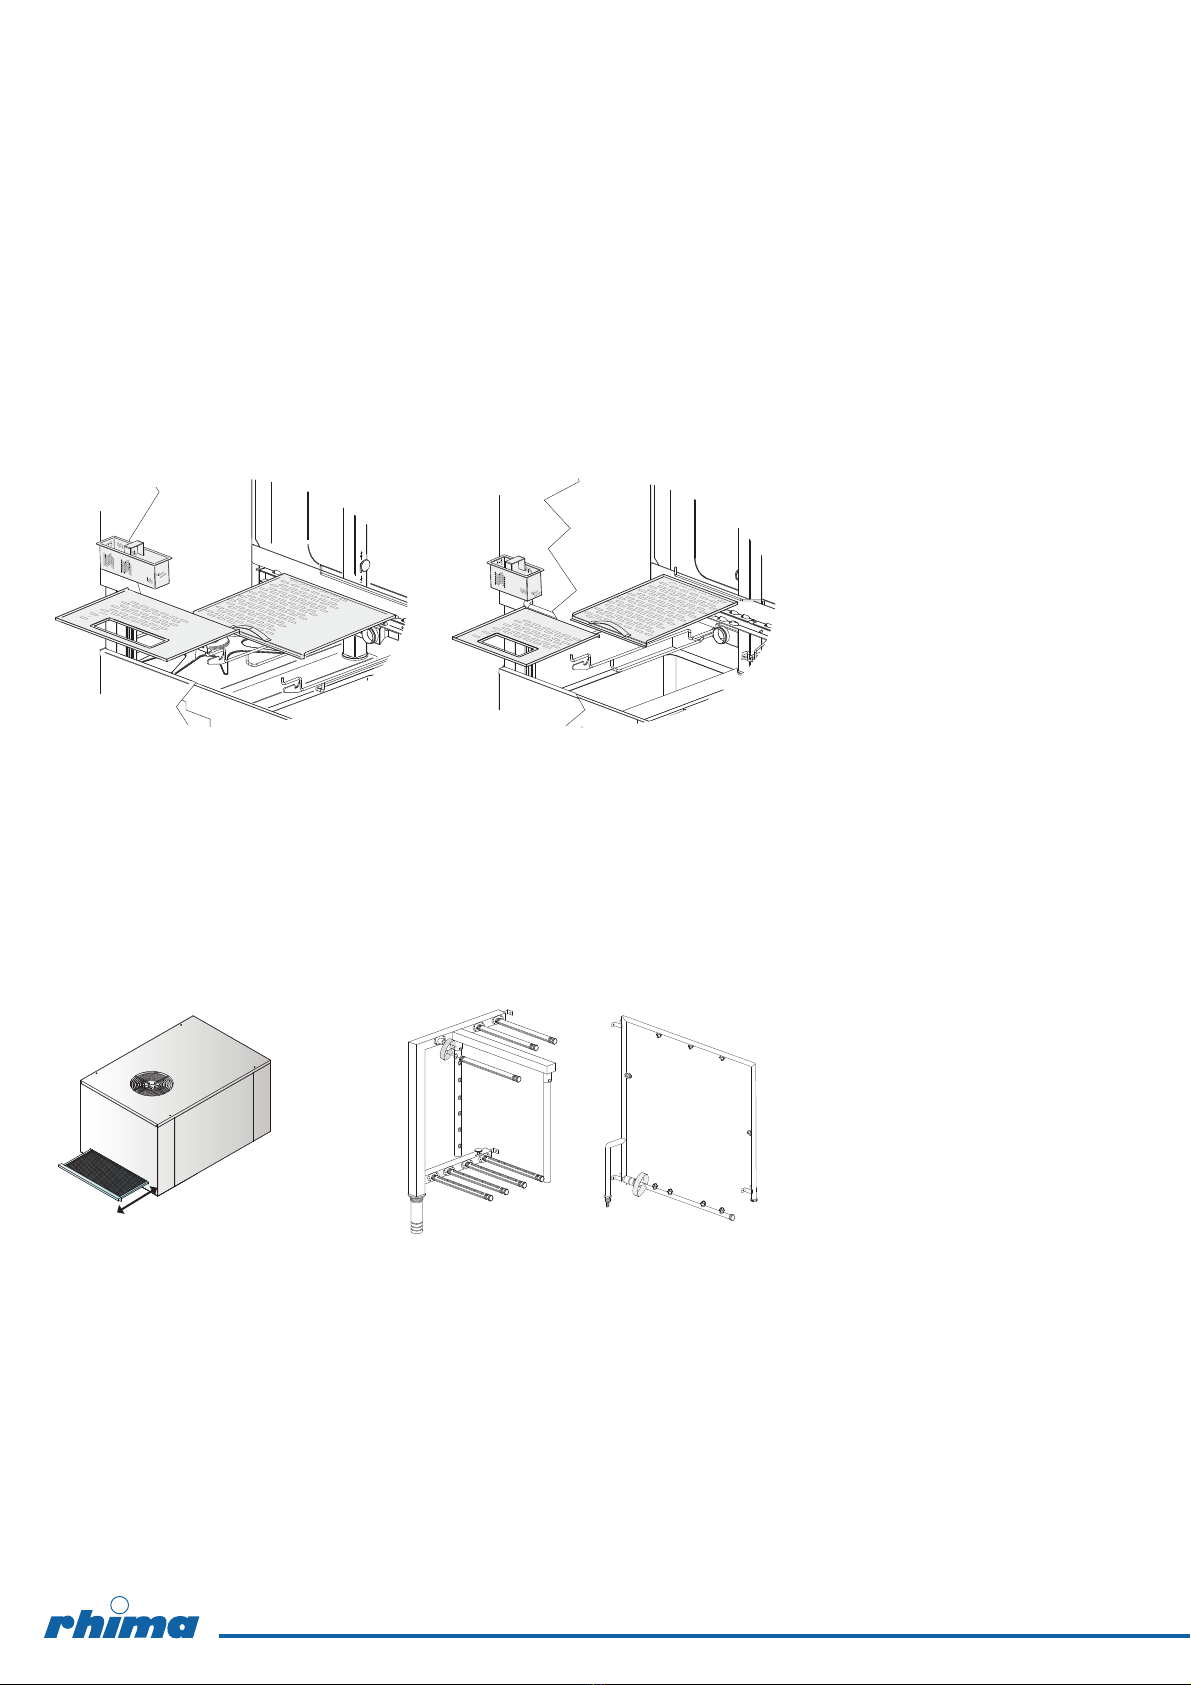
WARNING: INTERNAL CLEANING OF THE MACHINE SHALL BE CARRIED OUT AT LEAST 10 MINUTES AFTER
IT HAS BEEN TURNED OFF.
WARNING: DO NOT INSERT HANDS AND/OR TOUCH THE PARTS LOCATED AT THE BOTTOM OF THE WASH
TANK AND/OR AT THE END OF THE WASH CYCLE.
WARNING: DO NOT TOUCH THE CONVEYOR WHILE IT IS WORKING.
DETERGENTS
Using detergent
The detergent must be of good quality, of NON-FOAMING type, specific for use in automatic washing equipment.
The use of liquid detergents is recommended.
The dosing has to be done following the recommendations of the detergent manufacturer and in accordance with the water
and baskets characteristics.
The detergent has to be inserted only in the wash tank 1. For manual dosing remember that the wash tank contains about
85 litres of water.
Note: It is highly recommended NOT to use detergents with chlorine-based reagents as they may damage stainless steel
Using rinse aid
It is possible to use the rinse aid to get quicker drying.
The dosing has to be done following the recommendations of the rinse aid manufacturer and in accordance with the water
characteristics.
Note: too much chemicals produces foam that reduces the effectiveness and lifetime of the washing pump.
Too much chemicals might leave residuals on the baskets.
OBSERVANCE OF THE RULES OF HYGIENE AND H.A.C.C.P.
In order to meet the correct H.A.C.C.P. procedures remember to prepare a sheet with tables where the shift operator enters
the date and time the washing starts, the time the washing ends, the tanks and boilers temperatures and any other note/
alarms that have tripped and what he/she has done to ensure sanitary safety.
This is the reason why the machine is equipped with:
• Temperature gauges that indicate the boiler and tank temperature.
• Malfunctioning gauges.
• Possibility to consult the washing parameters.
RL
BASKET BASKET BASKET
BASKET BASKET
BASKET
BASKET
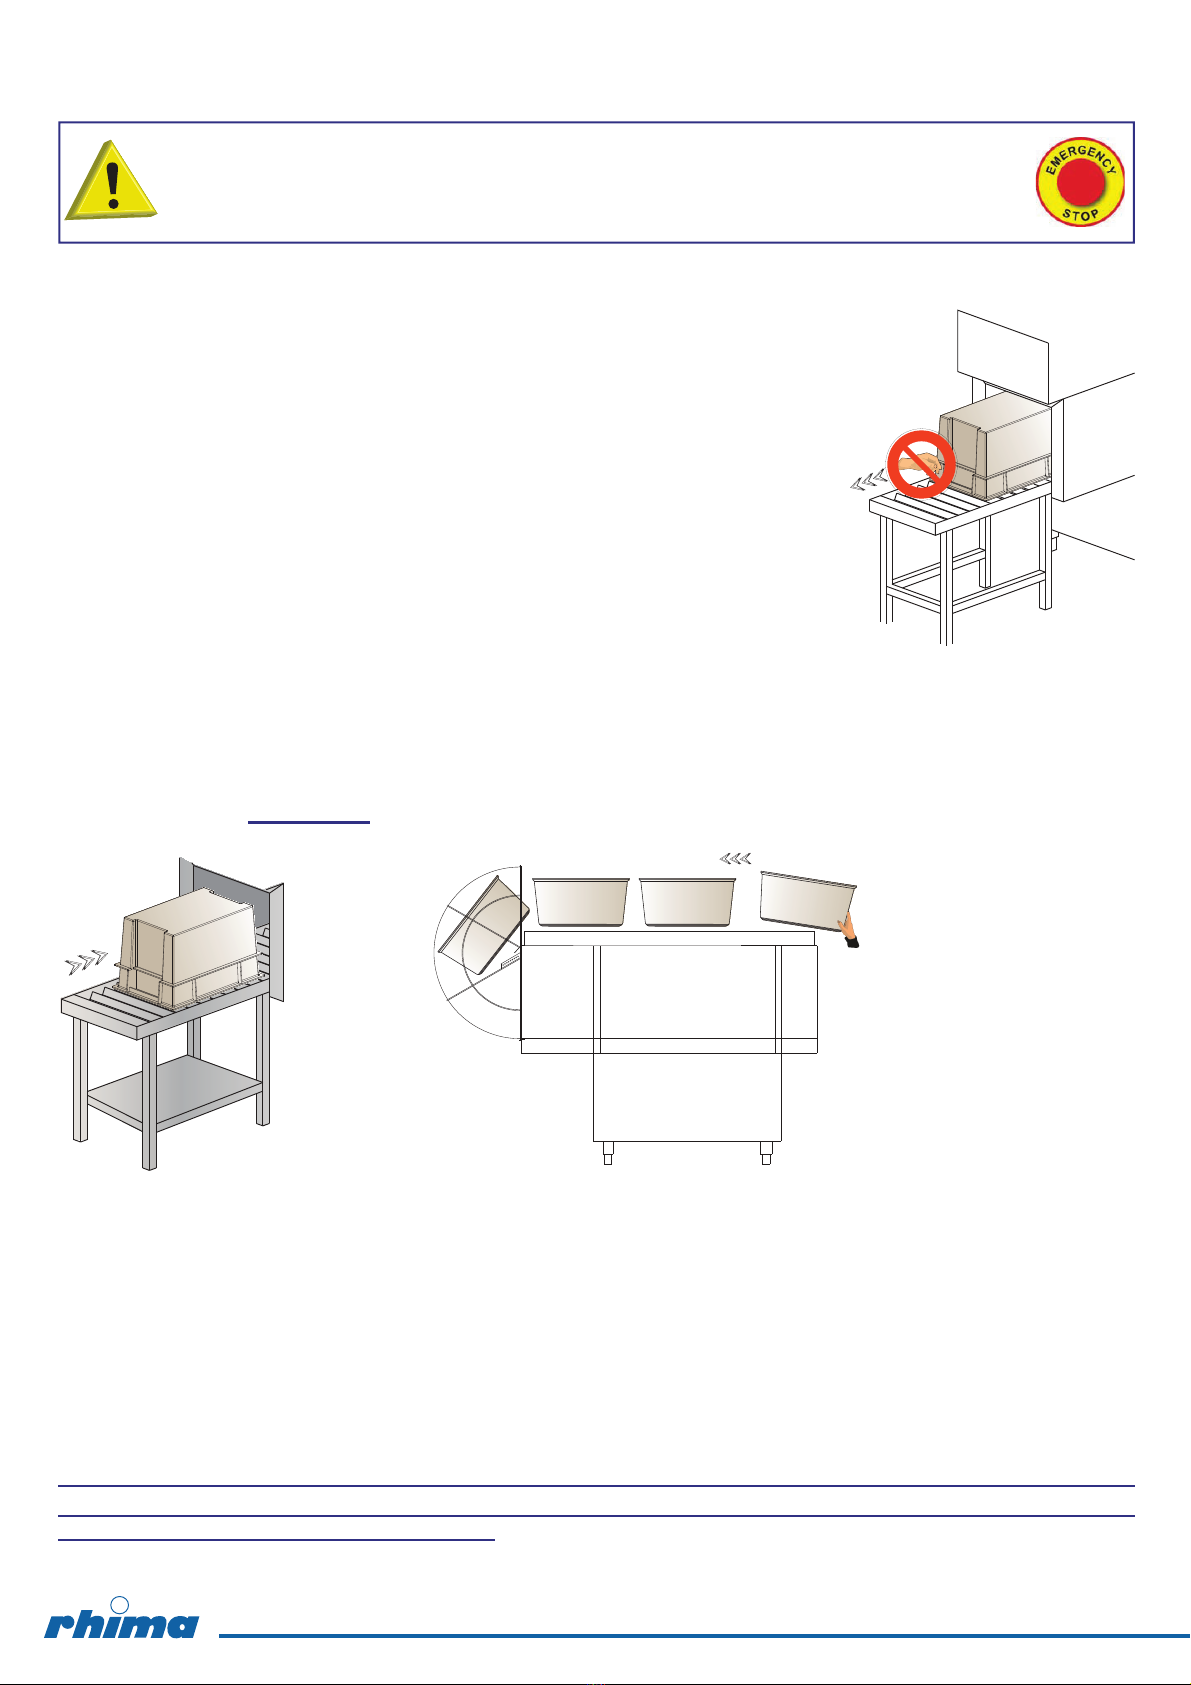
ONE BY ONE !!!
pict. 5
baskets must be loaded one by one. Entering into the machine
the baskets have to hook the basket runners properly (see
pict. 5).
Maximum width 500 mm - Minimum width 450 mm
Maximum height 500 mm or 800 mm (depends on the model
chosen)
If the machine is equipped with an upper loading system, the
Basket dimensions:
Maximum lenght 800 m
components including heater elements.