manuals.online logo
Brands
  1. Home
  2. •
  3. Brands
  4. •
  5. RHINO
  6. •
  7. Automobile Accessories
  8. •
  9. RHINO RLCP22 User manual

RHINO RLCP22 User manual

Important Information
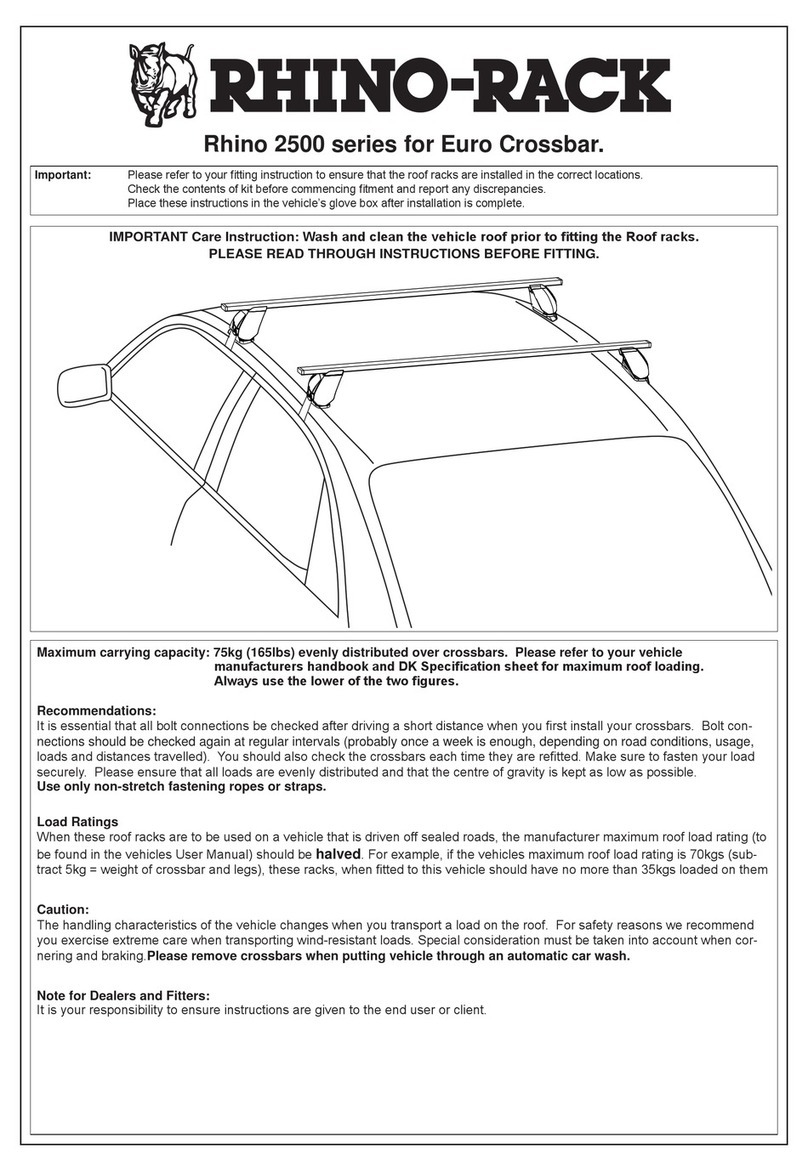
Maximum carrying capacity: Two cross bars; 80kg evenly distributed.
Three or more cross bars; 100kg evenly distributed.
Recommendations:
It is essential that all bolt connections be checked after driving a short distance when you rst install your cross bars. Bolt connec-
tions should be checked again at regular intervals (probably once a week is enough, depending on road conditions, usage, loads
and distances travelled). You should also check the cross bars each time they are re-tted.
Make sure to fasten your load securely. Please ensure that all loads are evenly distributed and that the centre of gravity is kept as
low as possible.
Use only non-stretch fastening ropes or straps.
Sensitivity to cross winds, behaviour in curves and braking.
The handling characteristics of the vehicle, changes when you transport a load on the roof. For safety reasons, we recommend you
exercise extreme care when transporting wind-resisting loads; special consideration must be taken into account when braking.
Please remove cross bars when putting vehicle through an automatic car wash.
Load Ratings:
Maximum permissible load is 80kg for two cross bars, 100kg for three or more cross bars (include the weight of the cross bars,
5kg). When cross bars are to be used in off-road conditions, please build a safety factor of 1.5 into this load limit for off-road use,
two cross bars = 54kg, three or more cross bars = 67kg. Although the cross bars are tested and approved to AS1235-2000, Aus-
tralian road conditions can be much more rigorous. However, increasing the number of cross bars does not increase the vehicles
maximum permissible roof loading.
Layout:
RLCP22 Rhino Heavy Duty Cross Bar System.
Fiat Ducato, Iveco Daily, Citroën Relay, Peugeot Boxer, Ram Promaster
Important: Please read these instructions carefully prior to installation.
Please refer to your tting instruction to ensure that the roof racks are installed in the correct locations.
Check the contents of kit before commencing tment and report any discrepancies.
Place these instructions in the vehicle’s glove box after installation is complete.
Care Instruction: Wash vehicle roof especially the mounting points prior to installation.
Note:
Depending on which vehicle is being tted up, the rubber trim on the roof may or may not
need to be removed or modied. Read the following initial steps to determine the process
for your particular vehicle.
Vehicles covered are; Iveco Daily, Fiat Ducato (1995 on), Citroën Relay (1995 on),
Peugeot Boxer (1995 on).
IVECO Daily
In order to t the two cast blocks that clamp around the T mount the rubber trim on the roof must be removed. Lift
the front section to better access the longer trim . Remove the remaining long section of trim from each side of the
vehicle. The long trim can be left off the vehicle after tment of roof racks or it can be cut to clear the roof pads where
the T mounts are used.
Lift end of front trim section, no
need to completely remove.
Completely remove
long trim.
Cut trim behind each T
mount being used. Or leave
trim removed. See Step 1.
T mount
FRONT Left shown
RLCP22 Rhino Heavy Duty - Fiat Ducato, Iveco Daily, Citroën Relay, Peugeot Boxer.
Parts List
Tools Required:
Security allen key, provided in kit.
Marking pen or Pencil.
16mm spanner.
Rubber mallet.
Tape measure.
Hacksaw.
1
2
3
4
9
5
6
7
8
10
11
12
13
14
15
Maximum carrying capacity: 100kg evenly distributed.
Item Component Name Qty Part No.
1 Heavy Duty Rubber Buffer 1800mm 2 Sold Separately
2 Heavy Duty Cross Bar 1800mm 2 Sold Separately
3 M6 x 25mm Security Screw 12 B137
4 M6 Spring Washer 12 W004
5 M6 x 12.5mm Flat Washer 12 W003
6 Heavy Duty Cross Bar End Cap 4 M002
7 M10 Channel Nut 4 N024
8 RLCP Leg 4 M123
9 RLCP Pad 4 M424
10 Cast Clamp A 4 C673
11 Cast Clamp B 4 C674
12 M10 x 38mm Flat Washer 4 W022
13 M10 Internal Shakeproof Washer 4 W021
14 M10 x 20mm Hex Bolt 4 B003
15 5mm Security Allen Key 1 H021
16 Fitting Instruction 1 RR-194
Fit cast clamp B:
Fit clamp B around the back of T mount so threads are
facing upward towards the outside of the vehicle.
Note: If there is excessive drip check sealer around the
T mount it must be removed to allow the clamps to sit
properly.
Secure cast clamps:
Secure cast clamp A to clamp B using the supplied M6 screws and washers. Make sure the clamps are parallel across
the vehicle. Tighten M6 screws to 3-4 Nm. Do not overtighten.
1
2
Fiat, Citroën, Peugeot - up to 2004.
In order to t the two castings that clamp around the T mount the rubber trim on the roof must be lifted to allow enough
access to manouvure cast clamp B around the T mount. Once cast clamp B is located the trim can be pushed back
down.
The later model Fiat, Citroën and Peugeot have no trim which interferes with the T mount.
Lift roof trim only, no need to
completely remove.
T mount
FRONT Left shown
Outside of vehicle
IVECO Daily: Cut 75mm x 25mm out
of the trim so clamp B can t.
M6 x 25mm screw
M6 spring washer
M6 at washer
Cast clamp B (C674)

Correct
Clamps must be parallel
across vehicle.
Incorrect
RLCP22 Rhino Heavy Duty - Fiat Ducato, Iveco Daily, Citroën Relay, Peugeot Boxer. RLCP22 Rhino Heavy Duty - Fiat Ducato, Iveco Daily, Citroën Relay, Peugeot Boxer.
Tape measure.
Hacksaw.
Fit RLCP legs to cast clamps:
Locate each RLCP leg and pad over the clamps. Place
the M6 screw and washer assembly through the centre
hole to secure. Do not fully tighten at this stage.
M6 x 25mm screw.
M6 spring washer.
M6 at washer.
RLCP leg.
RLCP pad.
3
The M10 Channel nut must
sit across the cross bar.
Cross bars.
Place cross bars onto legs. Make sure the legs are parallel with the opposing side. Turn the M10 channel nut to sit
across the cross bar. Lightly nger tighten the M10 bolts only at this stage.
Three cross bars shown for illustrative purpose only.
5
Leg location tangs face
outside of vehicle.
Insert cross bar rubber.
Insert the cross bar rubber into the top of the cross bar.
The rubber may need to be trimmed level with end of the
cross bar.
4
RLCP22 Rhino Heavy Duty - Fiat Ducato, Iveco Daily, Citroën Relay, Peugeot Boxer.
Tighten M10 bolts.
Check that all channel nuts are fully located across the
cross bar before and after tightening. Tighten the M10
cross bar attachment bolts using a 16mm spanner.
Tighten to 4-5 Nm. Do not over tighten.
8
The M10 Channel nut
must sit across the
cross bar when tight as
shown.
Fit end caps.
Insert end caps into each end of the cross bars. A rubber
mallet may be needed to knock them in. Check all attach-
ment screws after tment. Re-tension if necessary.
9
Cut outs in the pad to allow access to clamp screws
for periodically checking M6 screw tension.
Equal overhang.
Measure to make sure the cross bar overhang is equal on both sides.
7
= =
Tighten M6 screws.
Slide the cross bar to give better access to M6 screw.
Progressively and evenly tighten both the left and right
side M6 leg screw to secure.
Tighten the M6 screws to 3-4 Nm.
Do not over tighten.
6
RLCP22 Rhino Heavy Duty - Fiat Ducato, Iveco Daily, Citroën Relay, Peugeot Boxer. RLCP22 Rhino Heavy Duty - Fiat Ducato, Iveco Daily, Citroën Relay, Peugeot Boxer.

Other RHINO Automobile Accessories manuals

RHINO EVO 3D User manual

RHINO

RHINO EVO 3D User manual

RHINO Drive360 User manual

RHINO

RHINO Drive360 User manual

RHINO EVO 3D User manual

RHINO

RHINO EVO 3D User manual

RHINO EVO 3D User manual

RHINO

RHINO EVO 3D User manual

RHINO FPA User manual

RHINO

RHINO FPA User manual

RHINO 2500 Series User manual

RHINO

RHINO 2500 Series User manual

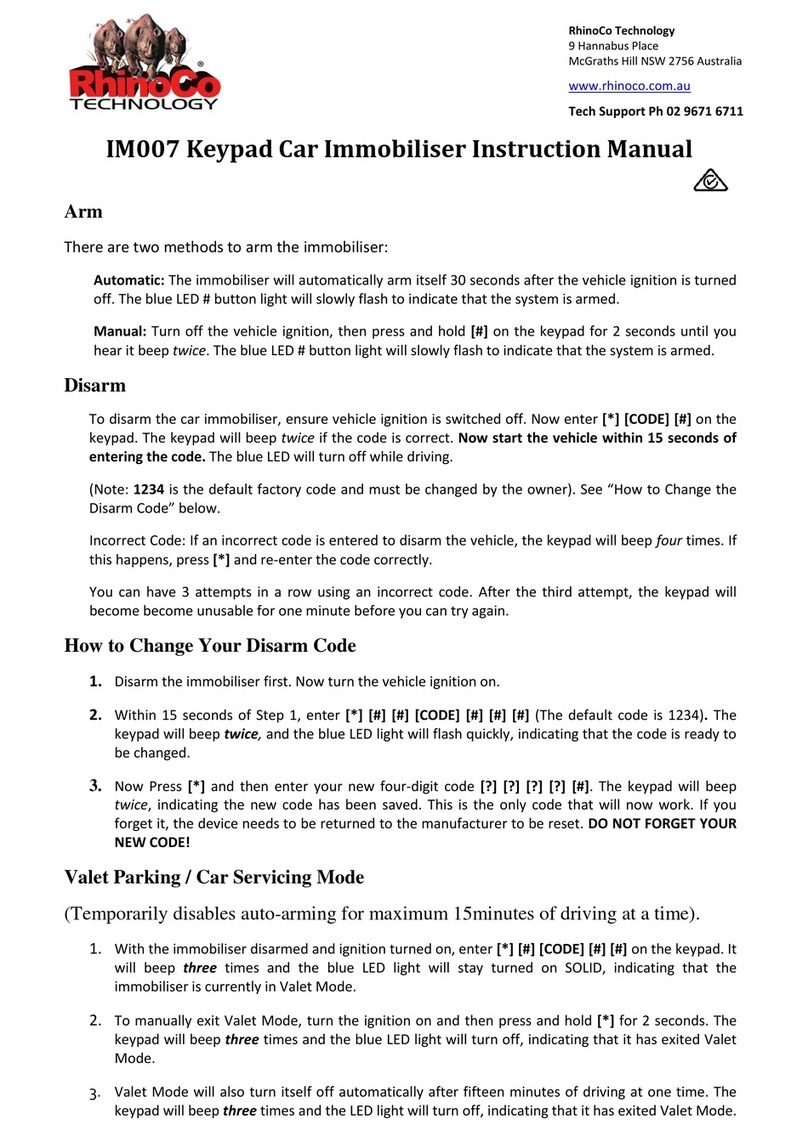
RHINO IM007 User manual

RHINO

RHINO IM007 User manual

RHINO EVO 3D Service manual

RHINO

RHINO EVO 3D Service manual

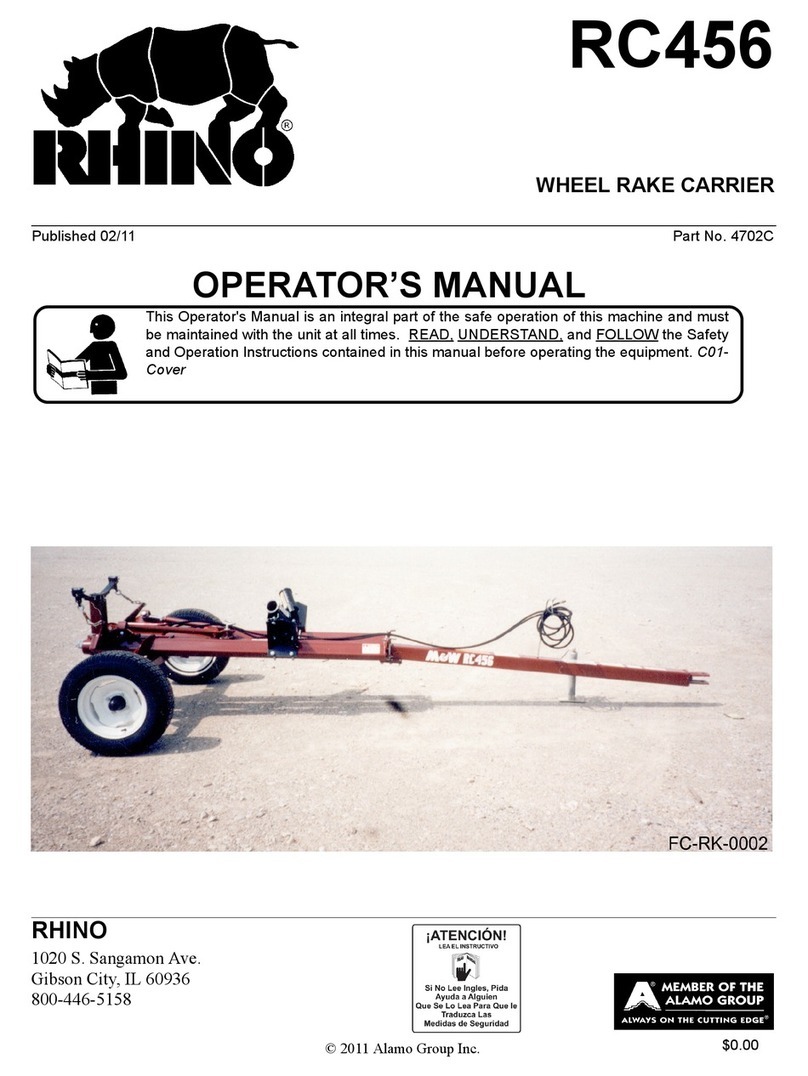
RHINO RC456 User manual

RHINO

RHINO RC456 User manual

RHINO VSDS-RVM4.3 User manual

RHINO

RHINO VSDS-RVM4.3 User manual

Popular Automobile Accessories manuals by other brands

1UP USA Quik Rack instructions

1UP USA

1UP USA Quik Rack instructions

Simplicity 318 installation instructions

Simplicity

Simplicity 318 installation instructions

Nokia CK-200 quick start guide

Nokia

Nokia CK-200 quick start guide

FISCHER CrossLine L Original operating instructions

FISCHER

FISCHER CrossLine L Original operating instructions

Whispbar K830W Fitting instructions

Whispbar

Whispbar K830W Fitting instructions

Havis-Shields Brow Mount KR-1531-24-SP-KOV datasheet

Havis-Shields

Havis-Shields Brow Mount KR-1531-24-SP-KOV datasheet

Lund Interceptor installation instructions

Lund

Lund Interceptor installation instructions

Prorack K577 Fitting Instructions for Basic Carrier

Prorack

Prorack K577 Fitting Instructions for Basic Carrier

Rugged Ridge 11509.32 manual

Rugged Ridge

Rugged Ridge 11509.32 manual

Cruz Evo Rack Pro P20-126 Assembly instructions

Cruz

Cruz Evo Rack Pro P20-126 Assembly instructions

Whispbar K650W Fitting instructions

Whispbar

Whispbar K650W Fitting instructions

AAMP of America iSimple Operation manual

AAMP of America

AAMP of America iSimple Operation manual

Kuda-Phonebase 1470 Installation instruction

Kuda-Phonebase

Kuda-Phonebase 1470 Installation instruction

Metra Electronics 99-3410 installation instructions

Metra Electronics

Metra Electronics 99-3410 installation instructions

BrandMotion 9002-7804V2 installation instructions

BrandMotion

BrandMotion 9002-7804V2 installation instructions

Lemania Energy FLASH150 user manual

Lemania Energy

Lemania Energy FLASH150 user manual

Rekluse RadiusCX Clutch Upgrade Kit Installation & user guide

Rekluse

Rekluse RadiusCX Clutch Upgrade Kit Installation & user guide

Tracon Electric STLC5W user manual

Tracon Electric

Tracon Electric STLC5W user manual

manuals.online logo
manuals.online logoBrands
  • About & Mission
  • Contact us
  • Privacy Policy
  • Terms and Conditions

Copyright 2025 Manuals.Online. All Rights Reserved.