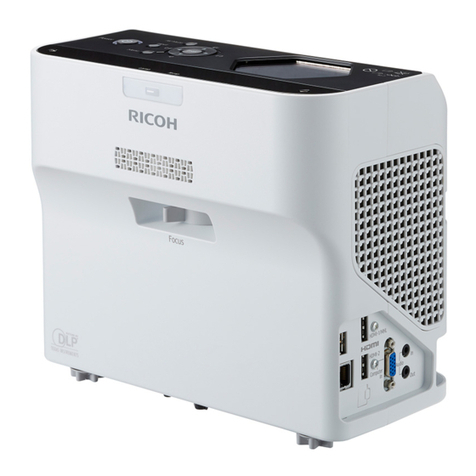
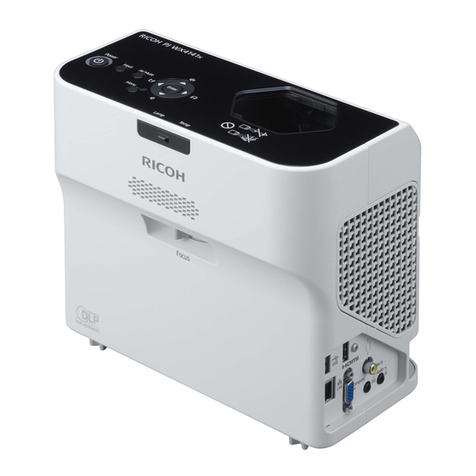
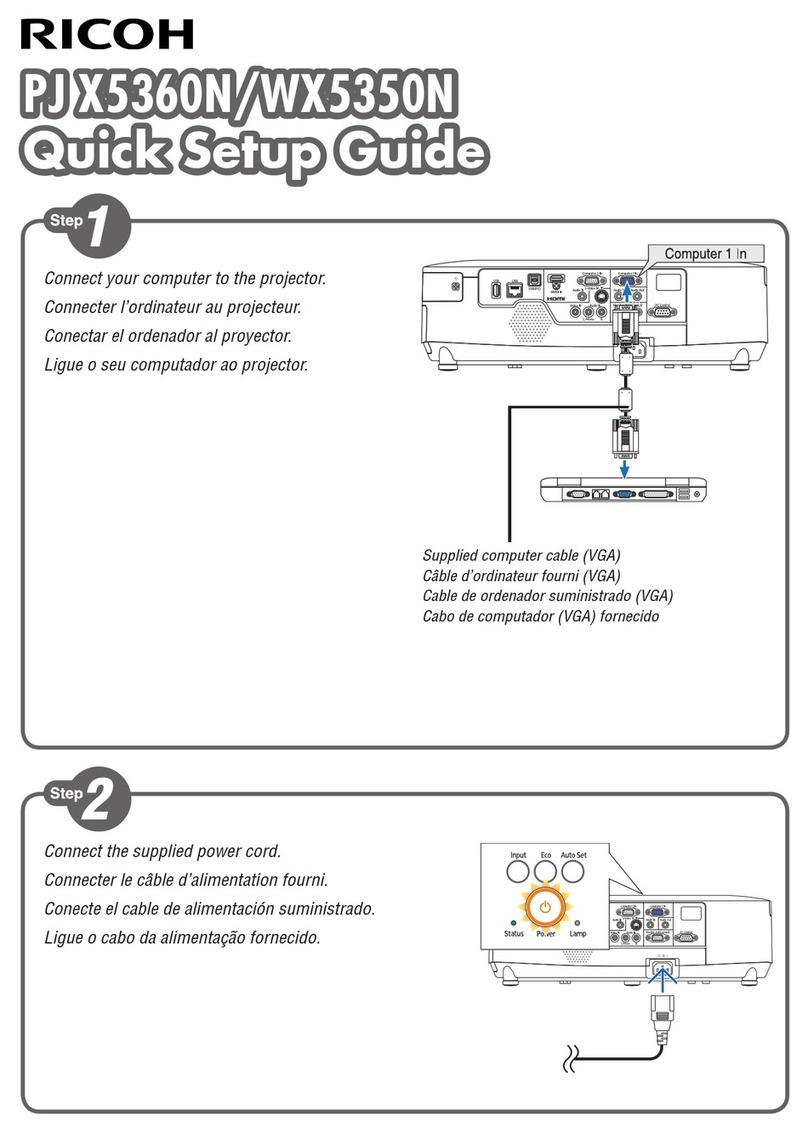
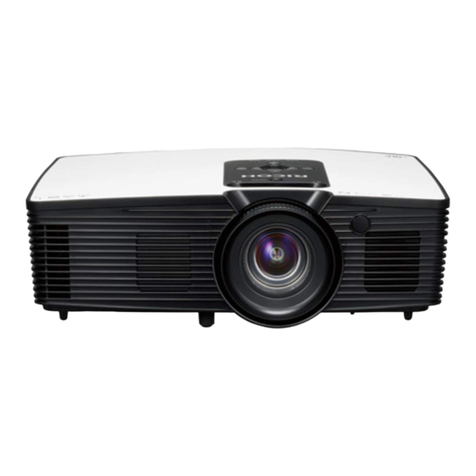
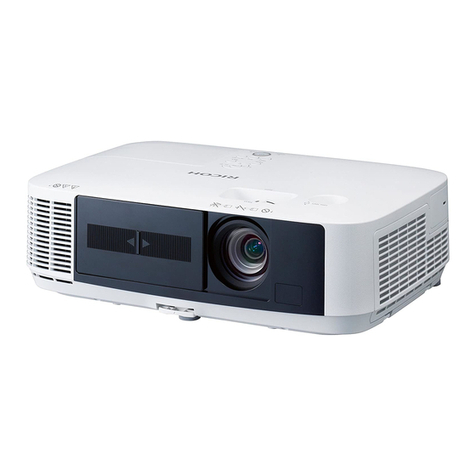
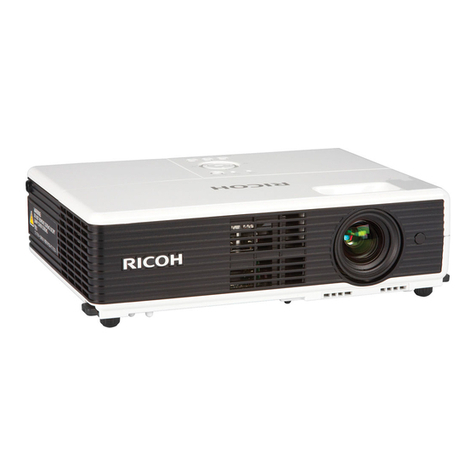
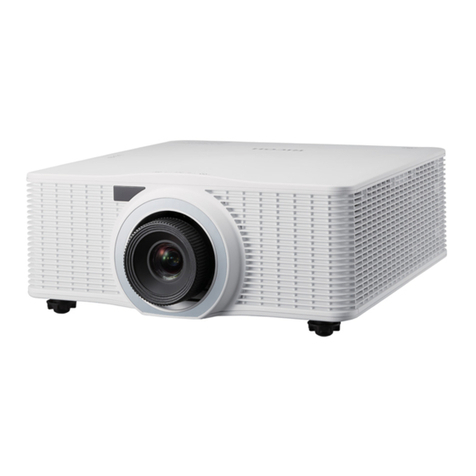
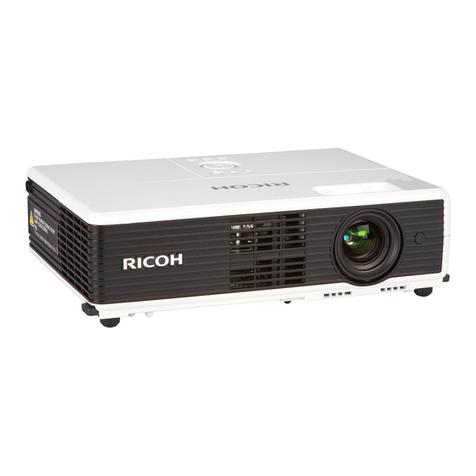
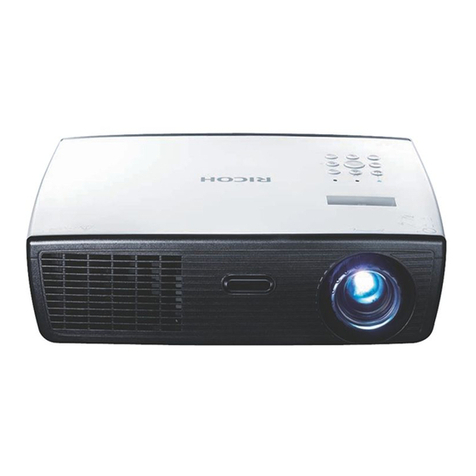
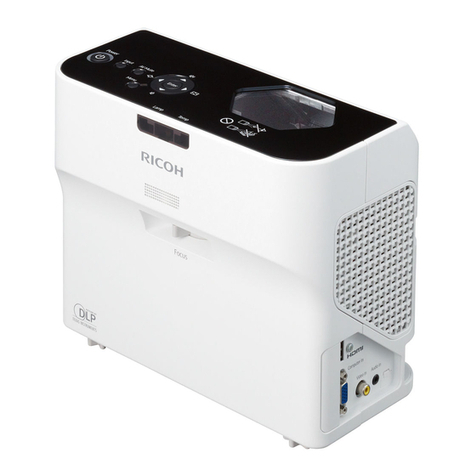
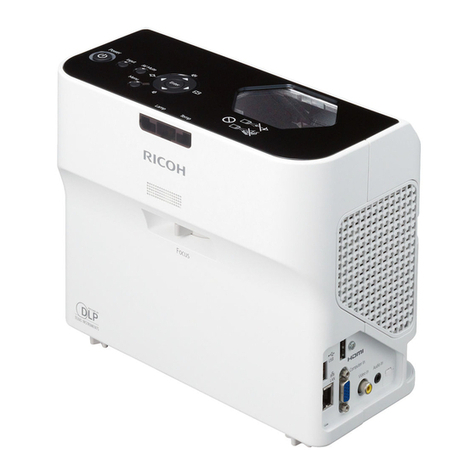
Ricoh PJ U3000 User manual

RICOH PJ U3000
Read this manual carefully before you use this machine and keep it
handy for future reference. For safe and correct use, be sure to read
the Precautions in this manual before using the machine.
Appendices
User Controls
Installation
Introduction
Usage Notice
5.
4.
3.
2.
1.
User’s Manual


1English
Table of Contents ............................1
Usage Notice...................................2
Precautions.........................................2
Installing the Projector on a Wall or
Ceiling.................................................5
Safety Labels of This Machine............7
Remote Control Battery ......................9
Warning ............................................... 9
Notes ................................................... 9
Other Information..............................10
Product Features ..............................11
Introduction....................................12
Package Overview............................12
Product Overview .............................13
Main Unit............................................ 13
Using the Control Panel....................14
Input/Output Connections .................. 15
Remote Control.................................. 16
Installation .....................................18
Connecting the Projector ..................18
Connect to Computer/Notebook ........ 18
Connect to Video Sources ................. 19
Powering On/Off the Projector..........20
Powering On the Projector................. 20
Powering Off the Projector................. 21
Adjusting the Projected Image..........22
Adjusting the Projector’s Height ........ 22
Adjusting the Projector’s Focus ......... 23
Adjusting Projection Image Size ........ 23
On-screen Display Menus ................. 24
User Controls ................................24
Menu Tree.......................................... 25
Picture................................................ 27
Position .............................................. 29
Setting................................................ 31
Audio.................................................. 33
Options .............................................. 34
3D ...................................................... 37
LAN.................................................... 38
Web Management ............................. 39
Appendices....................................44
Troubleshooting ................................44
Projector Problems ............................ 46
Remote Control Problems ................. 46
Sound Problems ................................ 46
3D Problems ...................................... 46
LED Indicator Messages.................... 47
On Screen Messages ........................ 48
Replacing the lamp ...........................49
Replacing and cleaning the dust
lter ...................................................50
Compatibility Modes .........................51
Congurations of Terminals ..............55
Terminal: Computer in 1/2 [Monitor
Out] (Mini D-sub 15 pin)..................... 55
Terminal: PC Control (D-sub 9 pin :
female)............................................... 55
Specications....................................56
List of general specications.............. 56
Cabinet Dimensions..........................57
Trademarks.......................................58
Table of Contents
2
English
Usage Notice
Precautions
Follow all warnings, precautions and mainte-
nance as recommended in this user’s guide to
maximize the life of your unit.
▀■Warning- This apparatus must be earthed.
▀■Warning- Do not look into the projector’s lens when the lamp is
on. The bright light may hurt your eyes.
▀■Warning- Toreducetheriskofreorelectricshock,donot
expose this projector to rain or moisture.
▀■Warning- Do not open or disassemble the projector as this may
cause electric shock.
▀■Warning- Whenreplacingthelamp,allowunittocooldownat
least60minutes,andfollowallreplacementinstruc-
tions.
▀■Warning- Whenthelampreachestheendofitslife,itwillburn
out and may make a loud popping sound. If this hap-
pens,theprojectorwillnotturnbackonuntilthelamp
modulehasbeenreplaced.Toreplacethelamp,
follow the procedures listed under “Replacing the
Lamp”.
▀■Warning- Donotremovethecabinetcover,oryoumaybe
exposed to dangerous voltage. Refer servicing to
qualiedservicepersonnelonly.
▀■Warning- This product should be operated only from the type
of power source which does not exceed the voltage
rangespeciedontheratinglabelandthepower
cord. If you are not sure of the type of power supply
toyourhome,consultyoursalesrepresentativeor
local power company.
▀■Warning- Do not use the polarized plug with an extension cord
,receptacle,orotheroutletunlessthebladescanbe
inserted completely with three wire grounding type
to prevent blade exposure. Failure to follow these
instructionsmayresultinreorelectricshock.
▀■Warning- Plasticbagscanbedangerous,pleasedonotleave
near babies and young children. To avoid the threat
ofsuffocation,pleasekeepawayfromtheirnoseand
mouth.

3English
Usage Notice
▀■Caution- Never operate this unit on AC power during a thun-
derstorm.Ifyouseelightningorhearthunder,never
touchtheunit,cablesand/orperipherals.Anelectric
surgecausedbythestorm,mayresultinanelectrical
shock or damage to the unit.
▀■Caution- Never push objects of any kind into this product
through openings as they may touch dangerous volt-
age points or short-out parts that could result in a fire
or electric shock. Never spill liquid of any kind on the
product.
▀■Caution- Do not place or keep the projector within the reach of
thechildren.Itmayfallortipover,possiblycausing
serious injury.
▀■Caution- Do not stack other equipment on this product and
do not place this product on other equipment. The
top and bottom surface of this product increase in
temperature during normal use and may damage the
other unit.
▀■Caution- Do not use attachments not recommended by
RICOH. Use of an incompatible attachments could
cause hazards or damage to the product.
▀■Caution- Donotplacethisproductonanunstablecart,stand,
tripod,bracket,ortable.Theproductmayfall,caus-
ingseriousinjurytoachildoradult,andseriousdam-
age to the product.
▀■Caution- Unplug this product from the wall outlet and take the
product to qualified service personnel if you encoun-
ter any of the following conditions:
a) The power supply cord or plug is damaged.
b)Liquidhasbeenspilled,orobjectshavefalleninto
the product.
c) The product has been exposed to rain or water.
d) The product does not operate normally when
following the operating instructions. Adjust only
those controls that are covered by the operating
instructions.
e) The product has been dropped or damaged in any
way.(Ifthecabinetshouldbreak,pleasehandle
with care to avoid injury.)

4
English
Usage Notice
▀■Caution- Thisproductincorporatesglasscomponents,includ-
ingalensandalamp.Iftheseshouldbreak,please
handle with care to avoid injury and contact your sales
representative for repair service. Avoid any broken
pieces of glass since they may cause injury. In the
unlikelyeventthatthelampruptures,thoroughlyclean
the area around the projector and discard any edible
items placed in that area since they may be contami-
nated.
▀■Caution- Do not place anything in front of the lens while the pro-
jector is operating. Things placed in front of the lens
mayoverheatandburnorstartare.
▀■Caution- Do not use lens cap when projector is powered on.
▀■Caution- Unauthorizedsubstitutionsmayresultinre,electric
shock,orotherhazards.(Onlythereplacementofthe
lamp should be made by users.)
▀■Caution- Upon completion of any service or repairs to this
product,asktheservicetechniciantoperformsafety
checks to verify that the product is in proper operating
condition.
▀■Caution- Do not leave thermal paper documents or easily de-
formed items on top of the unit or near the air exhaust
for long periods of time.
▀■Caution- The heat from the unit could erase the information on
thethermalpaper,orcausedeformationorwarping.
▀■Caution- This projector will detect the life of the lamp itself. Be
sure to change the lamp when it shows warning mes-
sages.
▀■Caution- Do not use the product in a closed installation loca-
tion. Do not place the product in a box or in any other
closedinstallationlocation.Otherwiseitmayoverheat,
whichcouldresultinariskofre.

5English
Usage Notice
Installing the Projector on a Wall or
Ceiling
Do not attempt to clean or replace parts for a machine that is installed in ay
highlocationonawallorceiling.Doingsomaycauseittofalldown,result-
ing in an injury.
Do not open the lamp cover of a machine that is installed on a wall or ceil-y
ing.Doingsomaycausethelampcovertofalldown.Ifthelampisbroken,
pieces of glass may fall and cause an injury.
Contact your sales or service representative to clean or replace parts for ay
machine that is installed on a wall or ceiling.
Ifamachineisincorrectlyinstalledonawallorceiling,itmayfalldownandy
cause an injury. Contact your sales or service representative if you want to
install a machine on a wall or ceiling.
Safety Precautions to Be Followed
Donotobstructthemachine’svents.Doingsorisksrecausedbyover-y
heated internal components.
For users
Do not install the projector by yourself. Contact your sales or service repre-y
sentative if you want to install the projector on a wall or ceiling.
For sales or service representatives
Use brackets that are strong enough to support the projector. They
projector weighs about 7.5 kg (16.5 lbs).
The projector must be installed in a location that is sturdy enoughy
to support the full weight of the projector and brackets.
Use only the screws (four M4X10 screws) to attach the brackets toy
the projector.
Use all three of the projector’s screw holes to attach the brackets.y
The locations of the screw holes are shown in the illustration below.
Makesurethatthescrewsaretightenedrmly.

6
English
Usage Notice
Do:
Afterunpackingthisproduct,readthemanualcarefully,and
follow all the operating and other instructions.
Turn off the product before cleaning.
Use a soft cloth moistened with mild detergent to clean the
display housing.
Disconnect the power plug from AC outlet if the product is
not being used for a long period of time.
Do not:
Block the slots and openings on the unit provided for ventila-
tion.
Useabrasivecleaners,waxesorsolventstocleantheunit.
Use under the following conditions:
- Extremelyheat,coldorhumidity.
- In areas susceptible to excessive dust and dirt.
- Nearanyappliancegeneratingastrongmagneticeld.
- In direct sunlight.
Important:
Contents of this manual are subject to change without prior notice.
In no event will the company be liable for direct, indirect, special,
incidental, or consequential damages as a result of handing or
operating this product.

7English
Usage Notice
Safety Labels of This Machine
1 Do not block the air intake or exhaust. Doing so could
causeareduetointernaloverheating.Donotplaceyour
hands,face,orotherobjectsneartheairexhaust,thelamp
cover or the bottom of the unit. Doing so could result in
injuryand/ordamagetheobject.
2 Do not look into the lens while the lamp is on. The strong
light from the lamp may cause damage to your eyesight.
3 Do not place anything in front of the lens while the projec-
tor is operating. Things placed in front of the lens may
overheatandburnorstartare.Ifyouwanttotemporarily
stoptheprojectedimage,usethe<空白屏> button on the
remote control or the keypad.
4 Toreplacethelamp,rstunplugthepowercordthenwait
for more than 1 hour. The lamp might be broken. Be careful
of pieces of broken glass.
5 Do not remove any screws except the lamp cover screws.
Do not block or cover the vents.
5
1
23
4

8
English
Usage Notice
Ifyouwishtodiscardthisproduct,pleasecontactyourlocal
authorities,theshopwhereyouboughtthisproduct,yourlocal
dealerorsales/servicerepresentatives.

9English
Usage Notice
Remote Control Battery
Warning
•Neverthrowbatteriesintoare.
Using the batteries improperly may cause them to explode or
leakandmayresultinseriousinjury.Ifbattery-leakinguid
contactsskin,washtheuidoffimmediatelywithcleanwater
andconsultadoctor.Iftheuidspillsonaninstrument,avoid
contact and wipe it off using tissue paper. Then dispose of the
usedtissuepaperasammablegarbageaftermoisteningthe
tissue with water.
•Donotingestbattery,ChemicalBurnHazard.
The remote control supplied with this product contains a coin
cell battery.
Ifthecoincellbatteryisswallowed,itcancausesevereinter-
nal burns in just 2 hours and can lead to death.
•Keepnewandusedbatteriesawayfromchildren.
Ifthebatterycompartmentdoesnotclosesecurely,stopusing
the product and keep it away from children.
If you think batteries might have been swallowed or placed
insideanypartofthebody,seekimmediatemedicalattention.
Notes
•BesuretouseCR2025lithium3.0Vcoinbattery.
•Disposeofbatteriesinadesignateddisposalarea.
•Attentionshouldbedrawntotheenvironmentalaspectsof
battery disposal.
• Iftheremotecontroldoesnotoperatecorrectly,orifthe
operatingrangebecomesreduced,replacethebattery.
• Avoidcontactwithwaterorliquid.
• Donotexposetheremotecontroltomoistureorheat.
• Donotdroptheremotecontrol.
• Ifthebatteryhasleakedintheremotecontrol,carefullywipe
the case clean and install new battery.
• Disposeofusedbatteryaccordingtotheinstructions.

10
English
Usage Notice
Other Information
Copyrights to Images
Whenprojectingimagesusingtheprojector,becareful
not to infringe the copyright of protected materials.
The following are examples that may infringe the copyright
of protected materials.
• Broadcastingimagesormoviesforcommercialpurposes
• Modifyingimagesormoviesusingfunctionssuchasfreeze,
magnify,orzoomtobroadcastimagesforcommercialpur-
poses or public viewing
• Varyingtheaspectratioofimagesormoviesusingafunction
that changes the screen size to broadcast images for com-
mercial purposes or public viewing
NotetoUsersViewing3DImages
Pay attention to the following points when viewing images
using 3D glasses with projector:
• How3Dimagesareviewedmayvaryaccordingtotheindi-
vidual.
• Donotuse3Dglassesforviewinganymaterialotherthan
3D images.
• Beforeviewing3Dimages,makesuretoreadthemanuals
provided with your 3D glasses and 3D compatible content.
• Avoidviewing3Dimagesforalongperiodoftime.Takea
break of 15 minutes or longer after every hour of viewing.
• Ifyoufeelsickwhileviewing3Dimages,stopviewingthem.
Ifyoucontinuetofeelsick,consultadoctor.
• Whenviewing3DimageinaroomwhereonLEDlighting
systemoruorescentlightsareused,youmayfeelthatthe
lightintheroomickers.Ifthisisthecase,dimthelights
untilyoudonotnoticeanyickers,orturnoffthelights.
• Ifyouoranymemberofyourfamilyhasahistoryoflightsen-
sitiveseizures,consultadoctorbeforeviewing3Dimages.

11 English
Usage Notice
Product Features
▀■XGA (1024x768) Native resolution
▀■HD compatible – 720p and 1080p supported
▀■VGAmonitorloopthrough(worksinstandbymode>
0.5W)
▀■BrilliantColorTM Technology
▀■Security Bar and antitheft lock hole
▀■RS232 control
▀■Built-in mono 10 Watt speaker
▀■Short Throw
▀■3D Display
▀■Web Management

12
English
Introduction
Documentation :
Read This First
Warranty Card
Power Cord
Remote Control
(CR2025 Battery is
contained. )
CD-ROM
Package Overview
Unpack and inspect the box contents to ensure
all parts listed below are in the box. If something
is missing, please contact your nearest customer
service center.
Projector VGACable

13 English
Introduction
Product Overview
Main Unit
Focus Ring1.
Lens2.
IR Receiver3.
Control Panel4.
Lamp Cover5.
Input/OutputConnectionPorts6.
Power Socket7.
Elevator Feet8.
Elevator Feet9.
Elevator Feet Spacer10.
3
4
8
6
1
3
2
(FrontView)
(RearView)
(BottomView)
9
5
7
10

14
English
Introduction
Using the Control Panel
<电源>
button Turntheprojectoron/off.
<电源> indicator Indicate the projector’s status.
<菜单> button Turnsthemainmenuon/offorreturnstoupperlevel
in the menu operations.
<自动设置> button Automatically synchronize the PC analog timing to
its optimized condition.
<输入> button Select an input signal.
▲▼◄►buttons Use▲▼◄►toselectitemsormakeadjustments
to your selection.
<灯泡> indicator Indicate the projector’s lamp status.
<温度> indicator Indicate the projector’s temperature status.
菜单
电源 温度 灯泡
自动设置 输入

15 English
Introduction
Input/Output Connections
Service Connector1.
HDMI Connector2.
Monitor Output Connector3.
LAN Connector4.
Audio 1 In Connector (For Computer 1 In)5.
S-VideoConnector6.
AudioInConnector(ForS-Video)7.
Audio Out Connector8.
PC Control Connector9.
Computer 1 In Connector10.
Computer 2 In Connector11.
Audio 2 In Connector (For Computer 2 In)12.
VideoInputConnector13.
AudioInConnector(ForVideo)14.
Microphone Input Connector15.
AC In Socket16.
Mic
Computer 2 In
Audio 2 In
Audio 1 In HDMI In Service
PC Control
Computer 1 In Monitor Out (Comp.)
LAN
3 2 1568
9
7
10111213141516
4

16
English
Introduction
(1) <电源> button
Turnstheprojectoron/off
(2) <比例> button
SelectaspectratioamongAuto,4:3,16:9,16:10
(3) <菜单> button
Turnsthemainmenuon/offorreturnstoupper
level in the menu operations.
(4) <静止> button
The screen will be freezed.
(5) <ECO> button
Displays Lamp Power mode menu.
(6) <图象> button
SelectsthecolormodeamongDynamic,PC,
Movie,GameandUser.
(7) <输入> button
Displays source select menu.
(8) <空白屏> button
Mutes audio and video.
(9) ▲▼◄►buttons
Uses to operate menu.
Keystonecanbeadjustedbypressing▲and
▼buttonswhenmenuisnotdisplayed.
(10) <自动设置> button
Automatically synchronize the projector to the
input source.
(11) <确认> button
Conrmyoursectionofitemsinmenusystem.
(12) <音量 +/-> buttons
Adjust sound level.
(13) <数码变焦 +/-> buttons
Adjustsmagnicationratioofthedisplayedimage.
Attention
Do not drop the remote control.y
Avoid contact with liquids.y
Do not attempt to modify or disassemble the remote control.y
Note
The<y自动设置> operation may not optimize the image posi-
tionortheresolution,dependingontheinputsignalformator
theimagecontents.Inthiscase,switchtoadifferentimage
andexecute<自动设置> again.
1
2
3
4
5
7
8
9
10
12
6
13
11
Remote Control

17 English
Introduction
Changing the battery of the remote control
Pressrmlyandslide1.
the battery cover off.
Put the cover3.
back.
Install new battery into the2.
compartment.
Remove the old battery
and install new one
(CR2025). Ensure that
the side with a “+” is
facing up.
M
n
O
2
-
L
i
C
E
L
L
3
V
O
L
T
S
J
A
P
A
N
H
CR2025
3
V
O
L
T
S
CR2025
M
3
V
O
L
T
S
CR2025
To ensure safe operation, please observe the
following precautions :
■Neverthrowbatteriesintoare.
■Donotingestbattery,ChemicalBurnHazard.
■Keepnewandusedbatteriesawayfromchildren.
Formoredetailedinformation,pleaseseep.9.
Remote Control Operating
Whenpointingtheremotecontroldirectlytowardtheprojector(Remotecontrolsignalreceiver),y
operatingrangefortheremotecontroliswithin4m(13.12ft).Also,operationrangeavailablefor
fourdirections(up,down,left,righttotheprojector)is±35°andtheoperationdistancemaybecome
short.
Ifthereareanyobstaclesbetweentheremotecontrolandtheremotecontrolsignalreceiver,they
remote control may not operate correctly.
Youcanoperatetheprojectorbyreectingtheremotecontrolsignalonthescreen.Theoperatingy
range may differ due to the loss of light caused by the properties of the screen.
Whentheremotecontrolsignalreceiverislitwithauorescentlightorotherstronglightsource,they
projector may become inoperative. Set the projector as far from the luminous source as possible.
You can operate all of the functions of the projector via the remote control. Make sure not to lose they
remote control.
Beforeusingtheremotecontrolforthersttime,removethetransparentinsulationsheet.y
Transparent insula-
tion sheet
4m(13.12ft)
±35°(horizontal)
±35°(Vertical)
4m(13.12ft)
±35°(horizontal)
±35°(Vertical)

18
English
Installation
Connecting the Projector
Due to the differ-
ence in applica-
tions for each
country,some
regions may have
different acces-
sories.
(*) Optional
accessory
1....................................................................................................Power Cord
2..................................................................................................*Audio Cable
3.....................................................................................................RGB Cable
4..................................................................................................*Serial Cable
5..................................................................................................*HDMI Cable
Connect to Computer/Notebook
Mic
Computer 2 In
Audio 2 In
Audio 1 In HDMI In Service
PC Control
Computer 1 In Monitor Out (Comp.)
LAN
Notebook
Computer
Power socket
1
22
2
3
3
Monitor
Powered Speaker
3 4 5
9
Table of contents
Other Ricoh Projector manuals

Ricoh
Ricoh PJ WX4153N User manual

Ricoh
Ricoh PJ X3340 Guide

Ricoh
Ricoh Hadar-PJ1 Series Installation guide

Ricoh
Ricoh PJ WXC1110 User manual

Ricoh
Ricoh PJ X3241N User manual

Ricoh
Ricoh PJ XL4540 Quick start guide

Ricoh
Ricoh PJ WXC4660 User manual

Ricoh
Ricoh PJ K7000 User manual

Ricoh
Ricoh Y033 Manual

Ricoh
Ricoh PJ WX4130n User manual

Ricoh
Ricoh PJ WUL6670 User manual

Ricoh
Ricoh PJ WX4240N User manual

Ricoh
Ricoh PJ X5580 User manual

Ricoh
Ricoh PJ KU12000 User manual

Ricoh
Ricoh PJ WU6181 N User manual

Ricoh
Ricoh PJ X3340 User manual

Ricoh
Ricoh PJ X3241N User manual

Ricoh
Ricoh PJ WUL5970 Series User manual

Ricoh
Ricoh PJ WUL6281 User manual

Ricoh
Ricoh Y024 Manual