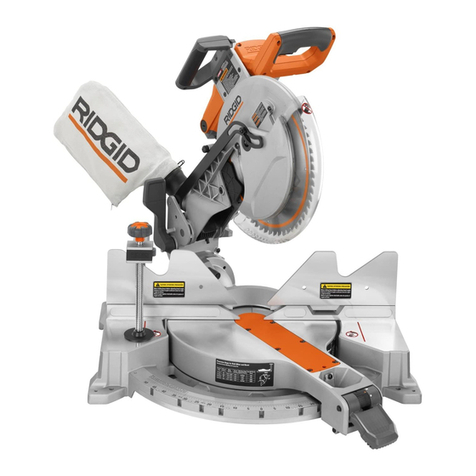
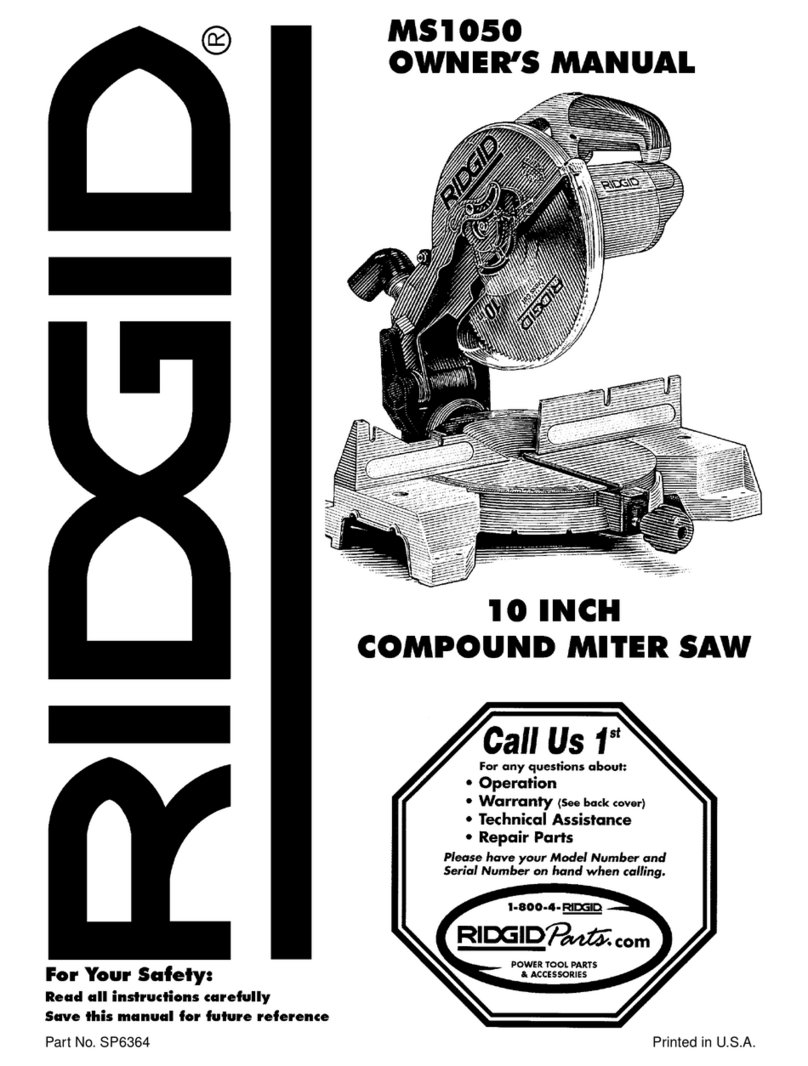
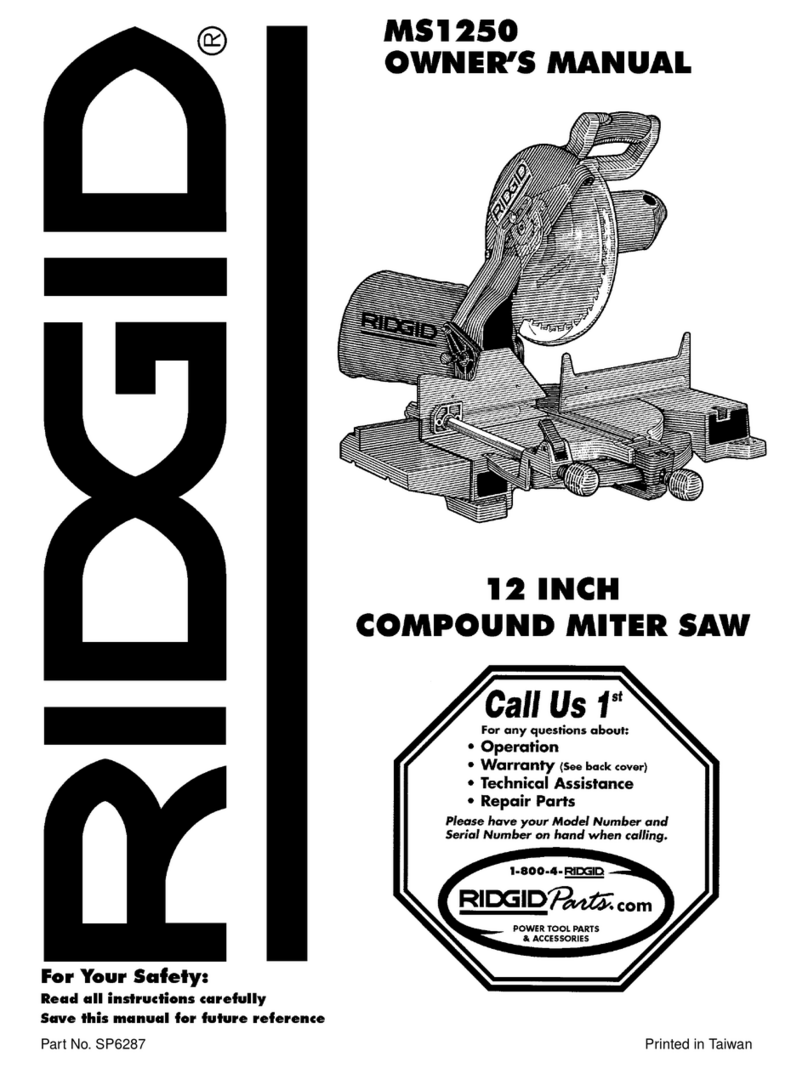
RIDGID ms12500 User manual

2:1(5·60$18$/
$VVHPEO\
2SHUDWLRQ
5HSDLU3DUWV
)RU<RXU6DIHW\
5HDGDOOLQVWUXFWLRQVFDUHIXOO\
48(67,21625&200(176"
&$//5,'*,'
ZZZULGJLGZRRGZRUNLQJFRP
,1&+
&203281'
0,7(56$:
Part No. SP6265 Printed in Taiwan
06

2
Table of Contents
Section Page
Table of Contents ..........................................................2
Safety Instructions For Miter Saw ..................................3
Safety Signal Words ...................................................3
Before Using The Saw ................................................3
When Installing Or Moving The Miter Saw ..................3
Before Each Use .........................................................4
To Reduce the Risk of Injury From Jams, Slips Or
Thrown Pieces ...........................................................4
Plan Ahead To Protect Your Eyes, Hands
Face and Ears ............................................................4
Dress For Safety .........................................................5
Preparing to Make Cut ................................................5
Whenever Saw Is Running .........................................6
Before Leaving The Saw .............................................6
Glossary of Terms for Woodworking .............................6
Motor Specifications and Electrical Requirements ........7
Power Supply and Motor Specifications .....................7
General Electrical Connections ...................................7
110-120 Volt, 60 Hz. Tool Information ........................7
Motor Safety Protection ..............................................8
Wire Sizes ...................................................................8
Unpacking and Checking Contents ...............................9
Tools Needed ..............................................................9
Unpacking ...................................................................9
List of Loose Parts ......................................................9
Assembly .....................................................................10
Assembling and Aligning the Table Extension ..........10
Attaching Dust Elbow and Dust Bag .........................10
Installing or Removing the Blade ..............................11
Getting to Know Your Miter Saw .................................12
Section Page
Alignment (Adjustments) ............................................. 13
Mounting The Miter Saw .............................................. 15
Portable Applications ................................................15
Work Bench Applications ..........................................15
Safety Instructions for Basic Saw Operations ............. 16
Before Each Use ....................................................... 16
To Reduce the Risk of Injury From Jams, Slips Or
Thrown Pieces .........................................................16
Plan Ahead To Protect Your Eyes, Hands,
Face and Ears ......................................................... 16
Dress For Safety ....................................................... 17
Preparing to Make the Cut ........................................17
Whenever Saw Is Running ....................................... 17
Basic Saw Operations ................................................. 18
Maintenance and Lubrication ......................................24
Maintenance ............................................................. 24
Lubrication ................................................................24
Accessories .................................................................25
Prohibited Accessories ............................................. 25
Basic Blade Requirements ........................................ 25
Using Carbide Tipped Blades ...................................... 25
Troubleshooting Guide ................................................ 26
Motor .........................................................................26
General .....................................................................26
Wiring Diagram ............................................................ 27
Trouble Shooting of Brake by Qualified Service
Person Only .............................................................27
Repair Parts ................................................................. 28
Notes ...........................................................................35

3
Safety Instructions For Miter Saw
Safety is a combination of common sense, staying alert and knowing how your miter saw works. Read this manual to
understand this miter saw.
Safety Signal Words
DANGER: means if the safety information is not followed
someone will be seriously injured or killed.
WARNING: means if the safety information is not fol-
lowed someone could be seriously injured or killed.
CAUTION: means if the safety information is not followed
someone may be injured.
Before Using The Saw
WARNING: To reduce the risk of mistakes that
could cause serious, permanent injury, do not plug
the miter saw in until the following steps have been
satisfactorily completed.
• Completely assemble and align saw. (See “Assembly”
and “Alignment” sections within.)
• Learn the use and function of the ON-OFF switch,
upper and lower blade guards, handle latch, bevel
clamp, cover plate stop screw, and fence clamps. (See
“Getting to Know Your Miter Saw” section within.)
• Review and understand all safety instructions and
operating procedures in this manual.
• Review the maintenance methods for this miter saw.
(See “Maintenance” section within).
Find and read the following labels on the miter saw:
When Installing Or Moving The Miter Saw
Before moving the saw, lock the miter, bevel and power
head positions. Unplug the power cord.
To reduce the risk of back injury, get help when you need
to lift the saw.
Never carry the tool by the cord or power head trigger
handle. Damage to insulation could cause an electric
shock. Damage to wire connections could cause a fire.
Reduce the Risk of Dangerous Environment. Use the
miter saw in a dry, indoor place protected from rain. Keep
work area well lighted.
Place the saw so neither the user nor bystanders are
forced to stand in line with the blade. Thrown debris
could injure people in its path.
To reduce the risk of injury from unexpected saw
movement:
• Place the miter saw on a firm level surface where there
is plenty of room for handling and properly supporting
the workpiece.
• Support the miter saw so the table is level and the saw
does not rock.
• Bolt or clamp the saw to its support.
•Never Stand On Tool. Serious injury could occur if the
tool tips or you accidentally hit the cutting tool. Do not
store anything above or near the tool where anyone
might stand on the tool to reach them.
To reduce the risk of injury or death from electrical
shock:
•Make sure your fingers do not touch the plug’s metal
prongs when plugging or unplugging the miter saw.

4
Safety Instructions for Miter Saws (continued)
Before Each Use
Inspect your miter saw.
Disconnect The Miter Saw. To reduce the risk of injury
from accidental starting, unplug the saw, before changing
the setup, changing the blade or adjusting anything.
Compare the direction of rotation arrow on the guard to
the direction arrow on the blade. The blade teeth should
always point downward at the front of the saw.
Tighten the arbor screw.
Tighten the cover plate stop screw.
Check For Damaged Parts. Check for:
• Proper Alignment of moving parts,
• Damaged electric cords,
• Binding of moving parts,
• Broken parts,
• Stable mounting,
• Function of arm return spring and lower guard: Push
the arm all the way down, then let it rise up until it stops
by itself. Check the lower guard to see if it closed fully.
If it did not, follow the instructions in the Trouble Shoot-
ing section.
• Other conditions that may affect the way the miter saw
works.
If any part of this miter saw is missing, bent, or broken in
any way, or any electrical parts don't work, turn the saw
off and unplug it. Replace damaged, missing, or failed
parts before using the saw again.
Keep Guards In Place, in working order, and in proper
adjustment.
Maintain Tools With Care. Keep the miter saw clean for
best and safest performance. Follow instructions for lubri-
cating. DON’T put lubricants on the blade while it’s spin-
ning.
Remove Adjusting Keys And Wrenches from tool
before turning it on.
To Reduce the Risk of Injury From Jams, Slips Or Thrown Pieces
• Use Only Recommended Accessories. (See “Acces-
sory” section within.) Consult this Owner’s manual for
recommended accessories. Follow the instructions
that come with the accessories. The use of improper
accessories may cause risk of injury to persons.
• Choose the right 12-inch diameter blade for the mate-
rial and the type of cutting you plan to do.
• Make sure the blade is sharp, undamaged and prop-
erly aligned. With the saw unplugged, push the power-
head all the way down. Hand spin the blade and check
for clearance.
• Make sure the blade and arbor collars are clean.
• Make sure the collars' recessed sides are facing the
blade.
• Using the 1/4” hex end of combination wrench (sup-
plied) or a 1/2-inch box end wrench, make sure the
arbor screw is firmly tightened.
• Make sure all clamps and locks are tight and there is
no excessive play in any parts.
•Keep Work Area Clean. Cluttered areas and benches
invite accidents. Floor must not be slippery.
To reduce the risk of burns or other fire damage, never
use the saw near flammable liquids, vapors or gases.
Plan Ahead To Protect Your Eyes, Hands, Face and Ears
Know Your Miter Saw. Read and understand the
owner’s manual and labels affixed to the tool. Learn its
applications and limitations as well as the specific poten-
tial hazards peculiar to this tool.
To reduce the risk of injury from accidental contact with
moving parts, don’t do layout, assembly, or setup work on
the miter saw while any parts are moving.
To Reduce the Risk of Accidental Starting. Make sure
switch is “OFF” before plugging miter saw into a power
outlet.
Plan your work.
Use The Right Tool. Don’t force tool or attachment to do
a job it was not designed to do. Use a different tool for
any workpiece that can’t be held in a solidly braced, fixed
position.
CAUTION: This machine is not designed for cutting
ferrous metals (steel, iron and iron based metals).
Use this miter saw to cut only wood, wood like
products or soft metals like aluminum. Other mate-
rial may shatter, bind on the blade, or create other
dangers.
CAUTION: When cutting any metals, sparks or hot
fragments could cause a fire. To reduce the risk of
this, disconnect any dust collecting bag or hose
from the miter saw, and remove all traces of wood
dust from inside dust traps in the miter saw.
• Do not wear loose clothing, gloves, neckties or jewelry
(rings, wrist watches) They can get caught and draw
you into moving parts.
5
Dress For Safety
Any power tool can throw foreign objects into the eyes.
This can result in permanent eye damage. Wear safety
goggles (not glasses) that comply with ANSI Z87.1 (or in
Canada CSA Z94-3-M88) shown on package. Everyday
eyeglasses have only impact resistant lenses. They are
not safety glasses. Safety goggles are available at many
local retail stores. Glasses or goggles not in compliance
with ANSI or CSA could seriously hurt you when they
break.
Do not wear loose clothing, gloves, neckties or jewelry
(rings, wrist watches) They can get caught and draw you
into moving parts.
• Wear nonslip footwear.
• Tie back long hair.
• Roll long sleeves above the elbow.
• Noise levels vary widely. To reduce the risk of possible
hearing damage, wear ear plugs or muffs when using
miter saw for hours at a time.
• For dusty operations, wear a dust mask along with
safety goggles.
Preparing to Make Cut
Inspect Your Workpiece. Make sure there are no nails
or foreign objects in the part of the workpiece to be cut.
Plan your work to reduce the risk of thrown pieces
caused when the workpiece binds on the blade and
is torn from your hands.
Plan the way you will hold the workpiece from start to fin-
ish.
Avoid awkward operations and hand positions where a
sudden slip could cause fingers or hand to move into the
blade.
Don’t Overreach. Keep good footing and balance.
Keep your face and body to one side of sawblade, out of
line with a possible thrown piece.
• Cut only one workpiece at a time.
Never cut Freehand:
• Brace your workpiece solidly against the fence and
table top so it will not rock or twist during the cut.
• Make sure there’s no debris between the workpiece
and its supports.
• Make sure no gaps between the workpiece, fence and
table will let the workpiece shift after it is cut in two.
• Keep the cut off piece free to move sideways after it's
cut off. Otherwise, it could get wedged against the
blade and thrown violently.
• Clear everything except the workpiece and related
support devices off the table before turning the miter
saw on.
•Secure Work. Use clamps or a vise to help hold the
work when it’s practical.
Use extra caution with large, very small or awkward
workpieces:
• Use extra supports (tables, saw horses, blocks, etc.)
for any workpieces large enough to tip when not held
down to the table top.
•Never use another person as a substitute for a table
extension, or as additional support for a workpiece that
is longer or wider than the basic miter saw table or to
help feed, support or pull the workpiece.
• Do not use this saw to cut pieces too small to let you
easily hold the work while you keep the thumb side of
your index (pointer) finger against the outside edge of
the fence.
• When cutting irregularly shaped workpieces, plan your
work so it will not slip and pinch the blade and be torn
from your hands. A piece of molding, for example,
must lie flat or be held by a fixture or jig that will not let
it twist, rock or slip while being cut.
• Properly support round material such as dowel rods, or
tubing. They have a tendency to roll while being cut,
causing the blade to "bite." To avoid this, always use a
fixture designed to properly hold your workpiece.
WARNING: If planning to cut aluminum or other
non-ferrous metals: Under adverse conditions, the
blade can grab and throw the workpiece suddenly
and unexpectedly. To reduce the risk of injury, fol-
low all applicable safety instructions, as you nor-
mally would, and:
• Use only sawblades specifically recommended
for non-ferrous metal cutting.
• Do not cut metal workpieces that must be hand
held. Use auxiliary clamps or other equipment as
needed.
• Cut non-ferrous metals only if you are experi-
enced or under the supervision of an experienced
person.
Table of contents
Other RIDGID Saw manuals

RIDGID
RIDGID R3210 User manual

RIDGID
RIDGID JOBMAX R8223412 User manual

RIDGID
RIDGID MS1065LZA User manual

RIDGID
RIDGID R4518 User manual

RIDGID
RIDGID 550 User manual

RIDGID
RIDGID R4231 User manual

RIDGID
RIDGID 614 User manual

RIDGID
RIDGID SP6263 User manual

RIDGID
RIDGID R4512 User manual

RIDGID
RIDGID R4516 User manual

RIDGID
RIDGID R8657 User manual

RIDGID
RIDGID R3203 User manual

RIDGID
RIDGID WTS2000L User manual

RIDGID
RIDGID R8643 User manual

RIDGID
RIDGID BS14002 User manual

RIDGID
RIDGID R45171 User manual

RIDGID
RIDGID R3100 User manual

RIDGID
RIDGID MS1250 User manual

RIDGID
RIDGID R8646 User manual

RIDGID
RIDGID R3400 User manual