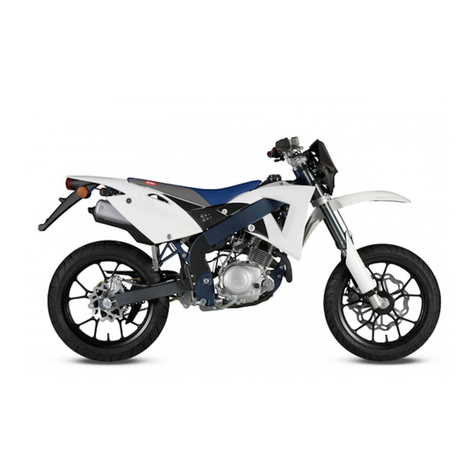
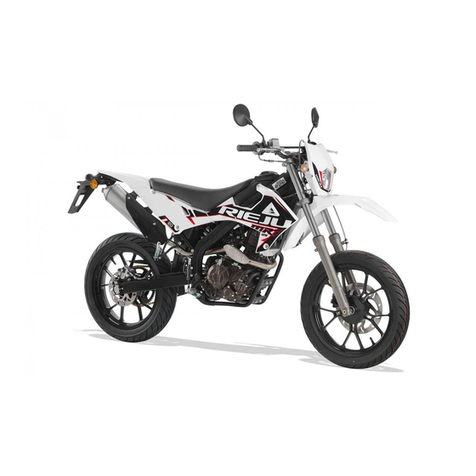
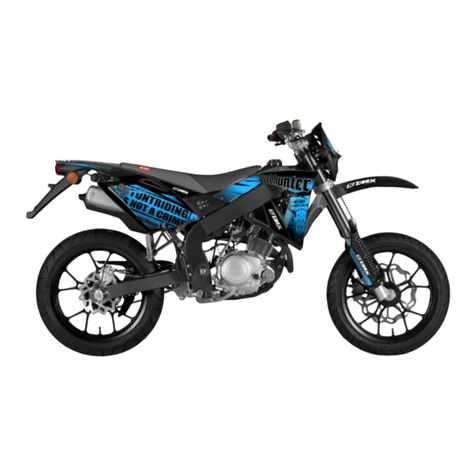
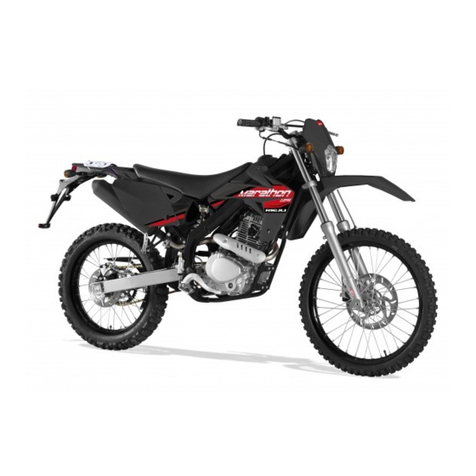
RIEJU MRT 50 EURO 5 User manual

MRT 50
EURO 5
MANUEL DE PROPRIEÉTAIRE
OWNER’S MANUAL
MANUAL DEL PROPIETARIO


…for everyday adventure
MRT 50 EURO 5 3
RIEJU S.A. is grateful for the confidence you have put in their company and would like to congratulate you on your
choice of motorbike.
The MRT 50 EURO 5 are the resulted of the long-term experience that RIEJU has had in competitions, which has led
to the development of a high performance vehicle.
The objective of this owner’s manual is to denote the use and maintenance of your vehicle, we ask you to read the
instructions and information that follow carefully.
We wish to remind you that the life of the vehicle depends on how it is maintained. Maintaining the vehicle in
perfect working condition reduces the cost of repair.
This manual has to be considered as an integrate component of the motorbike and must remain part of the basic
equipment, and handed over in the event of a change of vehicle ownership.
In the event of any problems, please consult the RIEJU dealer who will assist you or check our web
www.riejumoto.com.
Please remember that for your motorbike to perform correctly, you should always fit original spare parts.

…for everyday adventure
MRT 50 EURO 5 4
CONTENTS
MOTORBIKE DESCRIPTION 6
DELIVERY OF THE MOTORCYCLE 7
IDENTIFICATION OF THE MOTORBIKE 9
ENGINE IDENTIFICATION NUMBER 9
MAIN ELEMENTS OF THE MOTORBIKE 10
KEYS 10
HANDLE BAR SWITCHES 10
Indicator Switch 10
Horn button 11
Main and dip beam light switch 11
Cold start (CHOKE) 11
CLUTCH LEVER 12
FRONT BRAKE LEVER 12
REAR BRAKE PEDAL 12
GEAR BOX PEDAL 13
PETROL TANK 13
PETROL TAP 14
2T OIL TANK 15
ROUTINE TESTING 16
Front brake 16
Rear brake 17
Brake fluid level and brake pad wear 17
Throttle twist grip 18
Lights, indicators and warning lamps 18
Tyres 19
INSTRUMENT AND INDICATORS 20
Speedometer (Km/h and Mph) 20
Out of gear (Neutral) indicator 20
Temperature warning lamp 20
Engine alarm 20
Headlight Main beam warning light 21
Direction indicator warning lamp 21
Oil warning lamp 21
INSTRUMENT DESCRIPTION 22
ADJUST BUTTON FUNCTION INSTRUCTION 23
Selection miles 23
Use of trip 23
Total hour 24

…for everyday adventure
MRT 50 EURO 5 5
Hour meter 24
SELECT BUTTON FUNCTION INSTRUCTION 25
12 / 24 hours mode 25
Stopwatch 25
Speed record 26
TO ENTER THE SETTING MODE 27
Circumference and sensor point 27
Wheel diameter and pulses 28
Clock settings 29
Stop watch setup 30
Maintenance oil light setting 31
Backlight brightness setting 32
DASHBOARD TROUBLE SHOOTING 33
MOTORBIKE OPERATION 34
STARTING AND RIDING 34
RUNNING IN 35
ACCELERATION 35
TO BRAKE (SLOWING DOWN) 36
STOPPING 36
GEAR BOX PEDAL 36
CARBURETTOR 37
FRONT SUSPENSION 38
REAR SUSPENSION 38
COOLING SYSTEM 39
SPARK PLUG CHECK 40
CHECKING & FILLING THE ENGINE OIL LEVEL 41
CHAIN ADJUSTMENT AND TENSION 42
AIR FILTER 43
CLEANING AND STORAGE 45
CLEANING 45
LONG-TIME STORAGE 46
CHECKS BEFORE USING MOTORCYCLE 47
TECHNICAL SPECIFICATIONS & CHARACTERISTICS 48
MAINTENANCE 50

…for everyday adventure
MRT 50 EURO 5
MOTORBIKE DESCRIPTION
This motorbike has a 50c.c. single cylinder; liquid cooled four stroke motor. With a piston diameter of 40,3mm and it
has a 39,0 mm bore.
The motor has an electronic Ignition system, CDI and a high-tension coil. The Generator provides 120 Watts and 12
volts via a regulator to supply power for the bike electrics.
Engine power is delivered to final drive chain via a Multiple metal clutch with constant pressure springs, submerged
in an oil bath.
The engine is anchored to a highly resistant perimeter type chassis, with tapered steering bearings.
The front suspension in the MRT 50 consists of a hydraulic fork with bars, The rear suspension with variable
transmission consists of a shock absorber, on PRO models it is anchored to a progressive articulated rod system
(Progressive Racing System - PRS) which provides great operational smoothness with variable transmission also
incorporate a gas shock absorber.
The front and rear brakes use a disc made of stainless steel and radial callipers.
6

…for everyday adventure
MRT 50 EURO 5 7
DELIVERY OF THE MOTORCYCLE (PRE DELIVERY INSPECTION & HANDOVER)
USER MANUAL –very important this explains in detail the essential functions of the motorcycle, safe use and
important maintenance practices.
WARRANTY REGISTRATION –complete the necessary information, pass a copy to the owner, and return a copy
immediately to your RIEJU distributor.
OPERATION - Explain the functions & correct handling of the motorcycle.
WARNINGS - Explain the importance of warning labels to ensure a long life of the motorcycle.
KEYS - Deliver the full set and recommend making a note of the key item reference.
FIRST SERVICE - Explain the importance of the service at 500 km and the ongoing service schedule.
PERIODIC MAINTENANCE - Explain the need of the periodic maintenance and indicates that don’t do the correct
maintenance and services indicates can be cause to loose the warranty.

…for everyday adventure
MRT 50 EURO 5 8
DELIVERY OF THE MOTORCYCLE (PRE DELIVERY INSPECTION & HANDOVER)
ADJUSTMENTS :
MIRRORS - Set to the correct position for the user.
CLUTCH LEVER - Adjust to suit.
REAR BRAKE LEVER ADJUSTMENT - Adjust to the correct height for the user.
GEAR LEVER ADJUSTMENT- Adjust to the correct height for the user.
WARNING: Changes on the bike don’t authorized by RIEJU, or use of parts that don’t are ORIGINAL SPARE
PARTS from RIEJU on the warranty period. Release RIEJU from any responsibility on the damages produce on
the bike and cancel the warranty.

…for everyday adventure
MRT 50 EURO 5 9
IDENTIFICATION OF THE MOTORBIKE
On the chassis you will find your motorbike's identification number
engraved
The number is stamped on the right hand side of the front frame
(Steering head.) is unique to every machine. This number is required
to register your vehicle, this chassis or VIN number should be quoted
when requesting warranty assistance or genuine Rieju spare parts.
ENGINE IDENTIFICATION NUMBER
The engine serial number is located on the top, left side bottom of
the left crankcase.
The engine number will serve as a reference when requesting spare
parts from the dealership.

…for everyday adventure
MRT 50 EURO 5 10
MAIN ELEMENTS OF THE MOTORBIKE
KEYS
With this model, you will be given a set of keys, which are used for
the Ignition switch/Steering lock.
HANDLE BAR SWITCHES
1-. Indicator Switch
This has 3 positions: in the centre position it is deactivated, to
indicate right it must be moved to the right and to indicate left it
must be moved to the left.
NOTE: Note that the button always returns to the central
position, to switch off the direction indicators push button.
1 3
2
4

…for everyday adventure
MRT 50 EURO 5
2-. Horn button
Press the button to activate the horn.
3-. Main and dip beam light switch
This switch has two positions: when it’s down the dip beam is on and in the upper position the main beam is
illuminated.
This model incorporates a bulb of 12V35/35W H4 for light of main and dip beam and of 12V 5W for position light.
CAUTION: Use other type of bulb or change of power of it can cause damages on the optics of the vehicle.
This type of fault is exempt from warranty.
4-. Cold start (CHOKE)
When the motor is cold, the choke lever should be placed in the ON position.
WARNING: Once the motor has reached it’s normal working temperature, return the choke lever go back to
it’s original position, otherwise it could cause the motor to misfire.
11

…for everyday adventure
MRT 50 EURO 5 12
CLUTCH LEVER
The clutch lever is situated on the left-hand side of the handlebar. To
activate it, pull the lever towards the grip or handlebar.
FRONT BRAKE LEVER
The front brake lever is situated on the right-hand side of the
handlebar. To activate the front brake, pull the lever towards the
handlebar.
REAR BRAKE PEDAL
The rear brake pedal is on the right-hand side of the motorbike. To
activate it, press downwards with the food.

…for everyday adventure
MRT 50 EURO 5 13
GEAR BOX PEDAL
This is situated underneath the left part of the motor, it is activated
with the foot taking it all the way and then letting it go back to its’
original position before changing gear again. To put the motorbike
into first gear, the pedal has to be pressed downwards. To change the
other gears, lift the lever upwards with the toe.
PETROL TANK
To get to the tank, open it using the stop- per of the tank, turning it
anti-clockwise.
The capacity of the tank is 6 liters.
CAUTION: Use only Unleaded petrol E5, without oil, the use of
another type of fuel can damage the engine and this damages
will not be considered as warranty.

…for everyday adventure
MRT 50 EURO 5 14
PETROL TAP
The petrol tap is situated on the left-hand side of the vehicle, under
the fuel tank. It has three positions :
OFF: With the lever in this position, the fuel will not go through. Put
the lever in this position when the motor is not running when parked
and garaged.
ON:With the lever in this position, the fuel goes to the carburettor.
Normal driving is done with the lever in this position.
RES: this position is RESERVE. If you run out of fuel while you are
driving with the lever in the "ON" position, turn the lever to this
position. Fill the tank as soon as possible, then it is important to
remember to turn the lever back to "ON“.
TIP: Do not drive normally in RESERVE position as you could
run out of petrol.

…for everyday adventure
MRT 50 EURO 5 15
2T OIL TANK
Situated on the left-hand side of the vehicle, in front of the petrol
tank, at the same height as the radiator, to get to it, unscrew the top
and fill up with oil. The capacity of the tank is 1,2 liters.
CAUTION: We must never let it get empty of oil, otherwise it
would be necessary to bleed the oil pump to remove any air. If
the motorcycle has no oil left, the motor would seize up
immediately with serious technical and costly consequences
for the user. This damages will not be considered as warranty.
TIP: Engine is optimized to use 2T semi-synthetic oil. RIEJU
recommends use GRO MIX 3

…for everyday adventure
MRT 50 EURO 5 16
ROUTINE TESTING
Front brake
Pulling in the front brake lever operates the front brake by pumping
brake fluid from the master cylinder to the front brake calliper. The
brake pads are pushed by the calliper pistons against the front disc.
Slowing the bike down.
The braking surface of the disc should be free of oil and dirt to
ensure maximum braking efficiency. If for any reason the master
cylinder is empty of brake fluid after checking for pad wear it should
be topped up as necessary. If there is air in the system the brakes will
need to be bled.
WARNING: Bled the baking system will do by one professional,
Rieju recommend do this operation by your official RIEJU
dealer.

…for everyday adventure
MRT 50 EURO 5 17
Rear brake
Periodically check the brake fluid level in the reservoir situated on
top of the rear brake master cylinder and under the rear right hand
panel, to top up.
CAUTION: If the reservoir is empty please go to your official
RIEJU dealer.
Brake fluid level and brake pad wear
Check that the level of brake fluid is correct, if not, Check for brake
pad wear. If the pad material is less than 2mm thick, the pads should
be replaced. If the pads are not worn out, top up the brake reservoir
with brake fluid.
WARNING: Brake fluid is corrosive and will damage paintwork,
if spilt wash off with water immediately.
TIP: Always remember that the above must be carried out by a
RIEJU official service.

…for everyday adventure
MRT 50 EURO 5 18
Throttle twist grip (1)
Ensure it works correctly, by turning the grip and verifying if the free
play is correct. The grip should return to closed position when
released.
Lights, indicators and warning lamps
Check operation of all lights, and direction indicators plus the oil
warning lamp and petrol reserve panel lights. Replace bulbs as
necessary. 1

…for everyday adventure
MRT 50 EURO 5 19
Tyres
The tyre pressure directly effect the road holding ride comfort and
braking distance, the, therefore check the tyre pressures regularly for
your own safety.
ADVICE: Make sure that the rim is central and not damaged, as
well as the wear on the tyres. Do not overload the vehicle as
this will effect stability, and increases tyre wear.
CAUTION: when the pressure is very high, the tyres can no
longer absorb any shocks, transmitting any road sur- face
defects directly to the chassis, handlebar and rider.
PRESSURES
TYRE FRONT REAR
Off-road 1,7 Kg/Cm21,8 Kg/Cm2
Super
Motard 2,2 Kg/Cm22,4 Kg/Cm2

…for everyday adventure
MRT 50 EURO 5
increase in engine running temperature due to an engine fault or a low level of cooling liquid in the radiator.
ATTENTION: Do not use the bike with this warning light on, as this may cause serious damage to the engine,
consult your RIEJU dealer as soon as possible.
4.- Engine alarm ( )
The orange indicator lights blink when system found a misfire.
ATTENTION: consult your RIEJU dealer as soon as possible.
20
INSTRUMENT AND INDICATORS
1.- Speedometer (Kmh and Mph)
2.- Out of gear (Neutral) indicator ( )
This light comes on when the gear change lever is in the neutral (N)
position, that is to say, out of gear.
3.- Temperature warning lamp ( )
This light is very important as it can tell us if there is an excessive
12
3
4
Table of contents
Other RIEJU Motorcycle manuals

RIEJU
RIEJU MRT 125 LC User manual

RIEJU
RIEJU Marathon 125 PRO User manual

RIEJU
RIEJU Marathon 125 PRO User manual

RIEJU
RIEJU Marathon 450 User manual

RIEJU
RIEJU MRT 50 EURO 4 User manual

RIEJU
RIEJU RS3 50 User manual

RIEJU
RIEJU TANGO 125 User manual

RIEJU
RIEJU MR 300 User manual
RIEJU
RIEJU CENTURY 125IE User manual

RIEJU
RIEJU TANGO 125 User manual
RIEJU
RIEJU MRT 50 User manual

RIEJU
RIEJU MARATHON 125 AC User manual

RIEJU
RIEJU TANGO 125 User manual

RIEJU
RIEJU MRT 125 AC EURO 4 User manual

RIEJU
RIEJU RS3 Naked 50 User manual

RIEJU
RIEJU MRX 125 User manual

RIEJU
RIEJU KOSO User manual

RIEJU
RIEJU MARATHON 250 User manual
RIEJU
RIEJU tango 50 User manual

RIEJU
RIEJU Tango 125 E4 User manual