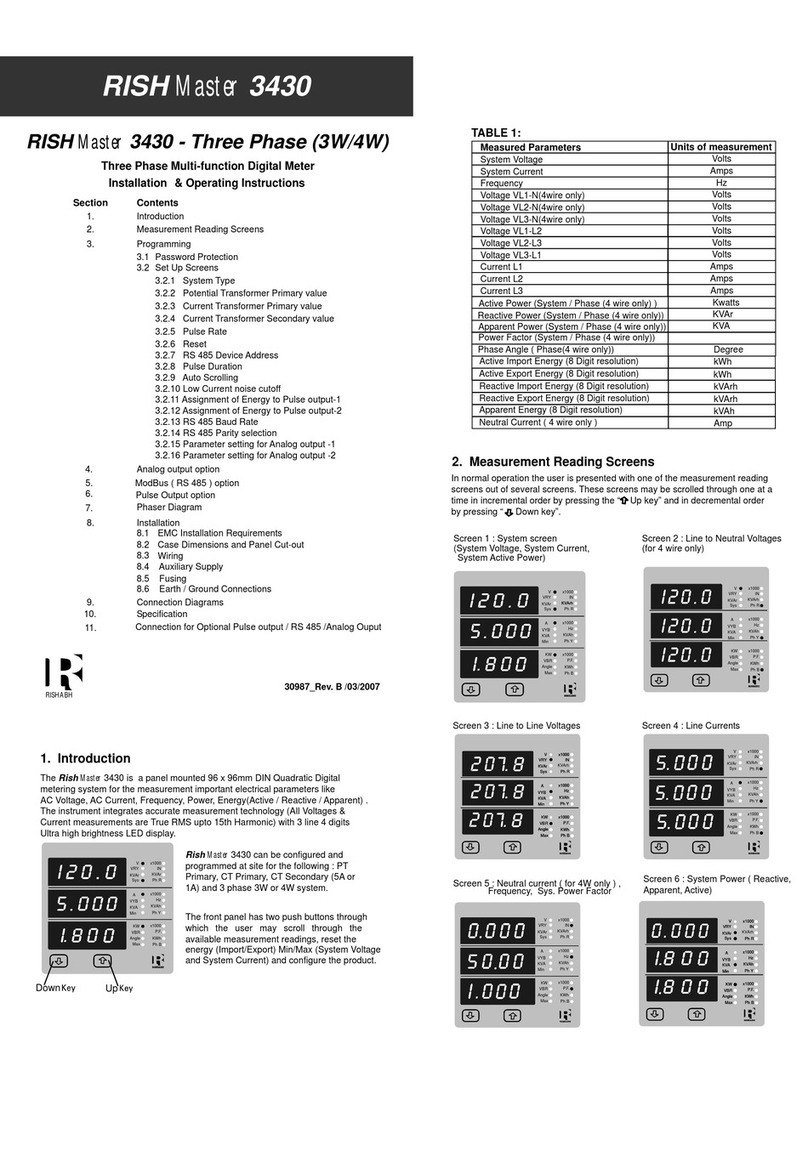
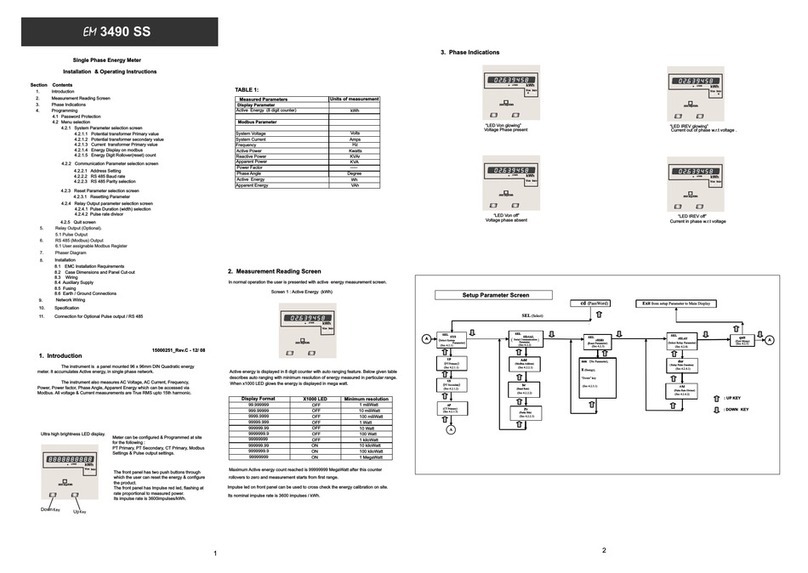
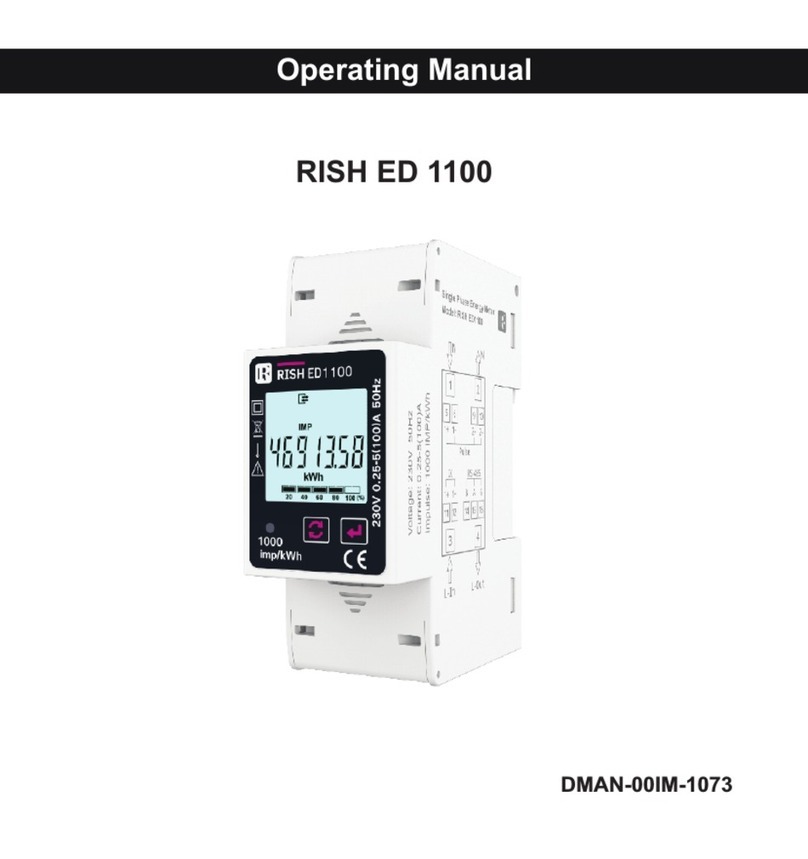
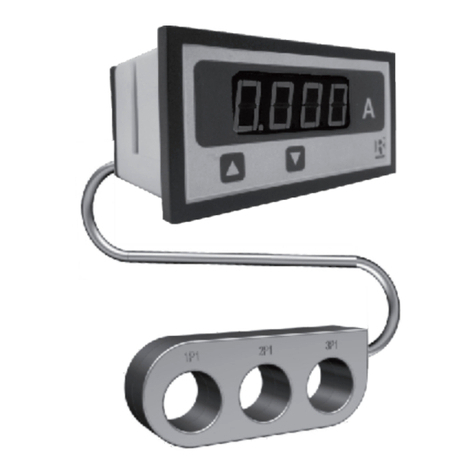
Rish OPTIMA VAF User manual

RISH OPTIMA VAF
Operating Manual
2-60-006-00-00511_Rev. B - 9/2023

Installation & Operating Instructions
DIGITAL MULTIFUNCTION INSTRUMENT
Programmable Multi-function Digital Panel Meter
Section Contents
1. Introduction
2. Measurement Reading Screens
3. Programming
3.1 Password Protection
3.2 Set Up Screens
3.2.1 System Type
3.2.2 Potential Transformer Primary value
3.2.3 Current Transformer Primary value
3.2.4 Potential Transformer Secondary value
3.2.5 Current Transformer Secondary value
3.2.6 Reset
3.2.7 Auto Scrolling
3.2.8 Number of poles
3.2.9 Relay Limit Parameter (Optional)
2

6. Optional Pluggable Module
4. Installation
4.1 EMC Installation Requirements
4.2 Case Dimensions and Panel Cut-out
4.3 Wiring
4.4 Auxiliary Supply
4.5 Fusing
4.6 Earth / Ground Connections
5. Connection Diagrams
Specification
7.
3

TABLE 1: Measured Parameters System Wise:
Measured Parameters
System Voltage
System Current
Frequency
Voltage VL1-N / VL2-N / VL3-N
Voltage VL1-L2 / VL2-L3 / VL3-L1
Current L1 / L2 / L3
Units
Volts
Amps
Hz
Volts
Volts
Volts
Run Hour
On Hour
Number of Interruptions
Hours
Hours
Counts
3P 4W 3P 3W 1P 2W
üü
üü
ü
ü
û
û
ü
ü
ü
üü
üüû
ü
ü ü ü
üüü
üü ü
û
Min / Max System Voltage
Min / Max System Current
Volts
Amps
ü
ü
ü ü
üü
1. INTRODUCTION
The VAF is a panel mounted 96 x 96mm DIN Quadratic Digital Panel Meter for the measurement of
important electrical parameters like AC Voltage, AC Current, RPM, Frequency.
The instrument integrates accurate measurement technology (All Voltages & current measurements
are True RMS upto 15th Harmonic) with 3 line 3 digits Ultra high bright LED display.
VAF can be congured and Programmed On site for the following :
PT Primary, PT Secondary, CT Primary, CT Secondary (5A or 1A)
and System Type 3 phase 3W or 4W or single phase system.
The front panel has two push buttons using which the user can scroll
through different screens and congure the product.
L3-L1
L2-L3
Hz x1000
L1-L2
Volt x1000
L3
L1
L2 Ax1000
UP
DOWN
2. MEASUREMENT READING SCREENS
In normal operation, the user is presented with one of the measurement reading screens out of
several screens. These screens may be scrolled through one at a time in incremental order by
pressing the “UP key” and in decremental order by pressing “DOWN key”.
4

3. Programming
3.1. Password Protection
The following sections comprise step by step procedures for conguring the VAF for individual user
requirements. To access the set-up screens press and hold the “DOWN” and “UP” keys
Simultaneously. This will take the User into the Password Entry screen (Section 3.1).
In Setup mode, if none of the key pressed within 1 min, it will returns operation to the measurement
mode.
Password protection can be enabled to prevent unauthorized access to set-up screens, by default
password protection is not enabled.
Password protection is enabled by selecting a three digit number other than 000,setting a password
of 000 disables the password protection.
Enter Password, prompt for rst digit.
(* Denotes that decimal point will be ashing).
Press the “DOWN” key to scroll the value of the rst digit from 0 through
to 9, the value will wrap from 9 round to 0.
Press the “UP” key to advance to next digit.
In the special case where the Password is “000” pressing the “UP” key
when prompted for the rst digit will advance to the “Password
Conrmed” screen.
L3-L1
L2-L3
Hz x1000
L1-L2
Volt x1000
L3
L1
L2 Ax1000
*
5

Enter Password, third digit entered, Awaiting verication of password.
Password conrmed.
Pressing “V” key will advance to the “New / change Password” entry
stage.
Pressing the “UP” key will advance to the system type edit screen. (See
section 3.2).
Enter Password, rst digit entered, prompt for second digit.(* Denotes
that decimal point will be ashing).
Press the “DOWN” key to scroll the value of the second digit from 0
through to 9, the value will wrap from 9 round to 0.
Press the “UP” key to advance to next digit.
L3-L1
L2-L3
Hz x1000
L1-L2
Volt x1000
L3
L1
L2 Ax1000
L3-L1
L2-L3
Hz x1000
L1-L2
Volt x1000
L3
L1
L2 Ax1000
*
L3-L1
L2-L3
Hz x1000
L1-L2
Volt x1000
L3
L1
L2 Ax1000
*
Enter Password, second digit entered, prompt for third digit.(* Denotes
that decimal point will be ashing).
Press the “DOWN” key to scroll the value of the third digit from 0 through
to 9, the value will wrap from 9 round to 0.
Press the “UP” key to advance to password conrmation screen.
6

New / Change Password, rst digit entered, prompting for second
digit.(*Decimal point indicates that this will be ashing).
Pressing the “DOWN” key will scroll the value of second digit from 0
through to 9, the value will wrap from 9 round to 0.
Pressing the “UP” key to advance the operation to the Next digit and
sets the rst digit, in this case to “5”
Password Incorrect.
The unit has not accepted the Password entered.
Pressing the “DOWN” key will return to the Enter Password stage.
Pressing the “UP”key exits the Password menu and returns operation to
the measurement reading mode.
L3-L1
L2-L3
Hz x1000
L1-L2
Volt x1000
L3
L1
L2 Ax1000
New / Change Password
(*Decimal point indicates that this will be ashing).
Pressing the “DOWN” key will scroll the value of the rst Digit from 0
through to 9, the value will wrap from 9 round to 0.
L3-L1
L2-L3
Hz x1000
L1-L2
Volt x1000
L3
L1
L2 Ax1000
*
L3-L1
L2-L3
Hz x1000
L1-L2
Volt x1000
L3
L1
L2 Ax1000
*
7

This screen is used to edit and set the system type. System type ”3” for 3
phase 3 wire & “4” for 3 phase 4 wire & 1 for Single phase system.
Pressing “UP” key accepts present value and advances to the “Potential
transformer Primary Value Edit” menu.
Pressing “DOWN” Key will enter the System type edit mode.
New / Change Password, second digit entered, prompting for third digit.
(*decimal point indicates that this will be ashing).
Pressing the “DOWN” key will scroll the value of the third from 0 through
to 9, the value will wrap from 9 round to 0.
Pressing the “UP” key to advance the operation to “New Password
Conrmed” and sets the third digit, in this case to “7”.
New Password conrmed.
Pressing the “DOWN” key will return to the “New/Change Password”.
Pressing the “UP” key will advances to the Set up screen.(see section
3.2).
L3-L1
L2-L3
Hz x1000
L1-L2
Volt x1000
L3
L1
L2 Ax1000
3.2 Set Up Screens
3.2.1. System Type
*
L3-L1
L2-L3
Hz x1000
L1-L2
Volt x1000
L3
L1
L2 Ax1000
L3-L1
L2-L3
Hz x1000
L1-L2
Volt x1000
L3
L1
L2 Ax1000
8

PT ratios, the values displayed represent the voltage.
Pressing the “UP” key accepts the present value and advances to the
“Current Transformer Primary value Edit” menu. (See Section 3.2.3)
Pressing the “DOWN” key will enter the “Potential transformer Primary
value edit mode.
System Type Edit
This screen appears only if “DOWN” key is pressed in previous Menu.
Pressing “DOWN” scrolls through the values available.
Pressing “UP” Key advances to the system type Conrmation menu.
3.2.2. Potential Transformer Primary Value
System Type Conrmation
This screen will only appear following the edit of system type.
Pressing the “UP” key set the displayed value as system Type and will
advance to “Potential Transformer Primary Value Edit” menu. (See
section 3.2.2)
The nominal full scale voltage which will be displayed as the Line to Line voltage for all system types.
This screen enables the user to display Line to Line and Line to neutral Voltages inclusive of any
L3-L1
L2-L3
Hz x1000
L1-L2
Volt x1000
L3
L1
L2 Ax1000
L3-L1
L2-L3
Hz x1000
L1-L2
Volt x1000
L3
L1
L2 Ax1000
L3-L1
L2-L3
Hz x1000
L1-L2
Volt x1000
L3
L1
L2 Ax1000
9

Note : The ashing decimal point indicates the cursor position, a steady decimal point will be present
to identify the scaling of the number until the cursor position coincides with the steady decimal point
position. At this stage the decimal point will ash.
When the least signicant digit has been set, pressing the “UP” key will advance to the “Potential
transformer Primary Value Conrmation” stage.
Potential Transformer Primary Digit Edit
Pressing the “DOWN” key will scroll the value of the most signicant digit
from 0 to 9 unless the presently displayed Potential Transformer Primary
value is less than 799 kilovolts in that case the digit range will be
restricted.
Pressing the “UP” key accepts the present value at the cursor position
and advances the cursor to the next Less signicant digit.
Initially the PT value must be selected pressing the “DOWN” key will move the decimal point position
to the right side until it reaches # # #. after which it will return to #. # # with x1000 annunciation.
Pressing the “UP” key accepts the present multiplier (Decimal Point position ) with x1000 annunciation
and advances to the “Potential Transformer Primary Digit Edit” Screen.
Note : PT Values must be set as Line to Line Voltage for Primary as well as Secondary for all
system types (3P3W/3P4W/1P2W).
*
L3-L1
L2-L3
Hz x1000
L1-L2
Volt x1000
L3
L1
L2 Ax1000
10

Screen showing display of 11.0 k VL-L i.e. 11000 Volts Line to Line indicating steady decimal point
and cursor ashing at the “hundreds of volts” position as shown below.
Pressing the “DOWN” key will enter the “Current Transformer Primary
Value Edit” mode. Pressing the “UP” key will accept the present value
And Advances to the “Potential Transformer Secondary Value edit screen
(See section 3.2.4).
Further functionality is same as per Potential Transformer Primary
Value (section 3.2.2 ).
3.2.3. Current Transformer Primary Value
The nominal full Scale Current that will be displayed as the Line currents. This
screen enables the user to display the Line currents inclusive of any current
transformer ratios, the values displayed represent the Current in Amps or in kAmps
when x1000 led is glows.
Pressing the “UP” key sets the displayed value and will advance to the Current
Transformer Primary Value. (See section 3.2.3.)
Potential Transformer Primary Value Conrmation
This screen will only appear following an edit of the
Potential Transformer Primary Value.
If the set value is to be corrected, pressing the “DOWN” key
will return to the “Potential Transformer Primary value Edit”
stage.
L3-L1
L2-L3
Hz x1000
L1-L2
Volt x1000
L3
L1
L2 Ax1000
L3-L1
L2-L3
Hz x1000
L1-L2
Volt x1000
L3
L1
L2 Ax1000
11

PT Secondary value conrmation.
This screen will only appears following an edit of PT secondary value.
If secondary value shown is not correct, pressing the “DOWN” key will
return to PT secondary edit stage.
Pressing “UP” key sets the displayed value and will advance to CT
Secondary Value Edit menu. (See section 3.2.5)
This screen is used to set the secondary value for Potential Transformer
Secondary value from 100V to 500VL-L.
Pressing “UP” key accepts the present value and then advances to
Current Transformer Secondary value edit mode.
Pressing the “DOWN” key will enter the PT secondary value edit mode.
* Denotes that Decimal Point will be ashing.
3.2.4. Potential Transformer Secondary Value
Potential Transformer secondary value Edit
Pressing “DOWN” Key advances the Most Signicant Digit To scroll from
1 through 5 .Pressing “UP” Key shifts the Decimal Position to right.
When value of least signicant Digit is set, Pressing of “UP” key
advances the screen to “PT secondary value Conrmation” screen.
L3-L1
L2-L3
Hz x1000
L1-L2
Volt x1000
L3
L1
L2 Ax1000
*
L3-L1
L2-L3
Hz x1000
L1-L2
Volt x1000
L3
L1
L2 Ax1000
L3-L1
L2-L3
Hz x1000
L1-L2
Volt x1000
L3
L1
L2 Ax1000
12

CT Secondary value conrmation.
This screen will only appears following an edit of CT secondary value.
If secondary value shown is not correct, pressing the “DOWN” key will
return to CT secondary edit stage.
Pressing “UP” key sets the displayed value and will advance RESET
menu (See section 3.2.5)
This screen is used to set the secondary value for Current Transformer
Secondary value from 1 and 5 Amperes.
Pressing “UP” key accepts the present value and then advances to
RESET menu..
Pressing the “DOWN” key will enter the CT secondary value edit mode.
3.2.5. Current Transformer Secondary Value
Current Transformer secondary value Edit
Pressing “DOWN” key scroll the value between 1 and 5.
Pressing “UP” key will enter the CT Secondary Value
Confirmation menu.
*
L3-L1
L2-L3
Hz x1000
L1-L2
Volt x1000
L3
L1
L2 Ax1000
*
L3-L1
L2-L3
Hz x1000
L1-L2
Volt x1000
L3
L1
L2 Ax1000
L3-L1
L2-L3
Hz x1000
L1-L2
Volt x1000
L3
L1
L2 Ax1000
13

Conrmation of parameter for RESET
Pressing “DOWN” will enter reset menu back and scroll etween
parameters as above.
Pressing “UP” key will Reset the Selected Parameter. In this case hour
parameters will get reset.Then it will enter to auto scrolling or xed
screen selection parameter.
The following screens allow the users to reset the run hour, ON Hour, No.
Of Interruptions, Min and Max. Values of Voltage and Current.
Pressing the “DOWN” key will enter the “Reset edit” menu.
Pressing the “UP” key will Reset None and enter to screen Auto of xed
selection menu.
3.2.6. Reset
Edit the Reset of Parameters
Pressing “DOWN” will scroll the parameters in sequence as Follow :
1. All : To reset All parameters, 2. Hi : To reset Max values,
3. Lo : To reset min. Values, 4. Hr : To reset Run Hrs, On Hrs,
5. Int : To reset No. Of Interruptions,
6. None : No to reset any of the Parameters,
Select the Correct parameter to Reset and then Press “UP” key. This will
enter to Reset Parameter Conrmation Screen.
L3-L1
L2-L3
Hz x1000
L1-L2
Volt x1000
L3
L1
L2 Ax1000
L3-L1
L2-L3
Hz x1000
L1-L2
Volt x1000
L3
L1
L2 Ax1000
L3-L1
L2-L3
Hz x1000
L1-L2
Volt x1000
L3
L1
L2 Ax1000
14

Conrmation of Auto Scrolling / Fixed Screen
Pressing “DOWN” key enter back to edit menu.
Pressing “UP” key conrms the selection and enters Number of poles
selection menu.
This menu allow to select scrolling or xed screen.
Pressing “UP” key enters conrmation of Fixed Screen.
Pressing of “DOWN” key enters to Edit menu.
Fixed Screen / Auto Scrolling Edit.
Pressing of “DOWN” key Rolls between “Yes” and “No”.
Pressing “UP” key enters Auto scrolling / xed screen select conrmation.
3.2.7 Screen Auto scrolling / Fixed Screen selection
L3-L1
L2-L3
Hz x1000
L1-L2
Volt x1000
L3
L1
L2 Ax1000
L3-L1
L2-L3
Hz x1000
L1-L2
Volt x1000
L3
L1
L2 Ax1000
L3-L1
L2-L3
Hz x1000
L1-L2
Volt x1000
L3
L1
L2 Ax1000
15

No. of Poles Conrmation
Pressing “DOWN” key enters back to No. of poles edit menu.
Pressing “UP” key sets the number on screen, 4 in this case, as number
of poles of generator and advanced to Relay limit parameter selection
screen (see section 3.2.9).
This screen enables to set No. of poles on a Generator of which RPM is
to be measured and to which the instrument is connected to measure its
output parameters.
Pressing “DOWN” key enters into no. of pole edit menu.
Pressing “UP” key will set the displayed number as No. of poles. Then it
advanced to Relay limit parameter selection screen (see section 3.2.9).
3.2.8 No. of Poles Selection :
No. of Poles edit
Pressing “DOWN” key scrolls the number from 02 to 40 in step of 2.
After 40 it wraps to the number again 02.
Pressing “UP” key enters into No. of poles Conrmation screen.
L3-L1
L2-L3
Hz x1000
L1-L2
Volt x1000
L3
L1
L2 Ax1000
L3-L1
L2-L3
Hz x1000
L1-L2
Volt x1000
L3
L1
L2 Ax1000
L3-L1
L2-L3
Hz x1000
L1-L2
Volt x1000
L3
L1
L2 Ax1000
16

Trip parameter conrmation screen.
This screen will appear only after parameter edit.
Pressing “DOWN” key will re-enter the parameter selection menu.
Pressing “UP” key will set the parameter for relay trip and then it will
enter the trip point selection menu.
This screen enables user to select Parameter for limit monitoring via a
Relay.
Pressing “UP” key selects the displayed parameter for monitoring and
enters trip point selection screen.
Pressing “DOWN” key enters Trip parameter edit screen.
3.2.9 Relay Limit Parameter selection (Optional)
Trip parameter edit screen
Pressing “DOWN” key scrolls the parameters one by one as per table 2.
Selecting 00(None) disables relay function.
Pressing “UP” key selects the parameter and enters the Trip parameter
conrmation screen.In this case displayed number 10 will select VL1-L2
For relay monitoring as per table 2.
L3-L1
L2-L3
Hz x1000
L1-L2
Volt x1000
L3
L1
L2 Ax1000
L3-L1
L2-L3
Hz x1000
L1-L2
Volt x1000
L3
L1
L2 Ax1000
L3-L1
L2-L3
Hz x1000
L1-L2
Volt x1000
L3
L1
L2 Ax1000
17

Trip point selection
This screen will not appear if parameter None (00) is Selected in previous
menu. The trip point can be set as % of the Nominal value of
selected parameter (Refer Table 2).
Pressing “DOWN” key will enter trip point edit screen.
Pressing “UP” key will set displayed value as trip point and exit set up.
Further Functionality is same as Potential Transformer Secondary value
(see section 3.2.4)
TABLE 2 : Parameters for limit monitoring
Parameter
00
01
02
03
04
05
06
07
10
11
12
13
14
No.
3P4W 3P3W 1P2W
Trip point
—
X
X
X
X
X
X
X
X
X
X
X
X
10 - 120%
10 - 120%
10 - 120%
10 - 120%
10 - 120%
10 - 120%
10 - 100%
10 - 120%
10 - 120%
10 - 120%
10 - 120%
10 - 120%
Measured Parameters
None
Voltage L1
Voltage L2
Voltage L3
Current L1
Frequency
Voltage VL1-L2
Current L2
Current L3
Voltage VL2-L3
Voltage VL3-L1
System Current
System Voltage
Set range
Vnom (L-N)
100%
—
Inom
Inom
Inom
(1)
66Hz
Vn (L-L)
Vn (L-L)
Vn (L-L)
(2)
Vnom
Inom
Value
Vnom (L-N)
Vnom (L-N)
Note : (1) For Frequency 10% corresponds to 45Hz and 100% corresponds to 66Hz.
(2) For 3P 4wire and 1ph the nominal value is V and that for 3P3W is V .
L-N L-L
(3) Nominal Value is to be considered with set CT/ PT Primary values.
(4) For single phase L1 Phase values are to be considered as System values.
*
L3-L1
L2-L3
Hz x1000
L1-L2
Volt x1000
L3
L1
L2 Ax1000
18

4. Installation
Caution:
1. In the interest of safety and functionality this product must be installed by a qualied
engineer, abiding by any local regulations.
2. Voltages dangerous to human life are present at some of the terminal connections of this
unit. Ensure that all supplies are de-energised before attempting any connection or
disconnection.
3. These products do not have internal fuses therefore external fuses must be used to ensure
safety under fault conditions.
Retention clip for
easy mounting
Panel
Swivel screw
Mounting of VAF is featured with easy “Clip- in”
mounting. Push the meter in panel slot (size 92 x92
mm), it will click t into panel with the four integral
retention clips on two sides of meter.
If required Additional support is provided with swivel
screws (optional) as shown in gure.
The front of the enclosure conforms to IP50.
Additional protection to the panel may be obtained by
the use of an optional panel gasket. The terminals at
the rear of the product should be protected from
liquids.
The VAF should be mounted in a reasonably stable ambienttemperature and where the operating
temperature is within the range -10° to 55°C . Vibration should be kept to a minimum and the
product should not be mounted where it will be subjected to excessive direct sunlight.
19

This product has been designed to meet the certication of the EU directives when installed to a
good code of practice for EMC in industrial environments.
e.g. screened output and low signal input leads or have provision for tting RF suppression
components, such as ferrite absorbers, line lters etc., in the event that RF elds cause problems.
Note: It is good practice to install sensitive electronic instruments that are performing critical
functions, in EMC enclosures that protect against electrical interference which could cause a
disturbance in function.
Avoid routing leads alongside cables and products that are, or could be, a source of interference.
To protect the product against permanent damage, surge transients must be limited to 2kV pk. It is
good EMC practice to suppress differential surges to 2kV at the source. The unit has been
designed to automatically recover in the event of a high level of transients.In extreme circumstances
it may be necessary to temporarily disconnect the auxiliary supply for a period of greater than 5
seconds to restore correct operation.
The Current inputs of these products are designed for connection in to systems via Current
Transformers only, where one side is grounded.
ESD precautions must be taken at all times when handling this product.
4.1 EMC Installation Requirements
20
Table of contents
Other Rish Measuring Instrument manuals
Popular Measuring Instrument manuals by other brands

Extech Instruments
Extech Instruments ExStik FL700 user guide

LaserLiner
LaserLiner LaserRange-Master i2 manual

TESTO
TESTO 610 instruction manual

Thermo Scientific
Thermo Scientific Eutech COND 6+ Operation instructions

Hanna Instruments
Hanna Instruments HI97714 instruction manual

XFtp
XFtp TR-3 Operation manual