page 3 RITRON, INC. 1-800-USA-1-USA
(1-800-872-1872)
Have questions? Call
800-USA-1-USA
(800-872-1872) or visit our website at www.ritron.com
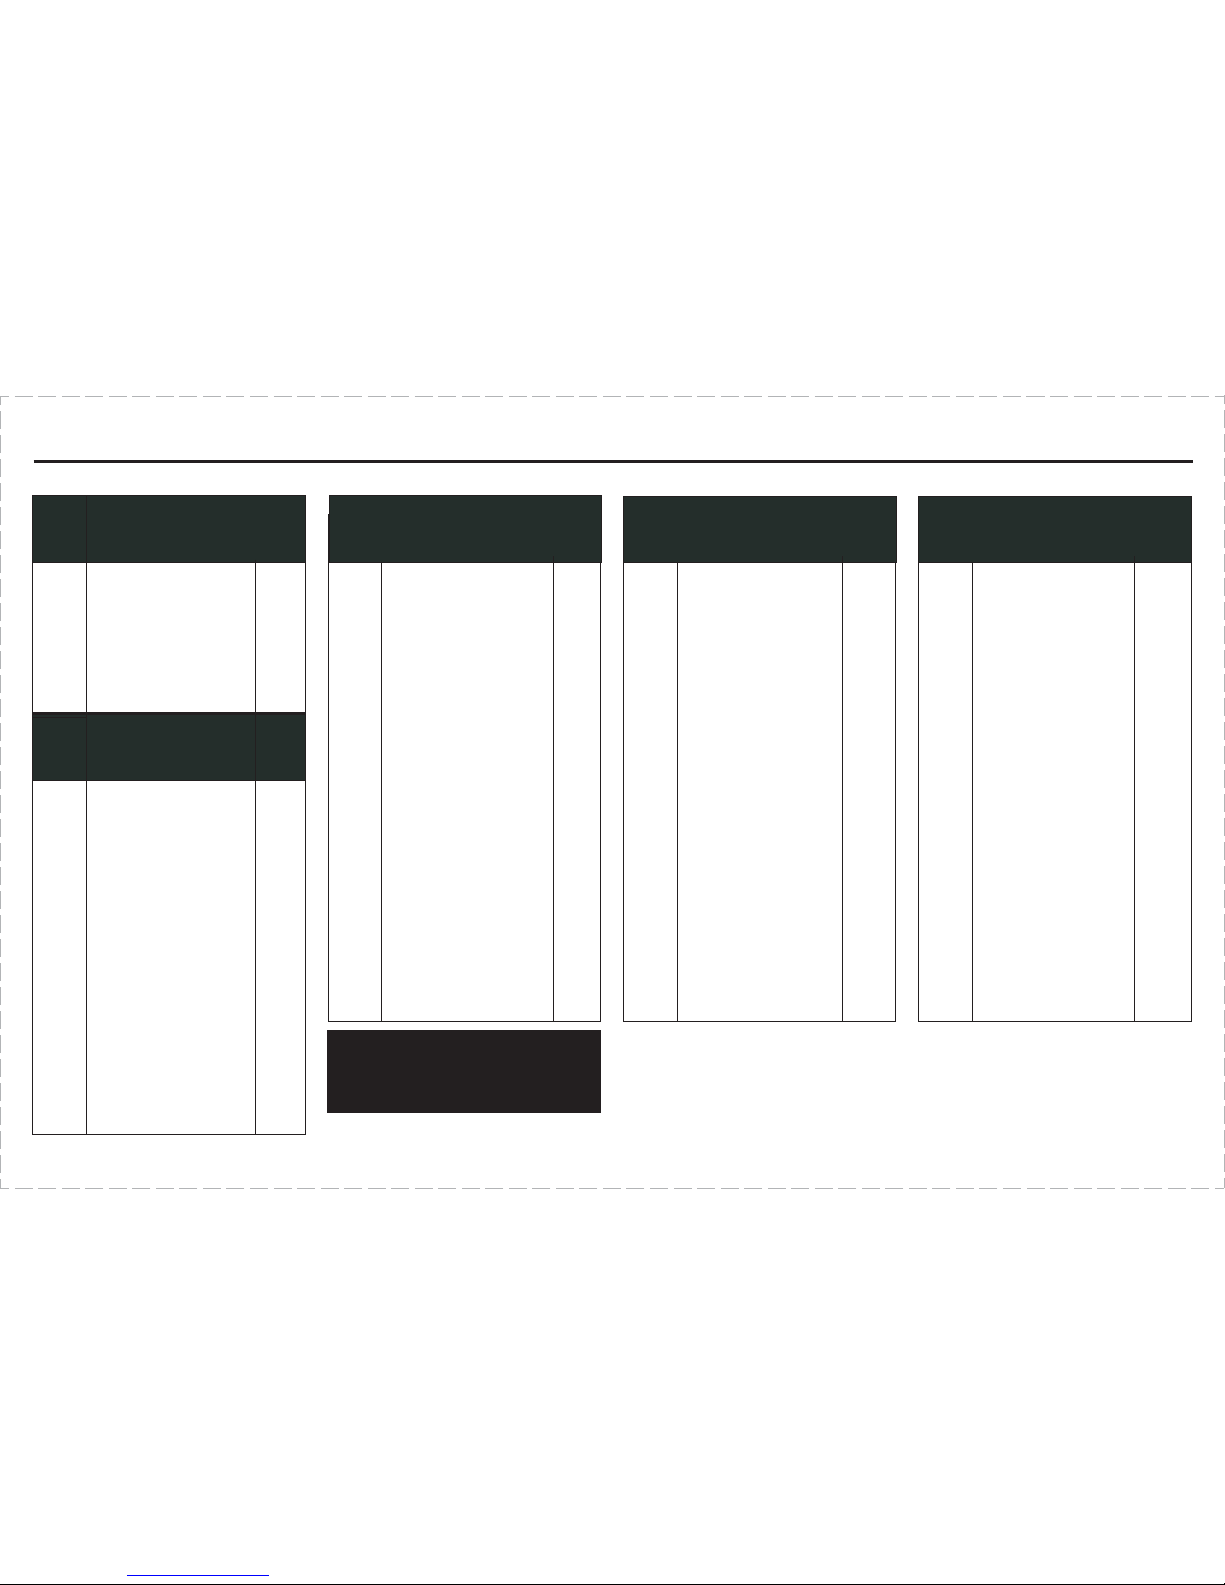
!! CAUTIONS ALL RADIOS !!
OBSERVE CAUTION IN THE
FOLLOWING ENVIRONMENTS TO
MAXIMIZE THE LIFE OF YOUR RADIO
EQUIPMENT:
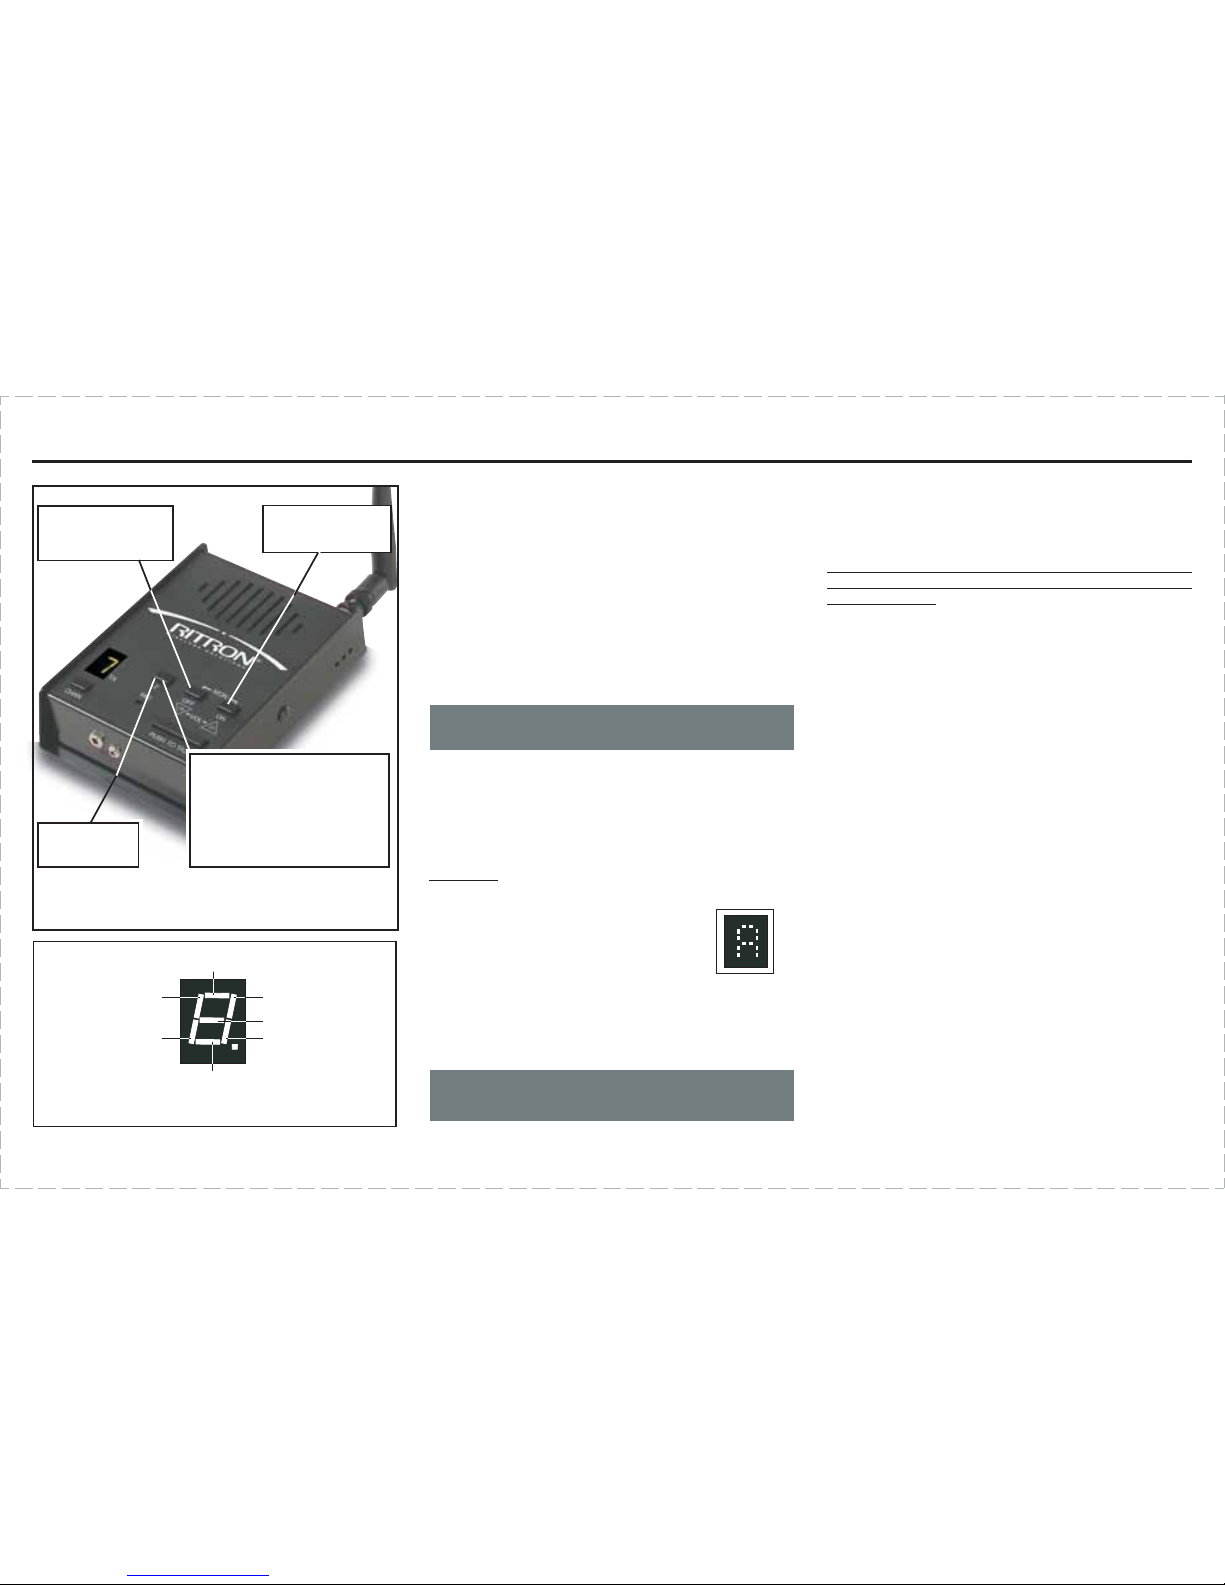
LOCATION: Be aware that this radio and/or
antenna may create interference with, or
be interfered with, by nearby electronic
equi ment such as com uters, monitors,
keyboards, electronic tele hones and other
sensitive devices. Either move the
equi ment or use a remote antenna to
se arate com onents sufficiently to sto or
reduce interference.
MOISTURE: "Dis lay Series" base radios
are not water roof. DO NOT directly
ex ose them to rain or excessive moisture.
CHEMICALS: Detergents, alcohol, aerosol
s rays or etroleum roducts can damage
the radio case. DO NOT use etroleum sol-
vents of any kind; use a soft cloth moist-
ened with water to clean the case.
EXTREME HEAT: High tem eratures can
damage the radio and its com onents. DO
NOT ex ose the units to extreme heat or
leave them in direct sunlight.
EXCESSIVE TRANSMISSIONS: DO NOT
hold the Push-To-Talk switch down longer
than necessary during transmission
intervals.
VIBRATION/ SHOCK: Although your
"Dis lay Series" base radio is designed to
be rugged, it will not survive excessive
abuse. Avoid dro ing the radio.
page 13
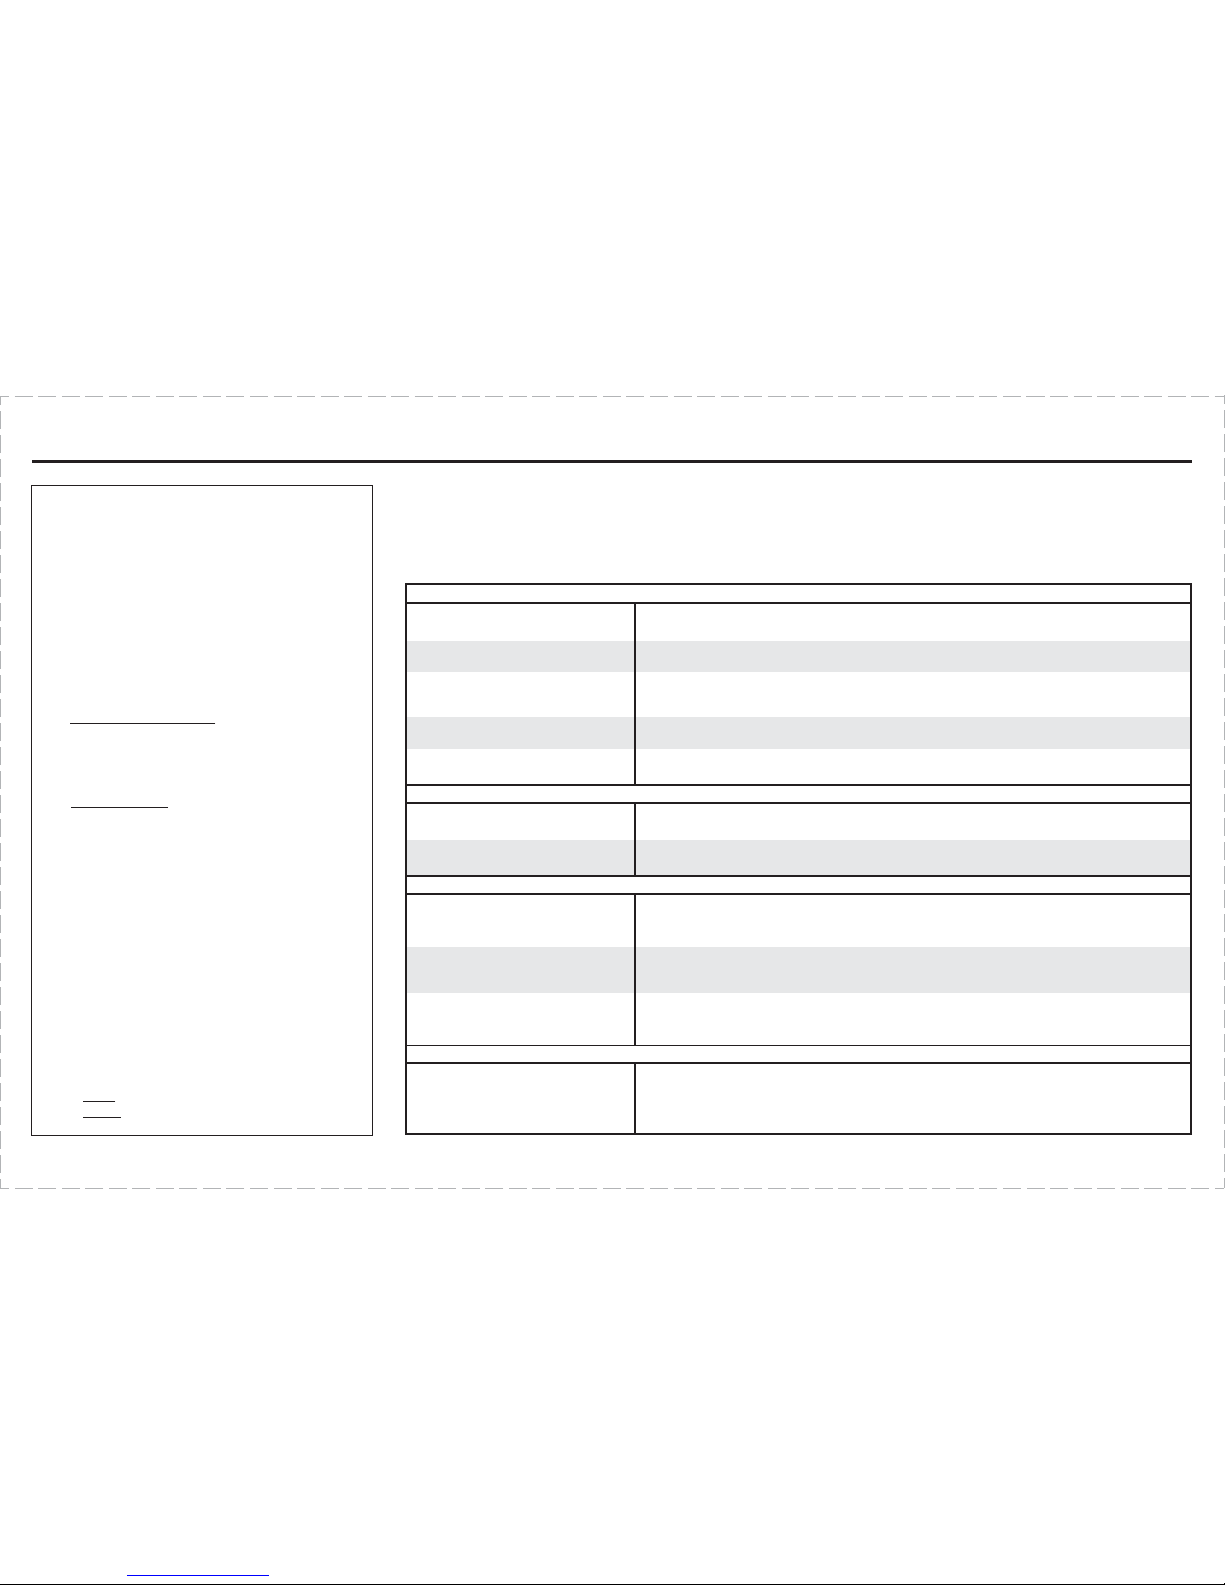
EXPOSURE TO RADIO FREQUENCY ENERGY:
These roduct generates radio frequency (RF) energy when the PTT button
on the front of the unit is de ressed. The roduct has been evaluated for
com liance with the maximum ermissible ex osure limits for RF energy at the
maximum ower rating of the unit when using antennas available from
RITRON. Antennas other than the those mentioned below have not been
tested for com liance and may or may not meet the ex osure limits at the
distances given. Higher gain antennas are ca able of generating higher fields
in the strongest art of their field and would, therefore, require a greater
se aration from the antenna.
JBS-/PBS-146D: To comply with the General Population/Uncontrolled limits, all
persons must be at least 7.9 inches (20 cm from the AFB-1545 antenna
which is supplied by RITRON to be attached directly to the rear of the unit. For
the RITRON RAM-1545 magnet mount antenna which can be located away
from the unit, all persons must remain at least 10.8 inches (28 cm from the
antenna.
JBS-/PBS-446D: To comply with the General Population/Uncontrolled limits, all
persons must be at least 8.7 inches (22 cm from the AFB-1545 antenna which
is supplied by RITRON to be attached directly to the rear of the unit. For the RITRON
RAM-1545 magnet mount antenna, at the 20 cm (7.9 inches minimum expected
separation distance and greater, the maximum RF exposure is well below the
General Population/Uncontrolled limits. This product is not to be used by the general
public in an uncontrolled environment unless compliance with the Uncontrolled/
General Population limits for RF exposure can be assured.
To limit exposure to RF energy to levels below the limit, please observe the
following:
Use only the antenna(s available from RITRON for these models. DO NOT
operate the radio without an antenna.
Keep talk times as short and infrequent as possible. DO NOT depress the
PTT button when not actually wishing to transmit. These radios are
equipped with an internal timer to limit continuous transmit times.
When transmitting, make certain that the distance limits for the particular
model in use are observed.
DO NOT allow children to operate the radio.
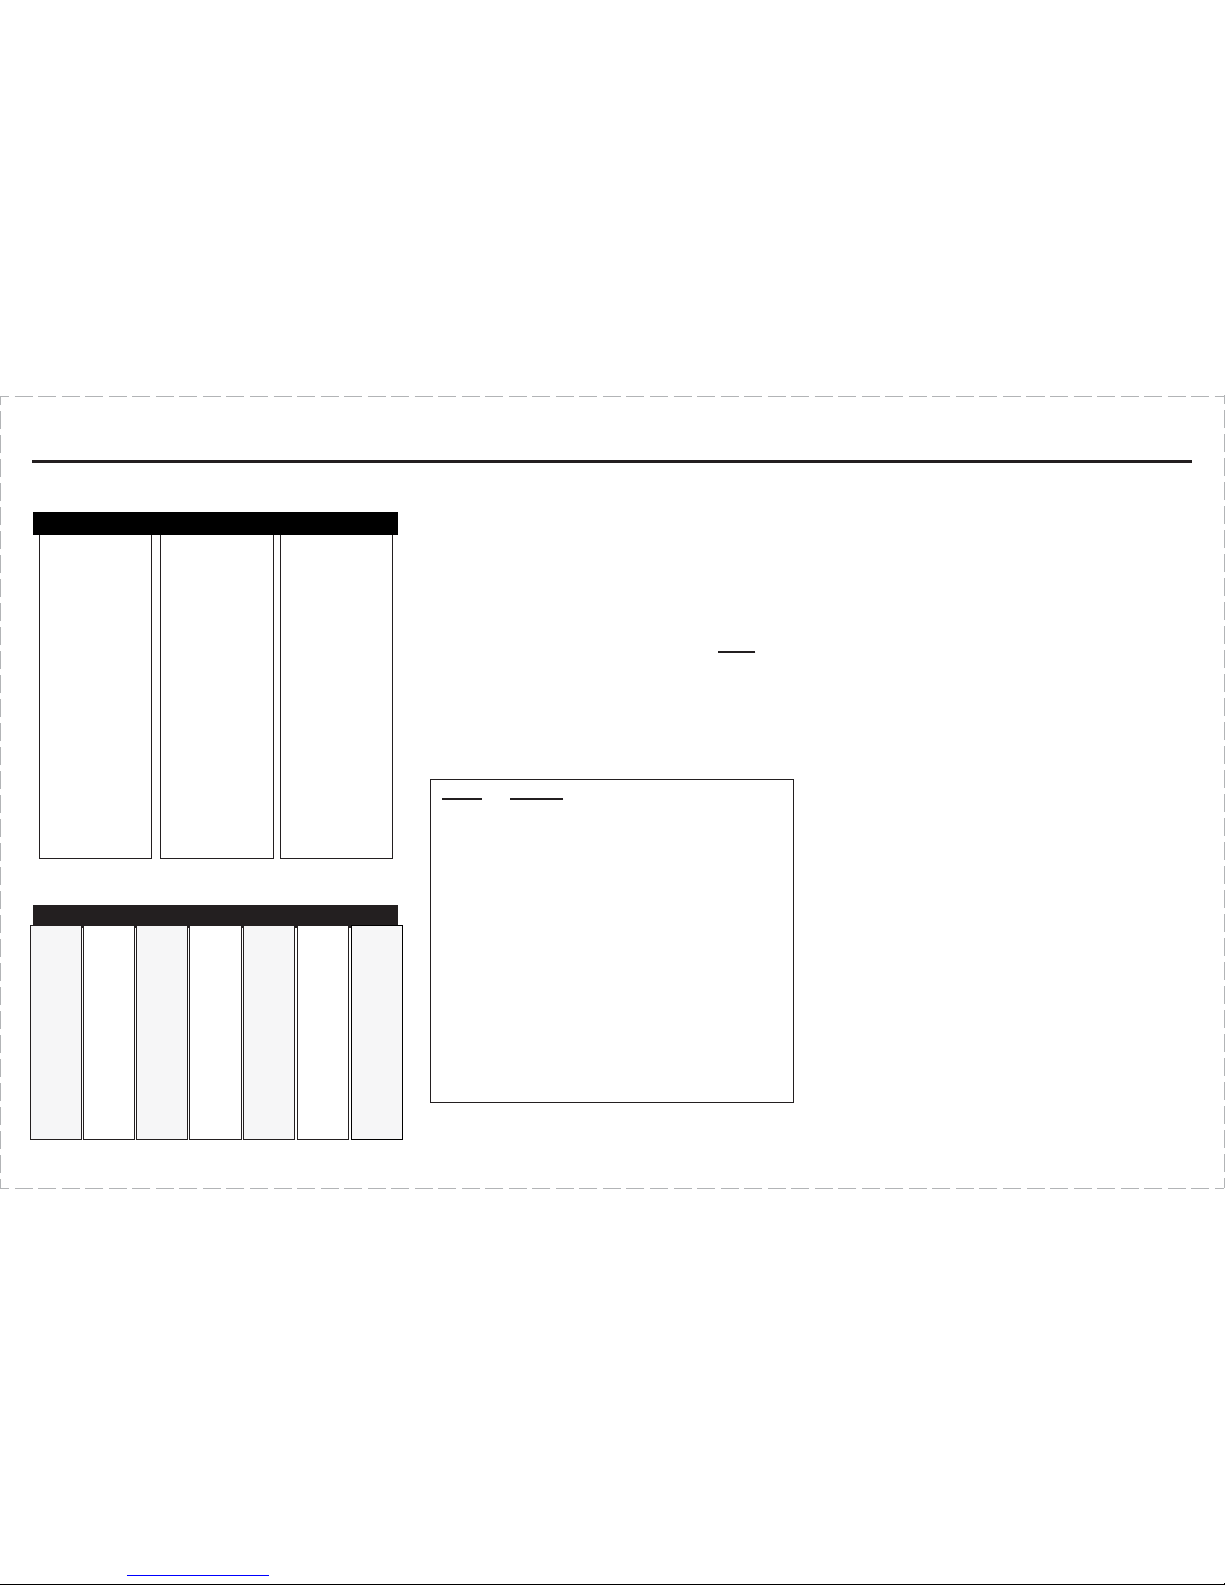
PROGRAMMING
Courtesy Beep sounds a short tone at
the end of each received transmission to
indicate that the channel is clear and you
may transmit.
Transmit Clear To Talk Beep Any
channel can be set to sound a short tone
after the PTT has been pressed to
indicate that the radio is ready for you to
begin talking.
Disable ield Programming to allow
only PC programming.
Channel Scan can be programmed or
edited to include any of the radio
channels, even channels that are not
selected with the Channel Selector
button. Other programmable scan
features include scan resume delay time,
busy channel blocking, last active
channel beeps, and priority scanning
options.
2-Tone Paging Decode can be set on
any channel. Programmable options
include the setting of the 2 tone
frequencies and duration, all call, group
call, call transpond, automatic setting of
2-tone decode when the channel is
selected, automatic reset of the 2-tone
decode if a call is not answered within
15 seconds, and automatically set the
radio to carrier squelch mode after a 2-
tone page is received.
2-Tone Paging Encode can be
programmed on any channel to be sent
by pressing the Z button.
DTM ANI can be programmed on any
channel to be sent by pressing the Z
button.