manuals.online logo
Brands
  1. Home
  2. •
  3. Brands
  4. •
  5. Rittal
  6. •
  7. Lock
  8. •
  9. Rittal DK 7320.950 User manual

Rittal DK 7320.950 User manual

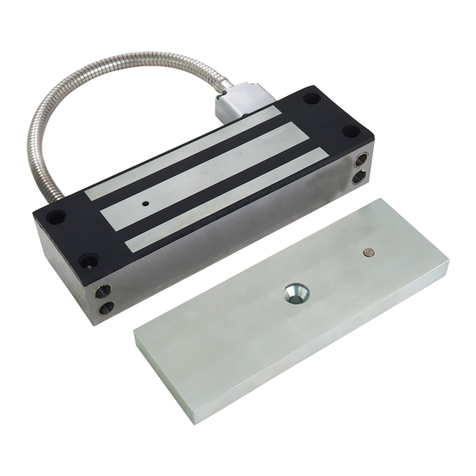
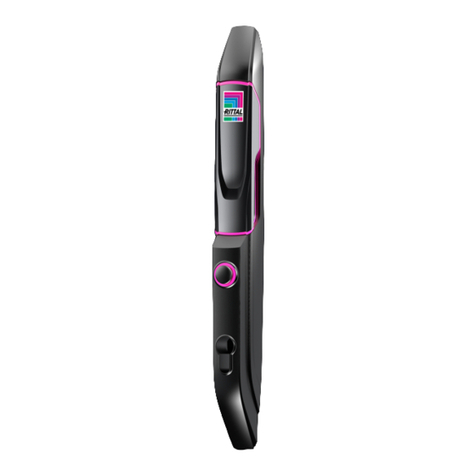
Handle system for universal installation
Note:
For reasons of clarity of the presentation, these operating instructions do not contain all information details and also cannot
cover every possible case of installation, operation or repair. Technical specifications are subject to change without notice. In
case of doubt, the German text prevails.
Sensor unit:
Access Unit 7320.220
Description:
The electro-magnetic handles can be connected to the Access Unit 7320.220 (max. 2). The handle functions as a door interlock
and grip lever monitor. An access sensor for each handle must be mounted on the controlled door. If the grip lever are closed,
the interlock coil integrated in the handle locks automatically. The handle can be released through the CMC-TC system in the
network or through optional extra systems, e.g., a chip card reader (7320.750), magnetic card reader (7320.760), number code
lock (7320.770) or an individually settable floating switching contact (7320.580).
Attention. The handle open by an electrical connection, only. By open the handle it’s necessary to have a release by the
electrical CMC-TC and by the push-button.
The handle is assigned a code to ensure that it is identified and set up automatically by the CMC-TC system. The following
components are required for operating the handle:
- Processing Unit (7320.100) min. SW V 1.1 with mains adapter (e.g., 7320.425), connecting cable complying with local
specifications, programming cable.
- Sensor unit (7320.220) min. SW V 1.1, connecting lead (RJ45, Cat5).
- Access sensor (7320.530)
General conditions of use:
- The handle must only be used together with the Rittal CMC-TC system.
- The operating instructions / safety instructions of the Processing Unit and of the above sensor units apply.
- The maximum cable length between the sensor unit and the handle is 3+2m. The connection must be made with the
connecting cable of the supply. Extension cables 7200.450 for special applications are available after consultation with our
central office.
- It is absolutely necessary that these cables are installed separately from mains power cables.
- The use of the handles are exclusively limited to the specified ambient conditions.
- It is forbidden to open the handle housing. They do not contain parts requiring maintenance.
- Before making the connection, check to be sure that the handle can be used with the device / module.
- It is forbidden to render safety equipment ineffective.
- Direct contact of the handle with water (e.g., dew), oil sludge or any aggressive substances is forbidden.
- Use in locations with flammable gas or vapour is forbidden. Protection from water, dust, etc. must be ensured by installation in
a enclosure or rack.
- The CMC-TC system must not be live with voltage when the handle is being connected to the sensor unit.
- The handle must be installed properly as described in the separate installation instructions.
Technical data:
Coil voltage 24 V DC Coupler for extension: RJ12/RJ12 socket
Coil current consumption 100 mA Temperature range: +5°C to +40°C
Connecting cable: length 3 m, RJ12 plug Protection category: IP40 by fit condition
Extension cable: length 2 m, RJ12/RJ12 plug
Address: Rittal GmbH & Co. KG / Auf dem Stützelberg / D-35745 Herborn / Tel: (+49) (2772) 505 – 0 /
Fax: (+49) (2772) 505 – 2319 / eMail: Info@rittal.de / Internet: http://www.rittal.de
DK 7320.950
Drawing number A 31266 01 IT 7 4
Warning: Start-up:
Please ensure that the handle can
be opened via the electrical
system after locking. The handle
can only be open electronically. If
this is not possible, an emergency
opening must be made. For this
purpose the handle must be
processed mechanically.
Pin configuration for connecting cable
RJ12 plug handle:
Pin1: white free
Pin2: brown Gnd
Pin3: green Code 1
Pin4: yellow Code 2
Pin5: grey interlocking coil
Pin6: pink handle sensor
100 mm
50
50
50
Mounting hole
User Manual
You need a torx screwdriver for installation.
Caution!! Install the handle while the enclosure door is open!!! Make a function
check of the handle while the enclosure door is open!!!
Do not close the enclosure door while installing the handle!!!
Install the enclosure door handle as follows:
Prepare the enclosure door by making the openings in the door frame with the
template below (see illustration) (unless already provided because these are
standard openings).
1. At first pull the O-ring to fit the mound of the handle pin.
2. Next, insert the enclosure handle in the mounting hole from
outside (exploded view)
3. Insert the pin in the rod gear.
4. Next, push the seal, then the covers on the handle (as shown in
the exploded drawing.
5. Then tighten 4 screws
Pin for latch, rod gear, etc.
(different lengths)
Press-button
mechanism
DK 7320.950
25
DK 7320.950
User Manual
Installation for latch
fastening and round linkage
(not shown) with long pin
O-ring
Long pin
Cover
Cap for fastening
the latch
Enclosure door
Seal
Mound
Slide cap
Caution!!! Install the handle while the enclosure
door is open!!! Make a function check of the handle
while the enclosure door is open!!! Do not close the
enclosure door while installing the handle! After the
appropriation, you can remove the security
element 2by the screwdriver1.
Installation with flat linkage
(short pin)
O-ring
Short pin
Cover
Rod gear
Enclosure door
Mound
Slide cap
Seal
Caution!!! Install the handle while the enclosure
door is open!!! Make a function check of the handle
while the enclosure door is open!!! Do not close the
enclosure door while installing the handle! After the
appropriation, you can remove the security
element 2by the screwdriver1.

Other Rittal Lock manuals

Rittal VX User manual

Rittal

Rittal VX User manual

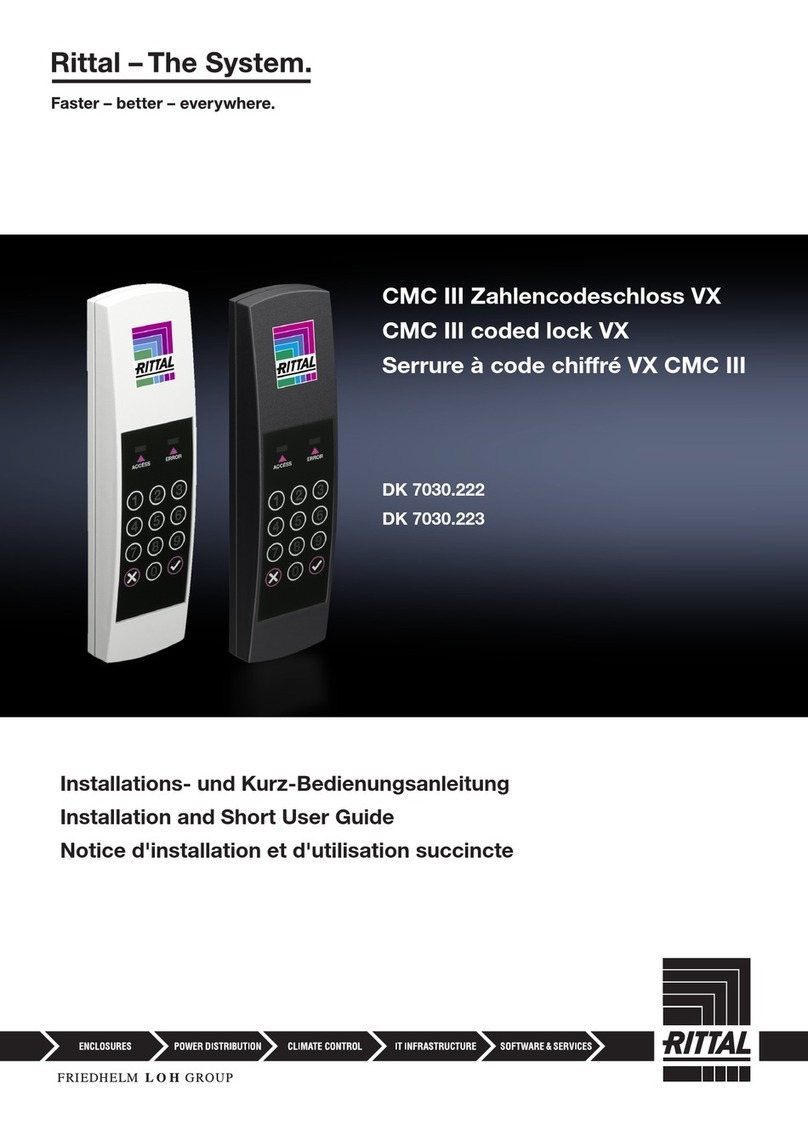
Rittal DK 7030.222 User manual

Rittal

Rittal DK 7030.222 User manual

Rittal 1485.600 User manual

Rittal

Rittal 1485.600 User manual

Rittal CMC III User manual

Rittal

Rittal CMC III User manual

Rittal CMC III Product information sheet

Rittal

Rittal CMC III Product information sheet

Rittal CMC III Coded lock VX Product information sheet

Rittal

Rittal CMC III Coded lock VX Product information sheet

Rittal CMC III User manual

Rittal

Rittal CMC III User manual

Popular Lock manuals by other brands

Borglocks BL4409 manual

Borglocks

Borglocks BL4409 manual

Masterlock Select Access 5420EURD user manual

Masterlock

Masterlock Select Access 5420EURD user manual

Abus FTS 206 Installation and operation instructions

Abus

Abus FTS 206 Installation and operation instructions

LaGard 39E instructions

LaGard

LaGard 39E instructions

RCO LockR Battery Replacement

RCO

RCO LockR Battery Replacement

Kaba 5402 Series Technical manual

Kaba

Kaba 5402 Series Technical manual

Ezviz DL01S manual

Ezviz

Ezviz DL01S manual

Orno OR-ZS-825 manual

Orno

Orno OR-ZS-825 manual

Schlage LE Installation instructions and user guide

Schlage

Schlage LE Installation instructions and user guide

Simplex DL50 user manual

Simplex

Simplex DL50 user manual

ADI PRO 0E-MAG600LB installation instructions

ADI PRO

ADI PRO 0E-MAG600LB installation instructions

GateCrafters GCLOCK instruction manual

GateCrafters

GateCrafters GCLOCK instruction manual

CDVI BO600EVO manual

CDVI

CDVI BO600EVO manual

ACSI HAGER 45CE instructions

ACSI

ACSI HAGER 45CE instructions

Simons Voss Technologies SmartLocker AX manual

Simons Voss Technologies

Simons Voss Technologies SmartLocker AX manual

Kaba Mas Cencon 4 Getting started guide

Kaba Mas

Kaba Mas Cencon 4 Getting started guide

Assa Abloy Sargent 8200 installation instructions

Assa Abloy

Assa Abloy Sargent 8200 installation instructions

LockState RemoteLOCK LC-0001-01 Internet Connection Setup Guide

LockState

LockState RemoteLOCK LC-0001-01 Internet Connection Setup Guide

manuals.online logo
manuals.online logoBrands
  • About & Mission
  • Contact us
  • Privacy Policy
  • Terms and Conditions

Copyright 2025 Manuals.Online. All Rights Reserved.