www.rival4x4.com
< Page 5 of 12 >
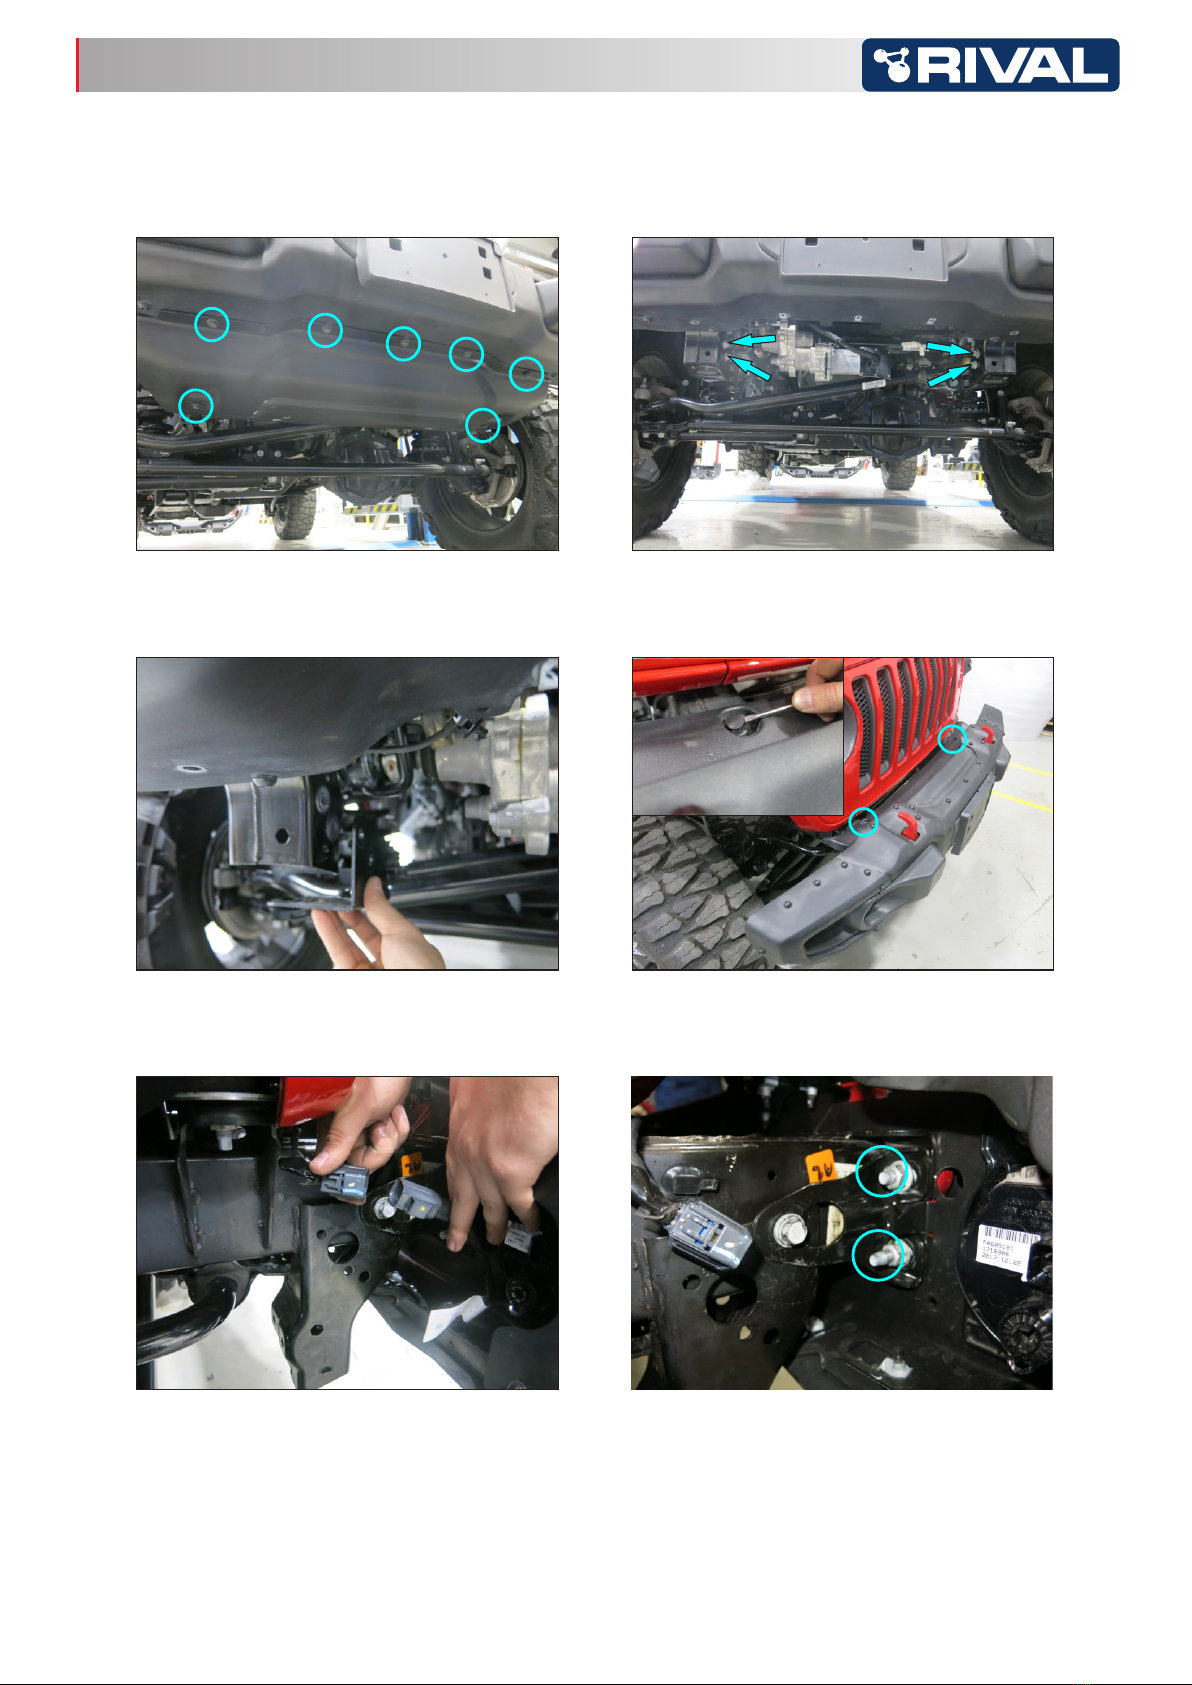
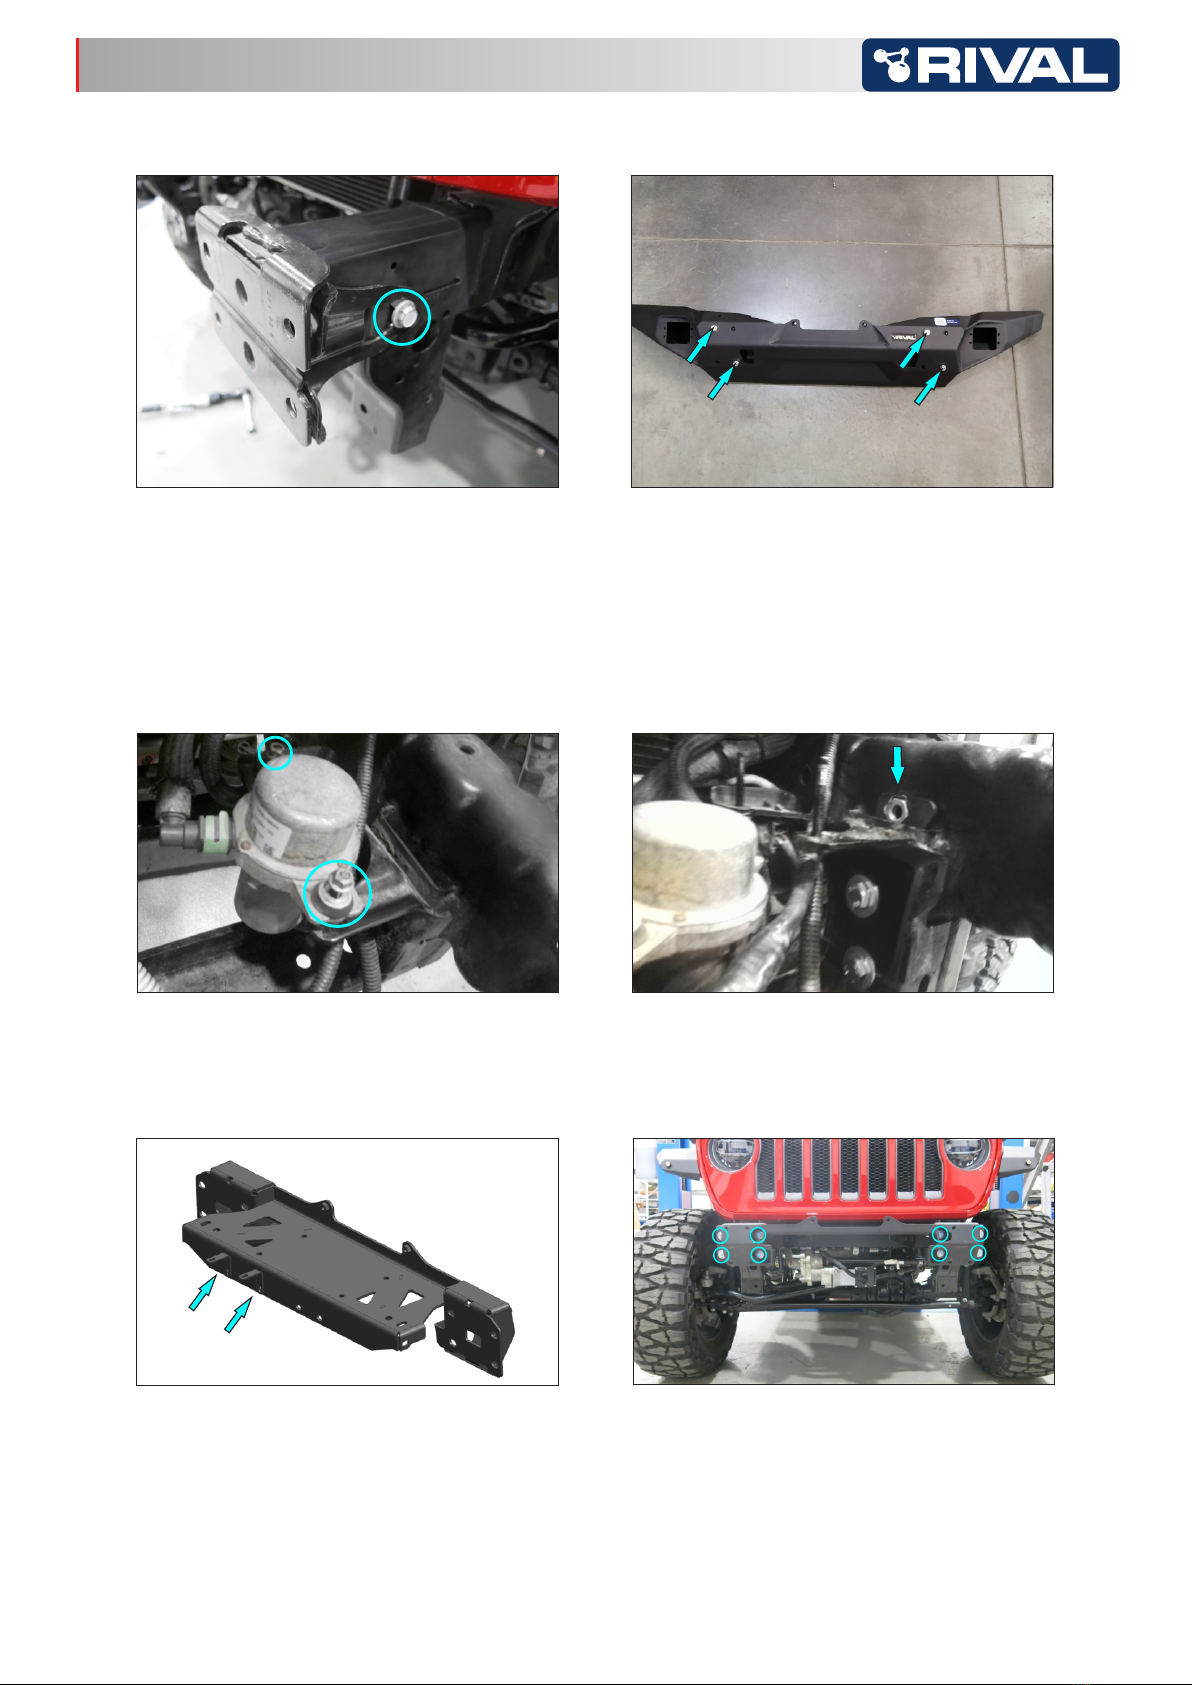
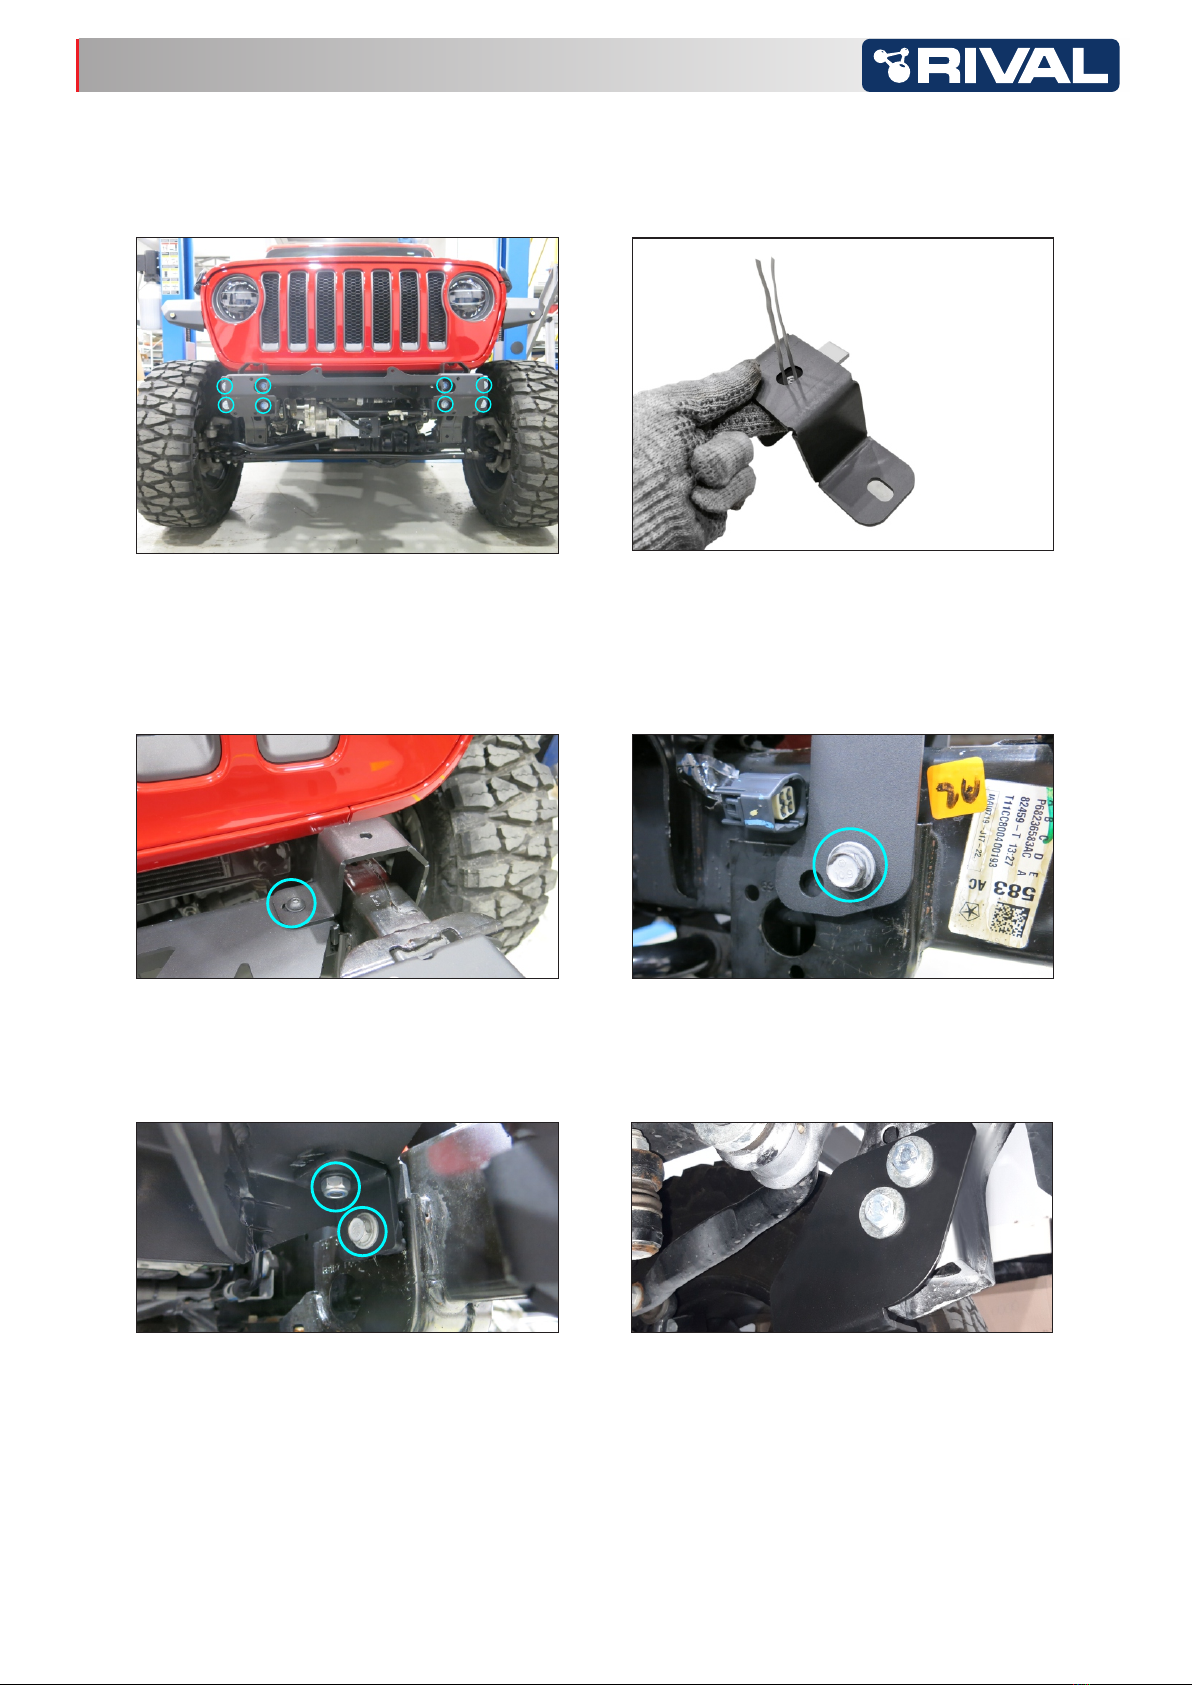
Installation manual 2D.2701.1-NL, 2D.2702.1-NL
КОМПЛЕКТАЦИЯ
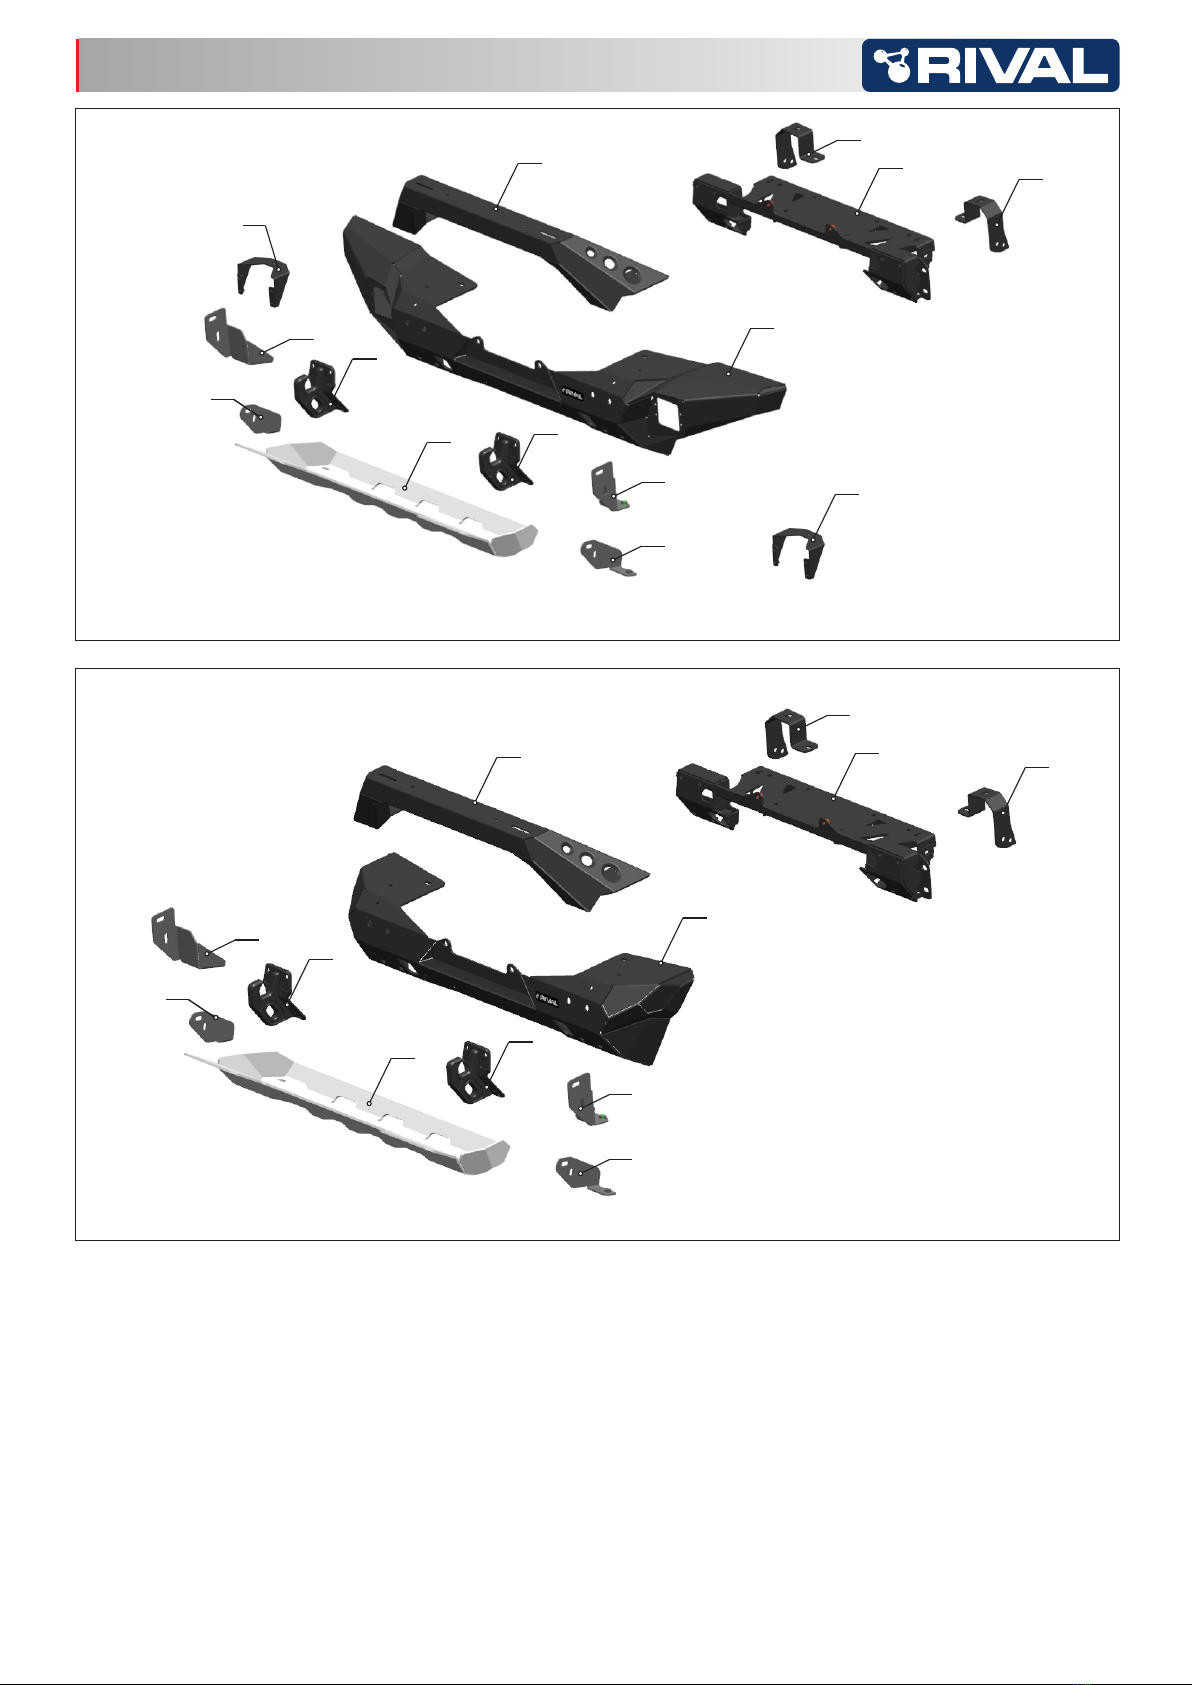
A
B
C
D
E
F
G
H
I
J
K
L
M
N
O
P
Q
R
S
T1
X1
Y*
O. Countersunk washer.........................
P. Insert nut М10х65/15.........................
Q. Insert nut М10 with cables..................
R. Cable clips.........................................
S. Cable tie.............................................
T1. Angle strut bracket right (JL,JT)........
T2. Angle strut bracket left (JL,JT)..........
U. Vacuum pump bracket.......................
V. Insert nut М10....................................
W. Inner bracket.....................................
X1. Insert bracket left (JK)......................
X2. Insert bracket right (JK)....................
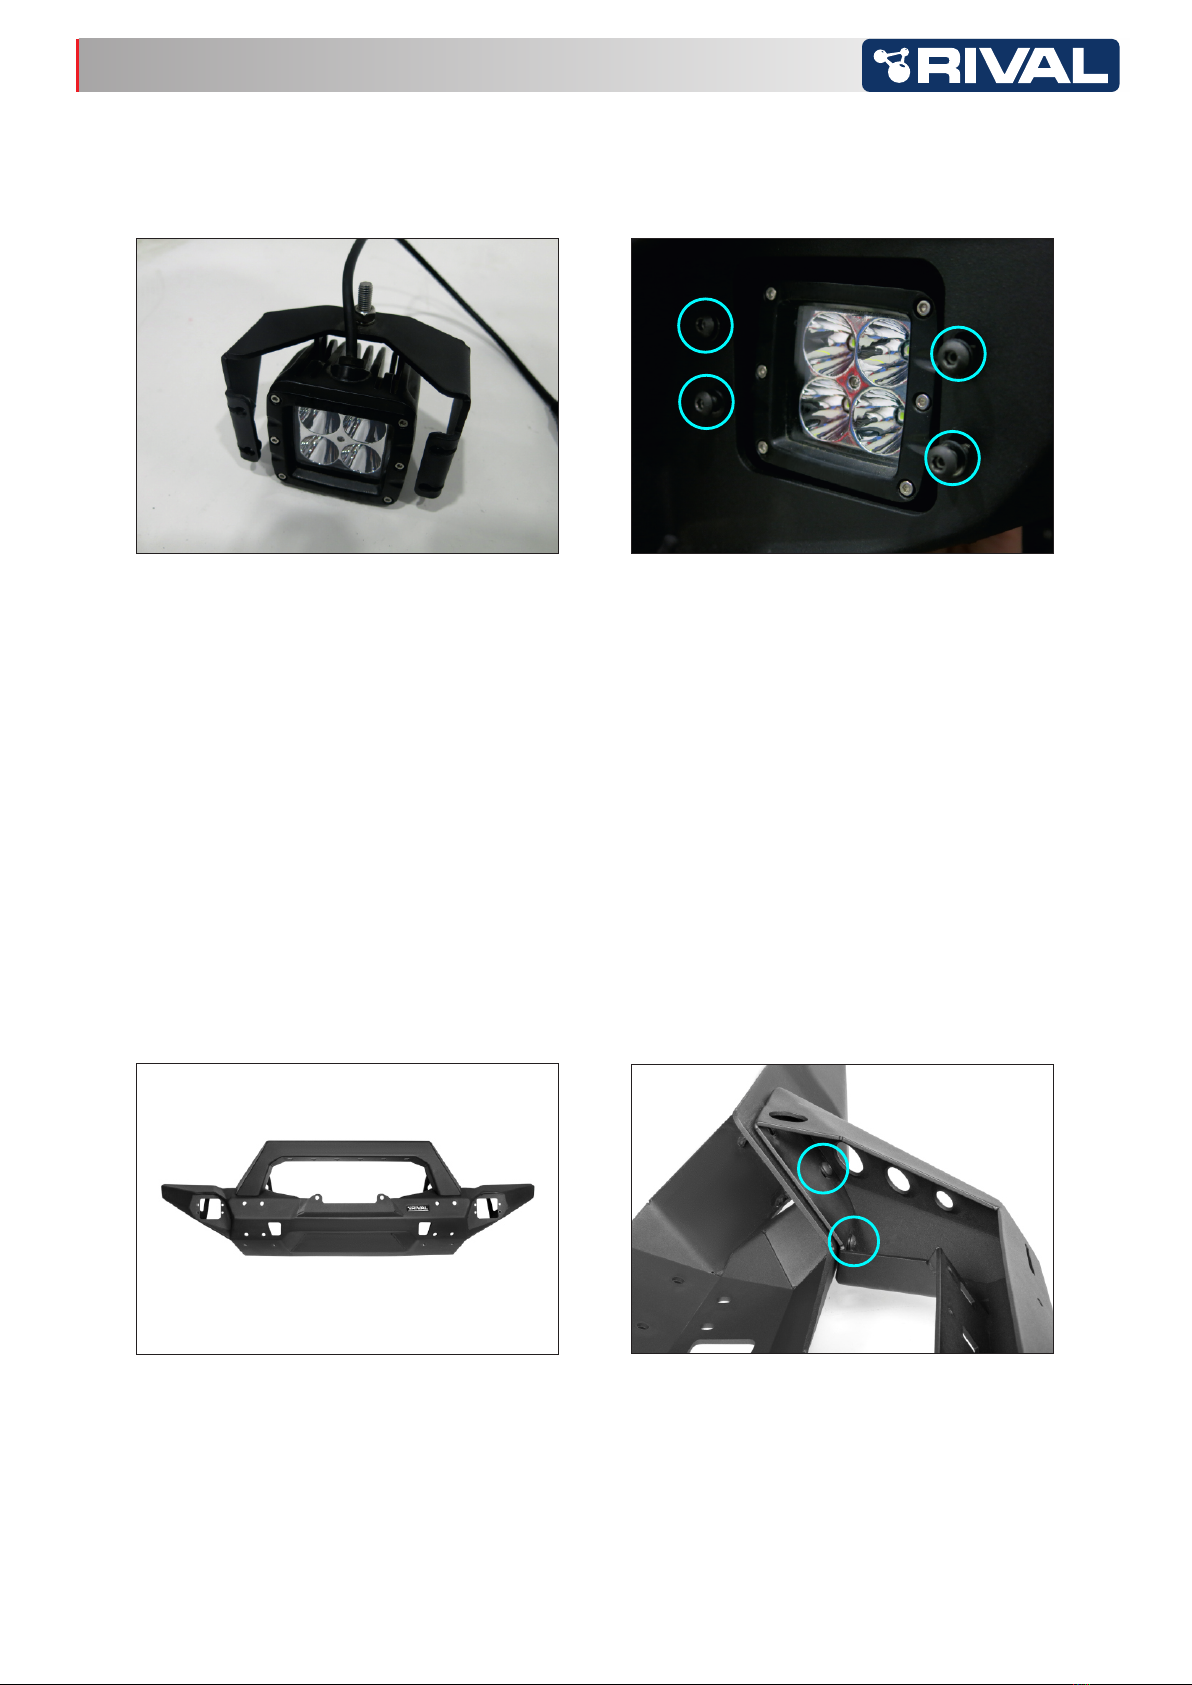
Y. LED light cap......................................
Qty 6
Qty 6
Qty 2
Qty 5
Qty 6
Qty 1
Qty 1
Qty 2
Qty 2
Qty 2
Qty 1
Qty 1
Qty 2
2D.2701.1-NL full width bumper
2D.2702.1-NL stubby bumper
Qty 10
Qty 2
Qty 16
Qty 2
Qty 14
Qty 8
Qty 6
Qty 4
Qty 8
Qty 8
Qty 16
Qty 36
Qty 4
Qty 16
*Included only in 2D.2701.1-NL full width bumper
W
V
U
T2
X2
A. Screw M6x20.....................................
B. Screw M6x35.....................................
C. Screw М10х30...................................
D. Screw М10х50...................................
E. Bolt М10х20.......................................
F. Bolt М12х30......................................
G. Screw М10х40...................................
H. Nut М6...............................................
I. Nut М10...............................................
J. Nut М12.......... ...................................
K. Washer 6...........................................
L. Washer 10.......................................
M. Flat washer 10 ..................................
N. Washer 12.........................................
N. Washer 12.........................................
O. Countersunk washer.........................
P. Insert nut М10х65/15.........................
Q. Insert nut М10 with cables..................
R. Cable clips.........................................
S. Cable tie.............................................
T1. Angle strut bracket right (JL,JT)........
T2. Angle strut bracket left (JL,JT)..........
U. Vacuum pump bracket.......................
V. Insert nut М10....................................
W. Inner bracket.....................................
X1. Insert bracket left (JK)......................
X2. Insert bracket right (JK)....................
Qty 16
Qty 6
Qty 6
Qty 2
Qty 5
Qty 6
Qty 1
Qty 1
Qty 2
Qty 2
Qty 2
Qty 1
Qty 1
Qty 10
Qty 2
Qty 16
Qty 2
Qty 14
Qty 8
Qty 6
Qty 4
Qty 8
Qty 8
Qty 16
Qty 36
Qty 4
A. Screw M6x20.....................................
B. Screw M6x35.....................................
C. Screw М10х30...................................
D. Screw М10х50...................................
E. Bolt М10х20.......................................
F. Bolt М12х30.......................................
G. Screw М10х40...................................
H. Nut М6...............................................
I. Nut М10..............................................
J. Nut М12.......... ...................................
K. Washer 6...........................................
L. Washer 10..........................................
M. Flat washer 10 ..................................
PARTS LISTING
Date: May 25, 2020