DeutschDeutsch
STROMANSCHLUSS
Stellen Sie vor dem Einschalten sicher, dass die Spannung der Stromversorgung derjenigen
entspricht, die auf dem Typenschild angegeben ist.
Lesen Sie zu Ihrer eigenen Sicherheit die folgendenAnweisungen aufmerksam durch, bevor
Sie das Gerät an das Stromnetz anschließen.
NETZBETRIEB (BEI WECHSELSTROM)
DiesesGerätistausschließlichzumBetriebbeiWechselstrommit230V und50Hzvorgesehen.
Bei Anschluss an andere Stromquellen kann das Gerät beschädigt werden.
VORSICHT
ZurVermeidungeineselektrischenSchlagsist dasGerätvorderAbnahmederAbdeckungvon
der Stromversorgung zu trennen. Es befinden sich keine durch den Benutzer wartbaren Teile
im Geräteinneren. Lassen Sie Wartungsarbeiten von qualifiziertem Wartungspersonal
durchführen.
SICHERHEITSVORKEHRUNGEN
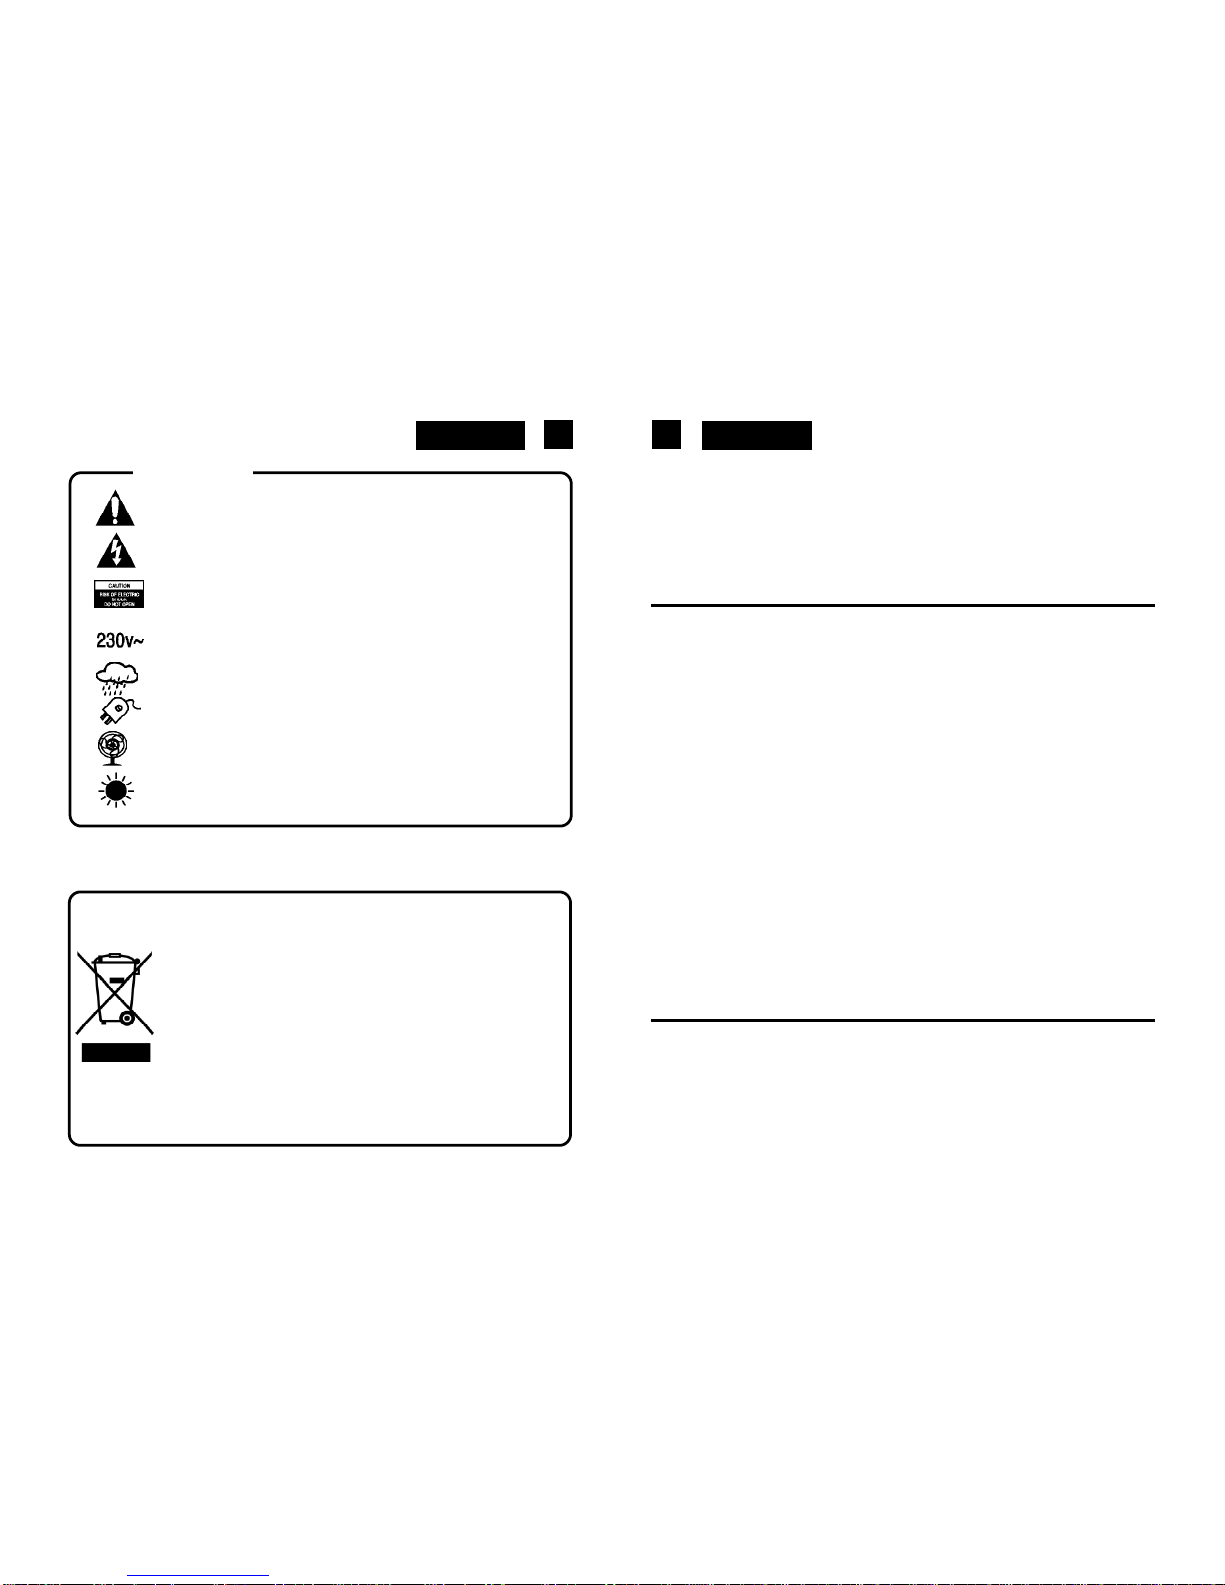
Setzen Sie dieses Gerät weder Regen noch Feuchtigkeit aus.
Netzversorgung: 230 V 50 Hz - nur Wechselstrom (AC)
Dieses Symbol gibt an, dass das Gerät zweifach isoliert ist. Eine Erdableitung ist
nichterforderlich.
STROMVERSORGUNG
NehmenSiedas Stereogerätvorsichtigausdem KastenundbewahrenSie dieVerpackung
füreinekünftige Benutzungauf.
WECHSELSTROMBETRIEB
SchließenSieden Steckerübereine Steckdoseaneine Versorgungmit230 VAC,~50Hz an.
Batteriebetrieb
•Nehmen SiedasGerät vomNetzfür Batteriebetriebführen.
•Öffnen Siedas Batteriefach aufderRückseite desRadios undlegenSie vierUM3 Batterien
entsprechendder PolaritätDiagramm imBatteriefachdargestellt.
•Batteriensollten entfernt bildendieFach werden, wenndasGerät nichtfürlängereZeitnich
benutzt werden.
•Leere Batterien ausdem Gerätentferntwerden,um einAuslaufenzu vermeiden
9 10
MW/FM-SW TUNER
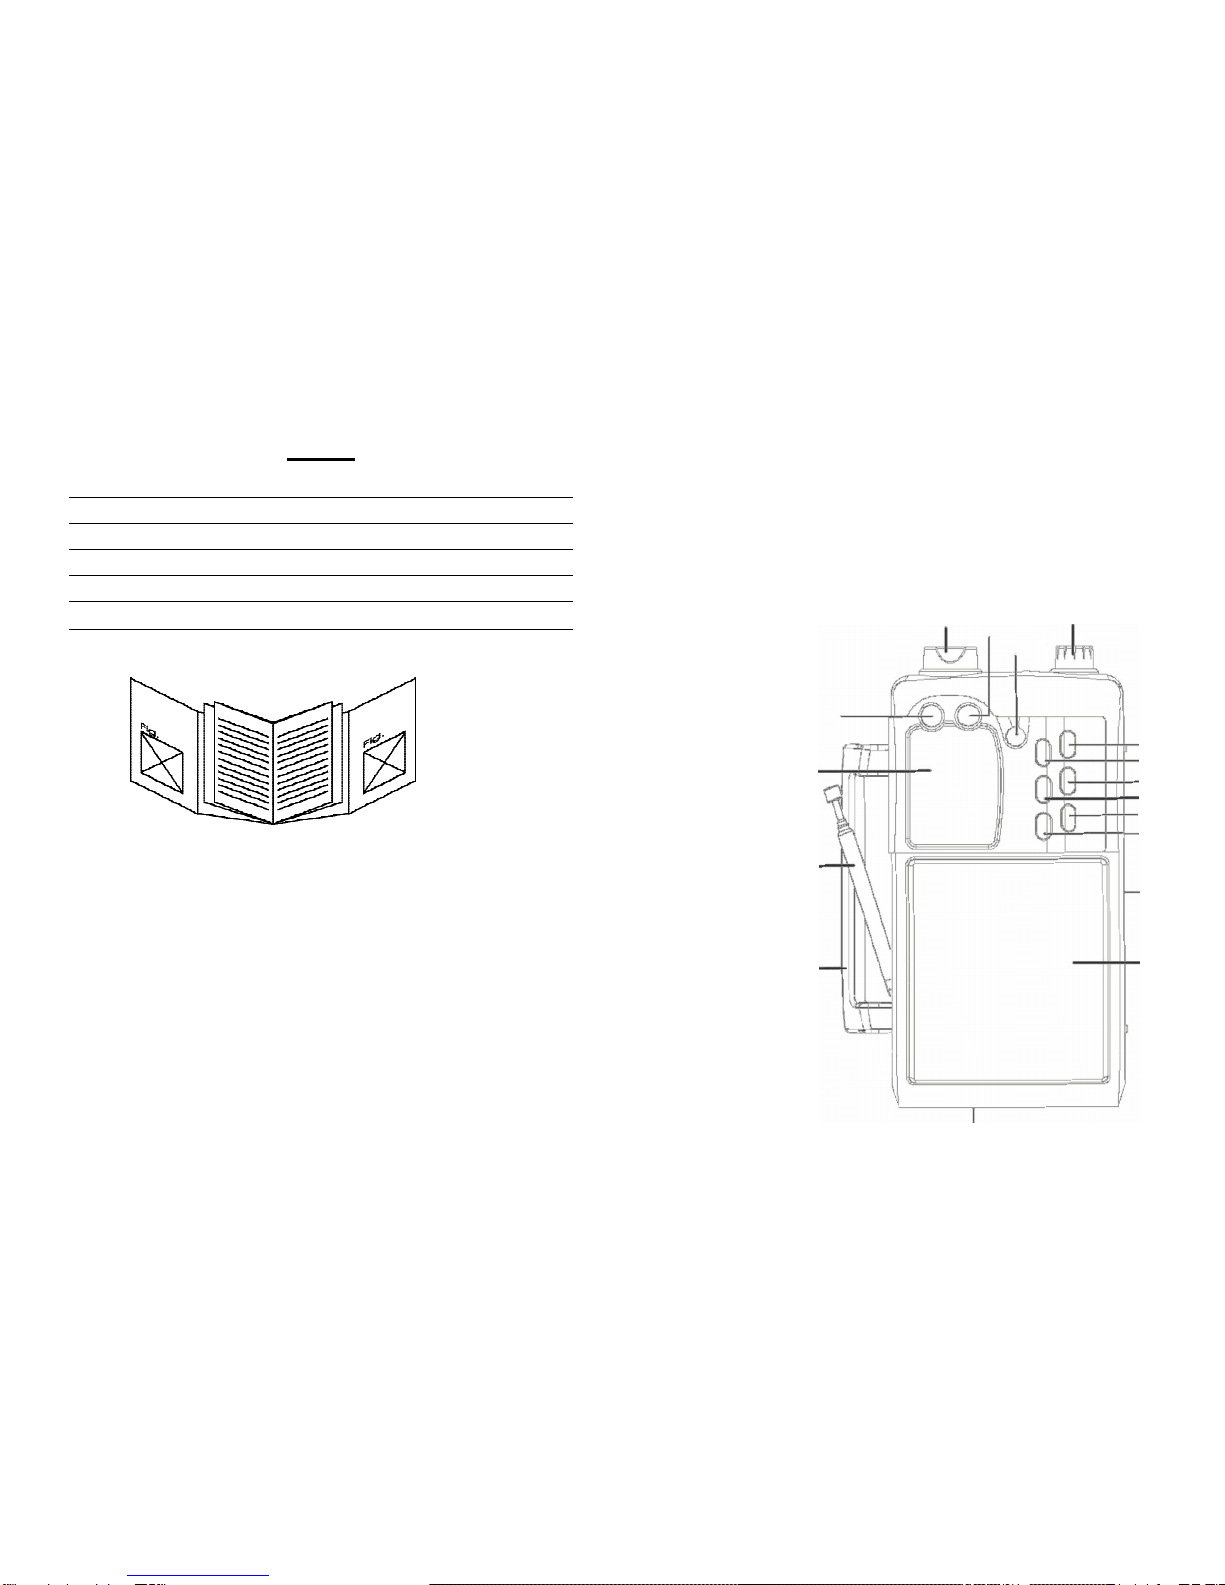
ANTENNE
• FürFM-EmpfangisteinbereitsinstallierterFM-AntennendrahtaufderRückseitedesGerätes
vorhanden(19).Drehen Sieden Draht,umden bestenEmpfangzu erhalten.
• Für MW-Empfang werden die Signale über eine eingebaute Ferritantenne erfasst.
Gegebenenfalls müssenSiedas GerätfüroptimalenEmpfangausrichten.
• Drücken Sie die Power ON / OFF-Taste (11), um das Gerät einzuschalten.
•WählenSie denRadio-Wellenbereich (MW, UKWoder SW)mitder BAND-Taste(5 oder6)
•Suche nachder StationIhrer Wahl mitdemTuning-Regler(18).
•Umdas Radioauszuschalten, drückenSiedie Power-Taste(11)aufOFF.
Speichern von Radiosendern manuell
DiesesGerätkann 24Stationen (8FM, 8 MWund 8SW).
•Stellen Sieden gewünschtenSender wieobenbeschrieben
•Drücken Siedie SET-Taste(3)im Preset-Modus geben
• Das Symbol "CH" Blitz und im Display erscheinen
•DrückenSie dieM + Moder -Tasten, umdiePreset-Nummer wählen,1-8.
•Drücken Siedie SET-Taste(3),umdenSpeicher Einstellungzubestätigen.
Radiosender automatisch speichern
GedrückthaltendieSET-Taste(3)3 Sekunden,unddasRadioimSpeichersequenziellwerden.
Uhr und Wecker OPERATION
EINSTELLEN DER UHR
StellenSiesicher,dassdiePOWER-Schalterauf'Aus'Positiongesetztist.DieZeitoderWeckzeit
kannnichteingestellt oderangepasstwerden,währenddas Gerät'On'.
•DrückenSiedieSET-Taste(3)unddasDisplayzeigtdieMinute00blinkt,unddrückenSieTune
+ / -, um die Minuten auszuwählen.
•DrückenSiedieSET-Taste(3)erneut,umdieEinstellungzubestätigen,wirddieAnzeige00:00
anunddieersten00 blinkt,unddrückenSiedannTune +/-, umdierichtigen Stunden wählen.
•Drücken Siedie SET-Taste(3)erneut,um dieEinstellung zubestätigen,dann erscheintauf
demDisplay24Hblinkt, unddrückenSiedannTune+/ -,umdie12Hoder24H auszuwählen.
•Drücken Siedie SET-Taste(3),umdieEinstellungzu bestätigenUhr,
KALENDEREINSTELLUNG
WenndasDisplay die Uhrzeitanzuzeigen,drücken SiedieMODE-Taste(17)einmal,zeigenSie
Kalender-Modus.
•DrückenSie SET-Taste einmal(3), um dasJahr wählen
• Drehen Sie den Tune + / - Knopf, um das richtige Jahr
•Drücken Siedie SET-Taste (3)erneut,um denMonat auszuwählen
•DrehenSie denTune+ /- Knopf,um denrichtigen Monat