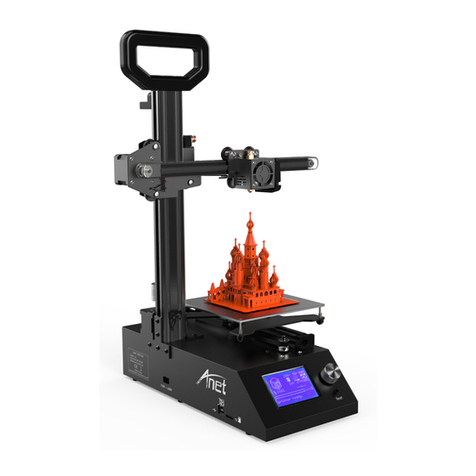
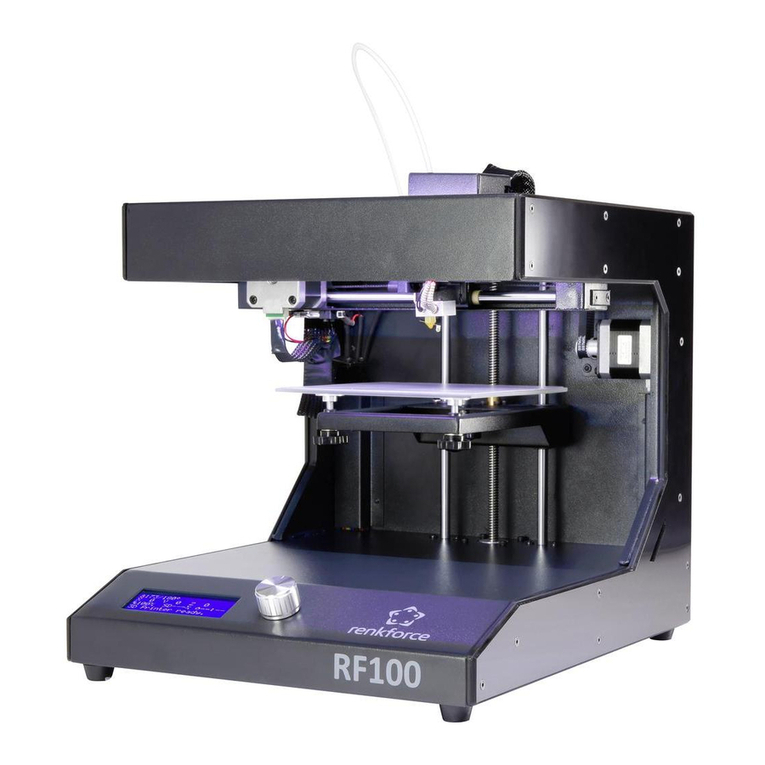
ROBBO MINI User manual

ROBBO
3D PRINTER MINI
User Manual

2

Table of Contents
1. Introduction 4
2. Purpose 4
3. Specifications 4
4. Contents of Delivery Kit 5
5. Structure and Workin Principle 5
5.1. Physical Form 5
5.1.1. Mountin base 6
5.1.2. Print bed 6
5.1.3. Z-axis slidin cradle 7
5.2. Printin Technolo y 7
5.3. Suitable Workin Materials 8
6. Safety Instructions 9
7. Software 9
7.1. Description of Repetier-Host 9
7.2. Software Installation 12
7.2.1. For Windows 12
7.2.2. For Linux 16
7.3. Software Setup 17
8. Preparation for Work 21
9. Maintenance 22
9.1. Lubrication 22
9.2. Replacement of Filament 22
9.3. Notched Belt Tension 23
9.3.1. Pullin -up the Х-axis belt 24
9.3.2. Pullin -up the Y-axis belt 24
9.4. First Launch 25
9.5. Test Printin 26
9.6. Troubleshootin 26
Z-Position accuracy 26
3

1. Introduction
Congratulations on purchasing the ROBBO 3D PRINTER MINI (further on, also referred as 3D
printer”).
This Manual will help you to get acquainted with the 3D printer and to print your first item.
Disclaimer: Failure to follow this Manual instructions may lead to personal injury, damage to
the 3D printer, or disfigured product.
2. Purpose
ROBBO 3D PRINTER MINI is designed for home usage and mastering the 3D printing. The 3D
printer uses fused-deposition layering technology to create a physical object after a digital 3D
model. Despite its relatively small size, the 3D printer enables you to create a variety of
artworks, plastic mechanisms, utensils etc. Models for 3D printing can be found on dedicated
websites, such as https://www.thingiverse.com.
3. Specifications
Power supply voltage ~12 V
Power consumption 100 W
Working area dimensions (X, Y, Z) 170×100×100 mm
Z-axis layer resolution 0.1–0.3 mm
Accuracy along the X- and Y-axis 0.01 mm
Travelling speed along the X- and Y-axis 3,000 mm/min
Travelling speed along the Z-axis 100 mm/min
Working instrument type One extruder
Working instrument specifications
Nozzle diameter 0.4 mm
Max temperature 250°C
Filament diameter (thickness) 1.75 mm
Material Type PLA
3D-model file format STL
Computer connection via USB
SD card use no
Print bed without heating
Dimensions (Length×Width×Height) 370×280×350 mm
Weight 3.5 kg
Environment conditions
Temperature: 15–25 °С
Humidity: up to 70%
Operating: indoors only
Air ventilation Natural ventilation is required
4

4. Contents of Deli ery Kit
The ROBBO 3D PRINTER MINI delivery kit includes:
● Assembled and configured 3D printer
● USB stick with software and setup
● Filament filter
● Power supply unit
● USB cable
5. Structure and Working Principle
5.1. Physical Form
3D printer consists of the following main units:
● Mounting base (shown in red colour)
● Z-axis sliding cradle (shown in yellow)
● Print bed (shown in blue)
● Guiding rods holder (shown in green)
5

5.1.1. Mounting base
The mounting base of the 3D printer houses two stepped motors (Y and Z) and electronics
compartment.
5.1.2. Print bed
Moving print bed consists of X-axis stepped motor, guiding rods, and printing surface.
6

5.1.3. Z-axis sliding cradle
Z-axis sliding cradle includes extruder’s motor, extruder, and airstream cooler (with the hood).
5.2. Printing technology
ROBBO 3D PRINTER MINI uses Fused Depositing Method (FDM). 3D objects are created by
depositing the fused layers of melted plastic on the print bed.
The main unit of the 3D printer is extruder. It heats up the plastic filament and extrudes
the melted filament onto the print bed.
Extruder’s motor feeds the filament into the extruder’s pipe (made of PTFE), through
which the filament gets into the chamber of the heater to be heated up to the melting temperature
and poured through the nozzle under pressure. The temperature in the chamber is kept high by
the heater and controlled by a thermal resistor (changing its resistance with the change of the
temperature).
7

5.3. Suitable working materials
The choice of the working materials for ROBBO 3D PRINTER MINI is based on four criteria:
● Operating temperature of the extruder (will the plastic melt?)
● Surface adhesion (will the plastic hold to the surface?)
● Extruder’s geometry (will the plastic be driven-up?)
● Nozzle size (will the plastic go through it?)
Maximal temperature achievable in the extruder is 250°С. For the best surface adhesion of
melted plastic we recommend using a special adhesive tape (3M Bluetape 2090). It perfectly
matches PLA-based plastics and plastics with low shrinkage ratio. ABS plastic would adhere
such surface as well, but it has drastic temperature shrinkage resulting in distortion of the model.
The extruder of our 3D printer has a short distance between the drive-up cog-wheel and the
PTFE pipe supplying the plastic into the heating zone. This enables printing with pliant plastics.
When melted, plastics (e.g. PLA) can be mixed with various fillers, i.e., powder of a solid
material. Particles of such powder can exceed the nozzle diameter as of its size. In this case, the
particle will jam the nozzle and hinder the plastic passing through. In our 3D printer, the nozzle
diameter is 0.4 mm, which enables printing with the majority of composite plastics.
Suitable materials are PLA, FLEX, SBS, composite plastics (Bronzefill, woodfill, carbonfill).
8

6. Safety Instructions
● Use the 3D printer in well-ventilated rooms with ambient temperature of 15–25°C and
humidity up to 70%.
● Do not use the 3D printer in dust-laden and/or humid environment.
● Do not use the 3D printer outdoors.
● Mount the 3D printer on an even stable surface far from flammable substances, open fire,
water sources.
● Do not hinder the moving parts during printing.
● Do not touch the heater when the 3D printer is working.
● Do not let foreign objects in moving parts and fans.
7. Software
ROBBO 3D PRINTER MINI runs the free and open source firmware Marlin.
(https://github.com/MarlinFirmware/Marlin)
Free application Repetier-Host is used as operating software (https://www.repetier.com)
Free application Slic3r is used to prepare the 3D model for printing (http://slic3r.org/)
7.1. Description of Repetier-Host
On launching Repetier-Host application, the main window of the application opens. There are
three toolbars with buttons plus the main working area.
The toolbars are described below.
9

Left-side toolbar
Toolbar on top (Upper toolbar)
10

Right-side toolbar
The right-side toolbar contains five tabs with buttons.
●1 — Object Placement
●2 — Slicer
●3 — Pre iew
This tab shows the parameters of the ready model (printing time, number of layers, approximate
length of the filament needed).
11

●4 — Manual Control
●5 — SD Card
It enables saving the ready model on an SD card for printing afterwards.
7.2. Software Installation
The accompanying USB stick contains the distributions of the required software. The
software is free, and you can also download the latest versions from the developers’ website.
The software is installed by two stages. First to install is Repetier-Host, and the next is
Slic3r.
7.2.1. For Windows
The installation steps are shown in the pictures.
1. Run Setup.exe:
2. Choose the language that you prefer:
12

3. Click [Next]:
4. Tick the checkbox to accept the license agreement and click [Next]:
13

5. Choose a folder for software installation:
6. Choose the program components to install (make your choice as shown in the picture):
14

7. Create the shortcut to launch the program:
8. Create such shortcut on the desktop too:
15

9. Click [Install]!
After that, copy Slic3r folder into the folder where Repetier-Host has been installed:
Congratulations, the software is installed! Go to Section 7.3 of this Manual.
7.2.2. For Linux
To install Repetier-Host, unpack the archive in your home directory. To do so, you have
to unpack it in the Home folder of your system. Then the Slic3r folder should be copied
from USB stick to the Repetier-Host folder (which you have just unpacked). From the
Repetier-Host folder, run the scripts Configure-First and InstallDependencies.
16

7.3. Software Setup
3D printer has two categories of settings: Repetier-Host settings and Slic3r settings.
Repetier-Host settings are to be typed manually in the Printer Settings window.
For that, click the [Printer Settings] button:
Copy the values from the picture below (the [Connection] tab):
WARNING: while choosing COM port, the 3D printer should be connected.
Select COM port from the Port” list, then click [Refresh ports] and try again.
3D printer will match the COM port that disappears on disconnecting USB.
17

Copy the values from the picture (the [Printer] tab):
Copy the values from the picture (the [Extruder] tab):
18

Copy the values from the picture (the [Printer Shape] tab):
Congratulations, you have configured Repetier-Host.
Now we have to go to Slic3r settings.
19

Slic3r settings are loaded automatically. To load them, go to the [Slicer] tab and click the
[Confuguration] button:
In the window that opens, select [File], then click [Load Config Bundle], and choose the file that
contains the settings (ROBBO_3D-PRINTER_MINI_Slic3r_config_bundle) on USB stick.
20
Table of contents
