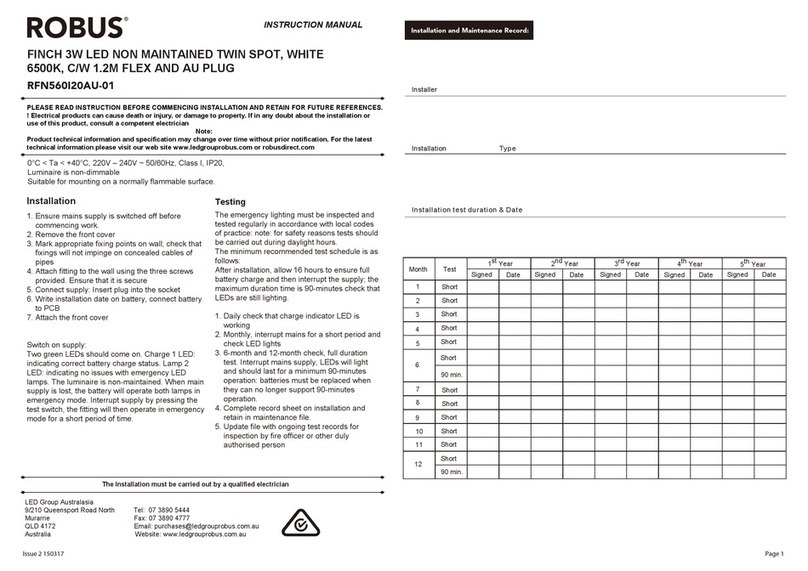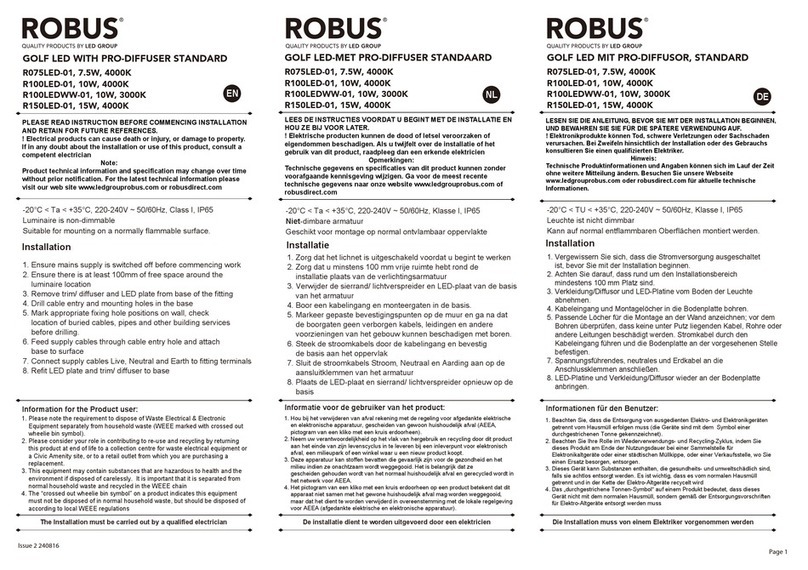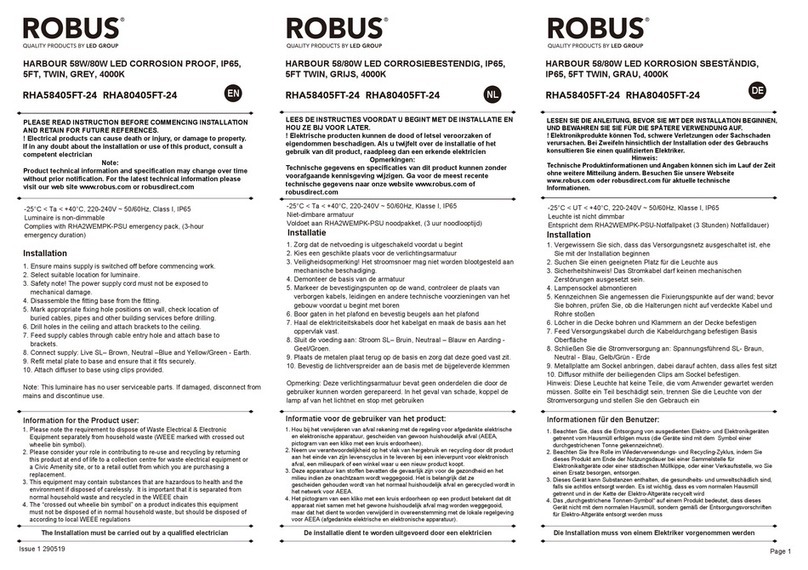
PLEASE READ INSTRUCTION BEFORE COMMENCING INSTALLATION AND RETAIN
FOR FUTURE REFERENCES.
! Electrical products can cause death or injury, or damage to property. If in any
doubt about the installation or use of this product, consult a competent electrician
Note:
Product technical information and specification may change over time without prior
notification. For the latest technical information please visit our web site
www.robus.com or robusdirect.com
Issue 2 290121 Page 1
Information for the Product user:
Installation
1. Please note the requirement to dispose of Waste Electrical & Electronic
Equipment separately from household waste (WEEE marked with crossed out
wheelie bin symbol).
2. Please consider your role in contributing to re-use and recycling by returning
this product at end of life to a collection centre for waste electrical equipment or
a Civic Amenity site, or to a retail outlet from which you are purchasing a
replacement.
3. This equipment may contain substances that are hazardous to health and the
environment if disposed of carelessly. It is important that it is separated from
normal household waste and recycled in the WEEE chain
4. The “crossed out wheelie bin symbol” on a product indicates this equipment
must not be disposed of in normal household waste, but should be disposed of
according to local WEEE regulations
The Installation must be carried out by a qualified electrician
-20°C < Ta < +45°C, 220-240V~50/60Hz, Class II, IP65
Luminaire is non-dimmable
Suitable for mounting on a normally flammable surface.
-20°C < Ta < +45°C, 220-240V~50/60Hz, Klasse II, IP65
Dit product is niet dimbaar
Geschikt voor montage op normal ontvlambaar oppervlakte
-20°C < UT < +45°C, 220-240V~50/60Hz, Klasse II, IP65
Dieses Produkt ist nicht dimmbar
Kann auf normal entflammbaren Oberflächen montiert werden.
Installatie Installation
LEES DE INSTRUCTIES VOORDAT U BEGINT MET DE INSTALLATIE EN HOU ZE BIJ
VOOR LATER.
! Elektrische producten kunnen de dood of letsel veroorzaken of eigendommen
beschadigen. Als u twijfelt over de installatie of het gebruik van dit product,
raadpleeg dan een erkende elektricien
Opmerkingen:
Technische gegevens en specificaties van dit product kunnen zonder voorafgaande
kennisgeving wijzigen. Ga voor de meest recente technische gegevens naar onze
website www.robus.com of robusdirect.com
Informatie voor de gebruiker van het product:
1. Hou bij het verwijderen van afval rekening met de regeling voor afgedankte elektrische
en elektronische apparatuur, gescheiden van gewoon huishoudelijk afval (AEEA,
pictogram van een kliko met een kruis erdoorheen).
2. Neem uw verantwoordelijkheid op het vlak van hergebruik en recycling door dit product
aan het einde van zijn levenscyclus in te leveren bij een inleverpunt voor elektronisch
afval, een milieupark of een winkel waar u een nieuw product koopt.
3. Deze apparatuur kan stoffen bevatten die gevaarlijk zijn voor de gezondheid en het
milieu indien ze onachtzaam wordt weggegooid. Het is belangrijk dat het
gescheiden gehouden wordt van het normaal huishoudelijk afval en gerecycled wordt in
het netwerk voor AEEA.
4. Het pictogram van een kliko met een kruis erdoorheen op een product betekent dat dit
apparaat niet samen met het gewone huishoudelijk afval mag worden weggegooid,
maar dat het dient te worden verwijderd in overeenstemming met de lokale regelgeving
voor AEEA (afgedankte elektrische en elektronische apparatuur).
De installatie dient te worden uitgevoerd door een erkende elektricien
LESEN SIE DIE ANLEITUNG, BEVOR SIE MIT DER INSTALLATION BEGINNEN, UND
BEWAHREN SIE SIE FÜR DIE SPÄTERE VERWENDUNG AUF.
! Elektronikprodukte können Tod, schwere Verletzungen oder Sachschaden
verursachen. Bei Zweifeln hinsichtlich der Installation oder des Gebrauchs
konsultieren Sie einen qualifizierten Elektriker.
Hinweis:
Technische Produktinformationen und Angaben können sich im Lauf der Zeit ohne
weitere Mitteilung ändern. Besuchen Sie unsere Webseite www.robus.com
oder robusdirect.com für aktuelle technische Informationen
Informationen für den Benutzer:
1. Beachten Sie, dass die Entsorgung von ausgedienten Elektro- und Elektronikgeräten
getrennt vom Hausmüll erfolgen muss (die Geräte sind mit dem Symbol einer
durchgestrichenen Tonne gekennzeichnet).
2. Beachten Sie Ihre Rolle im Wiederverwendungs- und Recycling-Zyklus, indem Sie
dieses Produkt am Ende der Nutzungsdauer bei einer Sammelstelle für
Elektronikaltgeräte oder einer städtischen Müllkippe, oder einer Verkaufsstelle, wo Sie
einen Ersatz besorgen, entsorgen.
3. Dieses Gerät kann Substanzen enthalten, die gesundheits- und umweltschädlich sind,
falls sie achtlos entsorgt werden. Es ist wichtig, dass es vom normalen Hausmüll
getrennt und in der Kette der Elektro-Altgeräte recycelt wird
4. Das „durchgestrichene Tonnen-Symbol“ auf einem Produkt bedeutet, dass dieses
Gerät nicht mit dem normalen Hausmüll, sondern gemäß der Entsorgungsvorschriften
für Elektro-Altgeräte entsorgt werden muss
Die Installation muss von einem Elektriker vorgenommen werden
EN NL DE
ATLANTIC AC STRIP 8W/M 240V 3000K/4000K
IP65 50M
RAA8306550 RAA8406550
ATLANTIC AC STRIP 8W/M 240V 3000K/4000K
IP65 50M
RAA8306550 RAA8406550
ATLANTIC AC STRIP 8W/M 240V 3000K/4000K
IP65 50M
RAA8306550 RAA8406550
ATLANTIC AC STRIP 8W/M 240V 3000K/4000K
IP65 50M
RAA8306550 RAA8406550
-20°C < Tdel < +45°C, 220-240V ~ 50/60Hz, Razred II, IP65
Ta izdelek ni zatemljiv.
Primerno za montažo na vnetljive površine.
SL
Inštalacija
PRED MONTAŽO SKRBNO PREBERITE NAVODILA ZA UPORABO IN JIH SHRANITE NA
VARNO MESTO, SAJ JIH BOSTE POZNEJEMORDA ŠE POTREBOVALI.
! Električne naprave lahko povzročijo telesne poškodbe, smrt in materialno škodo. Če
dvomite o montaži, priklopu in uporabi tega proizvoda, se posvetujte s strokovnjakom
za elektrotehniko.
Opomba:
Pridržujemo si pravico do sprememb proizvoda in tehničnih specifikacij brez
predhodnega obvestila. Za najnovejše tehnične informacije obiščite našo spletno stran
www.robus.com ali robusdirect.com.
Informacije za uporabnika:
1. Upoštevajte predpise o odstranjevanju odpadne električne in elektronske
opreme – proizvoda ni dovoljeno odstraniti med gospodinjske odpadke (OEEO
s simbolom: prekrižanim zabojnikom za odpadke na kolesih).
2. Prispevajte k varovanju okolja in omogočite reciklažo proizvoda – po koncu
njegove življenjske dobe ga predajte pristojnemu zbirnemu centru za odpadke
ali vrnite trgovcu, pri katerem ste ga kupili.
3. Ta oprema lahko vsebuje snovi, ki so v primeru malomarnega ravnanja
nevarne za zdravje in okolje. Pomembno je, da proizvod ločite od drugih
gospodinjskih odpadkov in ga predate v reciklažo (OEEO).
4. Simbol »prekrižani zabojnik za odpadke na kolesih« na proizvodu pomeni, da
tega proizvoda ni dovoljeno odstraniti med običajne gospodinjske odpadke,
temveč skladno s predpisi o OEEO.
Priklop sme izvesti le strokovnjak za elektrotehniko
1. Ensure mains supply is switched off before commencing work.
2. Cut lengths are only provided through Robus Customised
Conversions department.
3. Maximum continuous length 50m
Mounting:
4. Using screws attach mounting bracket (RAAB ) onto the surface
( 4 x brackets for the first meter, then 3 x brackets every meter).
Attach the LED strip onto the mounting kit and close clips. Avoid
covering the LED chip as far as possible.
5. Make connections in suitable IP enclosure. Connect supply
cables: L - Blown; N - Blue.
6. Please see installation diagrams and install the strip as per
diagrams
ACCESSORIES:
RAAB: ATLANTIC AC strip mounting bracket
1. Zorg dat het lichtnet is uitgeschakeld voordat u begint.
2. Op lengte gesneden strips worden alleen geleverd via de Robus
afdeling Aangepaste ombouwen.
3. Maximale continue lengte 50 m.
Montage:
3. Bevestig de montagebeugel met schroeven op het oppervlak (4
beugels voor de eerste meter, daarna 3 beugels per meter).
Bevestig de LED-strip op de montageset en sluit de clips.
Voorkom zo veel mogelijk dat de LED-chip wordt afgedekt.
4. Maak de aansluitingen in een geschikte IP-behuizing. Sluit de
stroomkabels aan: L - Bruin, N - Blauw.
5. Zie de installatieschema’s en installeer de strip volgens de
schema’s.
ACCESSORIES:
RAAB: ATLANTIC AC strip montagebeugel
1. Vergewissern Sie sich, dass die Stromzufuhr ausgeschaltet ist,
bevor Sie mit der Installation beginnen.
2. Schnittlängen werden nur über die Robus-Abteilung Customised
Conversions bereitgestellt.
3. Maximale durchgehende Länge 50 m
Montage:
3. Befestigen Sie die Montageklammern mit Schrauben an der
gewünschten Fläche (4 x Klammern für den ersten Meter, dann
3 x Klammern für jeden weiteren Meter). Befestigen Sie den
LED-Streifen am Montage-Set und schließen Sie die Clips.
Vermeiden Sie so weit wie möglich, den LED-Chip abzudecken.
4. Verbinden Sie die Anschlüsse in einem geeigneten IP-Gehäuse.
Schließen Sie die Stromkabel an: L - Braun; N - Blau.
5. Bitte beachten Sie die Installationsdiagramme und installieren
Sie den Streifen gemäß den Diagrammen.
Zubehör:
RAAB: ATLANTIC AC strip montageklammern
1. Pred začetkom dela izključite omrežno napajanje.
2. Dolžine na rez pripravijo samo v oddelku za predelava Robus.
3. Največja neprekinjena dolžina je 50 m.
Montaža:
3. Z vijaki pritrdite nosilec na površino (4 x nosilec za prvi meter,
nato 3 x nosilec za vsak naslednji meter).
Pritrdite trak LED na montažni komplet in zaprite priponke.
Kolikor je možno ne prekrijte čipa LED.
4. Povežite v ustreznem okrovu IP. Priključite napajalne kable: L –
rjava; N – modra.
5. Glejte sheme in inštalirajte trak, kot kaže ustrezna shema.
Dodatni pribor:
RAAB: ATLANTIC AC strip nosilec na površino
