manuals.online logo
Brands
  1. Home
  2. •
  3. Brands
  4. •
  5. Rockler
  6. •
  7. Power Tools
  8. •
  9. Rockler 53648 User manual

Rockler 53648 User manual

Drill Press Fence
Instructions
Congratulations on the purchase of your Rockler Drill Press Fence! Mount it to a custom shop-built
table (see suggested plan inside) for increased accuracy and repeatability, as well as enhanced dust
collection. For safe and effective operation, please read these instructions fully before use.
2
Quantity
1 Aluminum Fence 1
2 12" Adjustable MDF Fence Face 2
3 Dust Port 1
4 4-Star Fence Hold-Down Knob 2
5 1" Round Knob 4
6 5/16"-18 x 1" T-Bolt 4
7 5/16"-18 x 21⁄2" Fence Mounting T-Bolt 2
8 21⁄4" Flip Stop 1
9 1" Round Knob for Flip Stop 1
10 5/16"-18 x 11⁄2" T-Bolt for Flip Stop 1
PARTS LIST - DRILL PRESS FENCE
2
2
7
10
5
9
8
4
5
5
3
5
4
1
6
7
6
6
6
3
Making a Drill Press Table
This is a general plan. Customize the table dimensions and
the size and position of the relief cutout at the back of the
table to fit your drill press or work patterns.
1. Determine how long and wide you want the table to be.
Cut your material to size.
Note: For stability, table material should be at least
11⁄8" thick (or a lamination of equivalent thickness).
2. Determine where and how big the rear cutout for your
drill press column needs to be. Mark your stock and
make the cut with a jigsaw or band saw.
3. On the table’s underside, use the Shop Drawing to
locate the center opening; center it right to left and
align the cross marks with the drill shaft.
4. Mark the outline and make the cut with a jigsaw.
5. Flip the table. With a bearing-guided rabbeting bit,
cut a 1/4" W x 3/8" D rabbet around the opening.
6. Use a 1" diameter Forstner bit to drill finger holes at
the four corners of the center opening.
7. Use a 3/4" router bit or a dado set in a table saw to cut
3/4" W x 3/8" D dadoes for the T-track. Cut the
T-track to length, if necessary, with a hacksaw. File
any rough edges. Install with #6 flathead screws.
8. Cut 41⁄2" x 6" sacrificial inserts from 3/8" thick stock.
Mounting the Table to Your Drill Press
Check Rockler.com for updates. If you have further questions, please
contact our Technical Support Department at 1-800-260-9663
or support@rockler.com
Position rear cutout to fit your drill press
Position slots for mounting
fence 161⁄4" to 193⁄4" apart
1/4" w x 3/8" D
rabbet around
the center
opening
1" finger holes
are corners of
center opening
Optional: Use
#6 woodscrews
as leveling pins
Method 2 - Install 5/16"-18 Screw-On Tee Nuts (68379,
sold separately) on the underside of your shop-built table
and use Rockler Hold-Down Clamps (35283, sold
separately) to secure.
Method 1 - Drive woodscrews with FastCap Wood
Washers (49034, sold separately) or fender washers
through holes in your drill press’ metal table to secure.
4Distributed by Rockler Companies, Inc.
©2015 Rockler Woodworking and Hardware
53648
Rev 07/15
Important Safety Instructions
1. This tool is designed for specific applications as defined
in the instructions and should not be modified and/or
used for any other applications.
2. Before using the Rockler Drill Press Fence read,
understand and follow all instructions and safety
information provided.
3. Always read, understand and follow the instructions and
safety warnings for any tool that is used in conjunction
with this product.
4. Before using this product, review and verify that all tools
used with it are in proper working order as defined by the
tool’s owner’s manual.
5. All safety equipment must be installed and working
properly as defined by the tool’s owner’s manual.
6. Do not use this product until you have read the
provided instructions and warnings and are confident
you understand them.
7. Always wear safety glasses and hearing protection and
follow all standard shop safety practices.
8. Do not use this tool if you are in any way impaired by
medications, alcohol, drugs or fatigue.
9. Remove all jewelry, secure loose clothing and tie up
long hair before using this tool.
10. It is the sole responsibility of the purchaser of this tool
to ensure that any third party reads and agrees to all
the safety precautions outlined in this manual prior to
using the tool.
11. Maintain these instructions and warnings as long as you
own the tool. Keep in a place where they will be readily
available for reference.
12. The user assumes all risk for the proper use of this
tool and for ensuring product suitability for
intended application.
13. When using the drill press fence it must be securely
locked into position and the subfences secured before
starting your drill press.
14. At no time should the drill bit come in contact with any
part of the fence.
Shop Drawings Drill Press Fence Center Opening
51⁄2"
4"
Center drill shaft here

Other Rockler Power Tools manuals

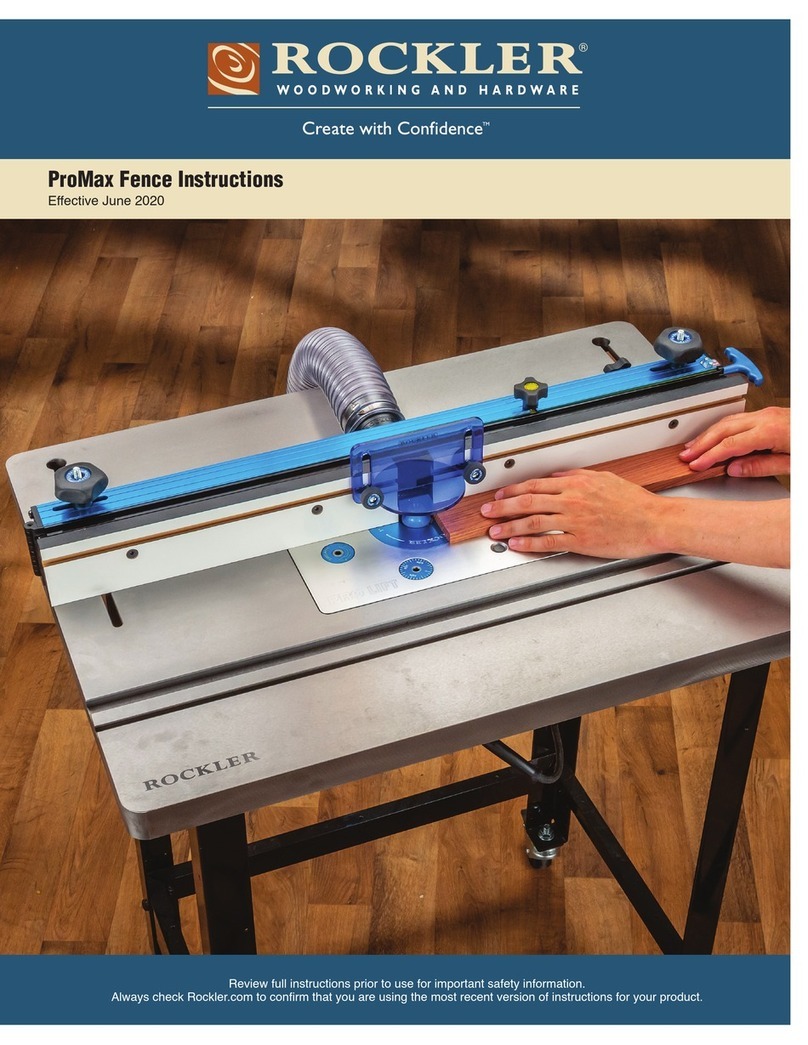
Rockler ProMax Fence User manual

Rockler

Rockler ProMax Fence User manual

Rockler 66275 User manual

Rockler

Rockler 66275 User manual

Rockler Perfect Fit Dado Jig User manual

Rockler

Rockler Perfect Fit Dado Jig User manual

Rockler Router Table Box Joint Jig User manual

Rockler

Rockler Router Table Box Joint Jig User manual

Rockler 36407 User manual

Rockler

Rockler 36407 User manual

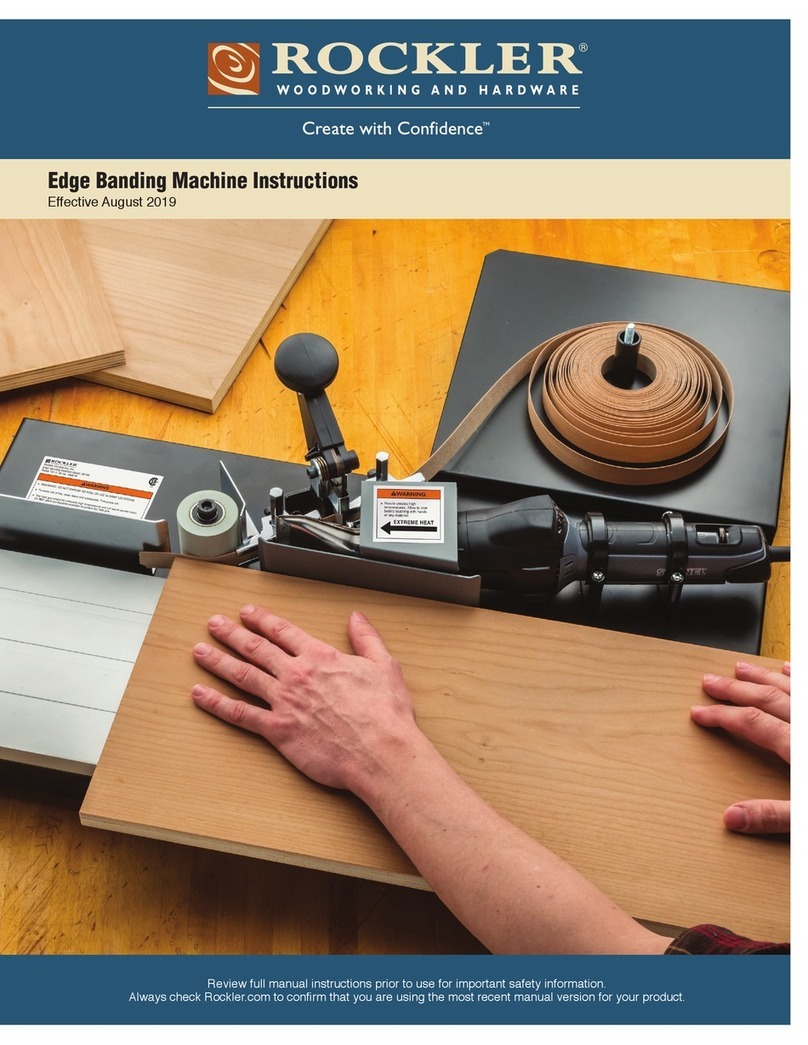
Rockler Edge Banding Machine User manual

Rockler

Rockler Edge Banding Machine User manual

Rockler Trim Router Table User manual

Rockler

Rockler Trim Router Table User manual

Rockler SL Router Lift User manual

Rockler

Rockler SL Router Lift User manual

Popular Power Tools manuals by other brands

MULTIQUIP QP40TH Parts and operation manual

MULTIQUIP

MULTIQUIP QP40TH Parts and operation manual

EINHELL TE-MX 1600-2 CE Twin operating instructions

EINHELL

EINHELL TE-MX 1600-2 CE Twin operating instructions

HQ HQ-SOLDER01 manual

HQ

HQ HQ-SOLDER01 manual

Ryobi RJS1050K Original instructions

Ryobi

Ryobi RJS1050K Original instructions

Hilti NURON NPR 24-22 manual

Hilti

Hilti NURON NPR 24-22 manual

Bosch GSH 27 PROFESSIONAL operating instructions

Bosch

Bosch GSH 27 PROFESSIONAL operating instructions

DeWalt XR Li-Ion DCS355-XE instruction manual

DeWalt

DeWalt XR Li-Ion DCS355-XE instruction manual

Master Quality Power PT10341 instruction manual

Master Quality Power

Master Quality Power PT10341 instruction manual

EINHELL TE-CD 12/1 X-Li operating instructions

EINHELL

EINHELL TE-CD 12/1 X-Li operating instructions

Metabo OFE 738 Original instructions

Metabo

Metabo OFE 738 Original instructions

ROJEK EURO7 Series quick start guide

ROJEK

ROJEK EURO7 Series quick start guide

DeWalt XR Li-Ion DCF813 instruction manual

DeWalt

DeWalt XR Li-Ion DCF813 instruction manual

Fein GRIT GXE Series Original instructions

Fein

Fein GRIT GXE Series Original instructions

Bosch AMW 10 Original instructions

Bosch

Bosch AMW 10 Original instructions

Brugg CALPEX Series instruction manual

Brugg

Brugg CALPEX Series instruction manual

HIKOKI WH 14DMR Handling instructions

HIKOKI

HIKOKI WH 14DMR Handling instructions

Desoutter PTF024-T6500-S10S quick start guide

Desoutter

Desoutter PTF024-T6500-S10S quick start guide

Sharper Image 204995 owner's guide

Sharper Image

Sharper Image 204995 owner's guide

manuals.online logo
manuals.online logoBrands
  • About & Mission
  • Contact us
  • Privacy Policy
  • Terms and Conditions

Copyright 2025 Manuals.Online. All Rights Reserved.