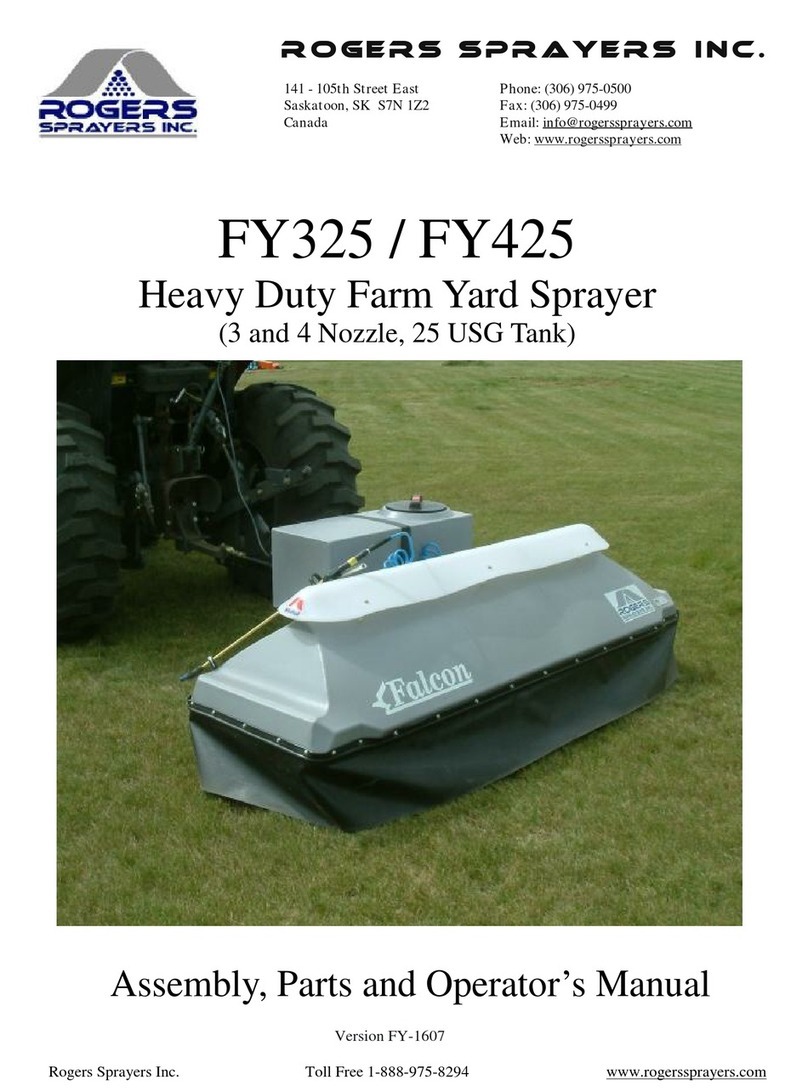
Rogers Sprayers EcoFoil EF1000 Installation and operating instructions

Rogers Sprayers Inc.
141– 105th Street East, Saskatoon, SK S7N 1Z2 Canada
Phone: (306) 975-0500 Fax: (306) 975-0499
E Mail: [email protected] web: www.rogerssprayers.com
Windfoil Drift Containment Sprayer
EcoFoil
EF1000, EF1500, EF2000
Assembly and Operations Manual
Minimize Chemical Drift
The WINDFOIL sprayer has been designed in wind tunnels to control air flow around and behind the sprayer
to minimize drift, allowing safe spraying in windy conditions. Drift can blow off a field after it has been sprayed,
especially in high winds. Reasonable caution should be taken, in order to spray effectively and safely.
For maximum drift control, keep curtain in contact with the canopy to ensure a seal to it. Drift control
of the WINDFOIL is less effective when the wind blows the curtain off the turf canopy, breaking the
seal between the curtain and the turf.
Safety
Many people die or suffer serious injury in job related accidents every year due to carelessness. Know your
machinery and be aware of potential hazards. Put safety first in all your operations. Review all instructions and
procedures outlined in this manual annually. Every operator must familiarize themselves with the operating
instructions of the sprayer.
Nozzles
The EcoFoil is equipped with conventional 110º spray tips, spaced at 20 “. Tips are mounted with self-aligning
¼ turn caps for easy removal or change. Use the provided application rate tables to determine application rate.
Trouble Shooting
If dripping occurs, it is caused by the diaphragm not seating properly, the diaphragm may be hard, cracked, or
the seating may be damaged.

Cleaning
Sprayers need to be cleaned to prevent corrosion, to prevent cross contamination of chemicals, and to prevent
any grit or solids in the liquid that will reduce pressure. Flush with clean water, preferably after each day’s
operation. Rinse the outside of the sprayer. Follow the same safety precautions during cleaning as for
applications. Use respirator, rubber gloves, or other protective gear as may be directed by label instructions.
Winterizing
Flush with clean water. Remove nozzle tips, screens and no drip valves (if used) and store them in a can of
light oil such as diesel fuel or kerosene to prevent corrosion. Close nozzle openings with tape to prevent dirt,
insects, mice, or other contaminants from entering. Store the sprayer in a reasonably clean and dry building.
Assembly
There is more than one way to successfully assemble your EcoFoil walk behind hose fed sprayer. Following
the outlined steps will help to ensure a simple, trouble free assembly. All assembly references to left and right
are referring to the sprayer left and right when facing the rear of the sprayer. Approximate time for first
instance assembly: 1 hour and 30 minutes.
Required Tools & Parts or Acceptable Substitute
9 Assorted parts bag
9 Retaining clip pliers
9 7/16” Open end wrench or Crescent wrench
9 7/16” Socket and driver or second 7/16” wrench
9 #2 Robertson screwdriver or standard flathead screwdriver
9 7/8” Open end wrench or Crescent wrench
9 Utility knife
9 Silicone spray lubricant or other lubricant/moisture source
9 Teflon tape
9 Socket extension (Optional)
Handle attachment
Attach handle mounts to the rear of the sprayer, sloped side facing the front of sprayer using, (2) - ¼”
x 1” long bolts and (2) - ¼” nuts, for each side.
Attach the handle to the outer side of the handle mount with, (1) - ¼” U-bolt, and (1) - ¼” x 1 ½” long
bolt, for each side. Orient so the pressure gauge and hose is to the right.
Place bolt from outside of the support and clinch with ¼” nuts from the inner side.
Tighten both ends of the U-bolt evenly.
Do not over tighten
Attach Airfoil
Avoid kinking or warping the airfoil as this will degrade sprayer performance.
Remove the, (2) outermost, 11/16” nozzle retaining nuts. There are, (4) found on top of the sprayer
shroud (EF2000).
Place the airfoil support brackets in place of the retaining nut, with the top of the support sloping
towards the rear of the sprayer.
Refasten the nozzle retaining nuts.
Set the airfoil on top of supports. Point the long slope of the airfoil towards the rear of the sprayer.
Attach airfoil using, (1) - ¼” x ¾” long bolt, (1) - ¼” nut and, (2) - ¼” flat washers at each support.
Remove any free play in the bolts, but do not tighten.
If required, move either side of the airfoil forward or backward until the front edge of the airfoil is
parallel with the ground.
Tighten the airfoil attachment bolts until snug. Do not over tighten.
Hose attachment.
Spray inside the end of the hose to be connected with silicone spray lubricant, or moisten, to ease
application over fittings.
Slip hose clamp over hose end.
Firmly slide hose end over appropriate hose fitting, until completely seated.
Situate hose clamp over hose and fitting connection. Close hose clamp by squeezing clamp.
Last Check
Recheck all assembled parts for completeness and secure connections.
Your sprayer is now ready for a wet test, to ensure complete operation.

Plumbing Assembly, Ecofoil Series
QTY
Item Part # Description EF1000 EF1500 EF2000
1 05916 Ftg,Poly,Plug, 3/4MNPT, Hex 1 1 1
2 01209 Valve Manual Boom Control 1 1 1
3 05527 Ftg,Poly,Adpt, 1/2MNPT x 1/2HB 1 1 1
4 12477 Hose,Red,1/2x45,300psi 1 1 1
5 05816 Ftg,Nyl,Tee, 1/2HB/HB/HB 1 1 1
6 05352 Hose,Red,1/2x9,300psi 2 2 2
7 12362 Nut, Brs, 11/16 2 3 4
8 04897 Noz Body,L Type,1/2HB,Delavan 2 2 2
9 05969 Screen,Tip, 100 Mesh, Check Valve, Ball 2 3 4
10 00828 Seal, EPDM, 3/4,for 3/4" Cap Fitting 2 3 4
11 05862 Tip,Spray, 11001VS, Flat Fan,0.1USGPM 2 3 4
12 00826 Ftg,Poly,Cap,Noz,Delavan, 1/2FNPT, Self Aligning, LF 2 3 4
13 06178 Hose,Red,1/2X18,300psi N/A 1 2
14 04898 Noz Body,Tee,1/2HB,Delavan N/A 1 2
15 11093 Ftg,Poly,Rdcr, 3/4MNPT x 3/8FNPT 1 1 1
16 04661 Ftg,Brs,Adpt, 3/4FGHT x 3/8MNPT 1 1 1
17 01092 Clamp, Hose, Plstc, Bk, SNP-16 6 8 10

General Assembly, Ecofoil
Item Part # Description Qty Item Part # Description Qty
1 01154 Bolt, 1/4NC x 3/4, Pld (EF1000/1500) 2
1 01154 Bolt, 1/4NC x 3/4, Pld (EF2000) 4
2 01157 Wshr, Flat, 1/4, Pld (EF100/1500) 2
2 01157 Wshr, Flat, 1/4, Pld (EF2000) 4
3 00968 Nut, Nylock, 1/4NC, Pld (EF1000/1500) 12
3 00968 Nut, Nylock, 1/4NC, Pld (EF2000) 14
4 12945 Airfoil, Poly, White,40" (EF1000) 1
4 12946 Airfoil, Poly, White,60" (EF1500) 1
4 12947 Airfoil, Poly, White,80” (EF2000) 1
5 01396 Dcl, "Windfoil" Logo 2
6 01397 Dcl, "ROGERS", White, 1
7 00721R Airfoil, Standoff, RT, Al (EF1000/1500) 1
7 00721R Airfoil, Standoff, RT, Al (EF1000/1500) 2
8 01156 Scr, TEK, #12 x 1 ¼ (EF1000/1500) 11
8 01156 Scr, TEK, #12 x 1 ¼ (EF2000) 15
9 01153 Nut, Nylock, #10, Pld 6
10 01152 Scr, Mach, C, #10-24 x 3/4Truss Head 6
11 01479 Shroud,LP,Red,40,Drilled,EF1000 1
11 07226 Shroud,LP,Red,60,Drilled,EF1500 1
11 12322 Shroud,LP,Red,80,Drilled,EF2000 1
12 02566 Curtain Hanger, 91Lg (EF1000) 1
12 06263 Curtain Hanger, 111Lg (EF1500) 1
12 02544 Curtain Hanger, 140Lg (EF2000) 1
13 02980 Curtain, Blue, 5 1/2 x 91 (EF1000) 1
13 06259 Curtain, Blue, 5 1/2 x 111 (EF1500) 1
13 02975 Curtain, Blue, 5 1/2 x 140 (EF2000) 1
14 01398 Pl,Serial,RogersTypable Aluminum 1
15 01164 Bolt, 1/4NC x 1, Pld 4
16 12001R Handle Mt,R,1/8x3 7/16x6 15/16 1
17 05111 Ublt,1/4NCx1 1/8rdx2,Pld 2
18 02635 Frame, EF1000 1
18 00388 Frame, EF1500 1
18 02630 Frame, EF2000 1
19 04550 Whl Assy,9 3/4x3,cw Brgs, 2
20 05456 Bolt, 5/8NC x 4, Pld 2
21 01313 Nut, 5/8NC, Pld 2
22 07619 Wshr, Flat SAE, 5/8, Pld 2
23 02639 Handle,EF1000/1500/2000 1
24 05406 Bolt, 1/4NC x 1 ½ , Pld 2
25 12001L Handle Mt,Left,1/8x3 7/16x6 15/16 1
26 02976 Curtain, Blue, 5 1/2 x 22 1/2 (EF1000) 1
26 06260 Curtain, Blue, 5 1/2 x 42 1/2 (EF1500) 1
26 02977 Curtain, Blue, 5 1/2 x 57 (EF1000) 1
27 02550 Curtain Hanger, 22 1/2 (EF1500) 1
27 06264 Curtain Hanger, 42 1/2 (EF2000) 1
27 02559 Curtain Hanger, 57Lg 1
28 00721L Airfoil, Standoff, Left, Al (EF1000/1500) 1
28 00721L Airfoil, Standoff, Left, Al (EF2000) 2
29 01305 Nytie,Bk UV,3/16x12 1
30 12341 Dcl, Airfoil, "Front & Back" 1
This manual suits for next models
2
Other Rogers Sprayers Paint Sprayer manuals
Popular Paint Sprayer manuals by other brands

Valex
Valex M-PS 18 operating instructions

Graco
Graco AirPro 313516C instructions

Chicago Electric
Chicago Electric 99702 Set up and operating instructions

Lafferty
Lafferty Pump Up Sprayer Pro Installation & operation instructions

Earlex
Earlex SPRAYSTATION 5900 Operating instructions manual

Graco
Graco GH 311796B Operation manual