manuals.online logo
Brands
  1. Home
  2. •
  3. Brands
  4. •
  5. Roland
  6. •
  7. Musical Instrument
  8. •
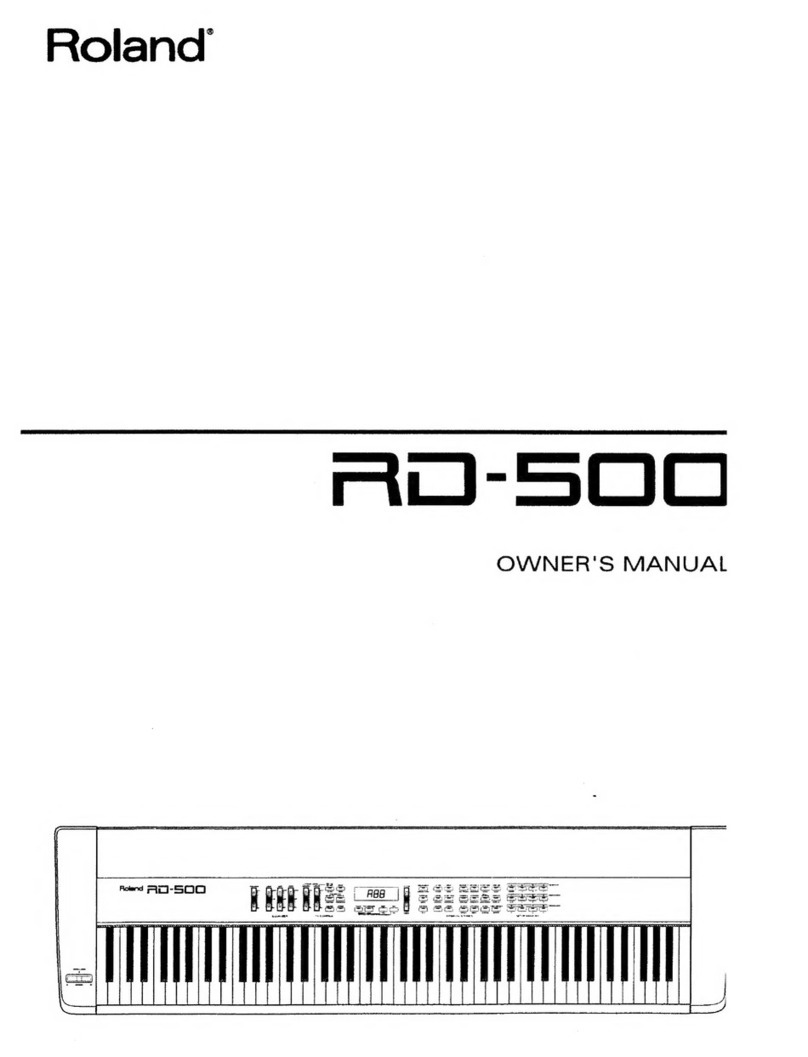
  9. Roland RD-88 Instructions and recipes

Roland RD-88 Instructions and recipes

Other manuals for RD-88

3

Other Roland Musical Instrument manuals

Roland GP-6 User manual

Roland

Roland GP-6 User manual

Roland HP550G User manual

Roland

Roland HP550G User manual

Roland KR-115 Manual

Roland

Roland KR-115 Manual

Roland Fantom-X Owner's manual

Roland

Roland Fantom-X Owner's manual

Roland VS-2480DVD Configuration guide

Roland

Roland VS-2480DVD Configuration guide

Roland HP702 User manual

Roland

Roland HP702 User manual

Roland HP 137 User manual

Roland

Roland HP 137 User manual

Roland Rhythm Coach RMP-5 User manual

Roland

Roland Rhythm Coach RMP-5 User manual

Roland Music Atelier AT-60R User manual

Roland

Roland Music Atelier AT-60R User manual

Roland HP 330 User manual

Roland

Roland HP 330 User manual

Roland ep-70 Operating and maintenance manual

Roland

Roland ep-70 Operating and maintenance manual

Roland XP-80 User manual

Roland

Roland XP-80 User manual

Roland STUDIO M User manual

Roland

Roland STUDIO M User manual

Roland JUNO-G User manual

Roland

Roland JUNO-G User manual

Roland KR-777 User manual

Roland

Roland KR-777 User manual

Roland DP-900 User manual

Roland

Roland DP-900 User manual

Roland KR-5 Installation and operating instructions

Roland

Roland KR-5 Installation and operating instructions

Roland XP-50 Owner's manual

Roland

Roland XP-50 Owner's manual

Roland Atelier AT-90SL User manual

Roland

Roland Atelier AT-90SL User manual

Roland GO:KEYS User manual

Roland

Roland GO:KEYS User manual

Roland RD-700NX User manual

Roland

Roland RD-700NX User manual

Roland AT15 Music Atelier User manual

Roland

Roland AT15 Music Atelier User manual

Roland 3000s User manual

Roland

Roland 3000s User manual

Roland RD-170 User manual

Roland

Roland RD-170 User manual

Popular Musical Instrument manuals by other brands

Funkey SP-561 user manual

Funkey

Funkey SP-561 user manual

thomann DP-275 GP BP user manual

thomann

thomann DP-275 GP BP user manual

Kawai CN17 Operation guide

Kawai

Kawai CN17 Operation guide

Yamaha PCY130 owner's manual

Yamaha

Yamaha PCY130 owner's manual

Johannus Rembrandt 200 user manual

Johannus

Johannus Rembrandt 200 user manual

Yamaha Clavinova CVP-609 Reference manual

Yamaha

Yamaha Clavinova CVP-609 Reference manual

Casio celviano ap-700 user guide

Casio

Casio celviano ap-700 user guide

Yamaha PSR-E473 owner's manual

Yamaha

Yamaha PSR-E473 owner's manual

Modulus Quantum Series owner's manual

Modulus

Modulus Quantum Series owner's manual

Gear4music SDP-4 user manual

Gear4music

Gear4music SDP-4 user manual

HOMCOM 390-006 Assembly instruction

HOMCOM

HOMCOM 390-006 Assembly instruction

Xotic Guitars ProVintage Series owner's manual

Xotic Guitars

Xotic Guitars ProVintage Series owner's manual

Sadowsky MetroLine Series operating manual

Sadowsky

Sadowsky MetroLine Series operating manual

Bosendorfer CEUS user manual

Bosendorfer

Bosendorfer CEUS user manual

Yamaha Electone EL-17 owner's manual

Yamaha

Yamaha Electone EL-17 owner's manual

Alesis AHB-1 Assembly guide

Alesis

Alesis AHB-1 Assembly guide

Hotpoint RF512GP How to get the best

Hotpoint

Hotpoint RF512GP How to get the best

Yamaha DGX-530 manual

Yamaha

Yamaha DGX-530 manual

manuals.online logo
manuals.online logoBrands
  • About & Mission
  • Contact us
  • Privacy Policy
  • Terms and Conditions

Copyright 2025 Manuals.Online. All Rights Reserved.

1
RD-88 Supplementary Manual
Importing Tones
Tones that you download or tones that you exported from another
unit can be imported into the RD-88 as added tones.
Saving Tones to a USB Flash Drive
* If you’re using the USB flash drive for the first time, format it
using the RD-88.
&“Formatting a USB Flash Drive” (Owner’s Manual)
1. By downloading or by using the export function of
another unit, obtain an SVZ file containing the tones
that you want to import, and place the file on your
computer.
2. Save the SVZ file in the ROLAND/SOUND folder of the
USB flash drive.
3. Connect the USB flash drive to your computer.
4. Disconnect the USB flash drive from your computer, and
connect it to the RD-88.
Importing Tones into the RD-88
1. Press the [MENU] button.
2. Use the cursor [ ] [ ] buttons to select “UTILITY,” and
then press the [ENTER] button.
3. Use the cursor [ ] [ ] buttons to select “IMPORT TONE,”
and then press the [ENTER] button.
4. Use the cursor [ ] [ ] buttons to select the file that
contains the tone(s) that you want to import, and then
press the cursor [>] button.
According to the number of tones that can be imported, the tones to
be imported will be selected automatically (check marks are assigned
automatically).
The number of tones saved in the file is shown in
parentheses.
5. Use the cursor [ ] [ ] buttons to select the tone that you
want to import, and then use the [ENTER] button to add
a check mark.
Instead of using the [ENTER] button, you can also use the [INC]
[DEC] buttons to assign check marks.
To select or de-select all tones, hold down the [SHIFT] button
and press the [INC] [DEC] buttons.
To select or de-select a specific range of tones, press the
[ENTER] button at the beginning of the range; then at the
end of the range, hold down the [SHIFT] button and press the
[ENTER] button.
6. Press the cursor [>] button.
7. Use the cursor [ ] [ ] buttons to select the import-
destination tone, and then press the [ENTER] button to
add a check mark.
NOTE
5 An “ * ”is displayed for tones used in scene.
5 An indication of "NEW" is shown for newly imported tones.
5 Be aware that the import-destination tone you select will
be overwritten.
5 If the import-destination has fewer tones than the import-
source, not all of the selected tones will be imported.
The number of tones is shown in the upper right of the
screen.
Number of import-destination/import-source tones
5 If there is a tone named “INITIAL TONE,” it is automatically
selected as the import-destination tone (a check mark is
added automatically).
If you want to keep that tone, clear the check mark.
8. Press the cursor [>] button.
A confirmation screen appears.
If you decide to cancel, press the [EXIT] button.
9. To execute, use the cursor [>] button to select “OK,” and
then press the [ENTER] button.
When import is completed, the message “Import Tone
Completed!” appears.
NOTE
Never turn off the power or disconnect the USB flash drive
during a process, such as while the“Processing…”display is
shown.
© 2020 Roland Corporation
2
RD-88 Supplementary Manual
Selecting an Imported Tone
1. In the Scene screen, use the cursor buttons to select the
zone whose tone you want to change.
Move the cursor to the tone name.
2. Press the [ENTER] button.
The tone list appears.
3. Press the [ENTER] button to display the Bank screen.
Each time you press the [ENTER] button, you alternate between
the Bank screen which sorts tones by bank and the Category
screen which sorts tones by category.
4. Use the cursor [<] [>] buttons to select the USER bank.
The list of imported tones appears.
5. Use the cursor [ ] [ ] buttons to select a tone.
MEMO
5 After selecting a tone, press the [EXIT] or [ENTER] button to
return to the Scene screen.
5 If you want to save the settings, execute the Scene write
operation.
&“Saving a Scene (Write)”(Owner’s Manual)
Connecting a Computer (USB COMPUTER Port)
MIDI and audio data can be transferred via the RD-88’s USB
COMPUTER port to and from your computer.
* For details on operating requirements and supported operating
systems, refer to the Roland website.
USB cable
Installing the USB Driver
In order to use the RD-88 connected with your computer, you
must install a driver on your computer.
1. From the product support page, download the RD-88
Driver.
To obtain the latest USB driver, access the following URL and
download the driver for the model you’re using.
https://www.roland.com/support/
2. Install the driver as directed by the procedure given on
the download page.
USB Driver Settings
Here's how to specify the USB driver that is used when connecting
to a computer via the USB COMPUTER port.
* Changes to the USB driver settings take effect when you restart
the unit.
1. Press the [MENU] button.
2. Use the cursor [ ] [ ] buttons to select “SYSTEM,” and
then press the [ENTER] button.
3. Use the cursor [ ] [ ] buttons to select “GENERAL,” and
then press the [ENTER] button.
4. Use the cursor [ ] [ ] buttons to select “USB Driver,” and
use the [DEC] [INC] buttons to edit the value.
Parameter Value Explanation
USB Driver
GENERIC
Choose this when using the USB driver that was
provided with your computer.
* Only MIDI can be used.
VENDOR Choose this when using the USB driver that you
downloaded from the Roland website.
5. Save the setting.
&“Saving the System Settings (System Write)” (Owner’s Manual)
6. Turn the RD-88’s power off and then on again.
3
RD-88 Supplementary Manual
Controlling MainStage
If RD-88 is connected to your Mac via USB, you can use the RD-88’s
knobs and buttons to control MainStage (DAW CTRL function).
NOTE
This document explains procedures for MainStage version 3.4.3.
Menus and other aspects might differ for other versions.
Preparations for Using MainStage
USB driver settings
In order to use the DAW CTRL function in MainStage, you must
install the dedicated driver for the RD-88, and make settings.
For details, refer to“Connecting a Computer” (p. 2).
* To use the DAW CTRL function, set USB Driver to “VENDOR.”
Installing the profile
Install the MainStage profile on your Mac.
1. Download the profile from the product support page.
Access the following URL and download the profile.
https://www.roland.com/support/
2. Decompress the downloaded ZIP file.
3. Double-click “RD88_MainStageProfile_1.0.0.pkg.”
Installation begins.
4. Proceed with installation as directed by the screen.
5. When the indication“Installation is completed” appears,
click the [Close] button.
Turning the DAW CTRL Function On/Off
1. Use a USB cable to connect the RD-88 to your Mac.
2. Start MainStage.
3. In MainStage, open the concert that you want to use.
4. Hold down the RD-88’s [SHIFT] button and press the
[DAW CTRL] button.
When connection is successful, the DAW CTRL function turns
on, and the RD-88’s display shows the DAW CTRL screen.
5. When you want to stop using DAW control, press the
[EXIT] button to turn off the DAW CTRL function.
MEMO
When you turn on the DAW CTRL function, there might be cases
in which sound cannot be produced for a short time. This is due
to the processing needed to load the Concert data for MainStage,
and is not a malfunction.
NOTE
If the connection is not correct, a screen like the following appears.
5 Verify that the USB cable is correctly connected.
5 Check whether the driver is correctly installed.
4
RD-88 Supplementary Manual
Controlling MainStage
When the DAW CTRL function is on, you can use the RD-88’s knobs and buttons to operate MainStage.
Button/Knob Function
[SHIFT] + [DAW CTRL] Select mode
Switches between DAW CTRL mode and normal mode.
Cursor [>] Next Set
Recalls the next set.
Cursor [<] Previous Set
Recalls the previous set.
Cursor [ ]Next Patch
Recalls the next patch.
Cursor [ ]Previous Patch
Recalls the previous patch.
[PIANO]–[OTHER] / [0]–[9] Select patches within the currently selected set.
[SHIFT] + LEVEL [UPPER2] Volume
Adjusts the USB AUDIO output volume.
[SHIFT] + LEVEL [UPPER1] Volume
Adjusts the USB AUDIO input volume.
[SHIFT] + LEVEL [MIC/LINE IN] Volume
Adjusts the volume of the currently selected instrument.
[ASSIGN] Enables Smart Control.
[TONE COLOR] knob
[MFX] knob
[CHORUS/DELAY]
[REVERB]
LEVEL [LOWER]
LEVEL [UPPER2]
LEVEL [UPPER1]
LEVEL [MIC/LINE IN]
Smart Control
When the [ASSIGN] button is on, edits the Smart Control parameters.
MEMO
5 Changes made in MainStage to parameter names such as the Set name, Track name, and Smart Control parameter names might not be
immediately reflected in the RD-88’s screen.
5 The Smart Control parameter values change according to the settings in MainStage. It is not necessarily the case that operations on
the RD-88 will be able to set the parameter all the way to its minimum value or maximum value. Make prior settings in MainStage as
necessary to reach the desired range.
5 In case of problem, select the “Assignment & Mappings” tab in Edit mode and check if the port is set as follows.
Assignment: RD-88
0Pitch Bend, Expression, Sustain, Modulation
Assignment: RD-88 DAW CTRL
0Volume, Smart Knobs
If the MainStage project was already assigned to another controller, it can happen it takes of setting.
5 When you turn off the DAW CTRL function, the knob indications return to the function that had been previously selected. You cannot
set these functions when the DAW CTRL function is off.
01
Mac and MainStage are either registered trademarks or trademarks of Apple Inc.