Roscoe Medical NEB-PORT User manual

Roscoe Medical
Portable Compressor
Nebulizer Guidebook
Models No’s: NEB-PORT and NEB-PORTNB
Your Nebulizer is intended for use in the treatment of asthma, COPD and other respiratory
ailments in which an aerosolized medication is required during therapy. Please consult with your
physician and/or pharmacist to determine if your prescription medication is approved for use with
this Nebulizer. The Nebulizer is intended for single patient use only.
Federal
(
U.S.A.
)
law restricts this device to sale b
y,
or on the order of
,
a licensed
p
h
y
sician.

Table of Contents
Introduction.............................................................................................. 3
Product Identification ............................................................................... 3
Important Safeguards and Product Cautions........................................... 3
Cleaning Procedures ............................................................................... 3
Changing the Air Filter ........................................................................ 4
Using the AC Adapter, DC Adapter
or Rechargeable Battery Pack ............................................................ 4
Assembling Your Nebulizer ..................................................................... 5
Operating Your Nebulizer ........................................................................ 6
Troubleshooting ....................................................................................... 7
Product Specifications ............................................................................. 8

3
Introduction
Thank you for purchasing the Roscoe Medical Portable Compressor
Nebulizer. It is a compact medical device designed to efficiently deliver
physician prescribed medication to the bronchial lung passages. With proper
care and use, it will provide you with many years of reliable treatment.
Your compressor nebulizer should be used under the supervision of a
licensed physician and/or respiratory therapist. We encourage you to
thoroughly read this guidebook to learn about the features of your nebulizer.
Together with your physician and/or respiratory therapist, you can feel
comfortable and confident knowing that you are receiving the most effective
inhalation treatments for your respiratory condition.
Treatments are delivered quickly, safely and conveniently making this unit
ideal for all ages. Any use of this product other than its intended use should
always be avoided.
Product Identification

4
Important Safeguards
Note: Read all instructions carefully before use. The following basic
precautions are needed when using an electrical product. Failure to read
and observe all precautions could result in personal injury or equipment
damage.
1. To avoid electrical shock: Keep the unit away from water • Do not
immerse the power cord or the unit in liquid • Do not use while bathing
• Do not reach for a unit that has fallen into water – immediately unplug
the unit.
2. Never operate the unit if it has any damaged parts (including power
cord), if it has been dropped or submersed in water. Promptly send it to
a service center for examination and repair.
3. The unit should not be used where flammable gas, oxygen or aerosol
spray products are being used.
4. Disconnect the unit from the electrical outlet before cleaning, filling and
after each use.
5. Do not use other attachments unless recommended by manufacturer.
Operating Cautions:
1. Connect this product to an appropriate voltage outlet for your model.
2. Do not run this product unattended.
3. Never operate if this unit has a damaged cord or plug, if it has been
dropped, or in any way, into water, if it does not work properly. Return it
to a service center for repair.
4. If any abnormality occurs, discontinue use immediately until the unit has
been examined and repaired.
5. Always unplug the product immediately after use.
6. Never block the air openings of the main unit or place it where the air
openings may be obstructed.
Storage Cautions:
1. Do not store the unit under direct sunlight, high temperature or humidity.
2. Keep the unit out of reach of small children.
3. Always keep the unit unplugged while not in use.
°

5
Cleaning Cautions:
1. Do not immerse the unit in water. It may damage the unit.
2. Disconnect the unit from the electrical outlet before cleaning.
3. Clean all necessary parts after each use as instructed in this guidebook.
Operating Your Nebulizer
NOTE: Prior to initial operation, the nebulizer should be thoroughly cleaned.
1. Place your Roscoe Medical Compressor Nebulizer on a flat and stable
surface. Be sure that you can easily reach the controls
when you are seated.
2. Open the clear cover and remove the inside accessories.
Important: Prior to initial operation, the nebulizer should
be thoroughly cleaned referring to the “Cleaning
Procedures” in this guidebook.
3. Gently twist the top part of the nebulizer counter-
clockwise to disassemble the nebulizer, Fig A.
4. Fill the bottom section of the nebulizer with the
medication prescribed by your physician. Be sure that the
cone is put inside the bottom section (the stem inside the
medicine cup inserts into the tube of the cone), Fig F.
5. Gently twist the top part clockwise to and fill medication
re-assemble the nebulizer. Be sure the two sections fit
securely.
6. Attach one end of air tube to the base of the nebulizer,
Fig G. Attach the opposite end of the tubing to the tube
connector on the front of the compressor.
7. NOTE: The nebulizer that is provided with your kit is
operable at up to a 45°angle.
Attach the angled mouthpiece or optional mask to the
top section of nebulizer, Fig H.
If using the optional tee adapter set (Fig. H):
(a.) Attach the tee adapter to the top of the nebulizer.
(b.) Connect one end of the tee adapter to the straight
mouthpiece and the other end to the extension tube.
NOTE: The tee adapter is not needed when using a
mask.

6
Make sure that the mouthpiece or other attachments
are properly connected to the nebulizer cover.
8. Check that the POWER switch has been pressed to
“OFF”. Plug the power cord into a main outlet.
9. Press POWER switch to the “ON” position to begin
your prescribed treatment.
10. Once the treatment is complete, press the POWER
switch to “OFF” and unplug the power cord from the
outlet.
Remember:
- Keep your eyes away from the output of medication mist.
- If any discomfort or abnormality occurs, stop using the unit immediately.
- Do not tilt or shake the unit when in operation.
After Every Use
1. When the treatment has ended, press the POWER button.
2. Unplug the unit from the power source.
3. Allow the unit to completely cool – approximately 20 to 30 minutes.
4. Carefully remove the nebulizer and pour out any remaining medication.
5. Follow the cleaning procedures provided in this guidebook.
Note:
- The unit should not be used for more than 30 minutes at a time.
- Wait 30 minutes before reusing the unit.
Cleaning Procedures
Please consult with your physician or therapist prior to cleaning regarding
the use of commercial disinfectants and appropriate cleaning methods.
It is important to clean your nebulizer before the first time it is used and after
each use. Remember: disconnect the unit from the electrical outlet and
never immerse the unit in water.
Rinsing Technique
(Performed after each treatment)
1. Make sure that the POWER button has been pressed “OFF” and the
unit has been disconnected from the power source.
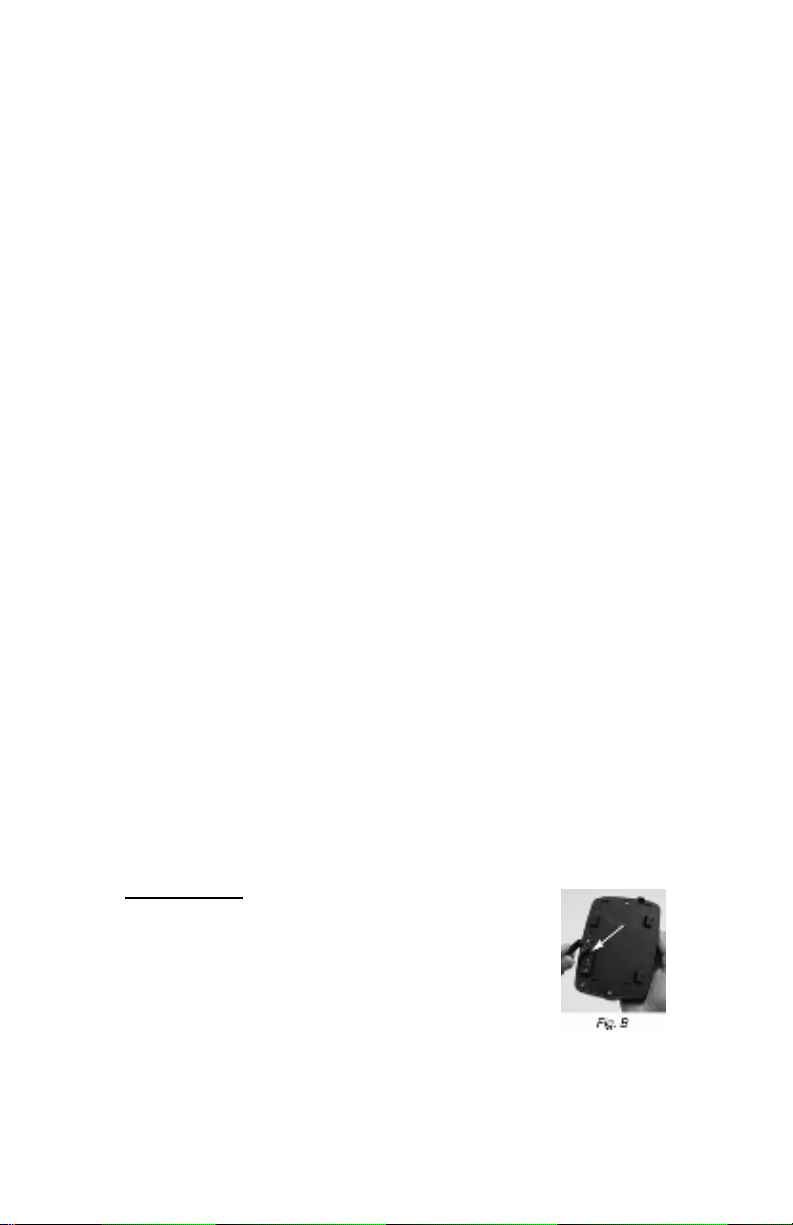
2. Disconnect the nebulizer, air tube, mouthpiece and/or mask. NOTE:
If removing the nebulizer from the stem of the compressor, twist the
entire nebulizer, then lift to remove.
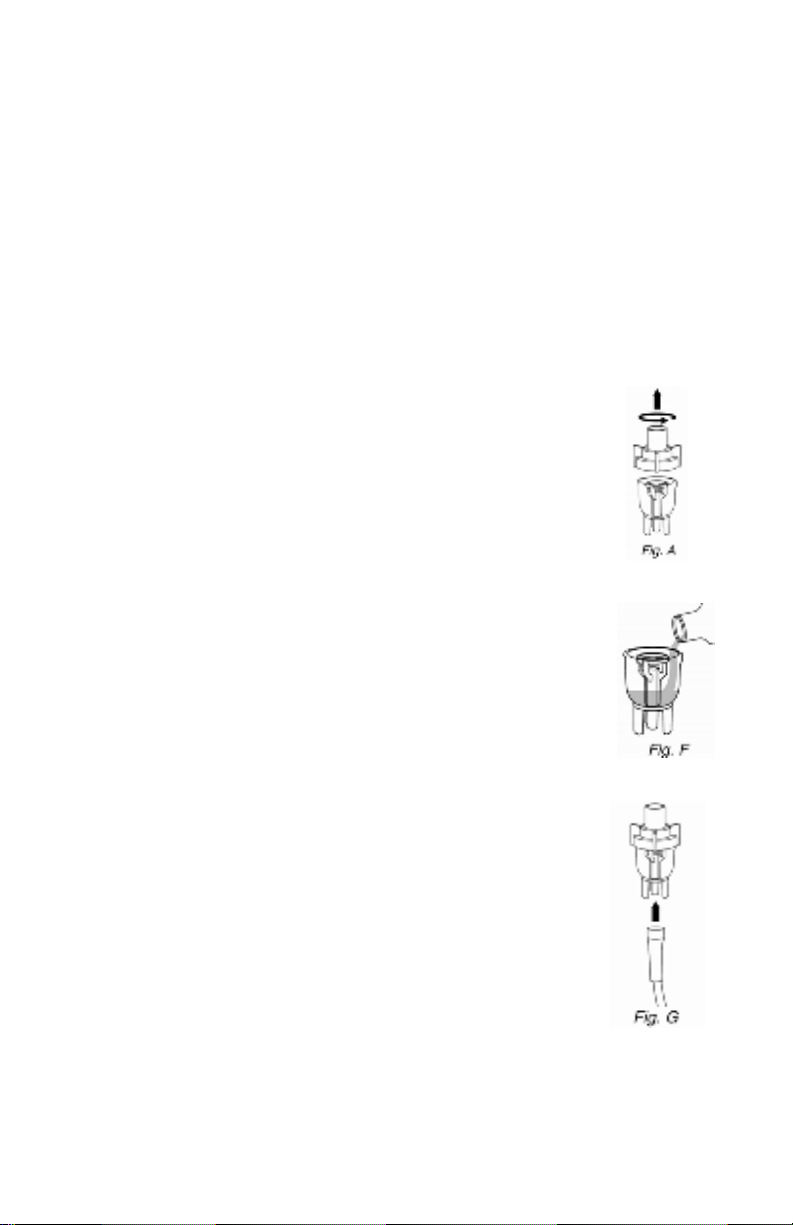
3. Gently twist and pull up on the cover to open and separate, Fig. A.
4. Rinse the nebulizer and components with hot tap water.

7
5. Dry with clean towels or allow to completely air dry. Reassemble the
nebulizer and store the parts in a cool, dry place.
Cleaning Technique
(Performed after last treatment of the day or before first time use):
1. Follow steps 1-4 under “Rinsing Technique”.
2. Wash all nebulizer parts, mouthpiece and other optional
components in warm water and a mild detergent. Rinse in hot tap
water.
NOTE: For first time cleaning or after the unit ahs been stored for an
extended period of time, thoroughly clean all components. The
nebulizer is dishwasher safe.
3. Prepare a vinegar/distilled water solution of one part white vinegar
to three parts distilled water.
4. Submerge the rinsed parts in the vinegar/distilled water solution for
30 minutes.
5. Follow steps 4-5 under “Rinsing Technique”.
Cleaning the Main Body (Compressor)
The compressor should be cleaned with a soft cloth moistened with water
and dried with a soft cloth.
NOTE: Any other form of cleaning or cleaning agents may damage the finish
on the unit.
Changing the Air Filter
It is important to change the air filter approximately every 30 days or when
the air filter turns gray.
1. Remove the air filter cover by gently peeling back the rubber
cover.
2. Discard the gray air filter.
3. Replace with a new, clean air filter.
4. Securely reattach the air filter cover to the unit.
NOTE: Air filters cannot be cleaned or washed. Do not substitute alternate
material such as cotton. Do not operate without an air filter.

8
Using the AC Adapter, DC Adapter or
Rechargeable Battery Pack.
Your nebulizer operates by use of either an AC adapter, DC adapter or a
rechargeable battery pack.
NOTE: The battery pack must not be connected to the compressor when
using the AC or DC adapter.
Using the AC Adapter:
1. Insert the AC adapter plug into the receptacle of the compressor,
located on the bottom of the compressor.
2. Following general safety precautions, plug the adapter into a standard
AC outlet.
3. Proceed to “Assembling and Operating Your Nebulizer” instructions.
Using the DC Adapter:
1. Insert the DC adapter plug into the receptacle of the compressor,
located on the bottom of the compressor.
2. Following general safety precautions, plug the adapter into a standard
DC outlet.
Using the Rechargeable Battery Pack
Your compressor nebulizer can operate with the use of a rechargeable
battery when AC power is not available. The life of the battery is
approximately 2 years; however, battery life will vary depending on usage,
storage and charging conditions.
To Charge the Battery
1. Insert the AC adapter plug into the receptacle of the battery pack,
located on the top of the battery pack, see FIG. B.
2. Following general safety precautions, plug the adapter into a standard
AC outlet.
Charging Time:
1st Time use: 24 hours
Thereafter: 4-12 hours
A red battery light shows that the battery is being
charged. If the lamp changes from red to green
during charging, it indicates the battery is fully
charged. Unplug the adapter from the battery
pack.
This manual suits for next models
1
Table of contents
Other Roscoe Medical Respiratory Product manuals