manuals.online logo
Brands
  1. Home
  2. •
  3. Brands
  4. •
  5. rough country
  6. •
  7. Automobile Accessories
  8. •
  9. rough country Slim Line LED Light Grille Kit User manual

rough country Slim Line LED Light Grille Kit User manual

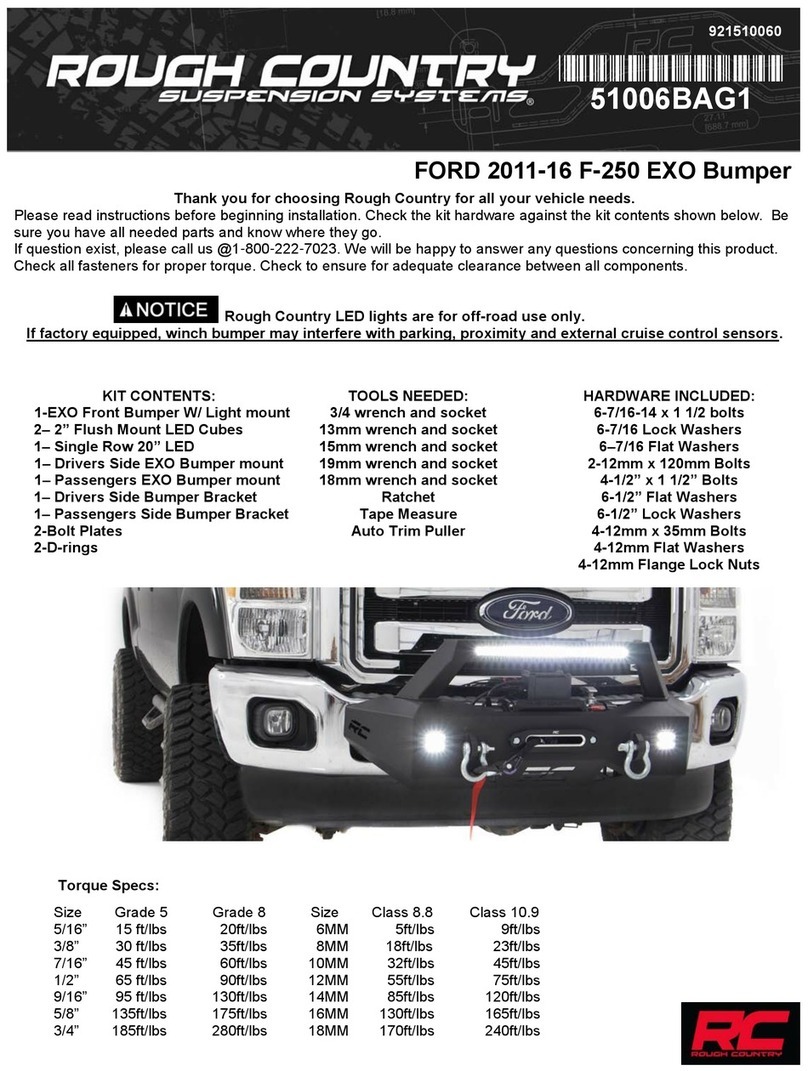
Thank you for choosing Rough Country for all your vehicle needs.
Please read instructions before beginning installation. Check the kit hardware against the kit contents shown below. Be
sure you have all needed parts and know where they go.
If question exist, please call us @1-800-222-7023. We will be happy to answer any questions concerning this product.
Check all fasteners for proper torque. Check to ensure for adequate clearance between all components.
Periodically check all hardware for tightness.
Fits XLT ONLY
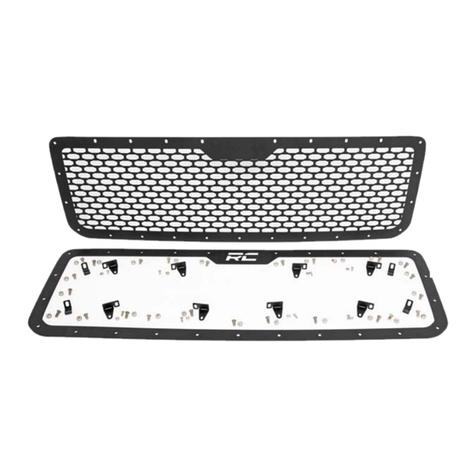
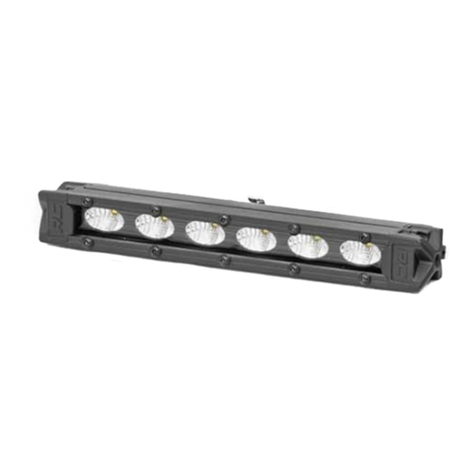
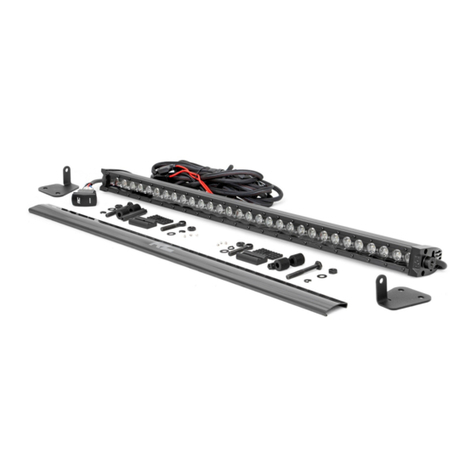
KIT CONTENTS:
Outer Grille Brackets x 2
Inner Grill Brackets x 2
LED Light Brackets x 4
Slim Line LED Lights
TOOLS NEEDED:
3/32 Allen Wrench
5/32 Allen Wrench
5/16 Wrench
7/16 Wrench
7MM Socket
8MM Socket
10MM Socket
Adjustable Pliers
Ratchet
Auto Trim Puller
Tape Measure
HARDWARE INCLUDED:
1/4-20 x x1/2 Button Head Bolts x 8
1/4-20 Nylock Nuts x 8
#8-32 x 1/2 Button Head Bolts x 8
#8-32 Lock Nut x 8
Torque Specs:
Size Grade 5 Grade 8 Size Class 8.8 Class 10.9
5/16” 15 ft/lbs 20ft/lbs 6MM 5ft/lbs 9ft/lbs
3/8” 30 ft/lbs 35ft/lbs 8MM 18ft/lbs 23ft/lbs
7/16” 45 ft/lbs 60ft/lbs 10MM 32ft/lbs 45ft/lbs
1/2” 65 ft/lbs 90ft/lbs 12MM 55ft/lbs 75ft/lbs
9/16” 95 ft/lbs 130ft/lbs 14MM 85ft/lbs 120ft/lbs
5/8” 135ft/lbs 175ft/lbs 16MM 130ft/lbs 165ft/lbs
3/4” 185ft/lbs 280ft/lbs 18MM 170ft/lbs 240ft/lbs
FORD 2018-19 F-150 10 Inch Slim Line LED Light Grille Kit
921708070A
1. Remove the push pin clips from the top of the grille cover. See Photo 1. Save for reuse.
2. Remove the grille cover, set aside for reuse. See Photo 2.
3. Remove the 4 bolts in the top of the grill, use a 10mm socket. See Photo 3. Save for reuse.
4. Unplug the shutter motor in the top of the grille. See Photo 4.
5. Using an auto trim puller, release the shutter motor wiring clip from the grille. See Photo 5.
6. Remove the 2 screws in the fender flare on each side of the vehicle, use a 7mm socket. See Photo 6. Save for re-
use.
Photo 1 Photo 2
Photo 3 Photo 4
Photo 5 Photo 6
Remove the push pins from the grill cover. Remove the grill cover.
Remove the 4 bolts in the top of the grille. Unplug the shutter motor.
Release shutter motor wiring. Remove the 2 screws from fender flare.
INSTALLATION INSTRUCTONS
7. Using an auto trim puller, release the clips securing the fender flare to the upper bumper cover. See Photo 7 and 8.
8. Release and remove the upper bumper cover from the vehicle. See Photo 9. Set aside in a safe place for reuse.
9. Remove the 2 bolts from the bottom of the grille, use a 10mm socket. See Photo 10. Save for reuse.
10. Remove the grille from the vehicle, set in a safe place to install the lights. See Photo 11.
11. Using an auto trim puller, remove the 5 push pins from the top of the grille. See Photo 12. Save for reuse.
Photo 7 Photo 8
Photo 9 Photo 10
Photo 11 Photo 12
Release the clips in the fender flare. Remove fender flare from bumper cover.
Remove the upper bumper cover. Remove 2 bolts in the bottom of the grille.
Remove the grille from the vehicle. Remove the 5 push pins from the grille.
12. Remove the 8 push pins along with the grille cover from the bottom of the grille, use an auto trim puller. See Photos
13 and 14. Set aside for reuse.
13. Remove the 4 nuts in the outside mount of the shutter system using a 10mm socket. Remove the center bolt using a
7mm socket. See Photo 15.
14. Push in to release the tabs wile lifting up on the bottom of the shutter system. See Photo 16.
15. Remove the shutter system from the back of the grille. Set aside this will be reused. See Photo 17.
16. Locate the outer grill mount. This mount is 5.65” or 143.5mm long. See Photo 18.
Photo 13 Photo 14
Photo 15 Photo 16
Photo 17 Photo 18
Remove the 8 push pins. Remove the grill cover.
Remove the 4 nuts and the center bolt. Release the clips on the bottom of the grille.
Remove the back of the grille. Outer grille light mount.
Top of
grille.
5.65”
[143.5mm]
17. Install the inner light mount in the correct position onto the tabs on the grille. See Photo 19.
18. Locate the inner light mount. This light mount is 6.15” or 156.2mm long. See Photo 20.
19. Install the light mount brackets onto the tabs on the grille using the 4 supplied 1/4/-20 x 1/2 button head bolts and 1/4
-20 nylock nuts. See Photo 21. Do not tighten at this time.
20. Locate the 4 LED light mounts. See Photo 22.
21. Install the LED light mounts onto each end of the light using the supplied hardware in that kit. See Photo 23.
22. Install the light onto the installed brackets on the grille, secure using (4) of the supplied #8-32 x 1/2 button head bolt
and (4) #8-32 lock nut. See Photo 24.
Photo 19 Photo 20
Photo 21 Photo 22
Photo 23 Photo 24
Install the light mount.
Install the brackets onto the light. LED Light mount.
Install the brackets onto the light. Install the light into the grille.
Top of
grille.
Inner grille light mount.
Top of
grille.
6.15”
[156.2mm]
Top of
grille.
23. Tighten the #8-32 bolts and nuts using an 3/32 allen wrench and a 5/16 wrench. See Photo 25.
24. Tighten the 1/4-20 bolts and nuts using a 5/32 allen wrench and a 7/16 wrench. See Photo 26.
25. Remove the studs from the shutter system from the grille. Using pliers hold the base of the stud and a 10mm socket
on the nut. See Photo 27.
26. Insert the 4 square nuts into the grille and screw the studs into them. See Photos 28 and 29.
27. Install the wiring harness supplied in the light kit.
28. Install the shutter system back onto the grille using the retained hardware to secure, use a 8mm socket for the cen-
ter bolt and a 10mm socket for the 4 outside nuts. See Photo 30. Make sure the light wires are not pinched or in
the working area of the shutter system.
Photo 25 Photo 26
Photo 27 Photo 28
Photo 29 Photo 30
Tighten the light bracket hardware. Tighten the grill mount hardware.
Remove the stud from the grill support. Install the square nut in the grille.
Install the stud into the square nut. Install the shutter system.
29. Install the retained grill cover onto the bottom of the grill. See Photo 31.
30. Install the 5 retained push pins into the top of the grille. See Photo 32.
31. Install the grille onto the vehicle. See Photo 33.
32. Reverse steps 1-13 to complete the installation of the grille.
33. Secure all loose wiring.
Photo 31 Photo 32
Photo 33
Install the bottom grille cover. Install the 5 push pins in the top of the grille.
Install the grille.
By purchasing any item sold by Rough Country, LLC, the buyer expressly warrants that he/she is in compliance with all
applicable , State, and Local laws and regulations regarding the purchase, ownership, and use of the item. It shall be
the buyers responsibility to comply with all Federal, State and Local laws governing the sales of any
items listed, illustrated or sold. The buyer expressly agrees to indemnify and hold harmless Rough
Country, LLC for all claims resulting directly or indirectly from the purchase, ownership, or use of the
items.

Other rough country Automobile Accessories manuals
rough country 928511900 User manual

rough country

rough country 928511900 User manual

rough country JEEP 2017-19 WK2 User manual

rough country

rough country JEEP 2017-19 WK2 User manual

rough country 921707010 User manual

rough country

rough country 921707010 User manual

rough country 70213 User manual

rough country

rough country 70213 User manual

rough country RCH5100 User manual

rough country

rough country RCH5100 User manual

rough country RC-G5 User manual

rough country

rough country RC-G5 User manual

rough country 10538 User manual

rough country

rough country 10538 User manual

rough country 921707820 User manual

rough country

rough country 921707820 User manual

rough country 92PERF1641 User manual

rough country

rough country 92PERF1641 User manual

rough country 1118517 User manual

rough country

rough country 1118517 User manual

rough country 70101 User manual

rough country

rough country 70101 User manual

rough country 927061900 User manual

rough country

rough country 927061900 User manual

rough country 82000BAG1 User manual

rough country

rough country 82000BAG1 User manual

rough country 92179500000 User manual

rough country

rough country 92179500000 User manual

rough country 92179211200 User manual

rough country

rough country 92179211200 User manual

rough country 31007 User manual

rough country

rough country 31007 User manual
rough country RC-P5 User manual

rough country

rough country RC-P5 User manual

rough country RC-Z5 User manual

rough country

rough country RC-Z5 User manual

rough country 11826 User manual

rough country

rough country 11826 User manual

rough country 99003 User manual

rough country

rough country 99003 User manual
rough country RC-W5 User manual

rough country

rough country RC-W5 User manual

rough country 921106090 User manual

rough country

rough country 921106090 User manual

rough country RC-U5 User manual

rough country

rough country RC-U5 User manual

rough country 921510090 User manual

rough country

rough country 921510090 User manual

Popular Automobile Accessories manuals by other brands

Intec CVD500LCD Replacement instructions

Intec

Intec CVD500LCD Replacement instructions

HaWeKo CIK190 installation manual

HaWeKo

HaWeKo CIK190 installation manual

Yakima K1021 instructions

Yakima

Yakima K1021 instructions

Prorack K389 Fitting instructions

Prorack

Prorack K389 Fitting instructions

dirna Bergstrom Bycool Green Line Compact 3.0 Mounting instructions

dirna Bergstrom

dirna Bergstrom Bycool Green Line Compact 3.0 Mounting instructions

Prorack K478 Fitting instructions

Prorack

Prorack K478 Fitting instructions

Mopar 82212184 Installation instructions, operating instructions, product use and care

Mopar

Mopar 82212184 Installation instructions, operating instructions, product use and care

Tyrepal TC215/OEK user manual

Tyrepal

Tyrepal TC215/OEK user manual

Thule Rapid System 751 instructions

Thule

Thule Rapid System 751 instructions

Whelen Engineering Company Traffic Advisor TA8852H installation guide

Whelen Engineering Company

Whelen Engineering Company Traffic Advisor TA8852H installation guide

Whispbar K485W Fitting instructions

Whispbar

Whispbar K485W Fitting instructions

Whispbar K480W Fitting instructions

Whispbar

Whispbar K480W Fitting instructions

Toro 04238 installation instructions

Toro

Toro 04238 installation instructions

dirna Bergstrom TRP DYNAMIC User handbook

dirna Bergstrom

dirna Bergstrom TRP DYNAMIC User handbook

Axxess AXVI-6523 installation instructions

Axxess

Axxess AXVI-6523 installation instructions

Circutor Raption 50 Series instruction manual

Circutor

Circutor Raption 50 Series instruction manual

Omnitracs MCP50 installation instructions

Omnitracs

Omnitracs MCP50 installation instructions

WIX WP6978 Installation instruction

WIX

WIX WP6978 Installation instruction

manuals.online logo
manuals.online logoBrands
  • About & Mission
  • Contact us
  • Privacy Policy
  • Terms and Conditions

Copyright 2025 Manuals.Online. All Rights Reserved.