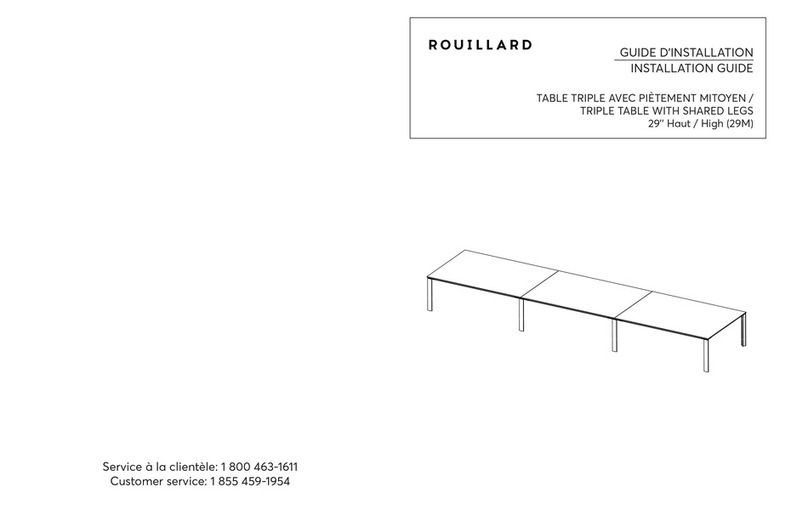
Pièces & quincailleries - Parts & hardware Instructions
IMPORTANT: Assurez-vous de mettre le beau côté du piètement
(sans rainure) vers l’extérieur
Make sure to place the legs with the smooth side
(without groove) outward.
ÉTAPE 1: A ’ . V
.
ÉTAPE 2: D , À
. R .
ÉTAPE 3: F /- /’’ .
ÉTAPE 4: F /- /’’ .
STEP 1: A , . S
/’’ .
STEP 2: L ,
. T .
STEP 3: F ‘‘O’’ /- /’’ .
STEP 4: S /- /’’ .
4
4
4
41
3
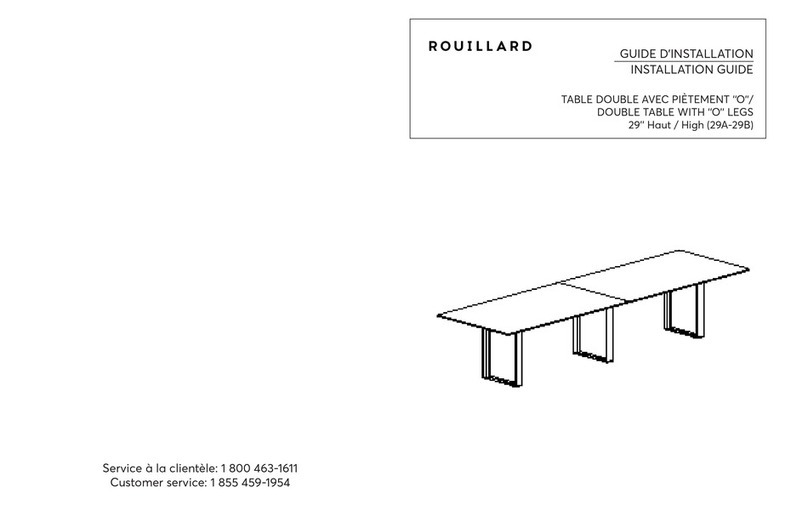
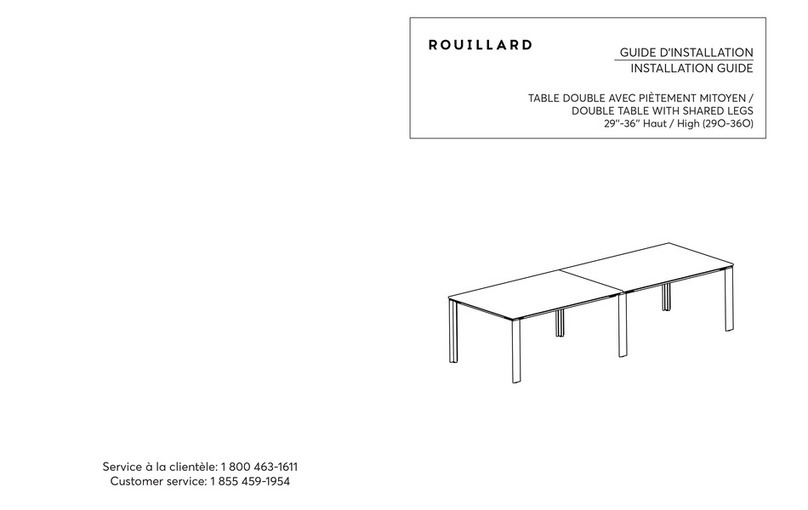
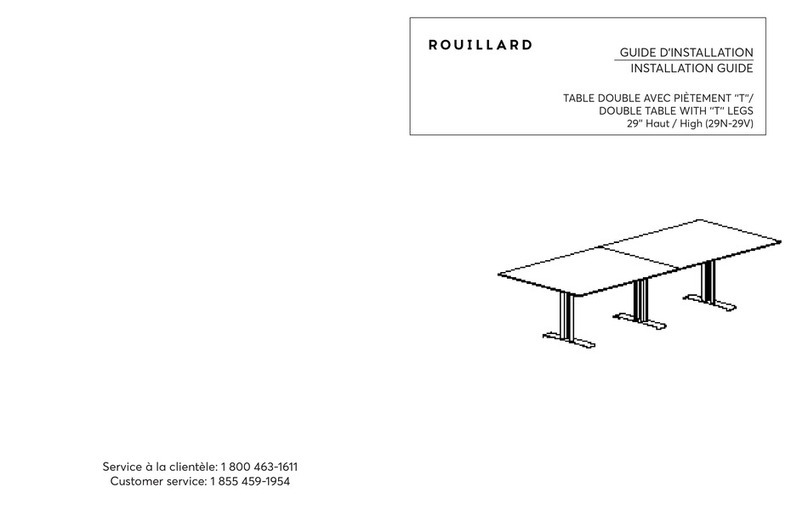
1. Assemble the both table with the
flat bar, srew it with the 3/8'' allen screw.
Then asssemble the shared leg with one washer
each side and 1/4-20 x 5/8'' screw
2
2. Assemble each corner leg with
1/4-20 3/4'' screw
1:10
2014-12-19
Échelle/scale
Unités/Units
Date
Par/By
Design creation:
Dessiné/Draw by:
Nom/Name
Pièce
#
/Part
#
2/2
Page:
Code R&D
Achat/Purchase
Projet/Project
Hardware
32 x screw 1/4-20 x 3/4'' flat head
4 x screw 1/4-20 x 5/8'' round head
Installation guide 29U
Quancaillerie
32 x vis 1/4-20 x 3/4'' tête plate
4 x vis 1/4-20 x 5/8'' tête ronde
1:10
2014-12-19
Échelle/scale
Unités/Units
Date
Par/By
Design creation:
Dessiné/Draw by:
Nom/Name
Pièce
#
/Part
#
1/2
Page:
Code R&D
Achat/Purchase
Projet/Project
Quincaillerie
V /- /’’
V /- /’’
R
Hardware
/- /’’
/- /’’
4
4
4
41
3
1. Assemble the both table with the
flat bar, srew it with the 3/8'' allen screw.
Then asssemble the shared leg with one washer
each side and 1/4-20 x 5/8'' screw
2
2. Assemble each corner leg with
1/4-20 3/4'' screw
1:10
2014-12-19
Échelle/scale
Unités/Units
Date
Par/By
Design creation:
Dessiné/Draw by:
Nom/Name
Pièce
#
/Part
#
2/2
Page:
Code R&D
Achat/Purchase
Projet/Project
