Read the instruction leaflet
and safety instructions carefully before use.
1. GENERAL DESCRIPTION
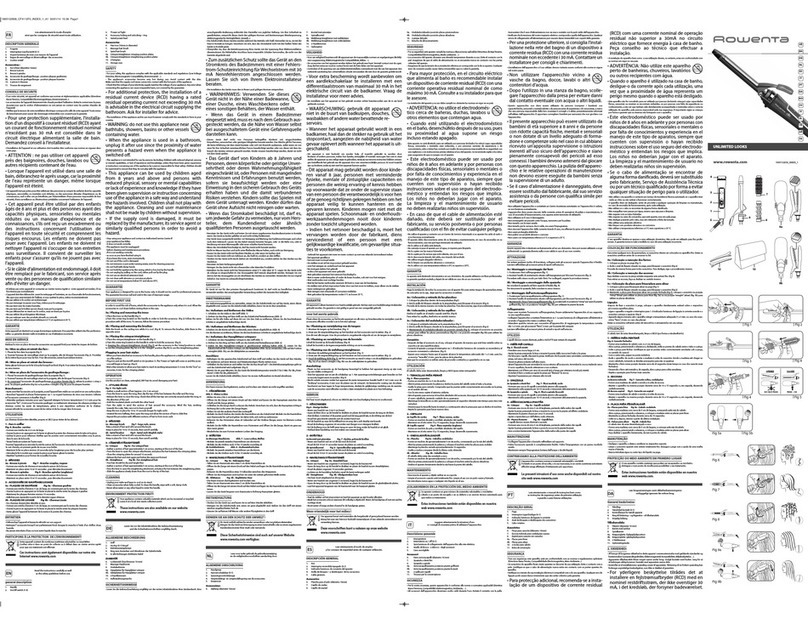
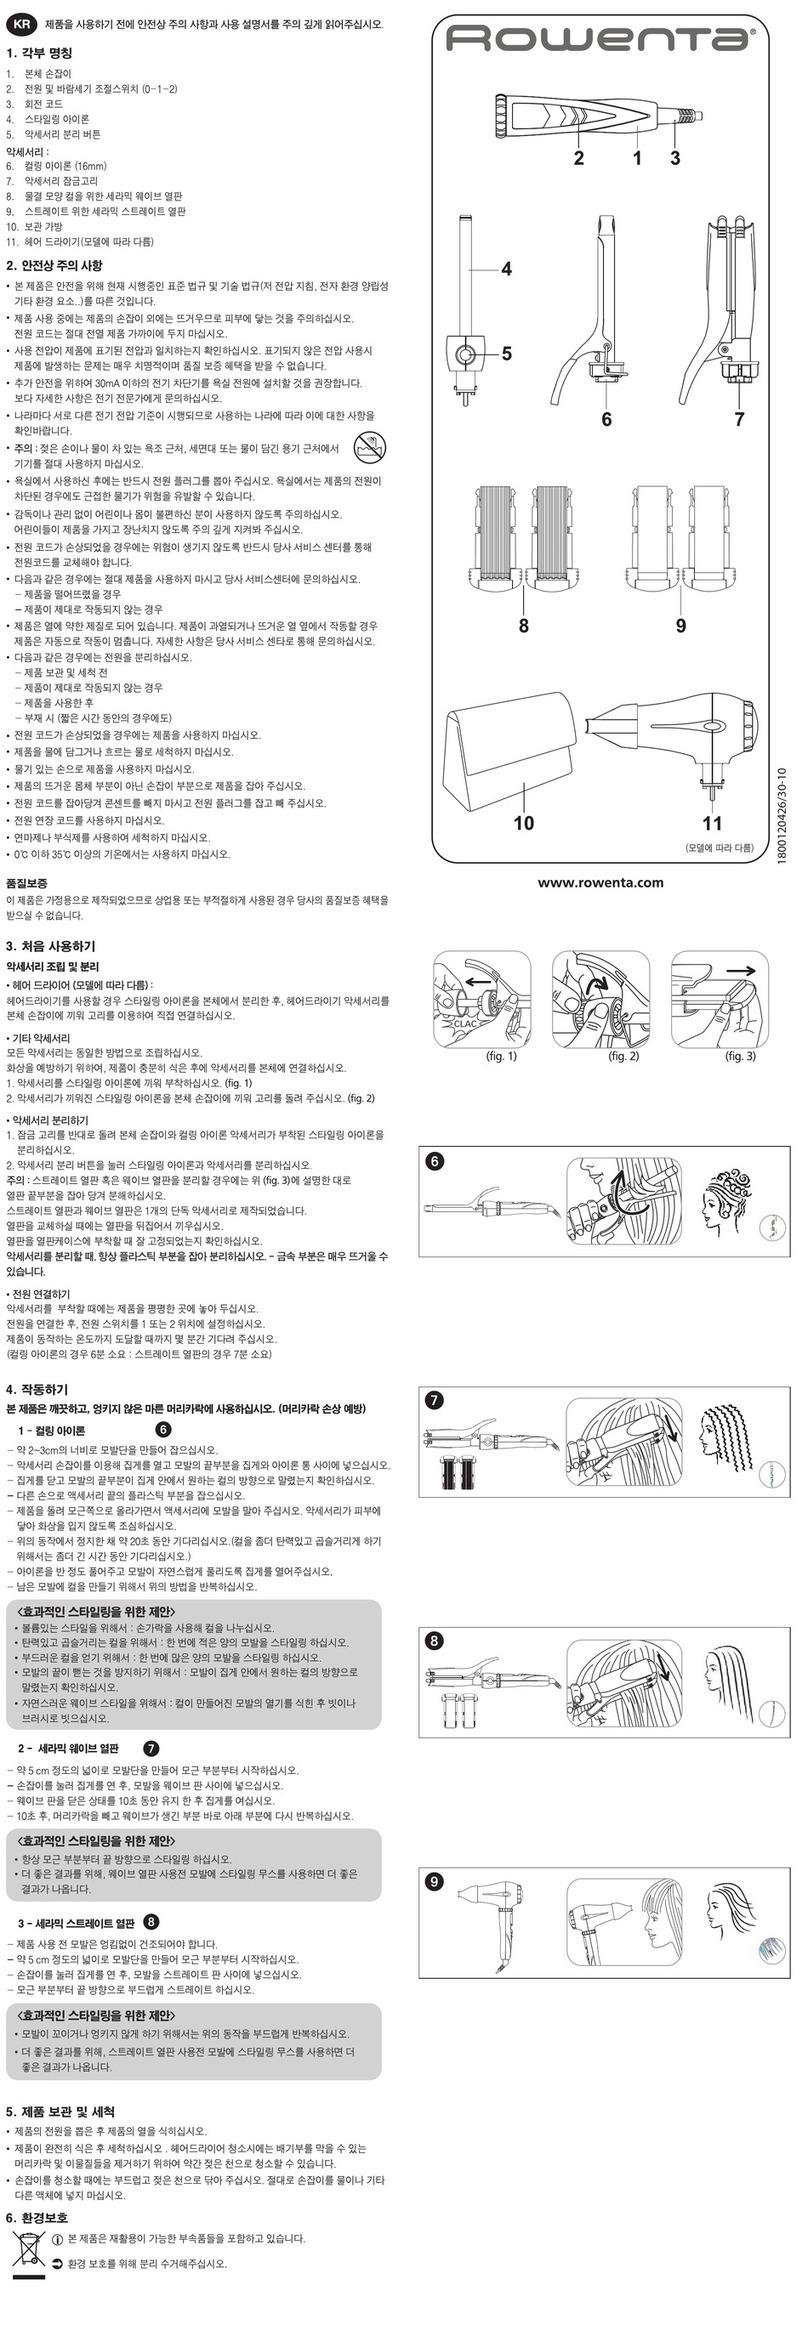
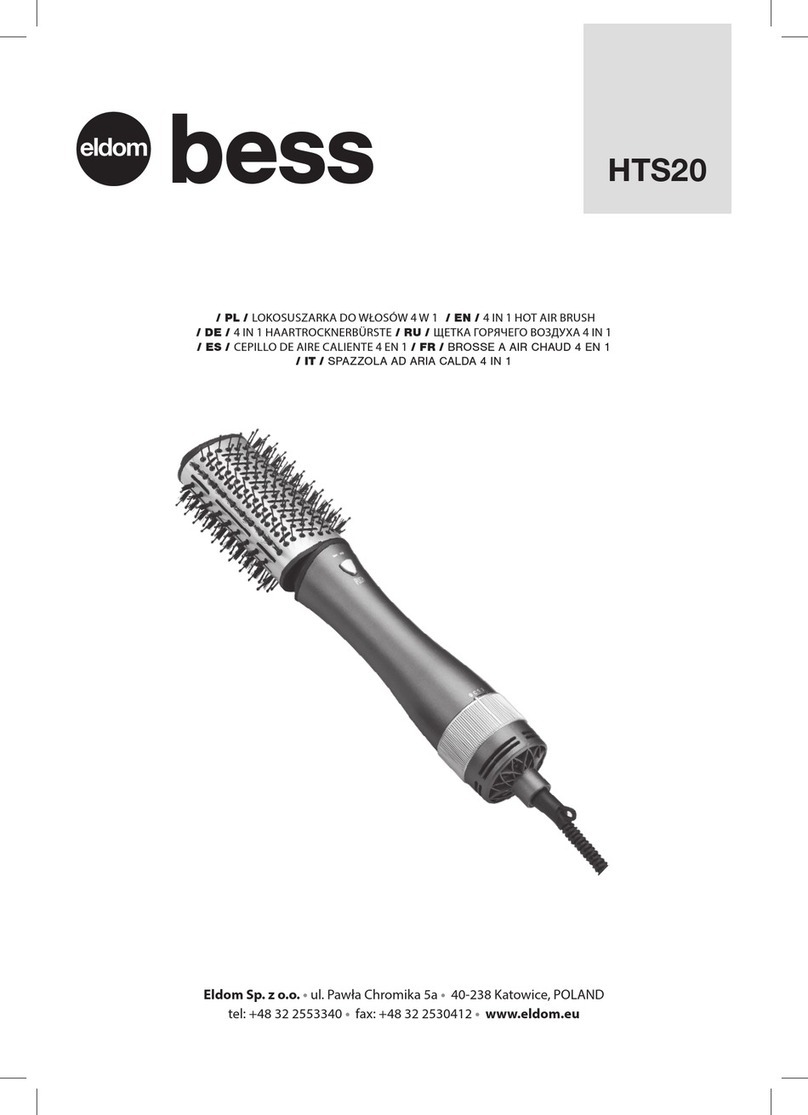
1. Handle
2. On/Off switch (1-0)
3. “Power on” light
4. Accessory locking – and unlocking – ring
5. Swivel power lead
Access ries
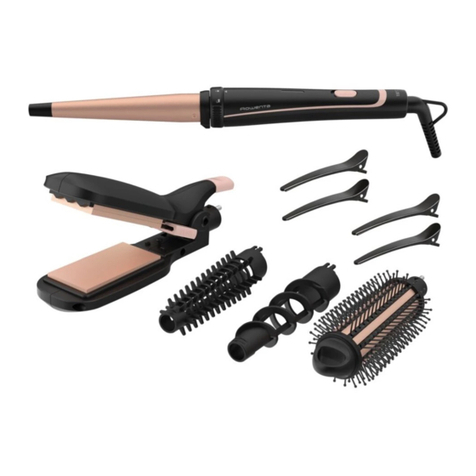
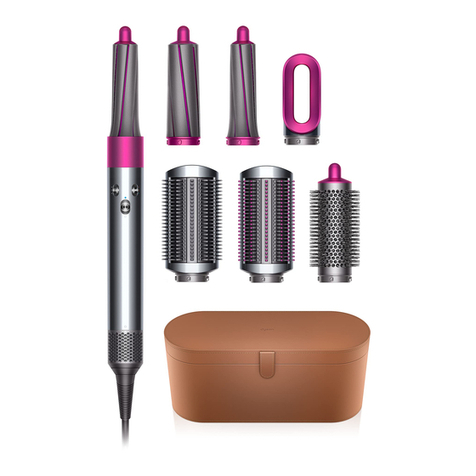
6. Styling iron (16 mm diameter)
7
. Brush
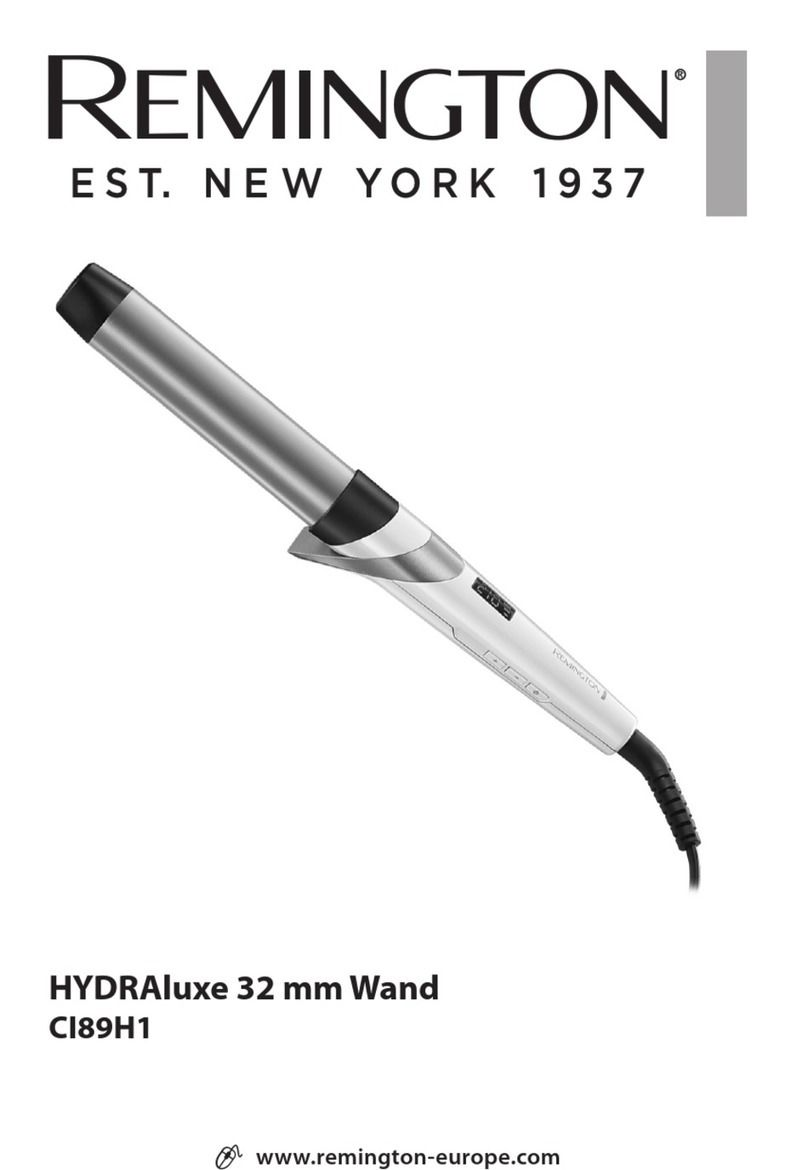
8. Spiral curling iron (14 mm diameter)
9. Flat curling iron
10. Extra-wide curling iron
11. Crimper
12. Crimping plates
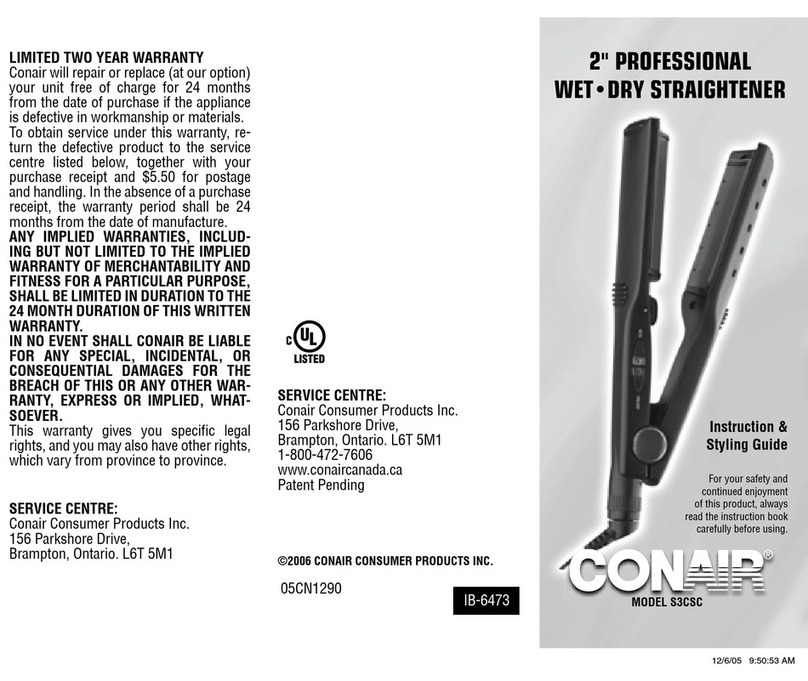
13. Ceramic straightening plates
14. Storage case
2. SAFETY PRECAUTIONS
• For your safety, this appliance complies with the applicable standards and
regulations (Low Voltage Directive, Electromagnetic Compatibility, Environ-
mental…).
• The appliance’s accessories become very hot during use. Avoid contact
with the skin. ake sure that the supply cord never comes into contact
with the hot parts of the appliance.
• If using this appliance in the UK it should not be used in a bathroom.
If using the appliance in another country then as an additional safety mea-
sure we recommend to check that the voltage of your electricity supply
matches the voltage of your appliance. Any error when connecting the
appliance can cause irreparable harm, not covered by the guarantee.
• As an additional safety measure, we recommend the installation of a
residual current difference device in the electrical circuit supplying the
bathroom, acting at not more than 30 mA.Ask your installer for advice.
• The installation of the appliance and its use must however comply with
the standards in force in your country.
• CAUTION: Never use your appliance with wet hands or near
water contained in bath tubs, showers, sinks or other contai-
ners…
• Do not use this appliance in a bathroom if you are in the UK.
If you are outside of the UK and you are using the appliance in a bathroom,
unplug it after use as the presence of water nearby may pose a danger even
when the appliance is turned off.
• This appliance is not intended for use by persons (including children) with
reduced physical, sensory or mental capabilities, or lack of experience and
knowledge, unless they have been given supervision or instruction
concerning use of the appliance by a person responsible for their safety.
Children should be supervised to ensure that they do not play with the
appliance.
• If the supply cord is damaged, it must be replaced by the manufacturer,
its service agent or similarly qualified persons in order to avoid a hazard.
• Stop using your appliance and contact an Authorised Service Centre if:
- your appliance has fallen.
- it does not work correctly.
• The appliance is equipped with a heat-sensitive safety device. In the event
of overheating (for example if the rear grill is blocked), the styler will stop
automatically. Contact a service agent for further advice (see separate
service leaflet).
• The appliance must be unplugged:
- before cleaning and maintenance procedures.
- if it is not working correctly.
- as soon as you have finished using it.
- if you leave the room, even momentarily.
• Do not use if the cord is damaged.
• Do not immerse or put under running water, even for cleaning purposes.
• Do not hold with damp hands.
• Do not hold the appliance by the casing, which is hot, but by the handle.
• Do not unplug by pulling on the cord, rather pull out by the plug.
• Do not use an electrical extension lead.
• Do not clean with abrasive or corrosive products.
• Do not use at temperatures below 0°C and above 35°C.
GUARANTEE:
This product has been designed for domestic use only. Any commercial
use, inappropriate use or failure to comply with the instructions, the
manufacturer accepts no responsibility and the guarantee will not apply.
3. GETTING STARTED
Attaching and rem ving access ries:
Attach all the accessories when the appliance is cold to avoid the risk of
burns.
1. Slot the required accessory into the handle. (Fig 1)
2. Turn the locking ring on the handle to lock the accessory in place. (Fig 2)
All the accessories are attached in the same way.
To remove an accessory, simply follow the above procedure in reverse
order.
To change the plates of the crimper or straightener, press the buttons on the
sides of the plates and slide the plates as shown in the diagrams. When put-
ting the plates back in position, be sure to clip them as far into their casing
as they will go.
Plugging in y ur hair styler:
• When you have attached an accessory to the handle, place the appliance
in a stable position on its rest, on a flat surface.
• Plug it in and set the On/Off switch to On (position 1). The 'Power on' light
will come on and the accessory will begin to heat up. (Fig 3)
• Wait a few minutes to allow your hair styler to reach its working tempera-
ture (1-3 min. for the "iron" accessories; 6 min. for the crimping plates).
When removing accessories, always h ld them by the plastic part – the
metal parts will be very hot.
4. OPERATION
Use this pr duct n clean, untangled, DRY hair (t av id damaging y ur
hair).
1 - STYLING IRONS
Fig. 6 - For tight curls Fig. 9 - For crimped curls
Fig. 8 - For spir l curls(ringlets) Fig. 10 - For loose curls
- Gather a small section of hair (approx. 2 to 3 cm across).
- Press the lever to open the tong, then slip the tips of the hair between the
roller and the tong.
- Release the lever to close the tong. Check that all the hair tips are correctly
wound under the tong, in the direction of the curl.
- Hold the insulated plastic end with the other hand.
- Turn the styler to wind the section of hair around the accessory. Wind the
hair, working towards the scalp. Take care not to burn yourself.
- Keep the iron in place for around 20 seconds (longer for tighter curls).
- Unwind the iron halfway, then open the tong and allow the section of hair
to slide free.
- Repeat the procedure with different sections of hair to form more curls.
PROFESSIONAL TIPS
• T create extra v lume: divide your curls using your fingers.
• T btain really tight curls: wind small sections of hair at a time.
• F r s fter curls: wind on more hair.
• T prevent flyaway ends: check that the hair tips are trapped under the
tong and lying in the direction of the curl.
• F r a m re natural, wavy l k: lightly brush or comb your hair once
the curls have cooled.
2- STYLING BRUSH Fig. 7 - For soft curls nd w ves
- Fit the styling brush onto the curling iron while cold.
- Form a section of hair and wind it around the brush.
- Hold it in place for around 20 seconds, then gently unwind it.
PROFESSIONAL TIPS
• All w y ur hair t c l bef re styling.
3 - CRIMPER Fig. 12 - For crimped h ir
- Gather a section of hair approximately 5 cm across, starting at the root of
the hair.
- Press the lever to open the crimper attachment, and place the hair between
the crimping plates.
- Close the crimping plates for around 10 seconds.
- Release the hair and start again just below the wave just formed.
PROFESSIONAL TIPS
• Always w rk fr m the r ts t wards the tips f the hair.
• T enhance the effect, you can apply styling mousse before crimping.
4- STRAIGHTENER Fig. 13 - For str ightened h ir
- Your hair should be dry and tangle-free.
- Gather a section of hair approximately 5 cm across, starting at the root of
the hair.
- Press the lever to open the straightening attachment, and place the hair
between the straightening plates.
- Slide the appliance slowly down from the root to the tip of the hair.
PROFESSIONAL TIPS
• T av id kinks in l ng secti ns f hair, use a smooth, continuous
movement.
• T enhance the effect, y u can apply styling m usse bef re straightening.
5. CLEANING
• Unplug your styler and leave to cool on its stand.
• Clean accessories when fully cooled. To clean the handle, wipe with a soft,
damp cloth.
• Never allow water or any other liquid to enter the handle.
6. ENVIRONMENT PROTECTION FIRST !
Your appliance contains valuable materials which can be
recovered or recycled.
Leave it a local civic waste collection point.
EN
www.r wenta.c m
1800119725 / 26-10
Style 8
(fig. 1) (fig. 2) (fig. 3)
fig. 6
fig. 8
fig. 9
fig. 10
fig. 7
fig. 12
fig. 13
CF4032G0_1800119725_Style 8 19/07/10 08:57 Page1

