manuals.online logo
Brands
  1. Home
  2. •
  3. Brands
  4. •
  5. Royal
  6. •
  7. Paper Shredder
  8. •
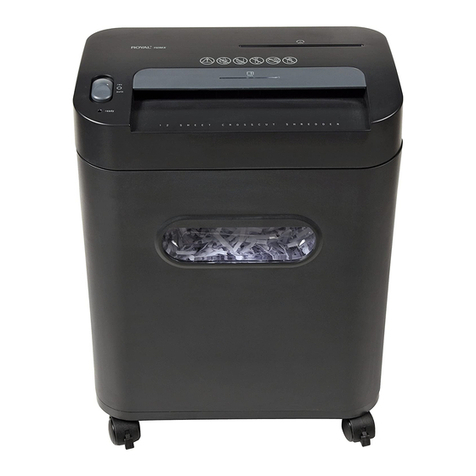
  9. Royal AG77x User manual

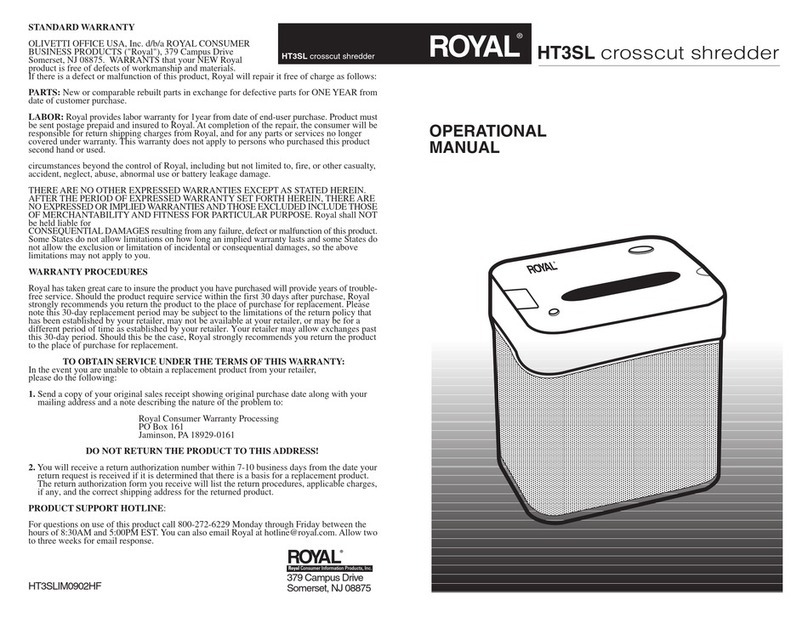
Royal AG77x User manual

379 Campus Dr.
Somerset, NJ. 08873-1125
AG77XIM0702DSREV2
ROYAL®
AG77x
crosscut shredder
AG77x crosscut shredder
OPERATIONAL
MANUAL
ROYAL®
Consumer Information Products, Inc.
AG77x crosscut shredder
7 sheet maximun
ROYAL PAPER SHREDDER WARRANTY
PLEASE FILL OUT AND RETURN THE WARRANTY CARD INCLUDED WITH
YOUR NEW ROYAL PRODUCT OR FILL OUT THE WARRANTY
REGISTRATION FORM ON THE ROYAL WEB PAGE AT WWW.ROYAL.COM.
IT ENTITLES YOU TO PRODUCT WARRANTY AND TECHNICAL SUPPORT
UNDER THE TERMS AND CONDITIONS DESCRIBED HEREIN.
BE SURE TO KEEP A COPY OF YOUR SALES RECEIPT!
STANDARD WARRANTY:
OLIVETTI OFFICE USA, Inc. d/b/a ROYAL CONSUMER INFORMATION PRODUCTS ("Royal"), 765 US
Highway 202, Bridgewater, NJ, 08807 WARRANTS that your NEW Royal product is free of defects of
workmanship and materials. If there is a defect or malfunction of this product, Royal will repair it free of charge
as follows:
PARTS: New or comparable rebuilt parts in exchange for defective parts for ONE YEAR from date of customer
purchase
LABOR: Royal provides labor warranty for ONE YEAR from date of end-user purchase. Product must be
sent postage prepaid and insured to Royal. At completion of the repair, the consumer will be responsible for
return shipping charges from Royal, and for any parts or services no longer covered under warranty.
This warranty does not apply to persons who purchased this product second hand or used.
This warranty does not include adjustments, parts and repair by circumstances beyond the control of Royal,
including but not limited to, fire, or other casualty, accident, neglect, abuse, abnormal use or battery leakage
damage.
THERE ARE NO OTHER EXPRESSED WARRANTIES EXCEPT AS STATED HEREIN. AFTER THE PERIOD
OF EXPRESSED WARRANTY SET FORTH HEREIN, THERE ARE NO EXPRESSED OR IMPLIED
WARRANTIES AND THOSE EXCLUDED INCLUDE THOSE OF MERCHANTABILITY AND FITNESS FOR
PARTICULAR PURPOSE. Royal shall NOT be held liable for CONSEQUENTIAL DAMAGES resulting from
any failure, defect or malfunction of this product. Some States do not allow limitations on how long an implied
warranty lasts and some States do not allow the exclusion or limitation of incidental or consequential damages,
so the above limitations may not apply to you.
WARRANTY PROCEDURES:
Royal has taken great care to insure the product you have purchased will provide years of trouble-free service.
Should the product require service within the first 30 days after purchase, Royal strongly recommends you
return the product to the place of purchase for replacement. Please note this 30-day replacement period may
be subject to the limitations of the return policy that has been established by your retailer, may not be available
at your retailer, or may be for a different period of time as established by your retailer. Your retailer may allow
exchanges past this 30-day period. Should this be the case, Royal strongly recommends you return the
product to the place of purchase for replacement.
TO OBTAIN SERVICE UNDER THE TERMS OF THIS WARRANTY:
In the event you are unable to obtain a replacement product from your retailer, please do the following:
1. Send a copy of your original sales receipt showing
original purchase date along with your mailing address
and a note describing the nature of the problem to:
Royal Consumer Information Products, Inc.
Warranty Processing
PO Box 161
Jamison, PA 18929-0161
DO NOT RETURN THE PRODUCT TO THIS ADDRESS!
2. You will receive a return authorization number within 7-10 business days from the date your
return request is received if it is determined that there is a basis for a replacement product. The return
authorization form you receive will list the return procedures, applicable charges, if any, and the correct
shipping address for the returned product. Product must be sent postage and insured to Royal or the nearest
Authorized Service Center. The Service Center or Royal cannot be held responsible for any loss or damaged
machines in transit. To contact an Authorized Service Center in you area, call toll free 1 (888) 261-3888.
PRODUCT SUPPORT HOTLINE:
For questions on use of this product call 732-563-9944 Monday through Friday between the hours of 8:30AM
and 5:00PM
12
ROYAL AG77X PAPER SHREDDER
Setup:
1.AG77x Paper Shredder Wastebasket Base Installation Instructions
Place the wastebasket firmly on the ground upside down as shown in
Fig. 1. Align the four (4) plastic locking tabs shown in Fig. 2 with the
four (4) rectangular mounting holes in the bottom of the wastebasket as
shown in Fig. 3. With your thumb, apply downward pressure to the 90%
corners of all four (4) locking tabs as shown in Fig. 4. With all four (4)
tabs locked securely in place, turn the wastebasket right side up and
place the shredder head securely on top.
2. Place the shredder securely on top of the wastebasket. Be sure not to
allow your fingers to get between the basket and the shredder as you
are placing the shredder in place.
3. Plug the power cord into any standard 115-volt AC outlet.
4. Place the Main Switch in the AUTO position. The green LED should
illuminate. If the LED does not light up, lift the shredder out of the
wastebasket and place it back in so that it sits flush inside of the
wastebasket.
Operating the shredder:
The Main Switch is located on the top of the shredder. The Main Switch
has three (3) settings and one Clear Botton.
1. When AUTO is selected, the shredding process is started automatically
by inserting the paper into the feed opening. The shredder will stop
automatically when the paper has completed its travel through the feed
opening.
2. REV is used to assist in the removal of a paper jam, which reverses the
shredding process prior to a completed cycle, thus clearing the cutters.
3. OFF position is recommended when emptying the wastebasket or when
the shredder is not in use for a prolonged period of time.
4. Clear removes any paper left in the cutters.
NOTE: The LED lights up in AUTO position only.
Shredder capacity:
AG77X will shred seven (7) sheets of 20-lb. bond paper and will accept paper
widths up to 8 3/4". When shredding small material like envelopes or credit
card receipts, insert them through the middle of the feed opening.
Cautions:
1. Keep all loose articles of clothing, ties, jewelry, hair or other small items
away from the feed opening to prevent injury.
ROYAL AG77X PAPER SHREDDER
2. Keep in the OFF position when the shredder is not in use for prolonged
periods of time.
3. Remove all paper clips and staples from paper before shredding. Unit
will cut staples, however it is not recommended.
4. Do not place hands or fingers into the shredder throat as serious injury
could result.
5. Continuous shredding of computer paper should not exceed 2 minutes.
If continuous use is required, it is recommend that the shredding time
should be 2 minute on and 4 minute off to allow for proper cooling of
the motor.
6. Always turn off or unplug the shredder prior to moving, cleaning or
emptying the wastebasket.
7. Empty wastebasket frequently.
Paper jams and overload protection:
AG77x is equipped with a motor overload protection device. The normal short
duty cycle for continuous shredding at maximum capacity is 2 minutes on and
4 minutes off. The power may terminate automatically in case of the following
abnormal situations:
1. Operating the shredder at the maximum capacity continuously for a
prolonged period of time, eg. more than 2 minutes without stopping.
2. Exceeding the shredding capacity, eg. inserting more than seven (7) sheets
of 20-lb. paper at one pass, or if the paper is not fed squarely into the
feed opening.
Both abnormal operations may result in the activation of the automatic motor
overload protection, which terminates the power to the unit. If this occurs you
should:
1. Unplug the power cord from the AC outlet and wait at least 4 minutes
for the overload protection to reset. Tear or cut off any excess paper from
the top of the shredder.
2. Plug the power cord back into the AC outlet and place the Main Switch in
REV. Pull the remaining paper out of the cutters. Place the Main Switch
back to the Auto position and if neccessary, press the CLEAR button to
clear the feed opening of any remaining shredded pieces of paper. Keep
fingers away from feed opening to avoid harm.
3. With the Main Switch in the AUTO position and the feed opening clear, you
are now ready to resume normal shredding.
Specifications:
Shred Type: Cross-Cut
Shred Width: 1/8" X 1 1/2" or 3.17mm x 38.1mm
Shredding Capacity: 7 Sheets
Feed Opening: 8 3/4" or 222mm
Input: 115 volt AC, 1.6 amp.
Fig. 1
MOUNTING HOLES LOCKING TABS
Fig. 2 Fig. 4
Fig. 3
Press Here
Other Royal Paper Shredder manuals

Royal MD100 Quick start guide

Royal

Royal MD100 Quick start guide

Royal CX511 Quick start guide

Royal

Royal CX511 Quick start guide

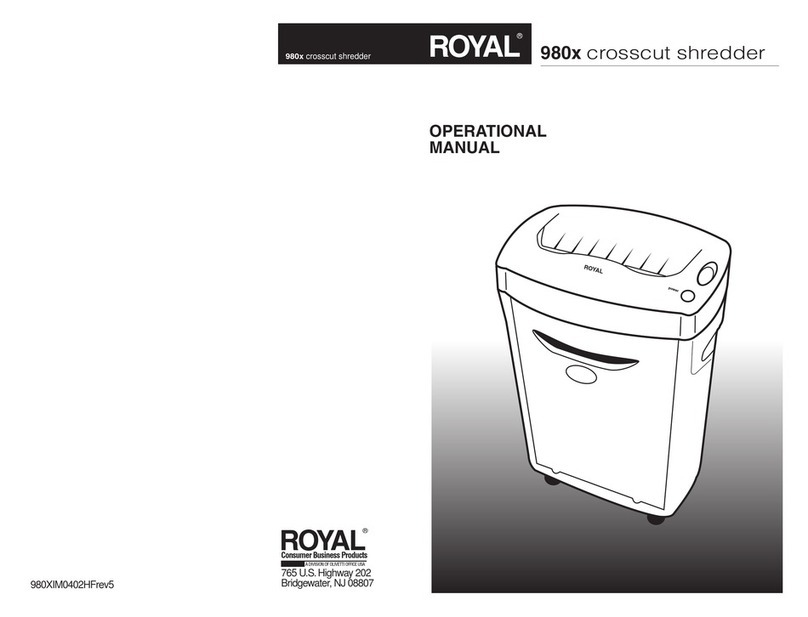
Royal 980X Quick start guide

Royal

Royal 980X Quick start guide

Royal JS55 Quick start guide

Royal

Royal JS55 Quick start guide

Royal RL170MX User manual

Royal

Royal RL170MX User manual

Royal 1600MX User manual

Royal

Royal 1600MX User manual

Royal HG2020MX User manual

Royal

Royal HG2020MX User manual

Royal SC120 Quick start guide

Royal

Royal SC120 Quick start guide

Royal HT88 User manual

Royal

Royal HT88 User manual

Royal LR2060MX User manual

Royal

Royal LR2060MX User manual

Royal HG140MX User manual

Royal

Royal HG140MX User manual

Royal MC3008MX User manual

Royal

Royal MC3008MX User manual

Royal MC14MX User manual

Royal

Royal MC14MX User manual

Royal 100x Quick start guide

Royal

Royal 100x Quick start guide

Royal HC1501 User manual

Royal

Royal HC1501 User manual

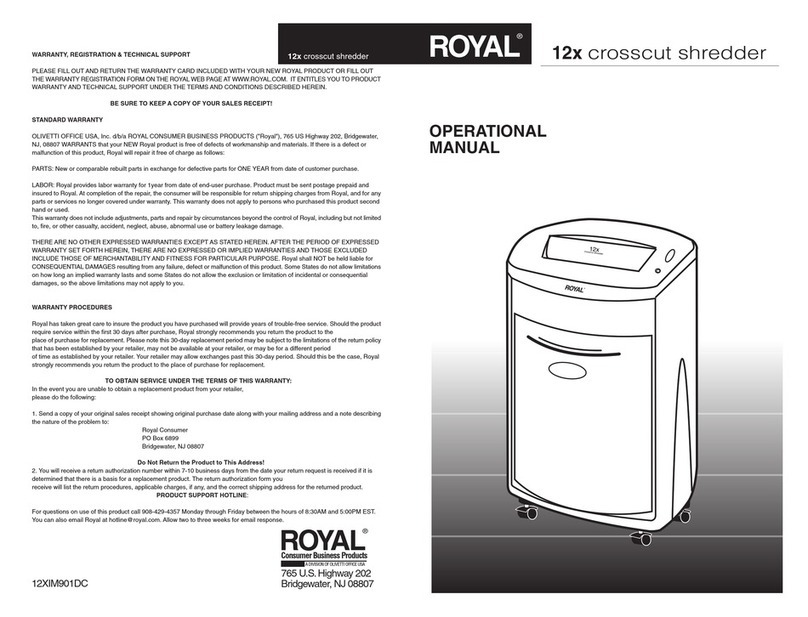
Royal 12X Quick start guide

Royal

Royal 12X Quick start guide

Royal 112MX Quick start guide

Royal

Royal 112MX Quick start guide

Royal 15MX Quick start guide

Royal

Royal 15MX Quick start guide

Royal HT3SL Quick start guide

Royal

Royal HT3SL Quick start guide

Royal 1620MX User manual

Royal

Royal 1620MX User manual

Royal HG120 User manual

Royal

Royal HG120 User manual

Royal 140MX Quick start guide

Royal

Royal 140MX Quick start guide

Royal 120X Quick start guide

Royal

Royal 120X Quick start guide

Royal SC180MX User manual

Royal

Royal SC180MX User manual

Popular Paper Shredder manuals by other brands

HSM Securio AF 100 operating instructions

HSM

HSM Securio AF 100 operating instructions

Olympia PS 416.4C Manual instruction

Olympia

Olympia PS 416.4C Manual instruction

HSM shredstar X5 manual

HSM

HSM shredstar X5 manual

HSM 104.3 operating instructions

HSM

HSM 104.3 operating instructions

Kompernass UAV 150 A1 operating instructions

Kompernass

Kompernass UAV 150 A1 operating instructions

Fellowes DS-1400C user manual

Fellowes

Fellowes DS-1400C user manual

Techko AUTOTECH HAF080 Operation instructions

Techko

Techko AUTOTECH HAF080 Operation instructions

Hama BASIC X5A operating instructions

Hama

Hama BASIC X5A operating instructions

GBC 3870M-2 specification

GBC

GBC 3870M-2 specification

EBA 1324 S operating instructions

EBA

EBA 1324 S operating instructions

Martin Yale Intimus 200CP5 operating instructions

Martin Yale

Martin Yale Intimus 200CP5 operating instructions

Peach PS500-75 operating instructions

Peach

Peach PS500-75 operating instructions

Cub Cadet 650 owner's manual

Cub Cadet

Cub Cadet 650 owner's manual

Garner PD-5 Operator's manual

Garner

Garner PD-5 Operator's manual

GEHA top secret 390 operating instructions

GEHA

GEHA top secret 390 operating instructions

Outsunny 845-489V70 Assembly & instruction manual

Outsunny

Outsunny 845-489V70 Assembly & instruction manual

UNITED OFFICE UAV 190 A1 operating instructions

UNITED OFFICE

UNITED OFFICE UAV 190 A1 operating instructions

UNITED OFFICE UAV 380 A1 -  2 operating instructions

UNITED OFFICE

UNITED OFFICE UAV 380 A1 - 2 operating instructions

manuals.online logo
manuals.online logoBrands
  • About & Mission
  • Contact us
  • Privacy Policy
  • Terms and Conditions

Copyright 2025 Manuals.Online. All Rights Reserved.