Page
2
TABLE OF CONTENTS
Introduction........................................................................................................................................................... 3
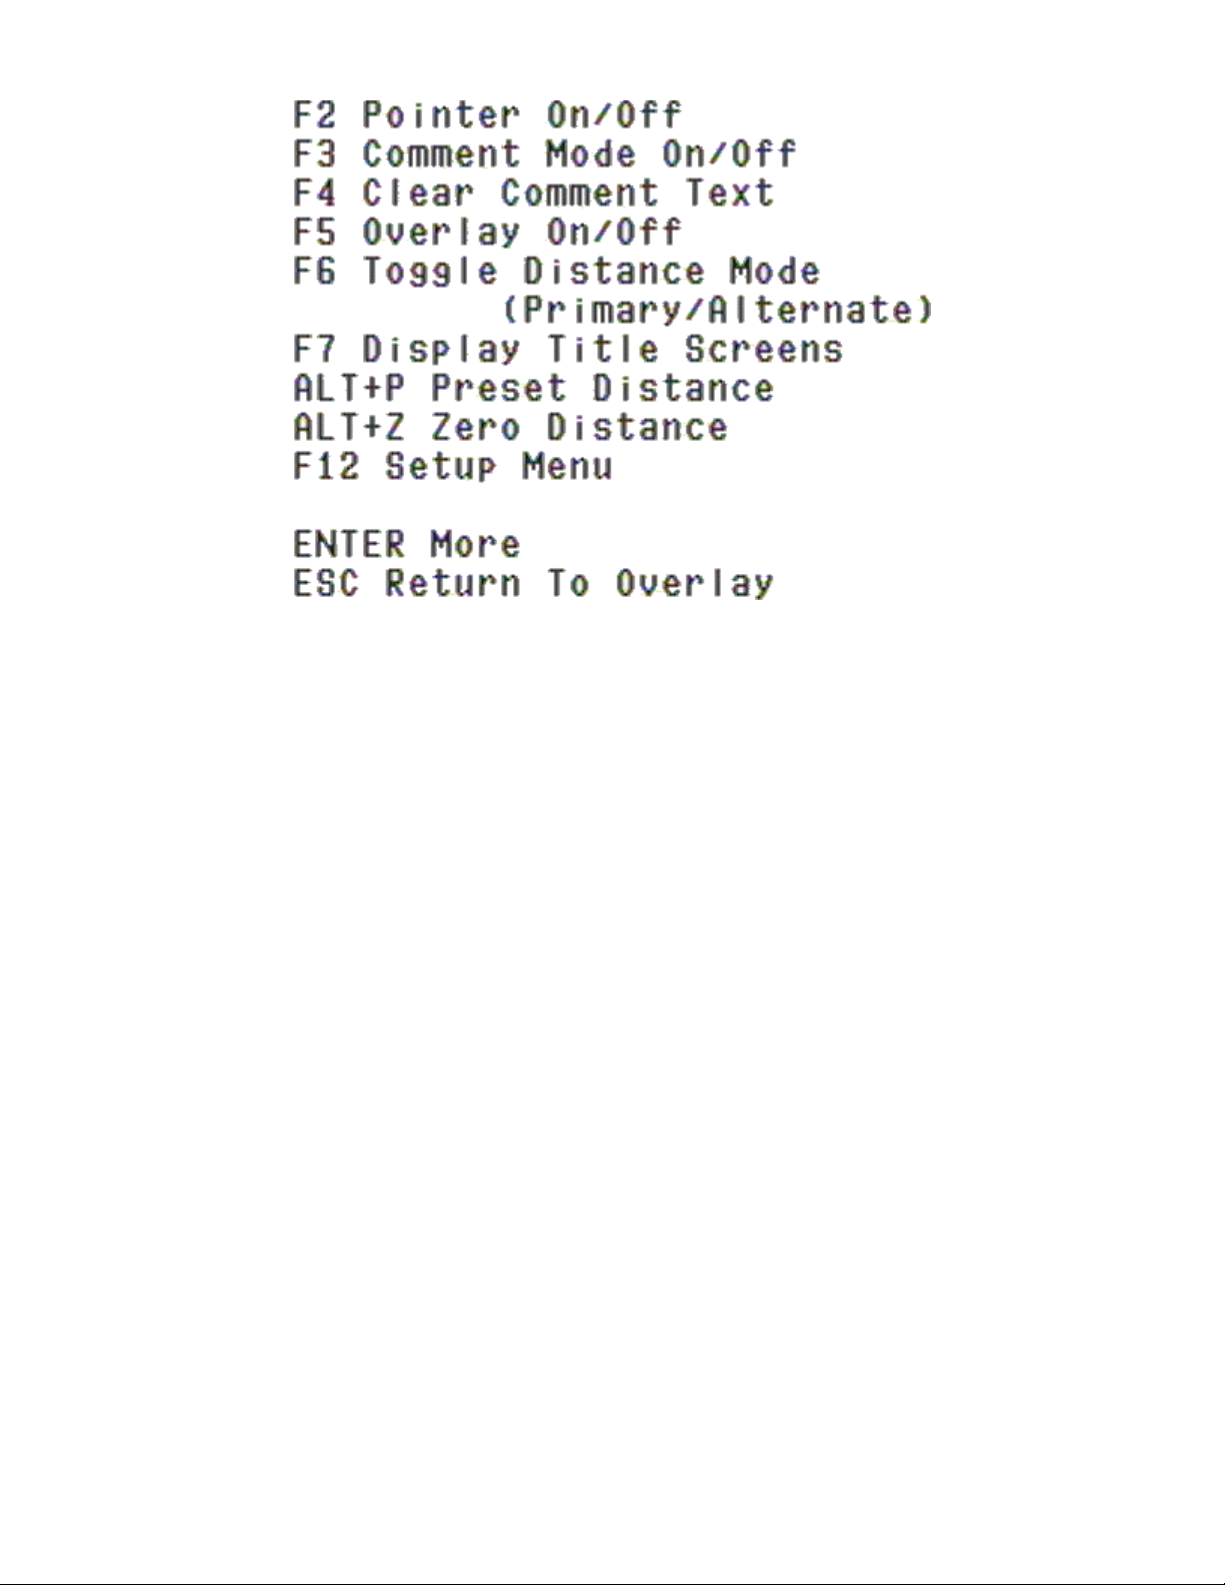
Help Menu............................................................................................................................................................. 4
Function Keys........................................................................................................................................................ 5
F2 Pointer On/Off............................................................................................................................................... 5
F3 Comment Mode On/Off................................................................................................................................. 6
F5 Overlay On/Off.............................................................................................................................................. 6
F6 Toggle Distance Mode................................................................................................................................... 7
F7 Display Title Screens..................................................................................................................................... 8
F12 Setup Menu.................................................................................................................................................. 9
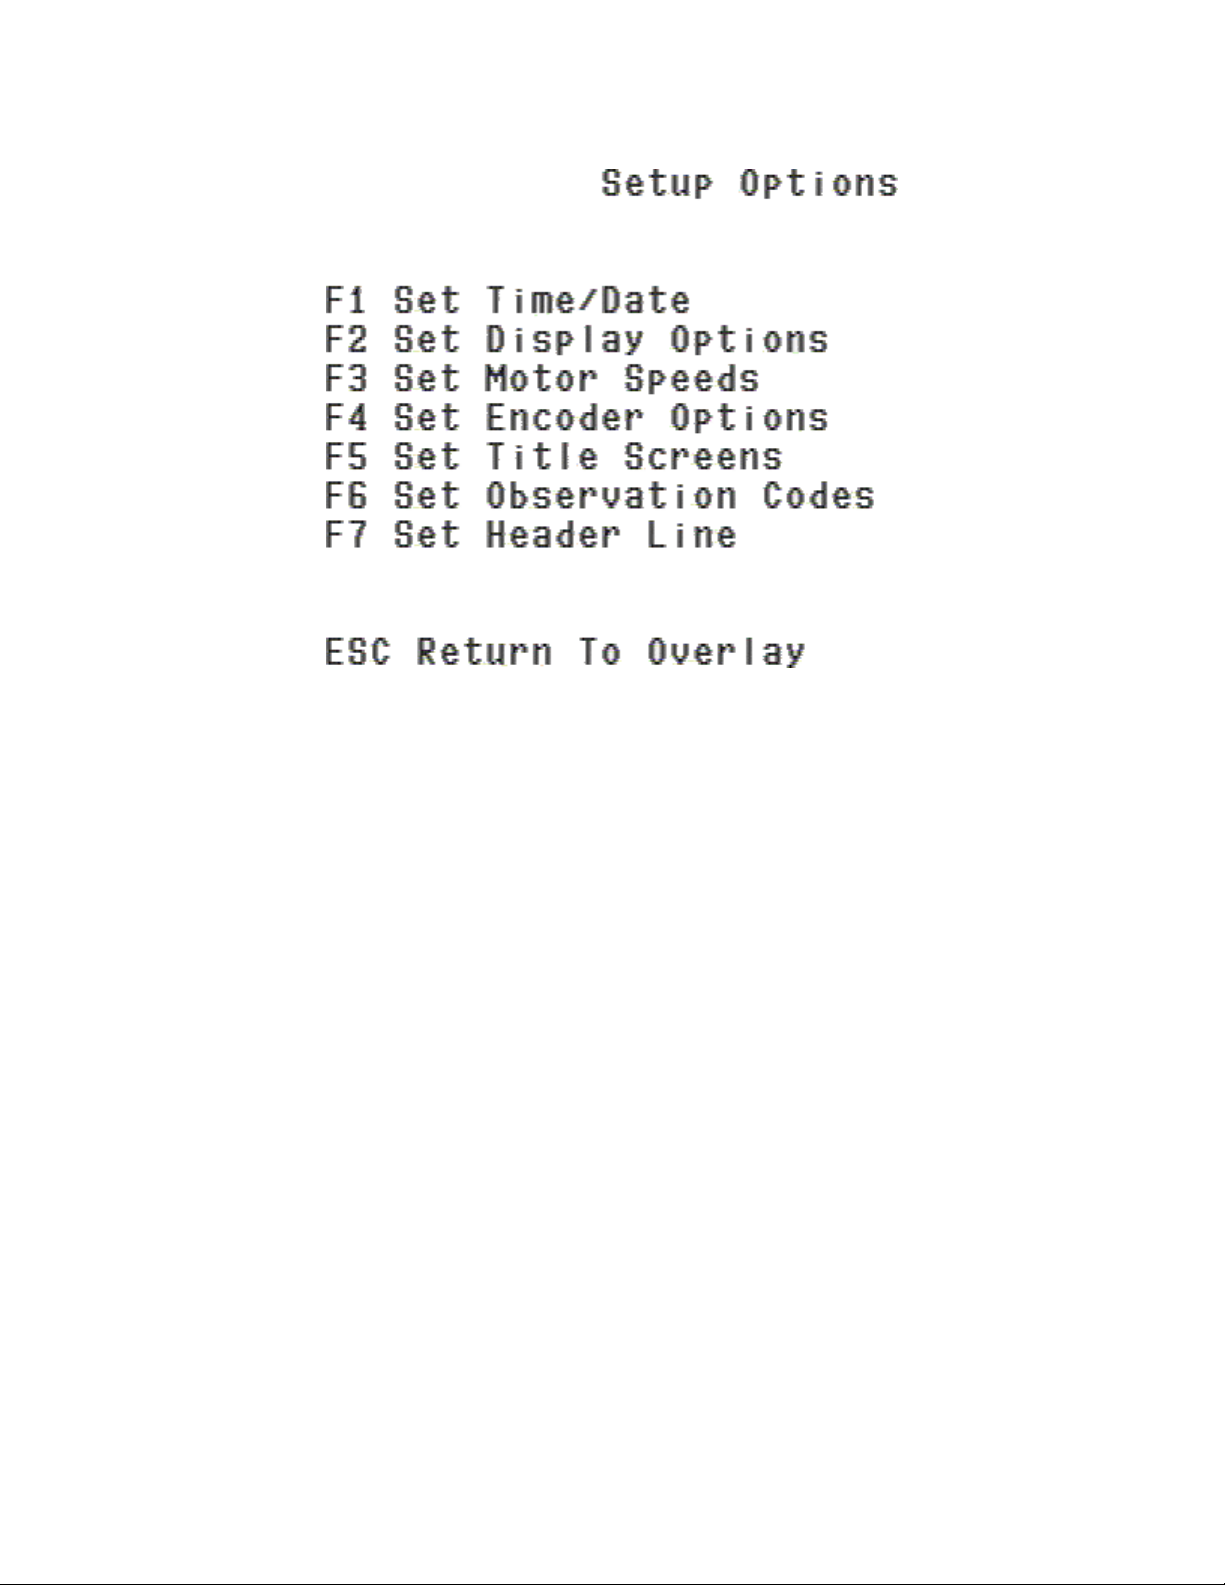
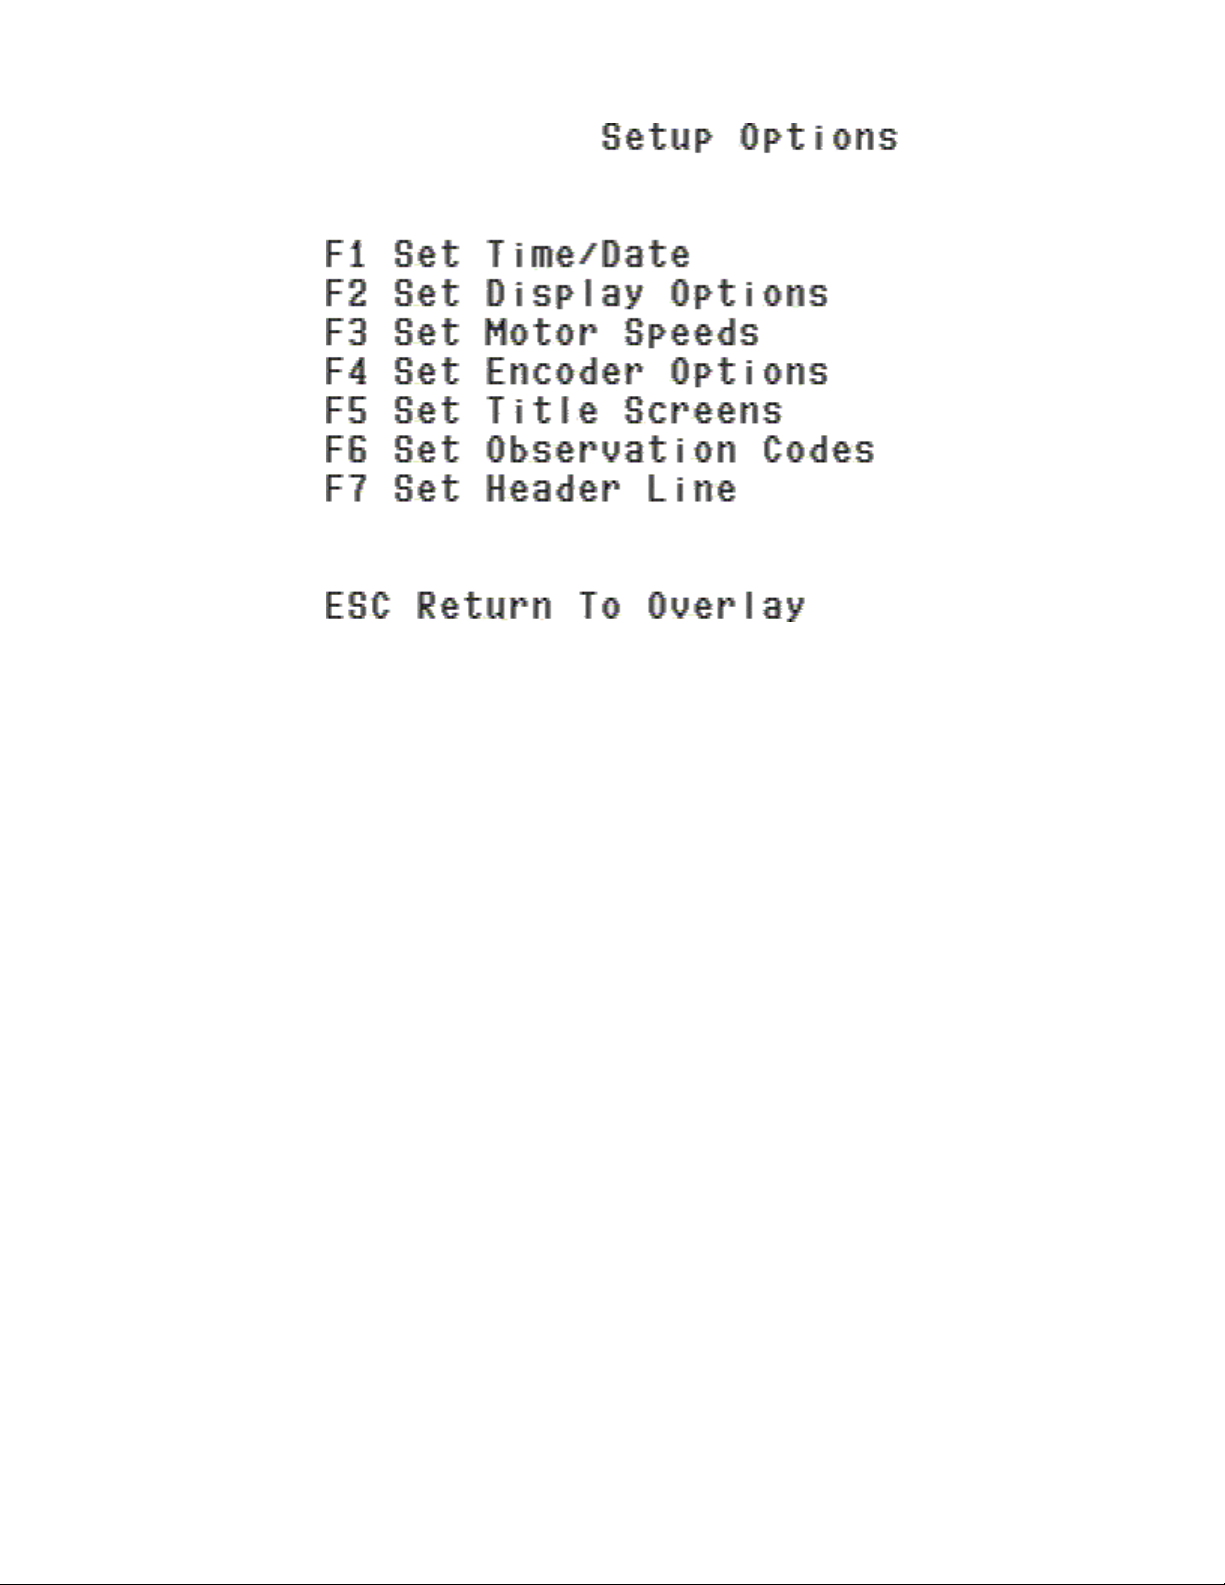
Setup Menu.......................................................................................................................................................... 10
F1 Set Time/Date.............................................................................................................................................. 11
F2 Set Display Options..................................................................................................................................... 12
F4 Set Encoder Options.................................................................................................................................... 13
F5 Set Title Screens.......................................................................................................................................... 15
F6 Set Observation Codes................................................................................................................................. 16
F7 Set Header Line ........................................................................................................................................... 17
Zeroing and Presetting Distance........................................................................................................................ 18
Adding Observations.......................................................................................................................................... 19