M0415-1 ver 3.1 5
1 INTRODUCTION
Robot System Products is a front-rank provider of peripheral products for high performance
robot applications. We provide complete tool systems solutions for your robot installations,
aiming to improve your productivity with the most reliable and cost-effective tooling on the
market. Continuously we explore emerging technologies, working with leading edge design.
Robot System Products has a wide range of standard robot peripheral products:
• Tool changers
• Swivels
• Swivel tool changers
• CiRo
• Grippers
• Hose Packages
• Valve units
• Tool systems
• Tool parking systems
Robot System Products’ tool changers are constructed to maximize the flexibility and reliability
of your robot fleet. Through our patented locking device TrueConnect™ robustness and high
safety are combined with low weight and compactness. With our swivels compressed air, water,
electrical and data signals as well as weld and servo power are transferred to your tools with
robot motion capabilities fully maintained. Our Swivel tool changers unite the TrueConnect™
mechanism with our swivel technology, combining the best out of the two technologies. With
RSPs unique Circular Rotators cables and hoses can be freely selected with high robot flexibility
maintained, and the space requirements reduced. Our integrated Tool systems are delivered as
complete plug-and-play solutions designed for quick and simple installation.
Robot System Products’ product lines are available for all major robot brands and come with
complete documentation. 3D-models for simulation are available for download at:
www.rsp.eu.com
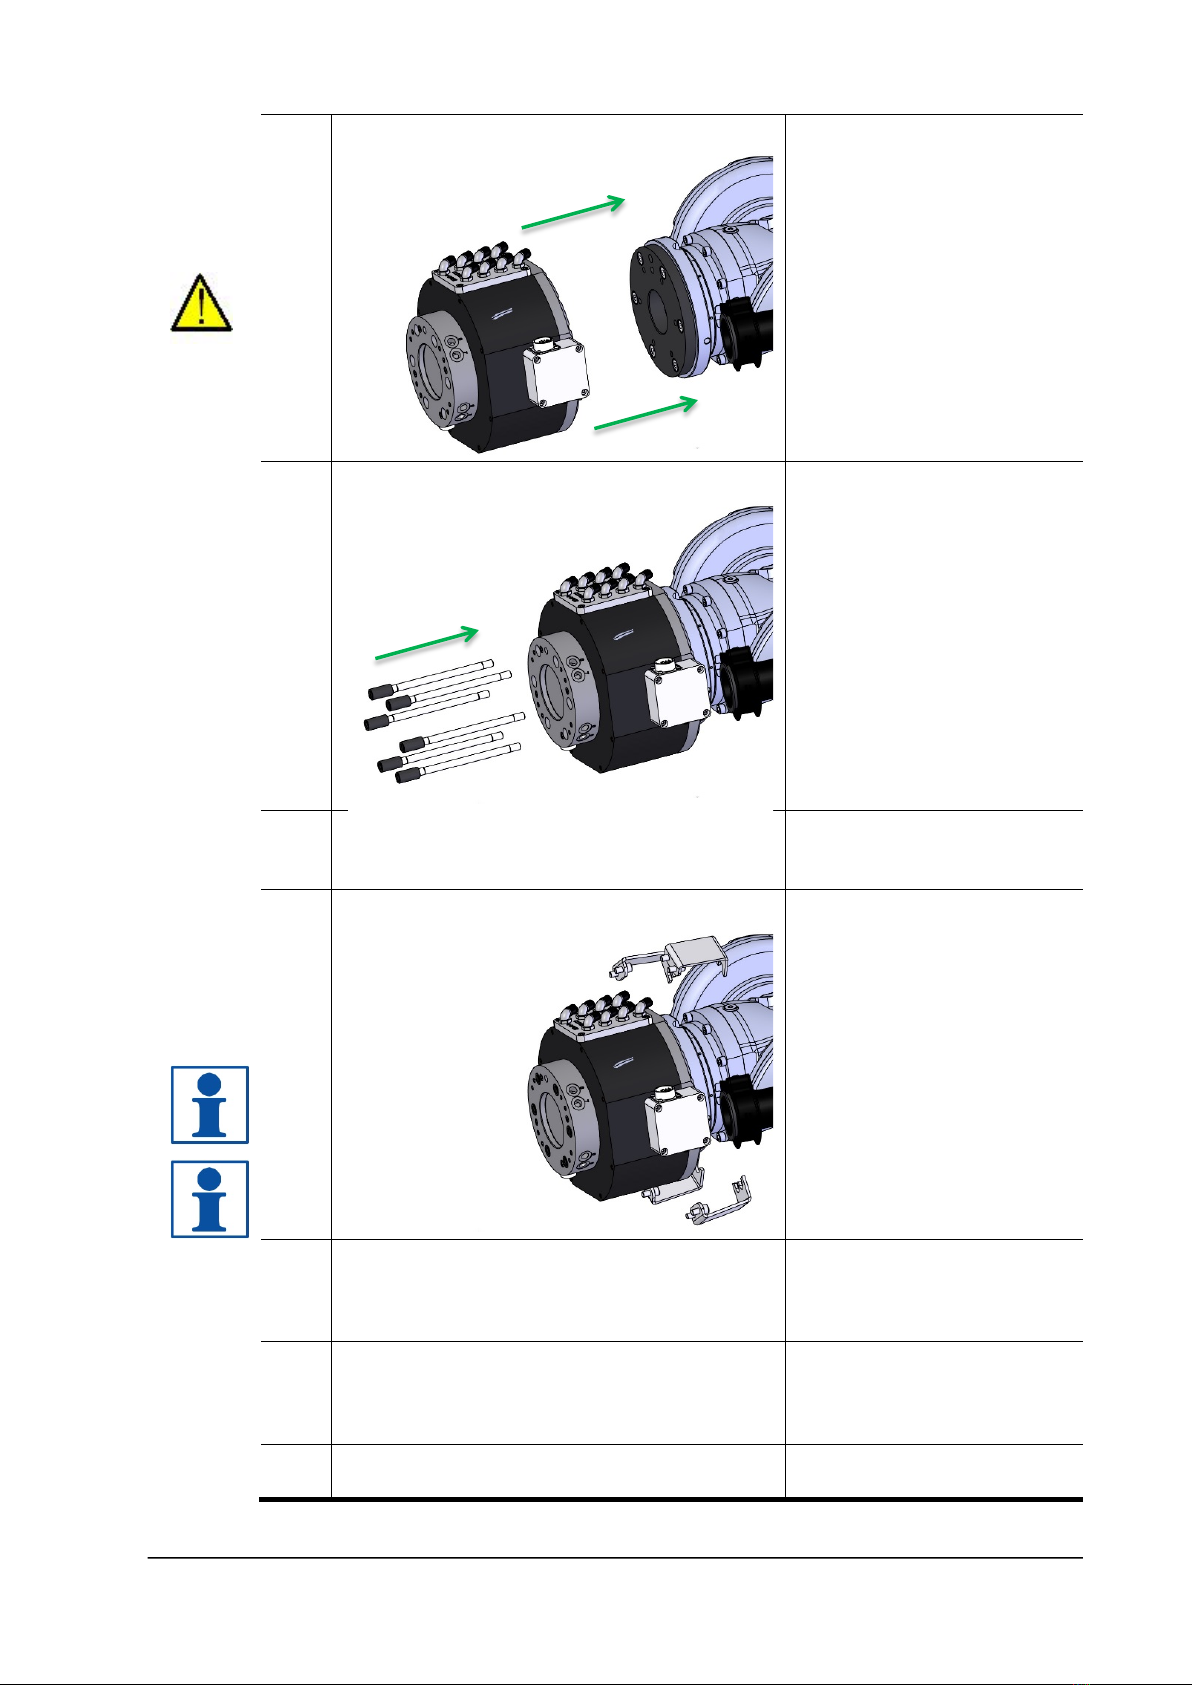
1.1 Installation and Maintenance manual
This document describes how the swivels, S20, S100, S250 and S350 are installed and
replaced. In addition, the document describes required maintenance activities, including
inspection, cleaning, lubrication, replacement of wear parts, required tools and products and
disposal and recycling.
The Technical Descriptions of each respective unit are separate documents containing product
information, drawings, technical data, electrical and pneumatic diagrams and lists of spare parts.