Select
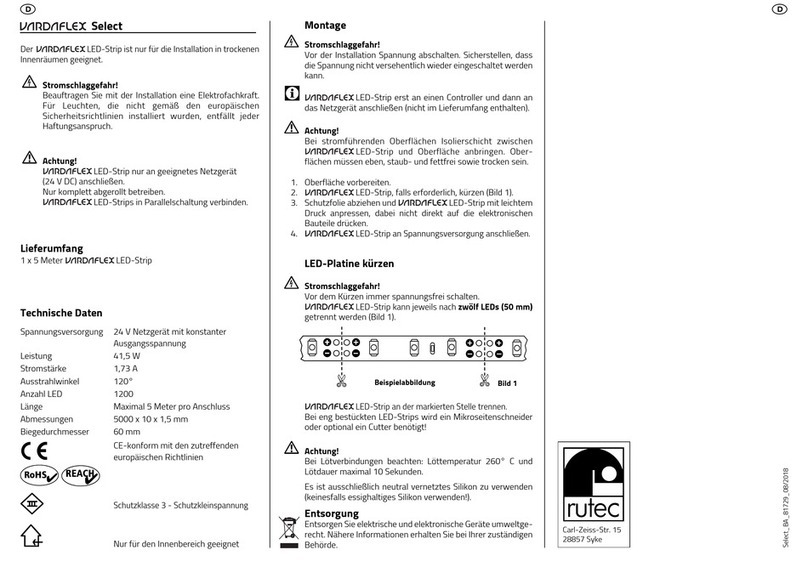
Der LED-Strip ist nur für die Installation in tro ckenen
Innenr umen geeignet.
Stromschlagge ahr!
Beauftragen Sie mit der Installation eine Elektrofach kraft.
Für Leuchten, die nicht gem ß den euro p ischen
Sicherheitsrichtlinien installiert wurden, entf llt jeder
Haftungsanspruch.
Achtung!
LED-Strip nur an ein geeignetes Netzger t
(24 V DC) anschließen.
Nur komplett abgerollt betreiben.
LED-Strips in Parallelschaltung verbinden.
Lie erum ang
1 x 5 Meter LED-Strip
Technische Daten
Spannungsversorgung 24 V Netzger t mit konstanter
Ausgangsspannung
Leistung 60 W
Stromst rke 2,5 A
Ausstrahlwinkel 120°
Anzahl LED 1200
L nge Maximal 5 Meter pro Anschluss
Abmessungen 5000 x 10 x 2 mm
Biegedurchmesser 60 mm
CE-konform mit den zutreffenden
europ ischen Richtlinien
Schutzklasse 3 - Schutzkleinspannung
Nur für den Innenbereich geeignet
Die vollständigen technischen Daten entnehmen Sie bitte dem
jeweiligen Artikel au www.rutec.de!
Do not cover lamps with heat-
i
Ensure that minimum
c
Use HO3VVH2-F 2x 0.75 mm cable only
f
Use low-pressure halogen
l
The lamp is suitable for moun-
t
T
L
Protection class 3 – Low-voltage 12 V.
U
Use low-voltage traction relief (except
f
H
This is only possible with specially
m
Protection class 2 – high vol-
t
Switch off voltage prior to installation.
E
Do not touch the halogen lamp with
y
Do not cover lamps with heat-
i
Ensure that minimum
c
Use HO3VVH2-F 2x 0.75 mm cable only
f
Use low-pressure halogen
l
The lamp is suitable for moun-
t
T
L
Protection class 3 – Low-voltage 12 V.
U
Use low-voltage traction relief (except
f
H
This is only possible with specially
m
Protection class 2 – high vol-
t
Switch off voltage prior to installation.
E
DD
Carl-Zeiss-Str. 15
28857 Syke
Montage
Stromschlagge ahr!
Vor der Installation Spannung abschalten. Sicherstellen, dass
die Spannung nicht versehentlich wieder eingeschaltet werden
kann.
LED-Strip erst an einen Controller und dann an
das Netzger t anschließen (nicht im Lieferumfang enthalten).
Achtung!
Bei stromführenden Oberfl chen Isolierschicht zwischen
LED-Strip und Oberfl che anbringen. Ober -
fl chen müssen eben, staub- und fettfrei sowie trocken sein.
1. Oberfl che vorbereiten.
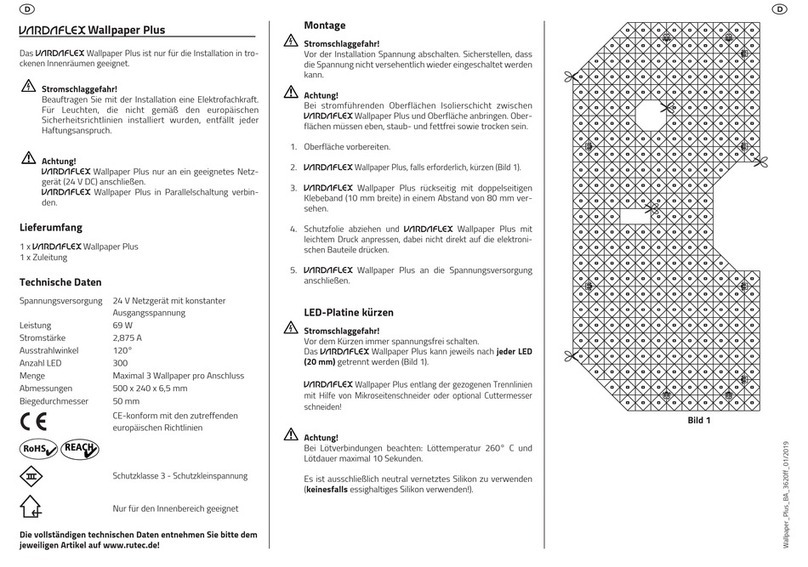
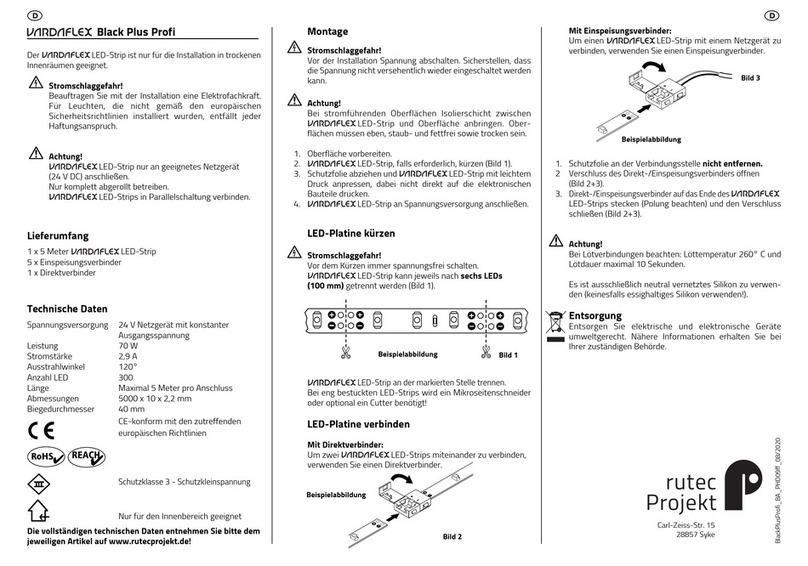
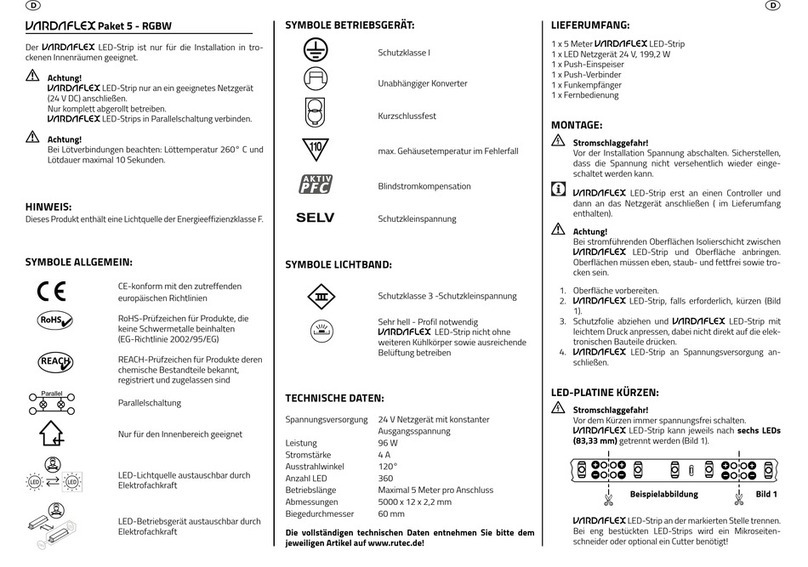
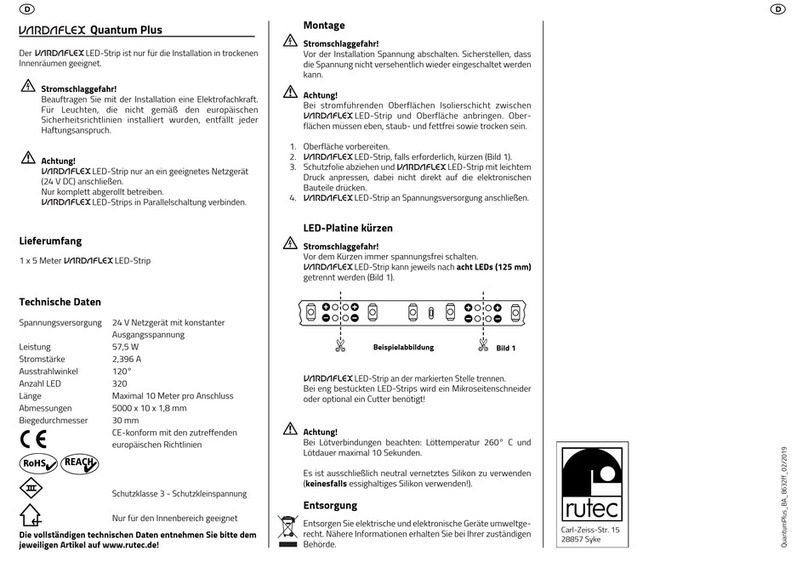
2. LED-Strip, falls erforderlich, kürzen (Bild 1).
3. Schutzfolie abziehen und LED-Strip mit leichtem
Druck anpressen, dabei nicht direkt auf die elektronischen
Bauteile drücken.
4.
LED-Strip an Spannungsversorgung anschließen.
LED-Platine kürzen
Stromschlagge ahr!
Vor dem Kürzen immer spannungsfrei schalten.
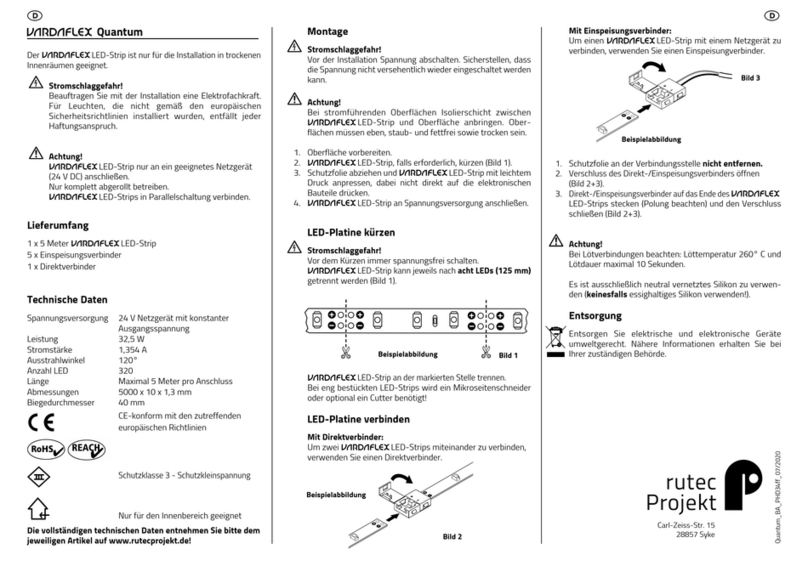
LED-Strip kann jeweils nach zwöl LEDs (50 mm)
getrennt werden (Bild 1).
LED-Strip an der markierten Stelle trennen.
Bei eng bestückten LED-Strips wird ein Mikroseitenschneider
oder optional ein Cutter benötigt
!
Do not cover lamps with heat-
i
Ensure that minimum
c
Use HO3VVH2-F 2x 0.75 mm cable only
f
Use low-pressure halogen
l
The lamp is suitable for moun-
t
T
L
Protection class 3 – Low-voltage 12 V.
U
Use low-voltage traction relief (except
f
H
This is only possible with specially
m
Protection class 2 – high vol-
t
Switch off voltage prior to installation.
E
Do not touch the halogen lamp with
y
Do not cover lamps with heat-
i
Ensure that minimum
c
Use HO3VVH2-F 2x 0.75 mm cable only
f
Use low-pressure halogen
l
The lamp is suitable for moun-
t
T
L
Protection class 3 – Low-voltage 12 V.
U
Use low-voltage traction relief (except
f
H
This is only possible with specially
m
Protection class 2 – high vol-
t
Switch off voltage prior to installation.
E
Do not touch the halogen lamp with
y
Bild 1
Beispielabbildung
Achtung!
Bei Lötverbindungen beachten: Löttemperatur 260° C und
Lötdauer maximal 10 Sekunden.
Es ist ausschließlich neutral vernetztes Silikon zu verwenden
(keines alls essighaltiges Silikon verwenden!).
Entsorgung
Entsorgen Sie elektrische und elektronische Ger te umweltge-
recht. N here Informationen erhalten Sie bei Ihrer zust ndigen
Behörde.
Do not cover lamps with heat-
i
Ensure that minimum
c
Use HO3VVH2-F 2x 0.75 mm cable only
f
Use low-pressure halogen
l
The lamp is suitable for moun-
t
T
L
Protection class 3 – Low-voltage 12 V.
U
Use low-voltage traction relief (except
f
H
This is only possible with specially
m
Switch off voltage prior to installation.
E
Select_BA_71728_08/2019
