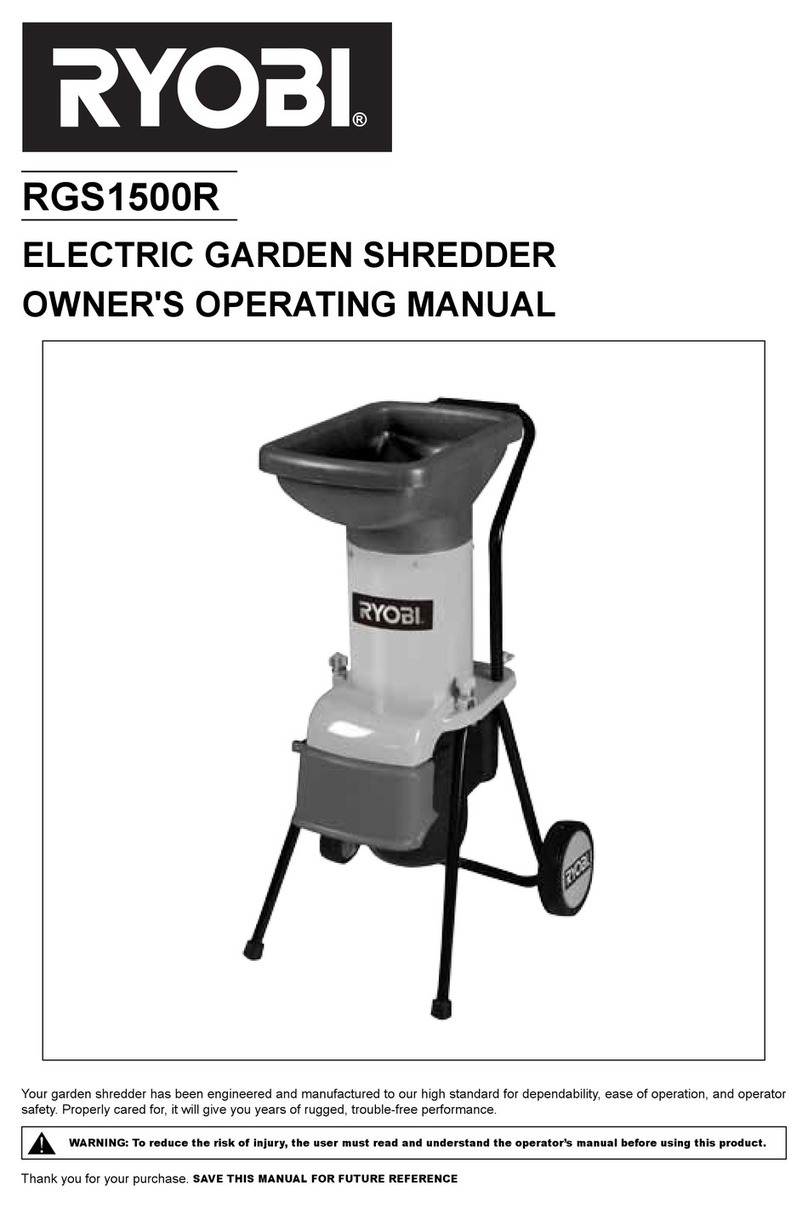
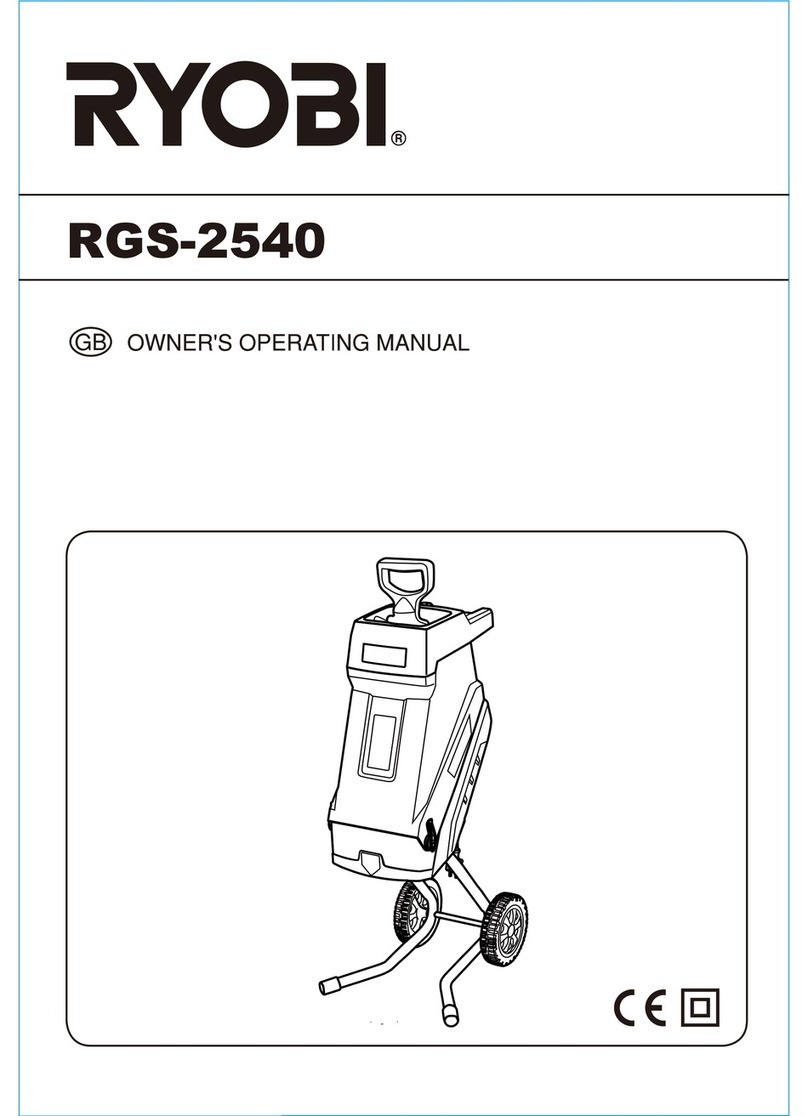
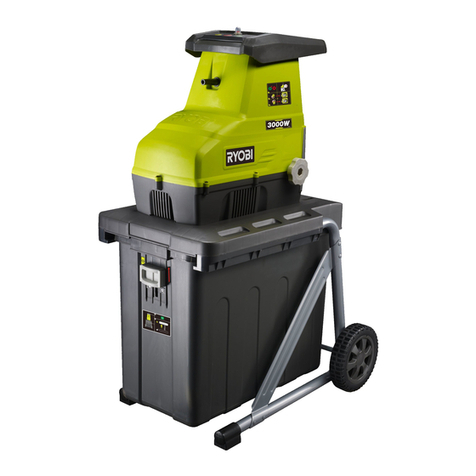
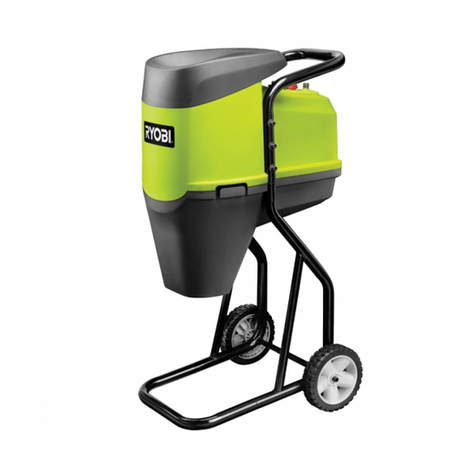
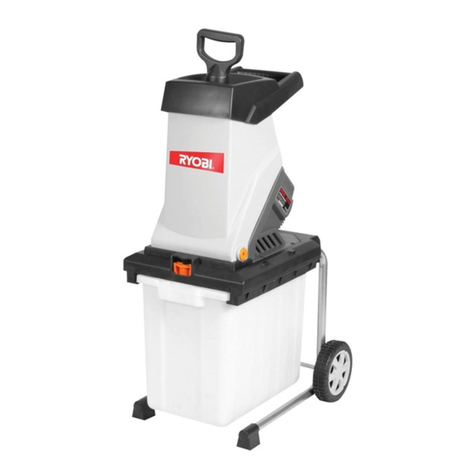
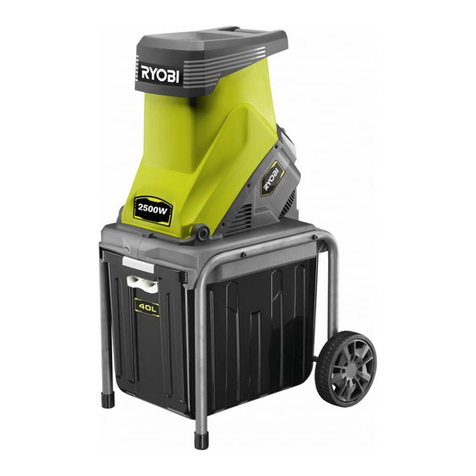
Ryobi GGS-3000 Operation manual

GGS-3000
SelfFeeding
Mechanism LargeHopper RapidSet Blade
ChangingSystem BranchGauge
GGS-3000
GARDEN SHREDDER
3HP
And Mulch Maker

1
Allen key
4
11
6
8
1
12
2
5
9
10
7
3

2
1
a
b
c
e
f
jk
d
g
h
i
12pcs M5x12 one-way screws
4pcs M6x14 one-way screws
2pcs M5x10 screws
12pcs M5 nylock nuts
4pcs M6 spring washers
2pcs M6 flat washers
12pcs M5 flat washers
2pcs M6 nylock nuts
2pcs M10 flat washers
2pcs M10 nylock nuts
2pcs M6x25 bolts
4pcs M6x50 hexagon socket
cap head screws
4pcs M6 flat washers

3
2 4
5
3
b
f
f
b
M5x12
one way screw M5 nylock nut
b
c
c
c
c
i
M6 flat washer
M6 nylock nut
M10 flat washer
M10 nylock nut
M6x25 bolt
j
M5 flat washer

7
8
6
10 11
13
4
M6 x 14
9
M6 x 14
12
M5 x10
a
e
g
a
h
b
b
M6x50 hexagon socket
cap head screw
M5 nylock nut
M5x12
one way screw
M6 flat wahser
M6 spring
washer
M5 flat washer

5
1514
16 17
Fixed pin
Ø>40mm Ø<40mm

THANK YOU FOR BUYING A RYOBI PRODUCT.
To ensure your safety and satisfaction, carefully read
through this OWNER’S MANUAL before using the
product.
6
General Safety Rules
SAVE THESE INSTRUCTIONS
WARNING! Read all instructions Failure to follow all
instructions listed below may result in electric shock, fire
and/or serious injury. The term “power tool” in all of the
warnings listed below refers to your mains-operated
(corded) power tool or battery-operated (cordless) power
tool.
1) Work area
a) Keep work area clean and well lit. Cluttered and
dark areas invite accidents.
b) Do not operate power tools in explosive
atmospheres, such as in the presence of
flammable liquids, gases or dust. Power tools
create sparks which may ignite the dust or fumes.
c) Keep children and bystanders away while
operating a power tool. Distractions can cause you
to lose control.
2) Electrical safety
a) Power tool plugs must match the outlet. Never
modify the plug in any way. Do not use any adapter
plugs with earthed (grounded) power tools.
Unmodified plugs and matching outlets will reduce
risk of electric shock
b) Avoid body contact with earthed or grounded
surfaces such as pipes, radiators, ranges and
refrigerators. There is an increased risk of electric
shock if your body is earthed or grounded.
c) Do not expose power tools to rain or wet
conditions. Water entering a power tool will increase
the risk of electric shock.
d) Do not abuse the cord. Never use the cord for
carrying, pulling or unplugging the power tool.
Keep cord away from heat, oil, sharp edges or
moving parts. Damaged or entangled cords
increase the risk of electric shock.
e) When operating a power tool outdoors, use an
extension cord suitable for outdoor use. Use of a
cord suitable for outdoor use reduces the risk of
electric shock.
3) Personal safety
a) Stay alert, watch what you are doing and use
common sense when operating a power tool. Do
not use a power tool while you are tired or under
the influence of drugs, alcohol or medication. A
moment of inattention while operating power tools
may result in serious personal injury.
b) Use safety equipment. Always wear eye
protection.Safety equipment such as dust mask,
non-skid safety shoes, hard hat, or hearing
protection used for appropriate conditions will reduce
personal injuries.
c) Avoid accidental starting. Ensure the switch is in
the off-position before plugging in.Carrying
power tools with your finger on the switch or
plugging in power tools that have the switch on
invites accidents.
d) Remove any adjusting key or wrench before
turning the power tool on. A wrench or a key left
attached to a rotating part of the power tool may result
in personal injury.
e) Do not overreach. Keep proper footing and
balance at all times. This enables better control of
the power tool in unexpected situations.
f ) Dress properly. Do not wear loose clothing or
jewellery. Keep your hair, clothing and gloves
awayfrom moving parts. Loose clothes, jewellery
or long hair can be caught in moving parts.
g) If devices are provided for the connection of
dust extraction and collection facilities, ensure
these are connected and properly used. Use of
these devices can reduce dust-related hazards.
4) Power tool use and care
a) Do not force the power tool. Use the correct
power tool for your application. The correct power
tool will do the job better and safer at the rate for
which it was designed.
b) Do not use the power tool if the switch does not
turn it on and off. Any power tool that cannot be
controlled with the switch is dangerous and must be
repaired.
c) Disconnect the plug from the power source
before making any adjustments, changing
accessories, or storing power tools. Such
preventive safety measures reduce the risk of
starting the power tool accidentally.
d) Store idle power tools out of the reach of children
and do not allow persons unfamiliar with the
power tool or these instructions to operate the
power tool. Power tools are dangerous in the hands
of untrained users.
e) Maintain power tools. Check for misalignment or
binding of moving parts, breakage of parts and
any other condition that may affect the power
tools operation. If damaged, have the power tool
repaired before use. Many accidents are caused by
poorly maintained power tools.
f ) Keep cutting tools sharp and clean. Properly
maintained cutting tools with sharp cutting edges are
less likely to bind and are easier to control.
g) Use the power tool, accessories and tool bits
etc., in accordance with these instructions and in
the manner intended for the particular type of
power tool, taking into account the working
conditions and the work to be performed. Use of
the power tool for operations different from intended
could result in a hazardous situation.
5) Service
a) Have your power tool serviced by a qualified
repair person using only identical replacement
parts. This will ensure that the safety of the power tool
is maintained.
7
INSTRUCTIONS FOR SAFE HANDLING
1. Make sure that the tool is only connected to the
voltage marked on the name plate.
2. Never use the tool if its cover or any bolts are missing.
If the cover or bolts have been removed, replace
them prior to use. Maintain all parts in good working
order.
3. Always secure tools when working in elevated
positions.
4. Never touch the blade, drill bit, grinding wheel or other
moving parts during use.
5. Never start a tool when its rotating component is in
contact with the workpiece.
6. Never lay a tool down before its moving parts have
come to a complete stop.
7. ACCESSORIES: The use of accessories or
attachments other than those recommended in these
instructions might present a hazard.
8. REPLACEMENT PARTS: When servicing use only
identical replacement parts.
SPECIFIC SAFETY RULES FOR GARDEN
SHREDDER
10. Avoid wearing loose fitting clothing, hanging cords or
ties.
11. Only operate the machine in open space (e.g. not too
close to a wall or other fixed objects) and on a firm, level
surface.
12. Do not operate the machine on paved or gravel surface
where ejected material could cause injury.
DESCRIPITION
10. Disc lock for blade changing
11. Motor block adjusting hole
12. Branch gauge
1. During operation, do not open the cutting chamber. The
machine runs on for a few seconds after being switched
off.
2. Never allow children or people unfamiliar with these
instructions to use the machine. When not in use store
the machine out of reach of children.
3. This tool is not intended for use by persons (including
children) with reduced physical sensory or mental
capabilities, or lack of experience and knowledge,
unless they have been given supervision or instruction
concerning use of the appliance by a person responsible
for their safety. Children should be supervised to ensure
that they do not play with the appliance.
4. Before switching on, the machine must be assembled
according to the enclosed instructions.
5. Use only extension cables that are intended for outdoor
use and are protected against splashes of water.
6. Do not touch the plug or socket with wet hands.
7. Do not run over, crush or pull the power supply cable or
extension lead, otherwise, it may be damaged. Protect
the cable from heat, oil and sharp edges.
8. Other persons and animals should remain at a distance
of 3 metres or more when the machine is being used. The
operator is responsible for third persons in the working
area.
9. Become familiar with the instruction manual before
attempting to operate this machine.
13. Before starting the machine, check that all screws, nuts,
bolts and other fasteners are properly secured and that
guards and screens are in place.
14. Keep proper balance and footing at all times. Do not
overreach. Never stand at a higher level than the base
of the machine when feeding material.
15. When feeding material into the machine be extremely
careful that pieces of metal, rocks, bottles, cans or other
foreign objects are not included.
16. If the cutting mechanism strikes any foreign object or if
the machine should start making any unusual noise or
vibration, immediately switch off and allow the cutter
to stop. Remove the plug from the mains supply and
take the following steps:
- Inspect for damage.
- Check for and tighten any loose parts.
17. If the machine becomes clogged, switch off and allow
the cutter to stop. Remove the plug from the mains
supply before clearing debris.
18. Check if guards and protective devices are undamaged
and properly mounted. Beforeusing, carry out possibly
necessary maintenance and repairs.
19. Keep the motor cooling vents clean of debris and other
accumulations to prevent damage to the motor or
possible fire.
20. Never pick up or carry the machine while the motor is
running.
21. Switch off, allow the cutter to stop and re move the plug
from the mains supply whenever you leave the work
area.
22. Do not tamper with the power source governor settings.
Contact an approved service agent if a problem exists.
23. Do not tilt the machine while it is running.
24. Do not expose the machine to rain. Only store the
machine in a dry place.
1. Infeed material hopper
2. Infeed material funnel
3. Material discharge chute
4. Mulch collection catcher
5. Cut chamber locking knob
6. Transport wheels
7. ON/OFF switch
8. Overload protection switch
9. Patented cutter assembly: including blades

8
ASSEMBLY
SPECIFICATIONS
ITEMS SUPPLIED (Fig. 1)
1. INSTALL THE INFEED MATERIAL FUNNEL (Fig. 2)
2. ASSEMBLE THE LEGS (Fig. 5)
a. 1 x infeed material hopper
b. 1 x infeed material funnel
c. 1 x main body
d. 1 x branch gauge
e. 1 x material discharge chute
f. 2 x legs
g. 1 x mulch collection catcher
h. 1 x bracket
i. 1 x connection rod
j. 2 x transport wheel
k. 2 x wheel cover
230V~50Hz
2200W/3HP
2900rpm
Cone cutter, Self-feeding
Double sided reversible replacement
40mm
10:1
50kg
Voltage:
Power input:
No load speed:
Cutting system:
Blades:
Branch diameter:
Mulching ratio:
Net weight:
You will need:
6pcs M5x12 one-way screws;
6pcs M5 nylock nuts and 6pcs M5 flat washers
OPERATION
INFORMATION ON SHREDDING
1. Best operating results are obtained by feeding branches
and leaves together as the branch material helps to draw
leaves and other small materials through the machine.
2. Feed material branches at a constant speed to get an
even and consistent load avoid pushing large volume of
material at one time as this tends to clog the machine or
may create overload (May even trip the overload
protection switch).
3. If you want to just process leaves, we suggest best
results are achieved with the use of a push stick to help
push the leaves through the safety bristles at the bottom
of the plastic hopper.
4. The machine can shred chip green or dried branches and
leaves. However avoid wet material as these tend to stick
to the machine and may not feed efficiently.
(1) Align the slot in the funnel & protrusion in the main
body to locate the funnel in the right position. (Fig. 3)
(2) Screw the funnel to the main body (c) as shown.
(Fig. 4)
You will need:
2pcs M6 nylock nuts and 2pcs M6 flat washers;
2pcs M10 nylock nuts and 2pcs M10 flat washers;
2pcs M6x25 bolts
(1) Take the wheel cap from the wheel;
(2) Mount the wheel to the legs (left & right wheels);
(3) Fix the connection rod to the legs as shown.
3. INSTALL THE LEG ASSEMBLY (Fig. 6)
You will need:
4pcs M6 hexagon socket cap head screws;
4pcs M6 spring and 4pcs M6 flat washers
(1) Turn the machine upside down so the legs hole is
upward.
(2) Screw the leg assembly together with the bracket to
the main body as shown.
4. ASSEMBLE THE INFEED MATERIAL HOPPER
You will need:
6pcs M5x12 one-way screws;
6pcs M5 Nylock nuts and 6pcs M5 flat washers
(1) Align the slot & protrusion firstly to help you assemble
the hopper to the funnel. (Fig. 7)
(2) Screw the hopper to the funnel as shown by using 6
one-way screws. (Fig. 8)
(1) Screw the branch gauge to the material discharge
chute as shown by using 2 M5x10 screws. (Fig. 11)
5. ASSEMBLE THE MATERIAL DISCHARGE CHUTE
6. ASSEMBLE THE BRANCH GAUGE
You will need:
4pcs M6x14 one-way screws
You will need:
2pcs M5x10 screws;
(1) Mount the discharge chute; (Fig. 9)
(2) Screw it as shown. (Fig. 10)
7. FIT THE MULCH COLLECTION CATCHER
(Fig. 12)
(1) Open the wire inside of the catcher;
(2) Slide to assemble the catcher as shown.
Note: the one-way screw could not be disassembled
once you mount it.
5. Branches become harder to shred depending on the type,
age and dryness of the wood. For best results, shred
fresh branches soon after they have been cut.
6. Soft garden waste should be shredded in smaller loads,
particularly for wet waste. Any blockages can be avoided
by intermittently shred branches.
7. If the motor stalls due to overloading or other cause turn
off the power switch and disconnect the shredder from
power source. Then unscrew the locking knob and open
the cutting chamber to clean the blockage inside. Before
opening the chamber, Please make sure that the motor
has been totally stopped.

OVERLOAD PROTECTION
Overloading (e.g. blocking of the cutter) causes the machine
to stop after a few seconds. Reset the overload protection
button, and then restart the motor (press ON button). If
necessary, you need to clear the blockage in the cutting
chamber.
STARTING PROCEDURE
HOW TO USE THE BRANCH TESTER
9
MAINTENANCE AND STORAGE
Warning!
Switch off, remove plug from mains before adjusting or
cleaning, never start up when cable is cut, damaged or
entangled. Always wear protective gloves when using,
adjusting or cleaning the shredder.
10. Never attempt to override the interlock feature of the
guard.
1. Place the machine on firm level ground, ensure both feet
and both wheels are touching the ground.
2. Fix the chip catcher to the machine, slide it on rails and
push in fully.
3. Connect power supply to the machine.
4. Press green button (7) to turn on the machine.
STOPPING PROCEDURE
Ensure all material within the machine has been processed
before attempting to turn off the machine.
If uncut material is struck in the machine cut chamber, it
may be difficult or impossible to restart the machine. The
cutter could be blocked, and motor got deactivated under
over load protection.
RESTARTING PROTECTION
A mains failure causes machine to switch off. The machine
cannot restart on its own when the power returns.
MECHANICAL SELF-LOCKING SWITCH
HOW TO CHANGE THE BLADE
The machine is equipped with mechanical protection switch,
the machine will not start, unless the locking knob (5) is
locked firmly.
The shredder was equipped with quick blade changing
system.
Operating Procedure:
1. To ensure long and reliable service, carry out the
following maintenance regularly.
2. Regularly check for obvious defects such as loose,
dislodged or damaged blades, loose fixings, and worn
or damaged components.
3. Check that covers and guards are undamaged and
correctly fitted. Carry out necessary maintenance or
repairs before using.
4. If the shredder happen to fail despite the care taken in
manufacture and testing. Repair should be carried out
by an authorized customer service agent.
5. When the machine is stopped for servicing, inspection,
or storage, or to change an accessory, switch off and
remove the plug from the mains supply and allow the
machine to cool. Make sure that all moving parts have
come to a complete stop before making any inspections,
adjustments, etc.
6. Maintain the machine with care and keep it clean.
7. Examine the machine and replace worn or damaged
parts for safety.
8. Check the supply and any extension cord regularly for
damage or signs of aging. Do not use the machine, if
the cords are damaged.
9. When servicing the cutter be aware that, even though
the motor will not start due to the interlock feature of the
guard, the cutter can still be moved if the motor is turned
by hand.
1. Push the button to shut down the cutting system. (Fig. 13)
2. Loosen the bolts on blade with M8 hexagon wrench. 3-4
rotation is enough to turn it loose. (Fig. 14)
3. Press the fixed pin, and get the blade disassembled by
pushing it upwards. (Fig. 15)
4. Alter the blade cutting edge, and push it downwards to
set the blade in position. (Fig. 16)
The two cutting edges should be used alternately so as to
lengthen its life.
This shredder can be fed with material with a maximum
diameter of 40mm. Check the branch size before feeding it
into hopper. Push branch into the tester, and only shred
branches which can pass through. (Fig. 17)

10
TROUBLESHOOTING
Warning!
Warranty:
PROBLEM POSSIBLE CAUSE CORRECTIVE ACTION
Switch off, remove plug from mains before adjusting, cleaning or if cable is cut, damaged or entangled.
The motor does not run
Shredder fails to operate
The material to be shredded is
Not Pull in
The following chart lists problem symptoms, possible causes and corrective action, if your shredder does not operate properly.
If these do not identify and correct the problem, contact your service agent.
The manufacturer provides warranty in accordance with the legislation of the customer’s own country of residence, starting from
the date on which the appliance is sold to the end user. The warranty only covers defects in material or workmanship.
The repairs under warranty may only be carried out by an authorized service center. When making a claim under the warranty,
the original bill of purchase (with purchase date) must be submitted.
The warranty will not apply in cases of:
1. Normal wear and tear
2. Incorrect use, e.g. overloading of the appliance, use of non-approved accessories
3. Use of force, damage caused by external influences
4. Damage caused by non-observance of the user manual, e.g. connection to an unsuitable mains supply or non-compliance
with the installation instructions
5. Partially or completely dismantled appliances
The overload protection has
responded.
Cut chamber locking knob not
fully in position.
Press the Reset button, and
then press the “I” button.
Locking knob of cut chamber
not fitted correctly.
Fit the locking knob correctly.
Retighten the locking knob.
Mains socket faulty. Use another socket.
Extension cable damaged. Replace if damaged.
Jammed material in the machine. Clear jammed material, if necessary,
use the Allen key to rotate the motor
spindle.

Table of contents
Other Ryobi Paper Shredder manuals

Ryobi
Ryobi RGS-1240 Operation manual

Ryobi
Ryobi ESR2400A Operation manual

Ryobi
Ryobi RSH2400R User manual

Ryobi
Ryobi RSH2545B User manual

Ryobi
Ryobi RSH2400R User manual

Ryobi
Ryobi RSH2445B User manual

Ryobi
Ryobi RSH3045U User manual

Ryobi
Ryobi RSH2545B User manual

Ryobi
Ryobi RSH2445S User manual

Ryobi
Ryobi RSH2845T User manual