manuals.online logo
Brands
  1. Home
  2. •
  3. Brands
  4. •
  5. Ryobi
  6. •
  7. Tools
  8. •
  9. Ryobi RAC1214 User manual

Ryobi RAC1214 User manual

Other Ryobi Tools manuals

Ryobi A24NK01 User manual

Ryobi

Ryobi A24NK01 User manual

Ryobi EHT150RG Operation manual

Ryobi

Ryobi EHT150RG Operation manual

Ryobi ONE+ R18DA-0 User manual

Ryobi

Ryobi ONE+ R18DA-0 User manual

Ryobi RY18SCXA User manual

Ryobi

Ryobi RY18SCXA User manual

Ryobi P2903 User manual

Ryobi

Ryobi P2903 User manual

Ryobi RTM200 User manual

Ryobi

Ryobi RTM200 User manual

Ryobi 1/4 in. Quick connect coupler Assembly instructions

Ryobi

Ryobi 1/4 in. Quick connect coupler Assembly instructions

Ryobi EHT150V User manual

Ryobi

Ryobi EHT150V User manual

Ryobi R18CPS-0 User manual

Ryobi

Ryobi R18CPS-0 User manual

Ryobi A90FP01 User manual

Ryobi

Ryobi A90FP01 User manual

Ryobi AG403 User manual

Ryobi

Ryobi AG403 User manual

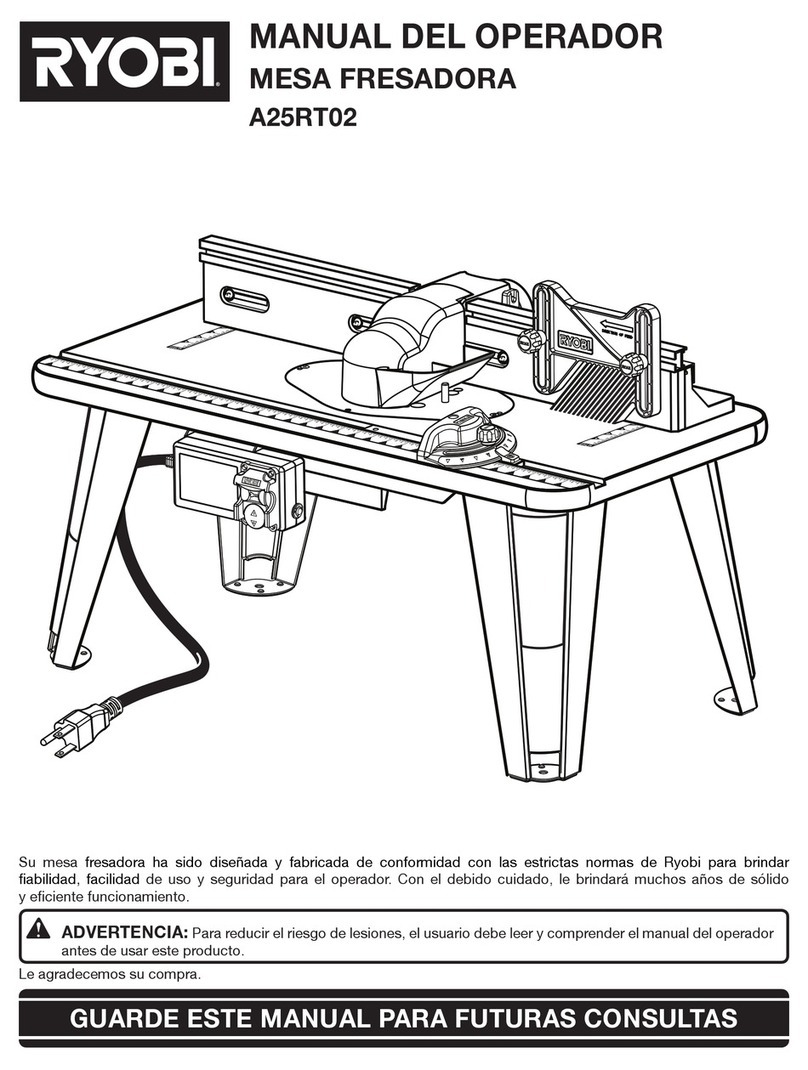
Ryobi A25RT02 User manual

Ryobi

Ryobi A25RT02 User manual

Ryobi CSB134L Quick setup guide

Ryobi

Ryobi CSB134L Quick setup guide

Ryobi EPN6082C User manual

Ryobi

Ryobi EPN6082C User manual

Ryobi RSTSJ150 User manual

Ryobi

Ryobi RSTSJ150 User manual

Ryobi R18GG User manual

Ryobi

Ryobi R18GG User manual

Ryobi D552HK Configuration guide

Ryobi

Ryobi D552HK Configuration guide

Ryobi R163K User manual

Ryobi

Ryobi R163K User manual

Ryobi ONE Plus R18SEC User manual

Ryobi

Ryobi ONE Plus R18SEC User manual

Ryobi A90PG02 User manual

Ryobi

Ryobi A90PG02 User manual

Ryobi RDT1840 User manual

Ryobi

Ryobi RDT1840 User manual

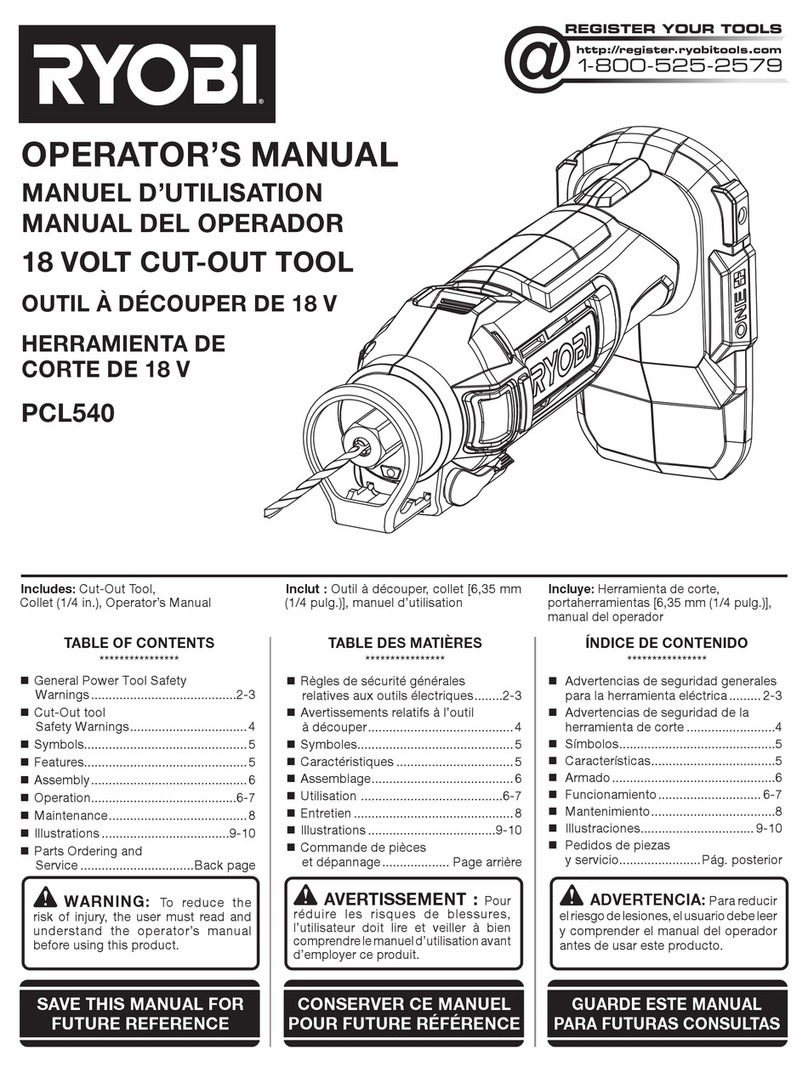
Ryobi PCL540 User manual

Ryobi

Ryobi PCL540 User manual

Ryobi SC164VS Quick setup guide

Ryobi

Ryobi SC164VS Quick setup guide

Ryobi A25RT02 User manual

Ryobi

Ryobi A25RT02 User manual

Popular Tools manuals by other brands

AGI Westfield MKX16 Assembly manual

AGI

AGI Westfield MKX16 Assembly manual

GYS HAND-DUCTION 056923 Translation of the original instructions

GYS

GYS HAND-DUCTION 056923 Translation of the original instructions

Grizzly H7583 instruction manual

Grizzly

Grizzly H7583 instruction manual

Sealey VS0462.V2 instructions

Sealey

Sealey VS0462.V2 instructions

Makita HR2650 instruction manual

Makita

Makita HR2650 instruction manual

Forza 1100H Series manual

Forza

Forza 1100H Series manual

Aventics EBS-PI operating instructions

Aventics

Aventics EBS-PI operating instructions

Martor SECUNORM 175 quick start guide

Martor

Martor SECUNORM 175 quick start guide

jbc N4473 instruction manual

jbc

jbc N4473 instruction manual

FEINMETALL FZWZ-SET-001 quick start guide

FEINMETALL

FEINMETALL FZWZ-SET-001 quick start guide

Worx Professional Sonicrafter WU676 Original instructions

Worx Professional

Worx Professional Sonicrafter WU676 Original instructions

Gage Bilt GB713SH Original instructions

Gage Bilt

Gage Bilt GB713SH Original instructions

Hilti DX 9-ENP Original operating instructions

Hilti

Hilti DX 9-ENP Original operating instructions

norbar NORTRONIC 34399 Operator's manual

norbar

norbar NORTRONIC 34399 Operator's manual

BGS technic 8578 manual

BGS technic

BGS technic 8578 manual

axing BWZ 5-02 Operation instructions

axing

axing BWZ 5-02 Operation instructions

Makita DHR241 instruction manual

Makita

Makita DHR241 instruction manual

Motor Guard JMB-1250 instructions

Motor Guard

Motor Guard JMB-1250 instructions

manuals.online logo
manuals.online logoBrands
  • About & Mission
  • Contact us
  • Privacy Policy
  • Terms and Conditions

Copyright 2025 Manuals.Online. All Rights Reserved.

Fig. 1
Fig. 6
Fig. 2 Fig. 3
Fig. 5Fig. 4
8
9
7
6
5
4
3
2
1
7
6
5
4
3
2
1
4
1
25
3
a
c
d
e
8
9
7
6
5
4
3
2
1
b
1
2
3
4
5
6
9
7
8
10
11
7
8
6
9
5
4
3
2
1
Fig. 1
Fig. 6
Fig. 2 Fig. 3
Fig. 5Fig. 4
1
Arbor
a
b
3
c
6
d
e
a
7
b
2
c
d
e
4
1
25
3
a
c
d
e
1
Arbor
a
b
3
c
5
d
e
b
1
2
3
4
5
6
9
7
8
10
11
a
Flange
washer
8
4
b
2
c
d
e
Fig. 1
Fig. 6
Fig. 2 Fig. 3
Fig. 5Fig. 4
1
Arbor
a
b
3
c
6
d
e
a
7
b
2
c
d
e
4
1
25
3
a
c
d
e
1
Arbor
a
b
3
c
5
d
e
b
1
2
3
4
5
6
9
7
8
10
11
a
Flange
washer
8
4
b
2
c
d
e
RAC1214
WARNING: To reduce the risk of injury, the user must read and understand the operator’s manual for the string trimmer before using
the accessory. Always wear eye protection with side shields marked to comply with EN 166 along with the hearing protection. Ensure
compatibility and proper t before using this accessory. Stop the string trimmer and remove the battery pack for DC trimmer before changing
or adjusting accessories.
The REEL EASY trimmer head installs differently on string trimmer attachments.
Assembly instructions will vary based on the style and type of attachment.
INSTALLING THE TRIMMER HEAD
PACKING LIST
Replacement spool head
Curved shaft with arbor Straight shaft with arbor Curved shaft without arbor Straight shaft without arbor
1 - Spacer
2 - Black line guide
3 - White line guide
4 - Locking pin
5 - Silver bolt
6 - Black bolt
7 - Silver nut
8 - Black nut
9 - Speed winder
10 - Trimmer line
11 - Trimmer head assembly
a - Upper housing
b - Spring
c - Spool
d - Knob
e - Lower housing
Techtronic Industries (Australia) Pty. Ltd.
31 Gilby Road, Mount Waverley,
VIC 3149, Australia
Techtronic Industries New Zealand Ltd.
2 Landing Drive, Mangere,
Auckland, New Zealand 2022
Imported by:
961152927-01
■Insert nut (M8), with flange facing outwards, into the hex pocket
in the upper housing, then twist the upper housing onto the
attachment. For curved shaft models, insert the silver nut and
turn the upper housing clockwise. For straight shaft models,
insert black nut and turn upper housing counterclockwise. If
necessary, use a wrench (not provided) or locking pin to hold the
flange washer while tightening the upper housing.
■Place the spring into the upper housing and push down to seat.
■Install the black line guide into the spool.
NOTE: When installing, align the keys located on the
underside of the guide with the corresponding holes in the
spool.
■Align the ribs on the knob with the slots in the spool and place
the knob onto the spool.
■Insert the bump knob and spool assembly through the opening in
the trimmer head lower housing.
■Slide lower housing onto the upper housing. Push together until
the tabs in the upper housing snap into the slots in the lower
housing.
NOTE: Hold the spool by the knob while completing the
installation.
■Install line as described in Installing line.
Fig. 1
Fig. 6
Fig. 2 Fig. 3
Fig. 5Fig. 4
8
9
7
6
5
4
3
2
1
7
6
5
4
3
2
1
4
1
25
3
a
c
d
e
8
9
7
6
5
4
3
2
1
b
1
2
3
4
5
6
9
7
8
10
11
7
8
6
9
5
4
3
2
1
1. Arrows
2. Line
3. Eyelet
4. Bump knob
5. Speed winder
■Turn off the product and remove the battery pack for DC trimmer.
■Rotate the bump knob clockwise as necessary to align the arrows on
the bump knob with the arrows on the trimmer head housing.
■Insert the trimmer line into the eyelet on the trimmer head housing.
Push the trimmer line until the end of the line comes out on the
other side of the housing. Pull the trimmer line until equal amounts
of line appear on both sides of the housing.
NOTE: When replacing the trimmer line, do not insert more than
548 cm of line. Line may jam if more than 548 cm is loaded.
■Either by hand or using the speed winder, rotate the bump knob
clockwise to wind the line on the spool until approximately 15 cm
of line is showing on each side.
NOTE: After every five to seven revolutions of the speed winder,
pull both line ends outwards to tighten the spool for best loading
results and to help prevent line from tangling.
■Push the bump knob down while pulling on line(s) to manually
advance the line.
INSTALLING THE LINE
For shafts without arbors:
■Place the spring into the upper housing around the arbor and
push down to seat.
■Install the white line guide into the spool.
NOTE: When installing, align the keys located on the
underside of the guide with the corresponding holes in the
spool.
■Insert the spool into the upper housing and onto the arbor.
■Secure the spool in place by pressing it firmly into the upper
housing and installing a bolt (M8) into the opening in the arbor.
For curved shaft models, install the black bolt and turn clockwise.
Make sure the bolt is fully screwed into arbor. Do not overtighten.
For straight shaft models, install the silver bolt and turn
counterclockwise. Make sure the bolt is fully screwed into arbor.
Do not overtighten.
■Align the ribs on the knob with the slots in the spool and place
the knob onto the spool.
■Slide lower housing over the knob and onto the upper housing.
Push together until the tabs in the upper housing snap into the
slots in the lower housing.
■Install line as described in Installing the line.
■Install the spacer onto the upper housing.
■Slide the spacer and upper housing onto the arbor.
For shaft with arbors:
INSTALLATION CHART
STYLE TYPE ITEMS NEEDED FOR INSTALLATION
Curved
shaft with arbor spacer, white line guide, black bolt, and
trimmer head assembly
Curved
shaft without
arbor silver nut, black line guide, and trimmer
head assembly
Straight
shaft with arbor spacer, white line guide, silver bolt, and
trimmer head assembly
Straight
shaft without
arbor black nut, black line guide, and trimmer
head assembly
NOTE
Make sure the arbor is fully seated into the hex-shaped pocket on
the spacer before proceeding. An arbor that is not fully seated will
cause damage to the upper housing and spacer.