ENGLISH
1
GENERAL SAFETY RULES
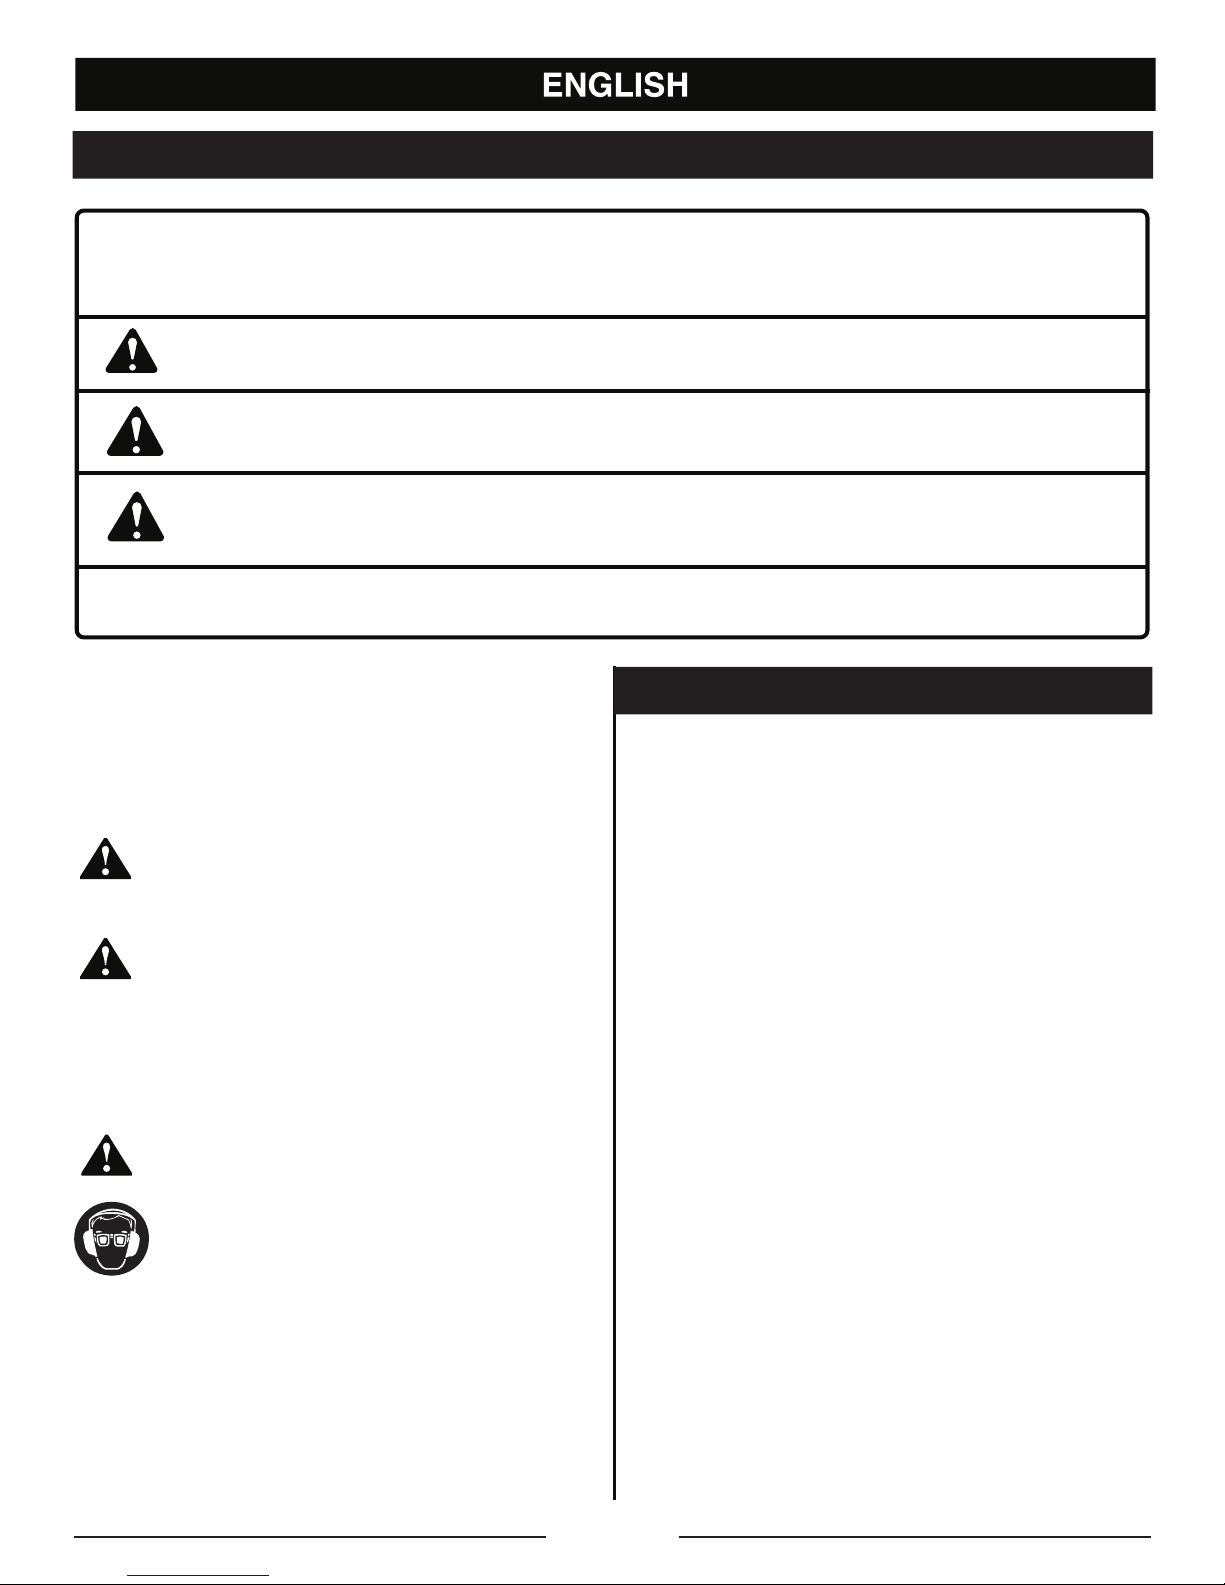
WARNING:
When using electric gardening appliances, basic
safety precautions should always be followed to
reduce the risk of fire, electric shock and personal
injury, including the following:
READ ALL INSTRUCTIONS
GENERAL SAFETY RULES
Clear the work area before each use. Remove all
objects, such as rocks, broken glass, nails, wire or
string that can be thrown or become entangled in the
cutting line.
Wear heavy, long pants, boots and gloves. Do not
wear loose fitting clothing, short pants or go bare foot.
Do not wear jewelry of any kind.
Secure hair above shoulder level to prevent
entanglement in moving parts.
Do not allow children or untrained individuals to use
this product.
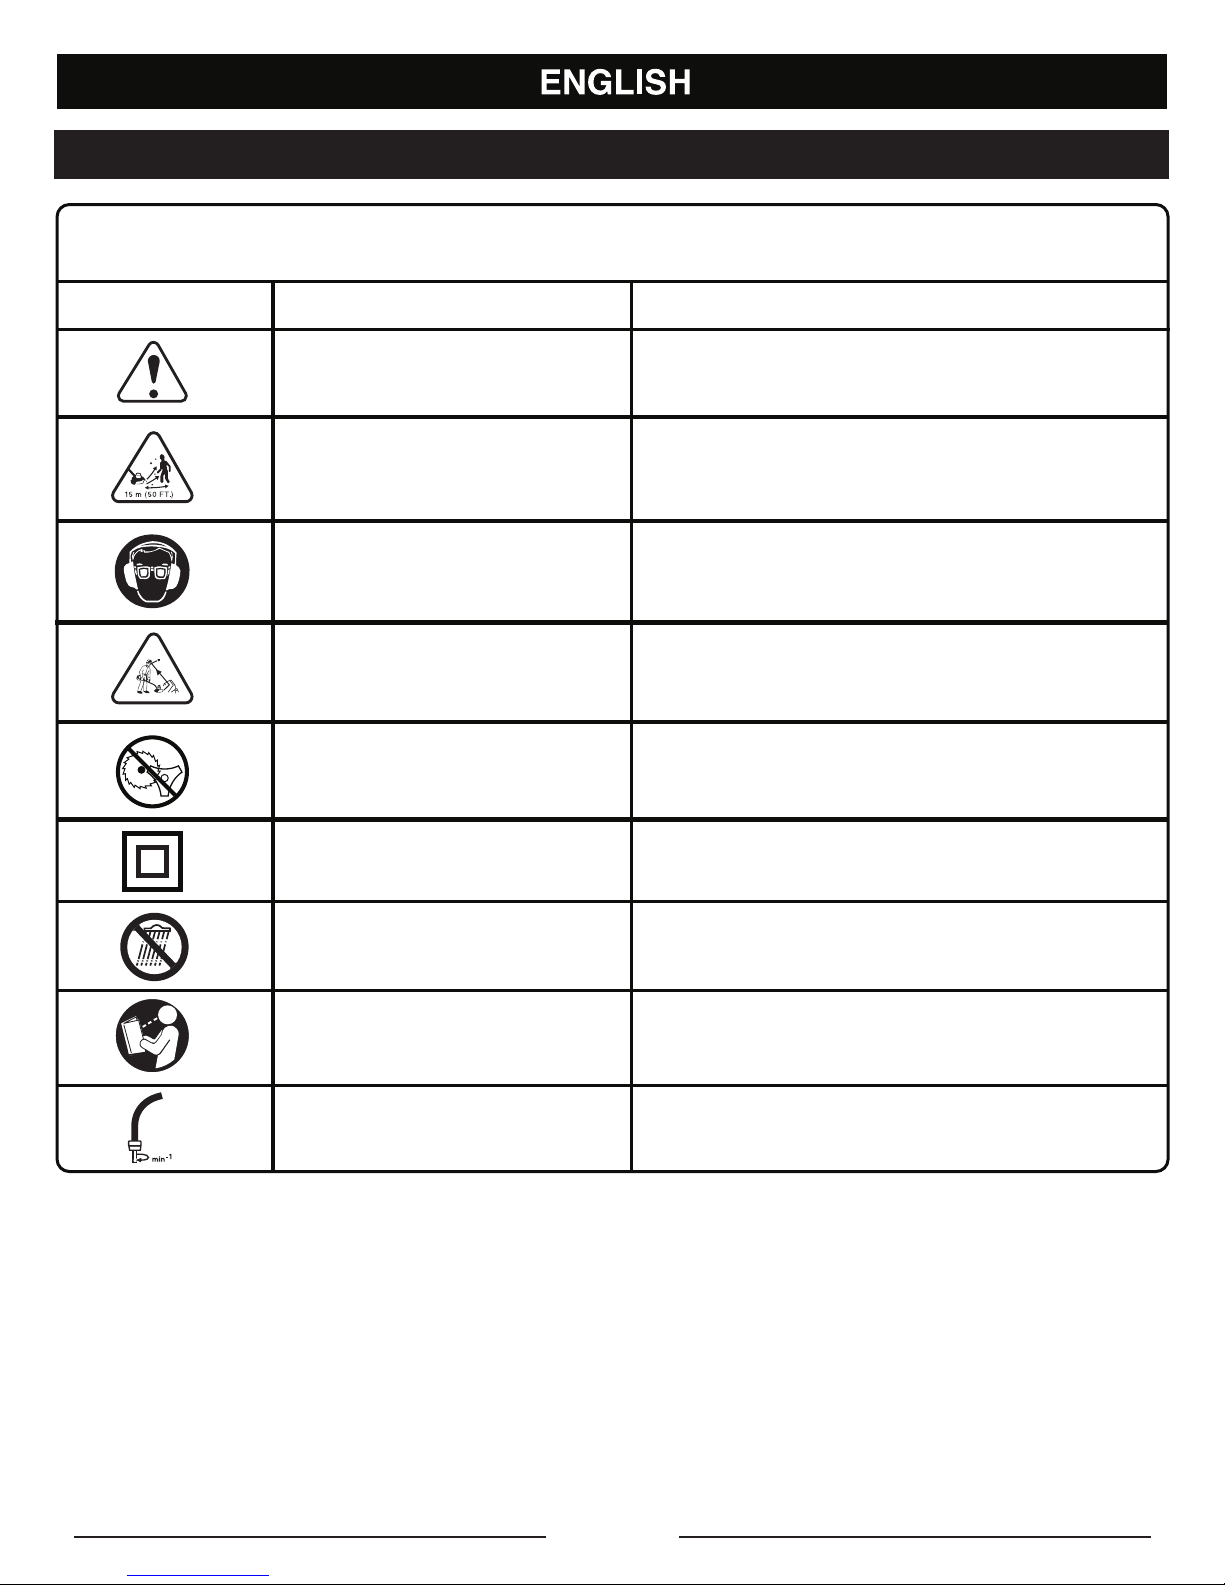
Keep all by standers, especially children and pets, at
least 15m from the operating area.
Do not operate this product when you are tired, ill or
under the influence of alcohol, drugs or medication.
Do not operate in poor lighting. Use the unit only in
daylight or good artificial light.
Keep firm footing and balance. Do not over reach.
Overreaching can result in loss of balance or exposure
to hot surfaces.
Keep all parts of your body away from moving parts.
Inspect the product before use. Replace any damaged
parts before use.
Do not operate the product in damp or wet locations.
Do not use the product in the rain.
Wear safety glasses or goggles when operating this
product.
Use the right product. Use the product for the
intended purpose only.
Do not handle the product with wet hands.
Do not use the product if the switch does not turn the
product on or off. A product that cannot be controlled
with the switch is dangerous and must be repaired.
Avoid accidental starting; never carry the product with
your finger on the trigger .
Stay alert and pay attention to what you are doing.
Use common sense when using this product.
Do not force the product. It will do a better job with
less likelihood of a risk of injury when you operate it at
the rate for which it was designed.
Use the product for cutting grass and light weeds only.
Do not use for any other purpose.
Before starting the product, position it so that the line
does not come in contact with anything you do not
intend to cut.
Pull the plug out immediately if the mains or extension
lead is damaged or severed.
Keep hands away from the cutting line. Do not
attempt to remove cut material or to hold material to
be cut when the line is moving. Be sure to unplug
the product before clearing jammed material from the
line. Do not grasp the line when picking up or holding
the product.
Be cautious after turning off the product. The line
coasts after turning off the product.
Disconnect the product from the power supply when
it is not in use, before servicing and when changing
accessories.
SPECIFIC SAFETY RULES
SPECIFIC TRIMMER SAFETY RULES
Replace the trimmer head if cracked, chipped or
damaged in any way. Be sure the trimmer head is
properly installed and securely fastened.
Make sure all guards, deflectors and handles are
properly and securely attached.
Use only the manufacturer’s replacement line in the
trimmer head.
Never operate the product without the safety guard in
place and in good condition.
Be familiar with the controls and proper use of the
product.
Do not switch the trimmer on in enclosed or poorly
ventilated spaces or in the presence of inflammable
and/or explosive substances such as liquids, gas and
powders.
Do not cross roads or gravel paths with the trimmer
still running.
Never fit metal cutting elements to the trimmer.
Maintain a firm grip on both handles while
trimming. Keep the trimmer head below waist level.
Never cut with the trimmer head over 76 cm or more
above the ground.
Keep the working area free from wires, stones and
debris.
Do not cut against hard objects. This could cause
injury or damage the trimmer.
Do not use the trimmer to cut grass which is not in
contact with the ground; for example, do not cut grass
which is on walls or rocks etc.
Always use your trimmer in an upright position.
The appliance is not intended for use by young children
or infirm persons without supervision.
Young children should be supervised to ensure that
they do not play with the appliance.