4 5
• To eliminate a choking
hazard for young children,
remove and safely discard the
protective cover fitted to the
power plug of the Sage
Smart Grinder™ Pro.
• Do not place the Sage Smart
Grinder™ Pro near the edge
of a bench or table during
operation.
• Do not place the Sage Smart
Grinder™ Pro on or near a hot
gas burner, electric element
or where it could touch a
heated oven.
• Do not operate the Sage
Smart Grinder™ Pro on a sink
drain board.
• Ensure that the surface is
level, clean and free of water.
• The Sage Smart Grinder™ Pro
is not intended to be operated
by means of an external timer
or separate remote control
system.
• To protect against electric
shock, do not immerse the
grinder base, power cord or
power plug in water or allow
moisture to come in contact
with these parts.
• Always switch the Sage
Smart Grinder™ Pro off at
the power outlet and unplug
if Sage Smart Grinder™ Pro
is to be left unattended, if
not in use, before cleaning,
before attempting to move,
disassembling, assembling
and when storing.
• The Sage Smart Grinder™
Pro is not intended for use
by young children or infirm
persons unless they have
been adequately supervised
by a responsible person to
ensure they can use the Sage
Smart Grinder™ Pro safely.
• Do not use attachments other
than those provided with the
Sage Smart Grinder™ Pro.
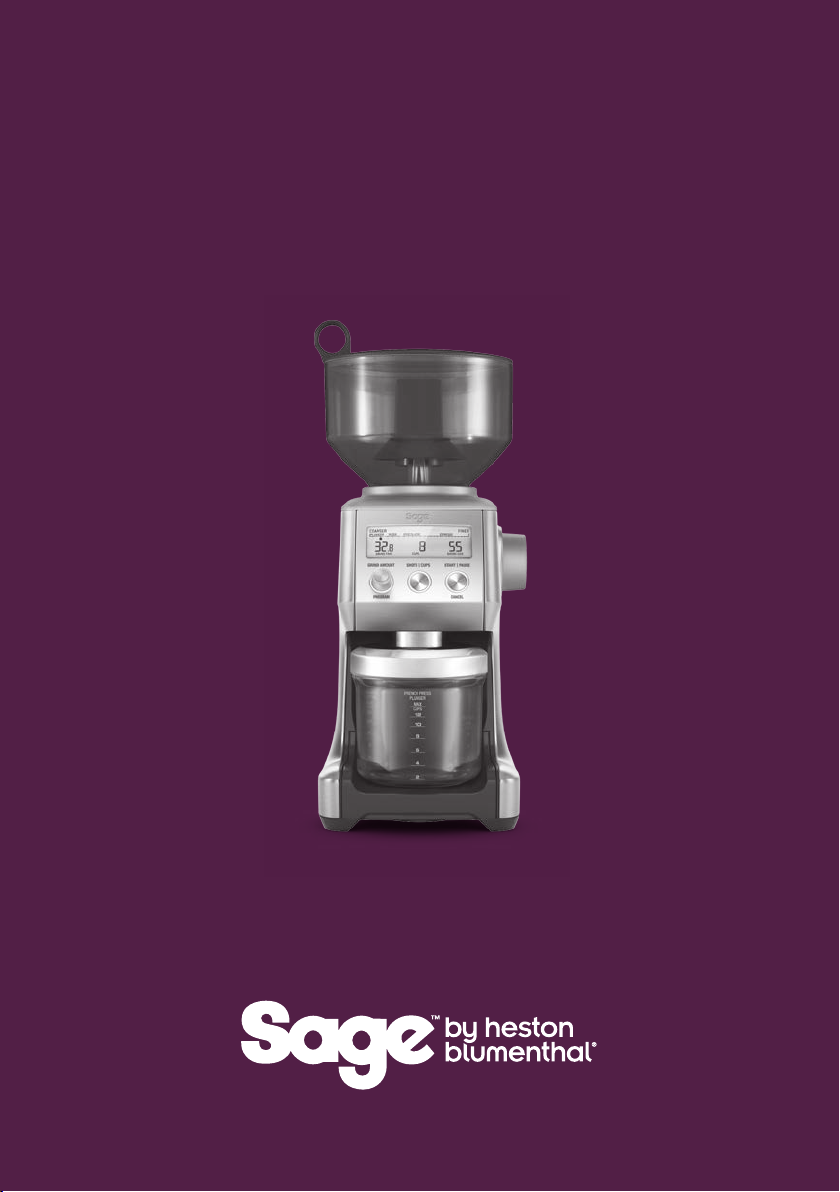
• Do not operate the Sage
Smart Grinder™ Pro without
locking the bean hopper lid in
position. Keep fingers, hands,
hair, clothing and utensils
away from the bean hopper
during operation.
• The coffee grinder should
not be switched on until the
bean hopper and hopper lid
are locked into position in the
grinding chamber.
• Do not operate the Sage
Smart Grinder™ Pro for
longer than 2 minutes as
this could cause overheating.
Allow the Sage Smart
Grinder™ Pro to cool down
for 20 minutes after long
operation.
• Do not use the Sage Smart
Grinder™ Pro for any other
purpose than grinding
coffee beans.
• Do not use pre ground coffee
in bean hopper. The Sage
Smart Grinder™ Pro will not
grind food that is sticky, or
extremely hard, or make
pastes of any fruits, seeds
or herbs ie. curry pastes,
nut batters.
• Keep the Sage Smart
Grinder™ Pro and accessories
clean. Follow the Care
and Cleaning instructions
provided on Page 18.
• The installation of a residual
current device (safety switch)
is recommended to provide
additional safety protection
when using electrical
appliances. It is advisable
that a safety switch with a
rated current not exceeding
30mA be installed in the
electrical circuit supplying
the appliance. See your
electrician for professional
advice.
• This appliance shall not be
used by children. Keep the
appliance and its cord out
of reach of children.
• Appliances can be used
by persons with reduced
physical, sensory or mental
capabilities or lack of
experience and knowledge
if they have been given
supervision or instruction
concerning use of the
appliance in a safe way and
if they understand the
hazards involved.
• Children should be
supervised to ensure that
they do not play with the
appliance.
We ReCoMMeNd SaFety FIRStWe ReCoMMeNd SaFety FIRSt