VI. General Inspections
VII. Functional Inspections
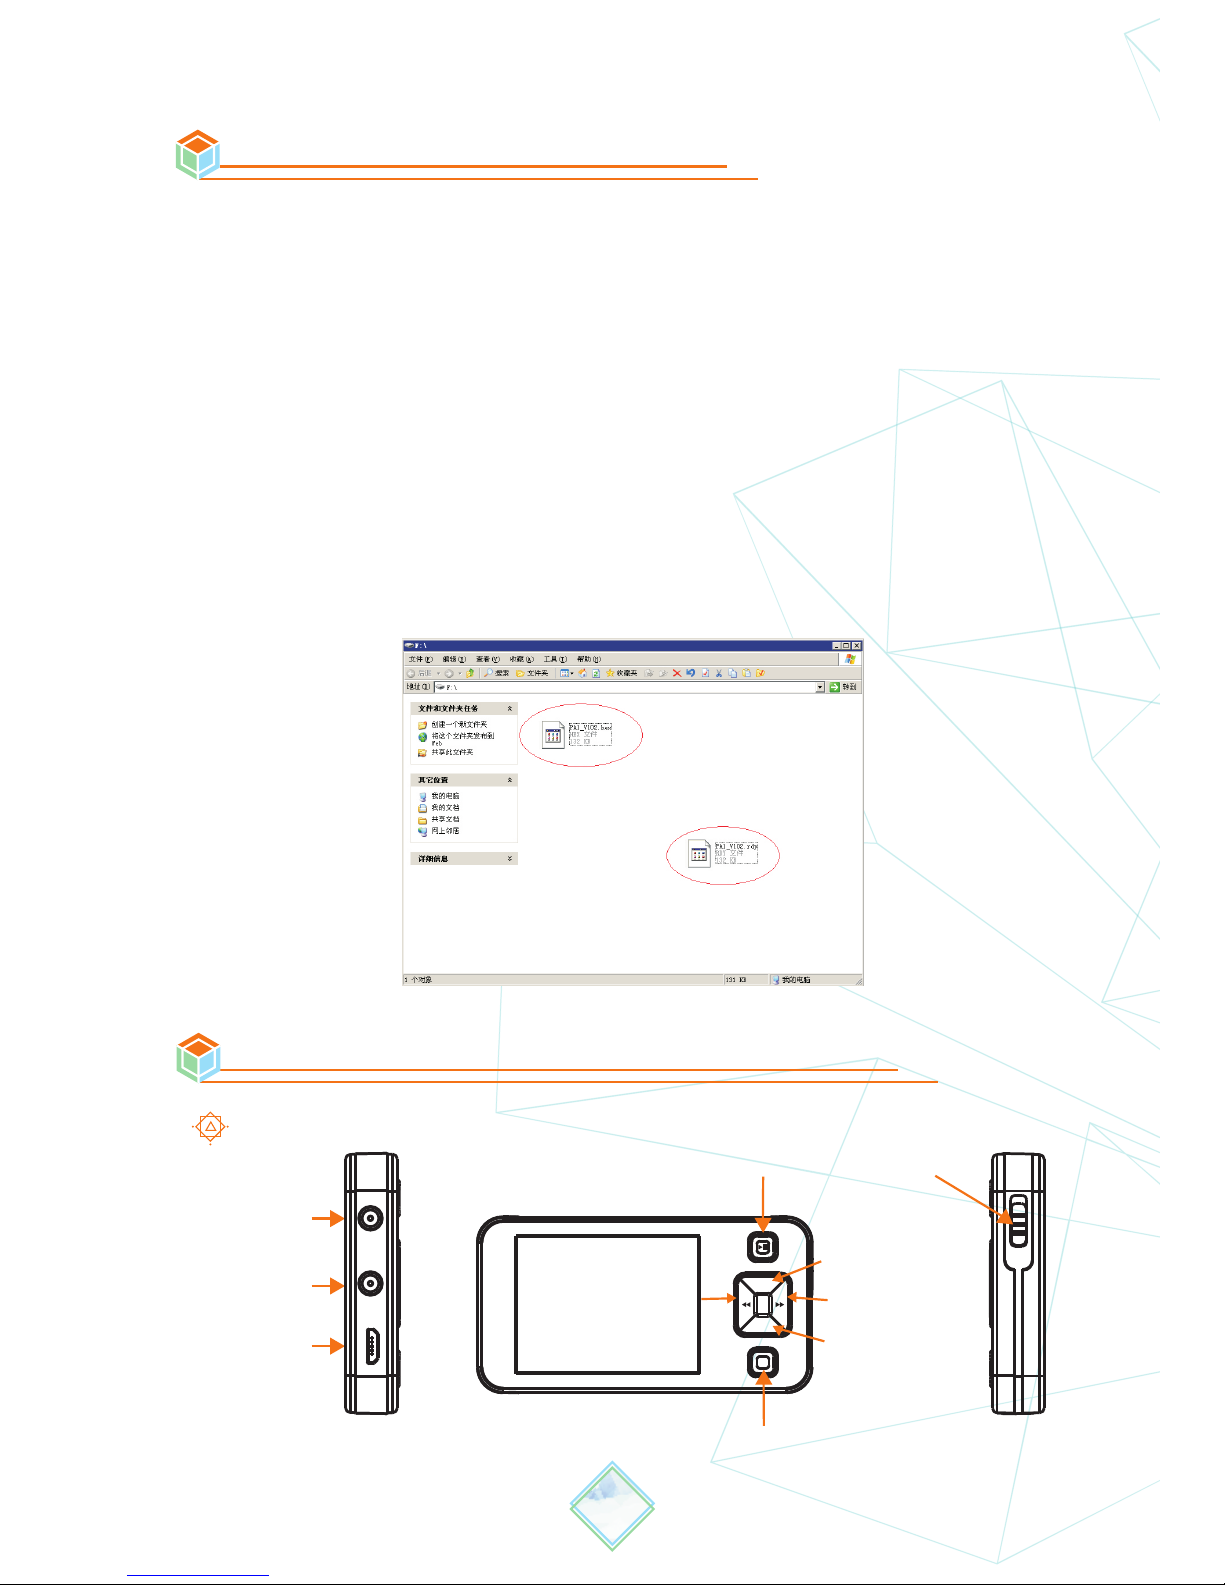
Make a quick inspection of functions to ensure the device is working
soundly.Please perform following steps:
1.Turn on power and access to the homepage of the oscilloscope.
2. Place in the standard signal (e.g. square wave 1 KHz, Vpp=5V),
Insert X1 probe’s MCX end to CH A or CH B, and the probe to “WAVE
OUT”.Connect the oscilloscope with standard signals (e.g. square
wave1KHz, Vpp=5V), plug oscilloscope probe to the Input Channel,
set the switch on probe tip as 1X, connect the oscilloscope probe to
the Input Channel, align the probe slot with the socket and then plug
in.
4
VIII. Battery Charging Instructions
When the battery voltage status turns to “ ” or display
brightness is relatively dim, please charge the battery in time;
charging is workable in both power-on and off mode.
When you get a new DS211 oscilloscope, you are advised to inspect
the product by the following steps.
1. Inspect damages caused by shipping.If the packaging carton or
the protection pad is seriously damaged, keep the package until the
oscilloscope & accessories pass the electrical and the mechanical test.
2. Inspect the product.Please contact the dealer if the following
problems occur to DS211: 1) product appearance is damaged, 2)
product doesn't work properly, 3) product does not pass performance
test.If the damage to DS211 is resulted from shipping, please keep
the package.