Sakamoto Model M178 User manual

●はじめに/もくじ 1
●目的/内容 2
●取扱上の注意 3
●使用手順 4
●保管方法 5
ユーザーズマニュアル (201119)
M178 ハカール“けつあつ”くん
-INDEX-
商品到着時、すぐに本体と付属品を御確認頂
き、不備、破損等ありましたら弊社または販売
店まで御連絡頂けます様お願い申し上げます。
!
ご注意
右の QR コードから弊社 HP の製品紹介ページを見ることができます

- 1 -
はじめに
この度は弊社商品 ハカール“けつあつ”くんをご購入頂きまして
誠に有難うございます。
商品を長く正しくお使い頂くために本ユーザーズマニュアルを
よくお読みいただきご使用下さいます様お願い申し上げます。
尚、商品出荷時製品の点検は十分に行っておりますが、商品
到着時すぐ開梱し、本体及び付属品の不足、破損個所等が無い
か点検して下さい。
もくじ
はじめに/もくじ・・・・・・・・・・・・・・・・・ 1
目的/内容・・・・・・・・・・・・・・・・・・・・ 2
取扱上の注意・・・・・・・・・・・・・・・・・・・ 3
使用手順・・・・・・・・・・・・・・・・・・・・・ 4
保管方法・・・・・・・・・・・・・・・・・・・・・ 5

- 2 -
目的
下記項目の実習が可能
・最高血圧・最低血圧の設定、聴診
・脈拍数の設定、測定
内容
1コントロールボックス 1 体
2血圧計 1 体
3電源コード 1 個
4表皮部(脈拍部、スピーカー部、コード) 1 セット
5マンシェット部(Y字管、透明チューブ付) 1 個
6聴診器 1 個
1
2
3
4
5
6

- 3 -
取扱上の注意
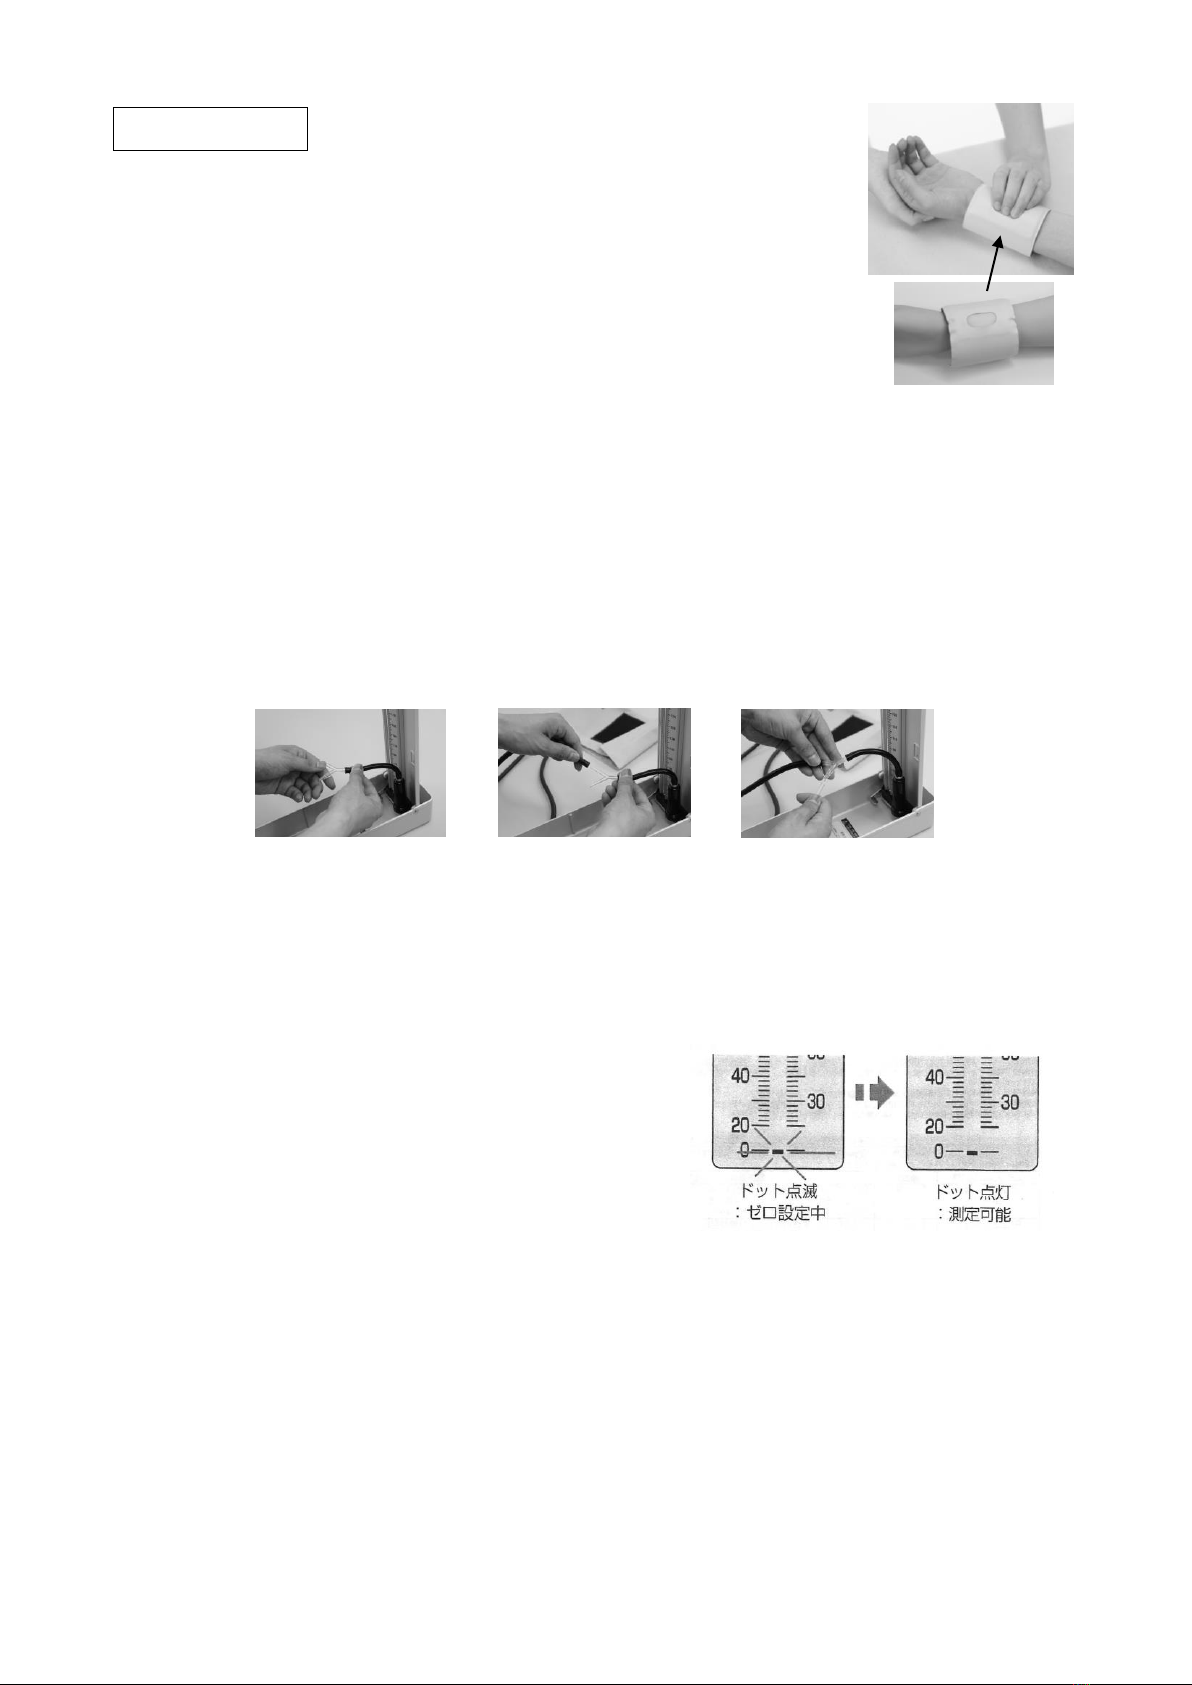
1脈拍測定は枠内の表皮部をおさえてください。(右図参考)
表皮部以外をおさえたり、強い力でおさえると内部構造が破損する
恐れがあります。
2無理な荷重をかけたり、落すと破損の原因となります。
3コード、チューブは引っ張ったり、折り曲げたりなど無理に扱わないでください。
4表皮部とコードは外れない仕様になっておりますので、無理に外そうとしないでください。
5コントロールボックス、表皮部は水をかけたり、浸したりしないでください。
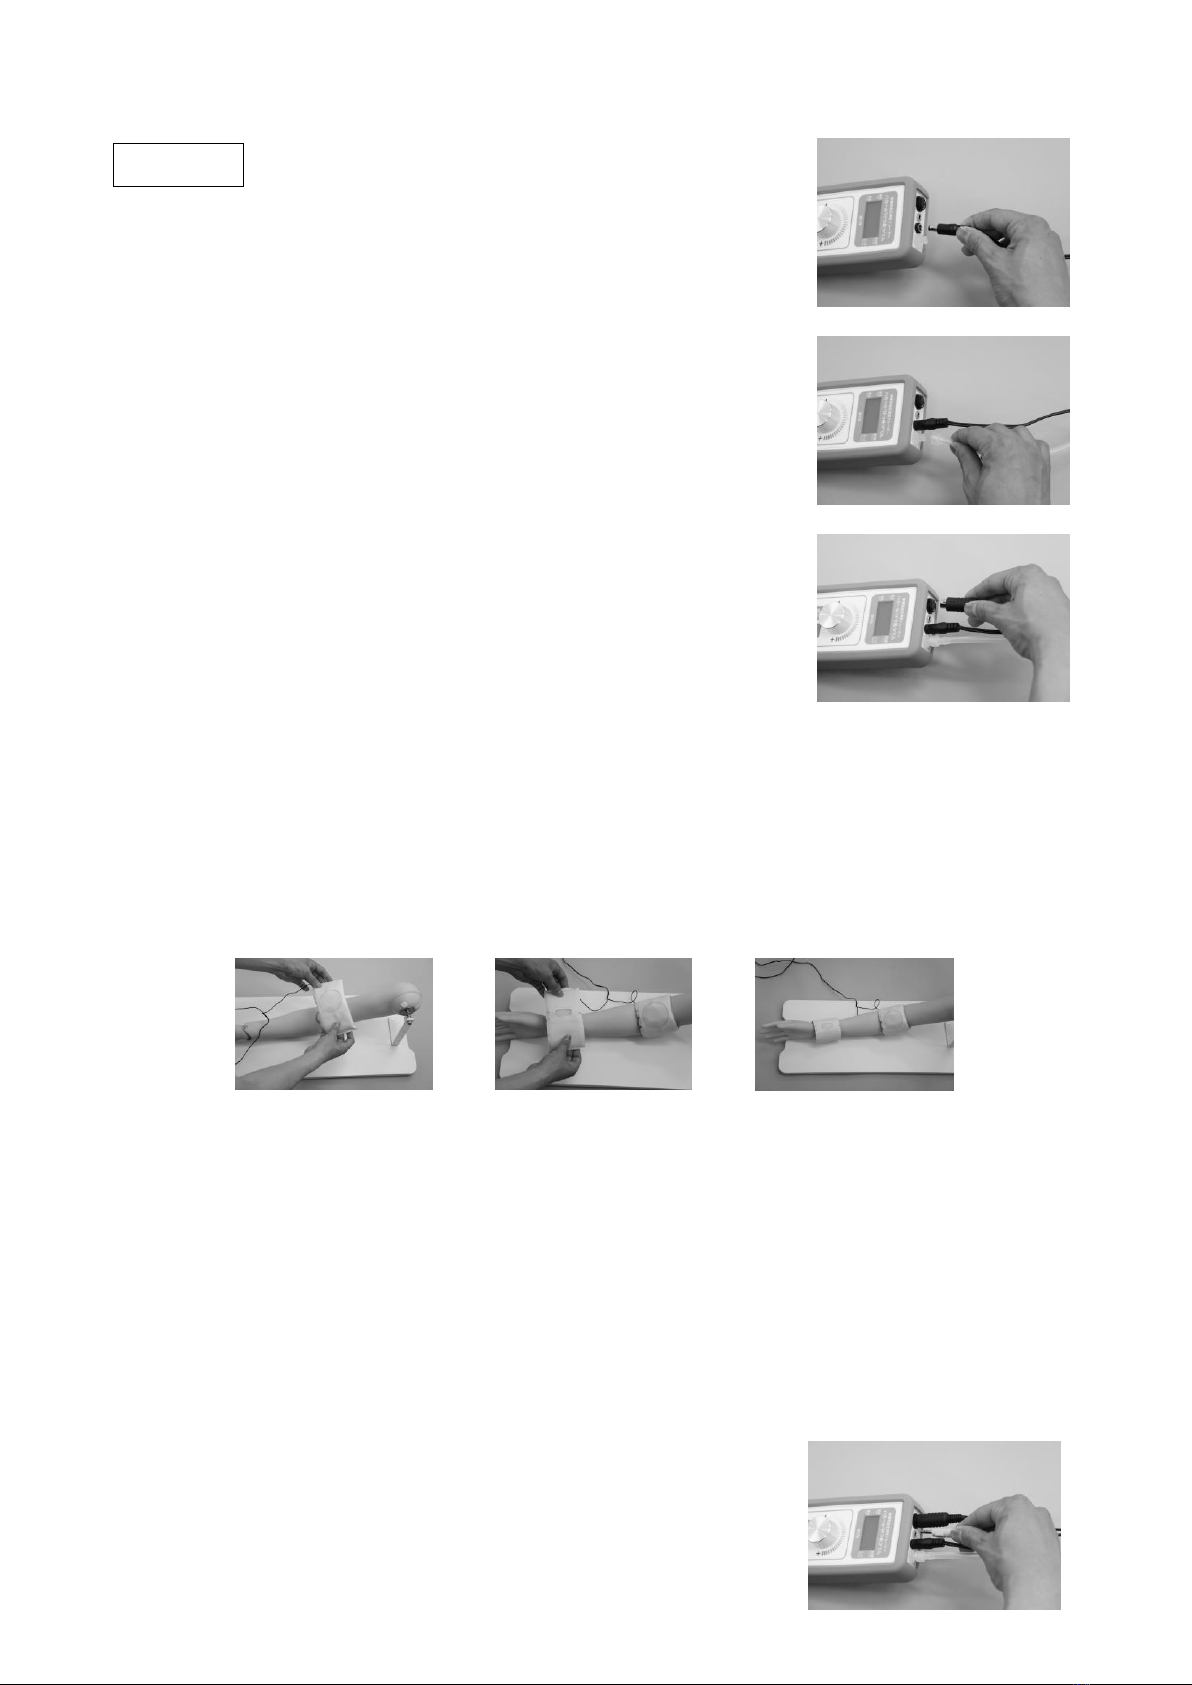
6Y 字管が外れた場合、血圧計から出ている短いチューブ、マンシェットからくるチューブ、コ
ントロールボックスとつながる透明チューブを差し込んでください。
7血圧計の値とコントロールボックスの値が大きくずれている場合は、一度電源をオフにし、マ
ンシェットの空気を十分に抜き、血圧計の値も 0にしてから、再度電源を入れてください。
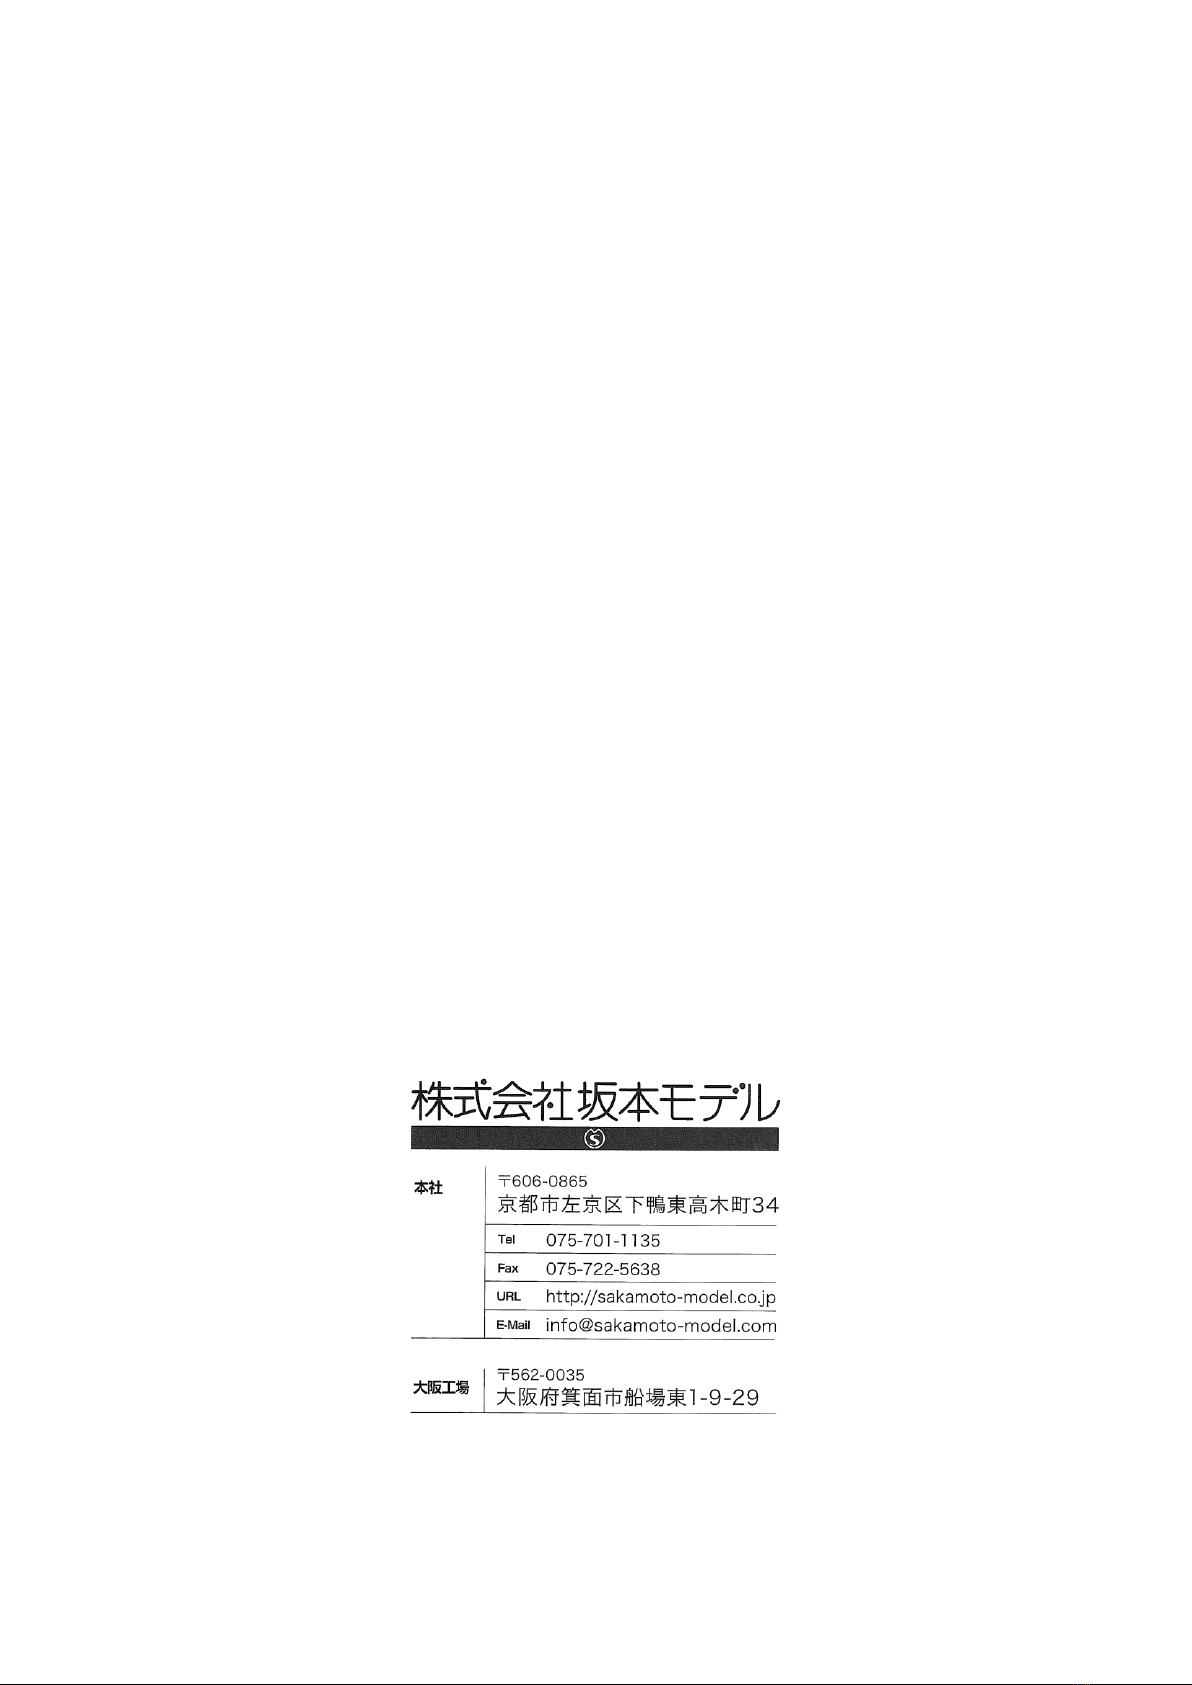
8お手持ちの血圧計も使用することができます。その際は、血圧計のマンシェットを根元から抜
き、模型マンシェット部(透明チューブ付)を差し込んでください。
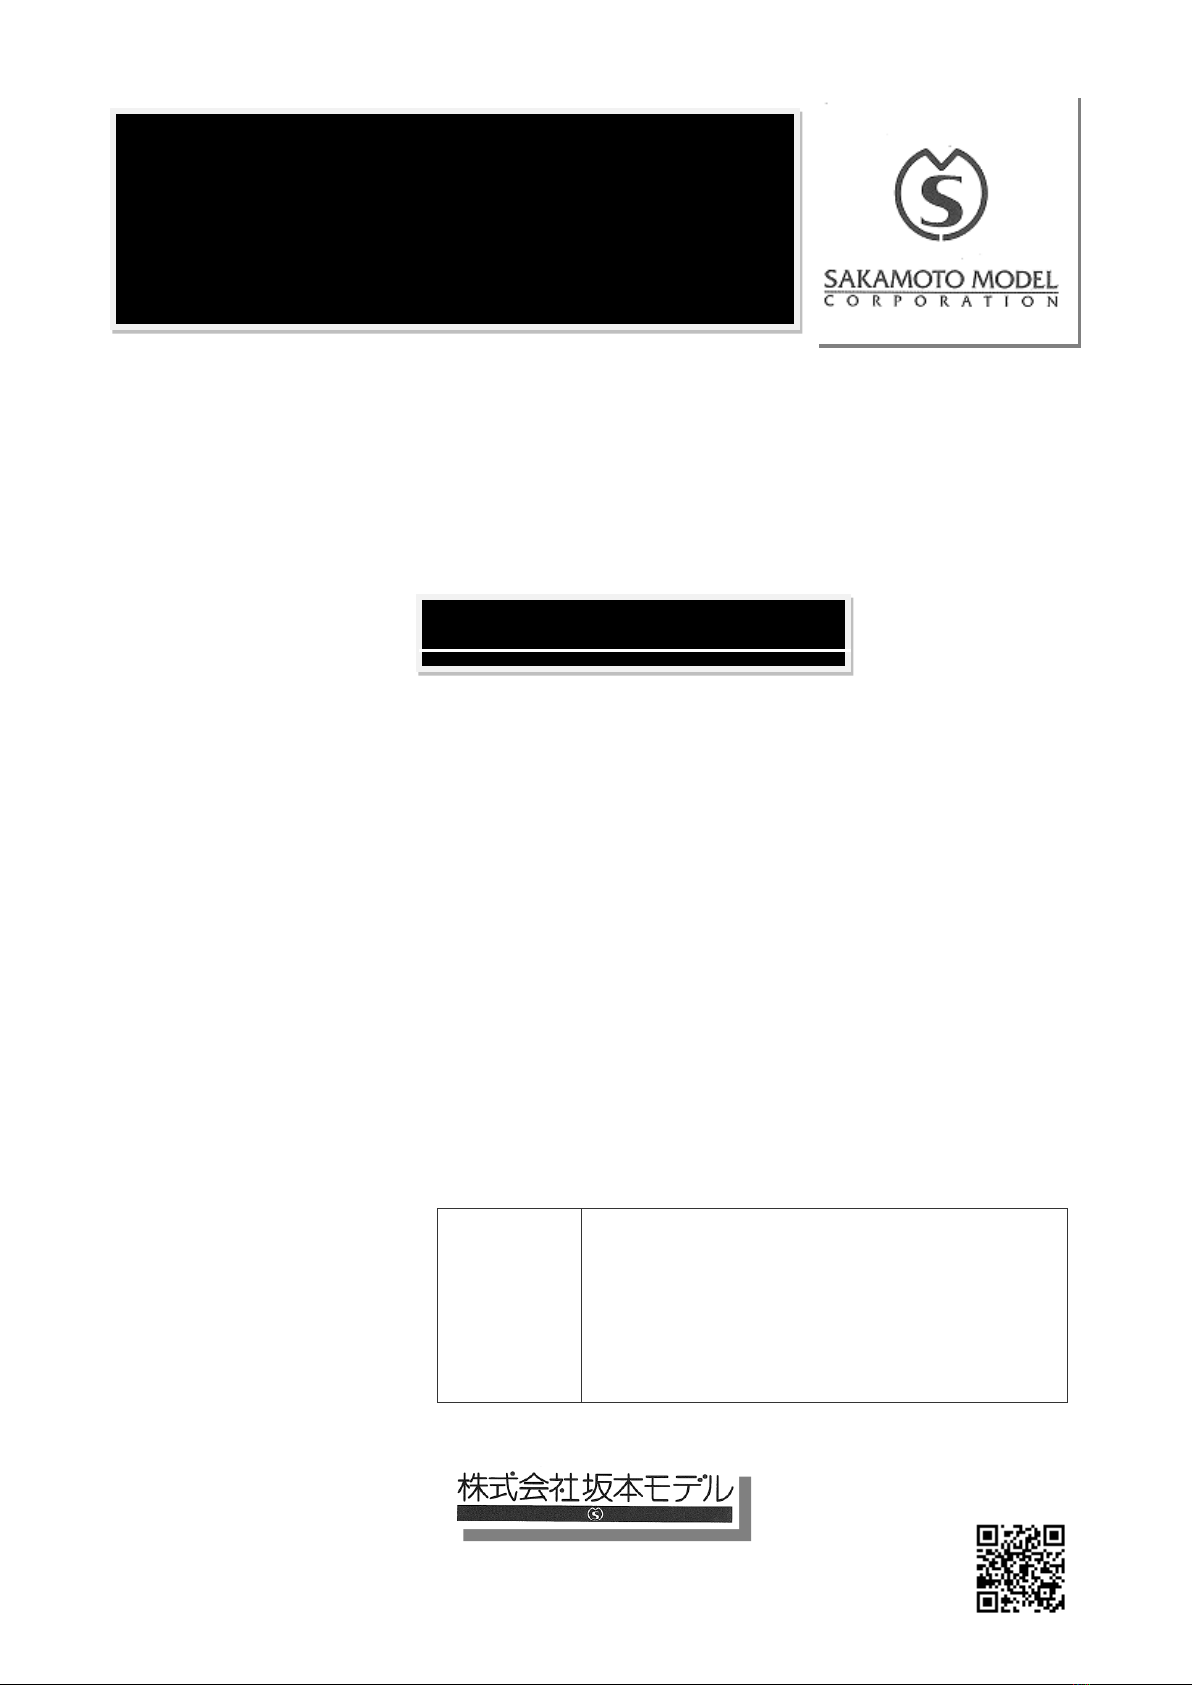
9付属の血圧計は電子血圧計です。ゼロ設定機能
があり、図のようにの目盛りが点滅していると
きは、マンシェットをふくらませないようご注
意ください。
10 使用中異常を見つけられたら、すぐに使用を中止し弊社または販売店まで
ご連絡ください。
11 本製品は高度な訓練を実現させたシミュレーターですが、実際の処置での同様の
効果を保証するものではございません。
12 本製品は改良のため、予告なしに仕様変更する場合がございます。あらかじめ
ご了承ください。

- 4 -
使用手順
1電源コードをコントロールボックスに差し込んでください。
2血圧計に取り付いている透明チューブを
コントロールボックスに取り付けてください。
差し込んだのち回転させてしっかり
取り付けてください。
3マンシェットに空気が入っていないか、また
血圧計の値が 0になっているかを確認したのち
表皮部のコードをコントロールボックスに差し込んでください。
矢印を上面にして差し込んでください。
4コンセントに電源プラグを差し込んでください。
差し込むと自動的に電源オンになります。
5表皮部を腕に取り付けてください。パッチンバンド式を採用しておりますので、伸ばしてから
部位に取り付けてください。手首側、腕側は表皮部裏側に記載されています。
手首側、腕側ともに、シリコン表皮部を手技位置に合わせて装着してください。
6腕側シリコン表皮部上部にマンシェットをまいてください。
7コントロールボックスで最高血圧、最低血圧、脈拍数を設定します。「選択」ボタンを押すと
「◄」印が「最高」、「最低」、「脈拍数」の順に動きます。設定したい値のところで止め、ノズル
を回して設定してください。(血圧は 50-250、脈拍は 20-150 の範囲で設定できます。)
マンシェットの圧を上げるとリアルタイムの圧がコントロールボックス表示の「モニタ」に現れ
ます。
必要な場合はコントロールボックスの「表示」ボタンを押すと、設定画面を隠すことができます。
8 外部スピーカー(別売り)を取り付けることもできます。

- 5 -
保管方法
1電源コード、表皮部コードはコントロールボックスから外して保管してください。
コントロールボックスに巻いて保管されますと断線の恐れがあります。
2コード、チューブは引っ張ったり、折り曲げたりなど無理に扱わないでください。
3直射日光の当たる所や、高温多湿の所での保管は避けてください。


●Introduction/Table of Contents 1
●Purpose/Content 2
●Cautions on Use 3
●Instructions for Use 4
●Storage Instructions 5
User’s Manual (201119)
M178
Sakamoto Blood Pressure Simulator
-INDEX-
Please open your parcel and check the main unit
and accessories of the product immediately
upon receipt. If the products are delivered
damaged or with parts missing, please contact
our company or the distributor.
!
Note
Scan this QRcode with your device to see our homepage.

- 1 -
Introduction
Thank you for purchasing our product, “Sakamoto Blood Pressure
Simulator.”
Read this user’s manual carefully in order to use the product for a long
time appropriately.
This product is closely checked before factory shipment. However, when
this product arrives, open it soon, and check if anything on the main unit
and accessories are missing or broken.
Table of contents
Introduction/Table of Contents………………………. 1
Purpose/Content………………………………………… 2
Cautions on Use ………………………………………… 3
Instructions for Use……………………………………… 4
Storage Instructions……………………………………… 5

- 2 -
Purpose
This product is used to perform training for the following items:
• Set and auscultate for high blood pressure / low blood pressure
• Set and measure pulse rates
Content
1) Control box –Qty.1
2) Disital LCD sphygmomanometer –Qty.1
3) Power cord –Qty.1
4) Simulated skin set (pulse simulator, speakers, cord) –Qty.1
5) Manchette (with Y-tube and transparent tube) –Qty.1
6) Stethoscope –Qty.1
1
2
3
4
5
6

- 3 -
Cautions on Use
1) If any excessive loads are hung from the product or if dropped, it will damage the product.
2) Handle the cords and tubes with care and avoid any excessive pulling or bending.
3) The simulated skin pieces and cords are designed not to be removed or disconnected. Therefore, do not
attempt to disconnect them using excessive force.
4) Do not let the control box or simulated skin pieces get wet.
5) If the Y-tube disconnects, insert the short tube that is connected to the disital sphygmomanometer, the
tube that comes from the manchette and the transparent tube that connects to the control box.
6) If the sphygmomanometer value and the control box value are not accurate, first, turn off the power.
Then, discharge all the air from the cuff, set the sphygmomanometer to zero and turn the power back on.
7) A hand-held sphygmomanometer can also be used. If that is the case, remove the manchette on the
sphygmomanometer from the base, and insert the model manchette (with the transparent tube).
8) There is a digital sphygmomanometer that is provided. It is
equipped with a zero setting function. Make sure that the cuff is
not inflated when the reading for the bar LCD is blinking, as
shown in the diagram.
9) If a defect or problem with the product is discovered during use, stop using the product immediately and
contact Sakamoto Model or an authorized dealer.
10) This product is a simulator capable of supporting advanced medical training. However, Sakamoto
Model does not guarantee the same results during actual treatment.
11) Please note that the specifications of this product may be changed without prior notice in order to make
improvements to the product.
12)For pulse measurement, hold down the epidermis inside the frame.
The internal structure will be damaged if the area other than the
epidermis is pressed or if it is pressed with a strong force.
There is a risk.
Dot flashing: Zero
setting in progress
Dot lit up: Ready
for measurement

- 4 -
Instructions for Use
1) Connect the power cord to the control box.
2) Attach the transparent tube, which is connected to the
sphygmomanometer, to the control box.
After connecting the tube, rotate to securely attach it.
3) After making sure that no air is inside the cuff and
that the sphygmomanometer reads zero, connect the
cord on the simulated skin pieces to the control box.
Connect the cord so that the arrow is on top.
4) Connect the plug to an electrical socket. Once
connected, the power automatically turns on.
5) Fit the simulated skin pieces onto the arm. The band naturally fits and curls
around the arm, so it needs to be uncurled before fitting it onto the desired site.
The wrist piece and the arm piece are noted on the back of the simulated skin
pieces. After fitting the pieces onto the wrist and arm, rotate and face the silicon
simulated skin to the desired position.
6) Wrap the manchette around the upper simulated skin piece on the arm.
7) Set the maximum and minimum blood pressures and the pulse rate on the control
box. If the “Select” button is pressed, the arrow “◄” moves to the items in the
following order: “SBP.”, “DBP.” and “Pulse.” Stop at the value you wish to set,
and turn the nozzle to set the value. (The blood pressure and the pulse can be set
to the following ranges respectively: 50-250 and 20-150.)
If the pressure on the manchette increases, the real time pressure appears on the
“Monitor” on the control box display.
When necessary, the setting screen can be hidden by pressing the “ON/OFF”
button on the control box.

- 5 -
8) External speakers can also be attached.
Storage Instructions
1) Disconnect the power cord and the simulated skin set cord from the control box
before storing.
The cords may snap or break if wrapped around the control box when stored.
2) Handle the cords and tubes with care and avoid any excessive pulling or bending.
3) Avoid storing the product in direct sunlight or in locations with high temperature
and humidity.


Table of contents
Other Sakamoto Model Medical Equipment manuals
Popular Medical Equipment manuals by other brands

Aseptico
Aseptico AEU-7000-70V Operation and maintenance instruction manual

ZacUrate
ZacUrate Fingertip 300A user manual

Otto Bock
Otto Bock Omo Neurexa plus 5065N Instructions for use

Lowenstein Medical
Lowenstein Medical NV Instructions for use

Meditub
Meditub 3060WCA Installation & operating instructions

Stryker
Stryker SurgiCount+ Instructions for use