- 8 -
1603XX
目次:2列で
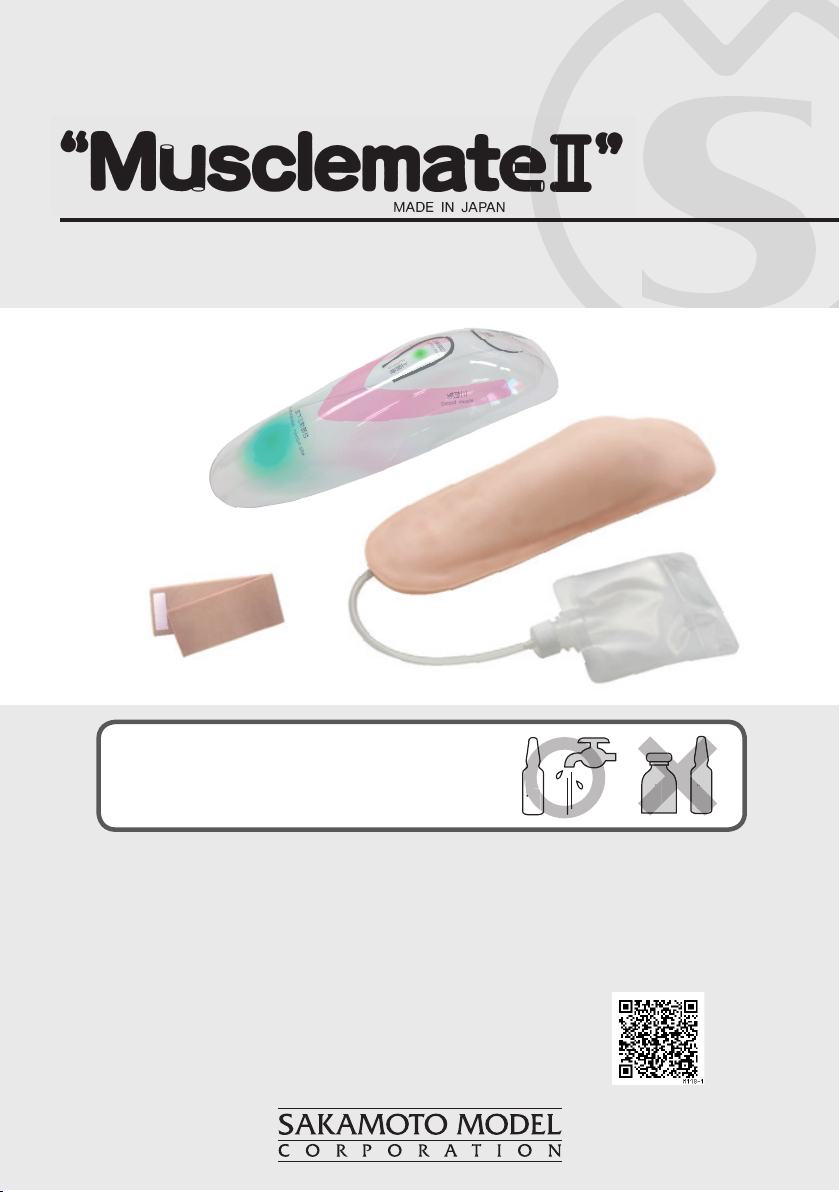
M118-1 上腕筋肉上腕筋肉上腕筋肉シミュレーター
1603XX
取扱説明書
M118-1
Upper Limb Intramuscular Injection
and Subcutaneous Injection Simulator (Wearable Type)
M118-1 上腕部筋肉内・皮下注射シミュレーター(装着型)
User's Manual
目次:2列で
M118-1 上腕筋肉上腕筋肉上腕筋肉シミュレーター
1603XX
取扱説明書
目次:2列で
You can view this product's introductory page on our company's website by
using either the following URL or the QR code* at right. The page includes a
video that you can watch which shows how to use the product.
●Sakamoto Model Corporation's introductory page for the "Musclemate 2"
http://www.sakamoto-model.co.jp/product/injection/m118-1/
* QR code is a registered trademark of Denso Wave Inc.
Introduction ・・・・・・・・・・・・・・ 9
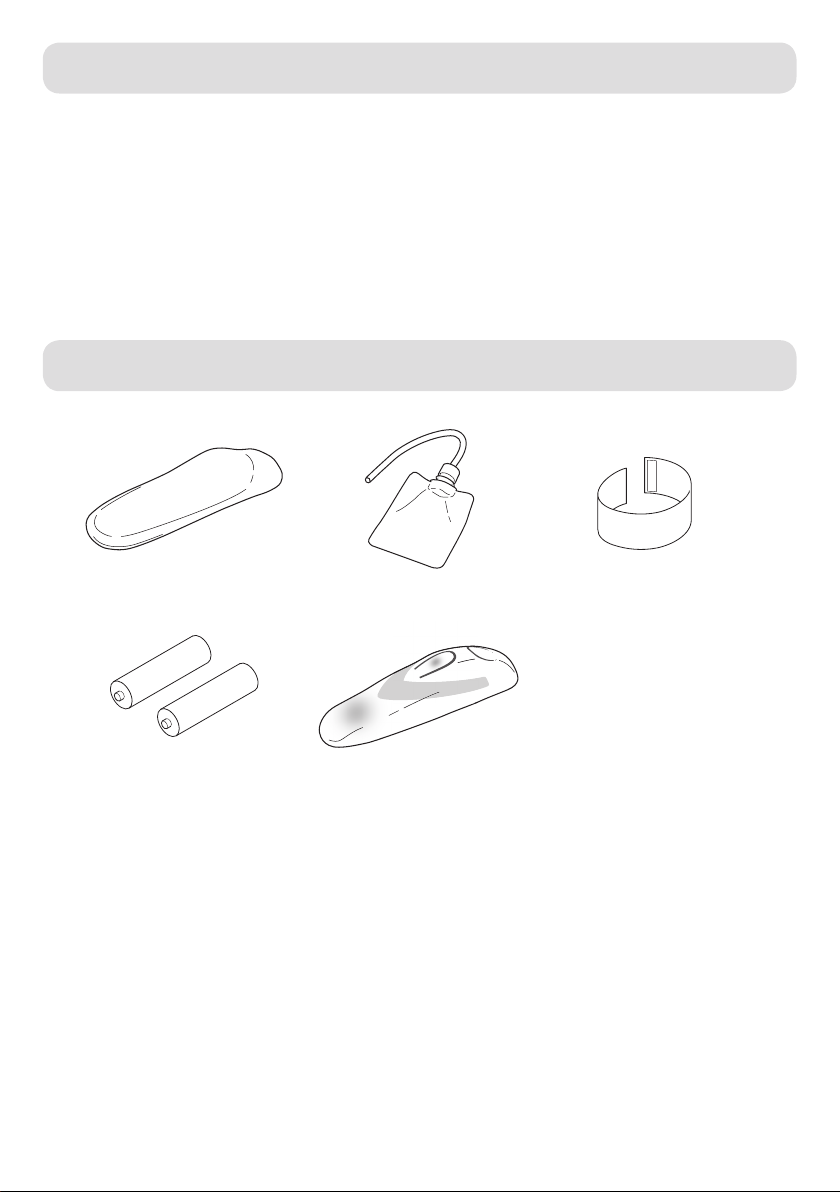
Product contents ・・・・・・・・・ 9
Cautions on use
・・・・・・・・・・10
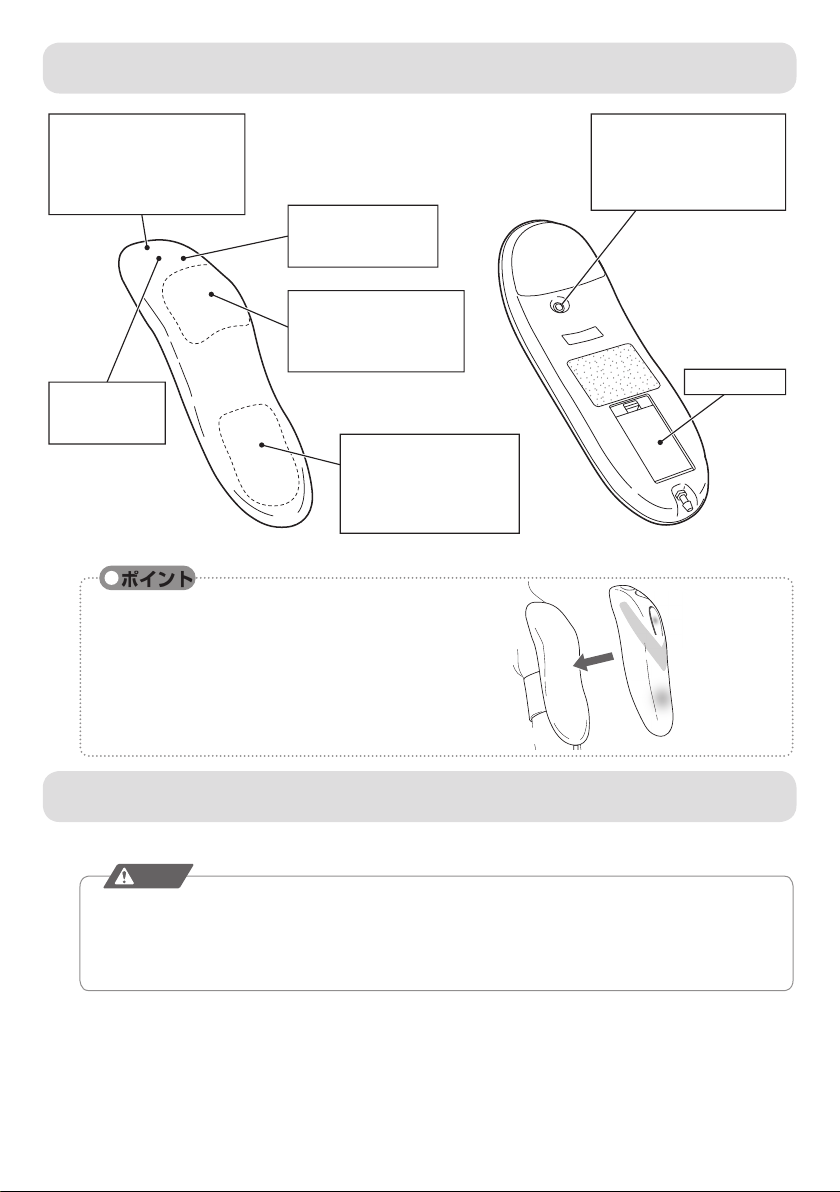
Part names ・・・・・・・・・・・・・・11
Product applications ・・・・・11
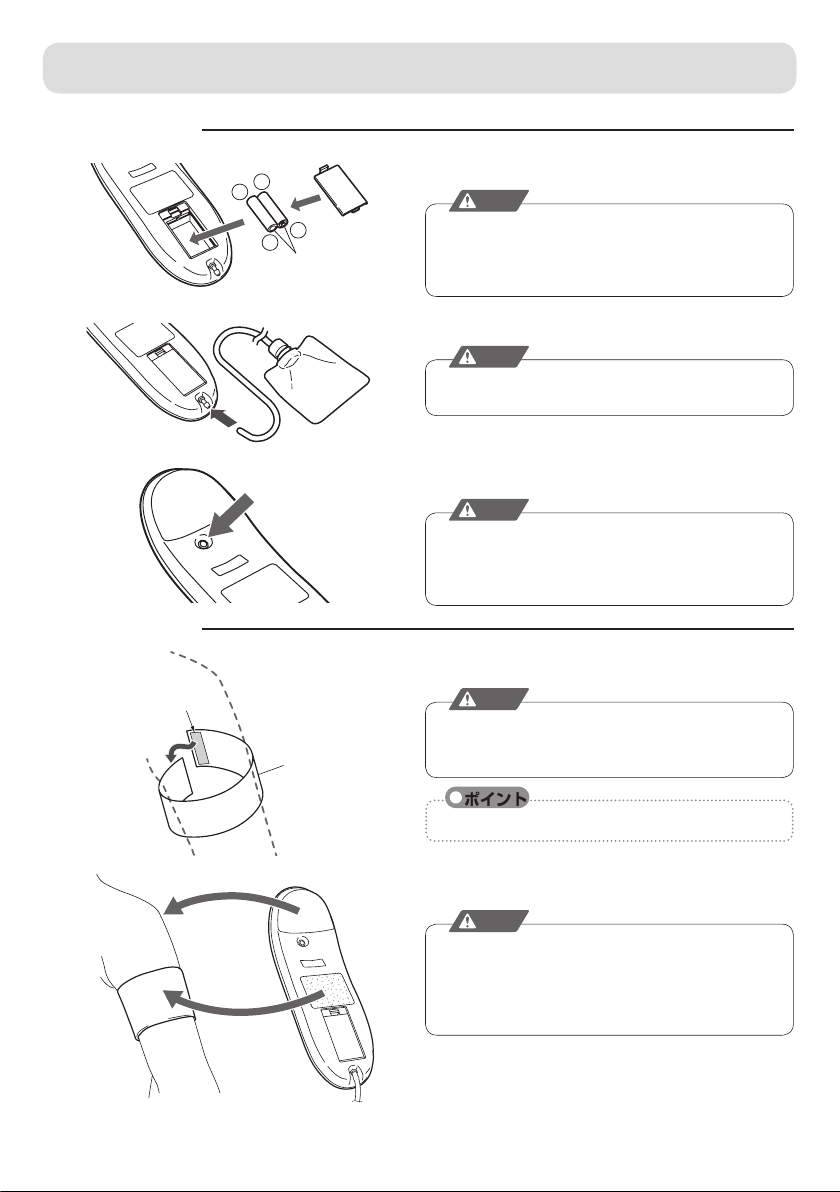
How to use ・・・・・・・・・・・・・12
Cleaning and storage ・・・・14
Troubleshooting
・・・・・・・・・14
- Table of contents -
Only use water*for carrying out
injection training using this product.
* Use either tap water or distilled water for injection use.