SAKMA PAGODA User manual

In case of any doubt, before starting the installation,
contact SAKMA technical service.
Debido a las continuas mejoras e innovaciones, las especificaciones pueden cambiar sin previo aviso. Todas las indicaciones enumeradas en este manual están sujetas a nuestra
política de garantía. SAKMA no es responsable por los daños causados por no seguir las instrucciones sobre el uso del producto.
Due to continuous improvements and innovations, specifications may change without notice. All the indications listed in this manual are subject to our guarantee policy.
SAKMA is not responsible for damage from failure to follow instructions regarding the product's use.
PAGODA
MI-299V1.0-21
1/6MANUAL DE INSTALACIÓN | INSTALLATION GUIDE
LVP
En caso de cualquier duda, antes de empezar la
instalación, contactar con el servicio técnico de SAKMA.
MONTAJE | ASSEMBLY
2.1.
4.
6.
3.
5.
Sacar la Pagoda de la caja.
Take the Pagoda out of the box.
Medidas para instalación.
Installation measures.
Quitar tapa.
Remove cover.
Quitar estructura.
Remove structure.
Quitar tornillo de la tapa.
Remove cover's screw.
Quitar tornillos de la estructura.
Remove structure's screws.
min. 2,6m
min. 2,3m
min. 0,1m

In case of any doubt, before starting the installation,
contact SAKMA technical service.
Debido a las continuas mejoras e innovaciones, las especificaciones pueden cambiar sin previo aviso. Todas las indicaciones enumeradas en este manual están sujetas a nuestra
política de garantía. SAKMA no es responsable por los daños causados por no seguir las instrucciones sobre el uso del producto.
Due to continuous improvements and innovations, specifications may change without notice. All the indications listed in this manual are subject to our guarantee policy.
SAKMA is not responsible for damage from failure to follow instructions regarding the product's use.
PAGODA
MI-299V1.0-21
2/6MANUAL DE INSTALACIÓN | INSTALLATION GUIDE
LVP
En caso de cualquier duda, antes de empezar la
instalación, contactar con el servicio técnico de SAKMA.
MONTAJE | ASSEMBLY
11. 12.
Conectar tubo UV-C.
Connect UV-C tube.
Encajar estructura.
Fit structure.
9. Fijar soporte a pared.
Fix support to wall.
2x min. 20 Kg
Tornillos de fijación no incluidos
Fixing screws are not included
8.
10.
Introducir cableado dentro de la Pagoda.
Introduce cabling inside the Pagoda.
Conectar cables.
Connect wires.
L N
* Ver apartado CONEXIONES
Check CONNECTIONS section
104mm
7. Introducir cableado.
Introduce cabling.
OPCIÓN 1 | OPTION 1 OPCIÓN 2 | OPTION 2

In case of any doubt, before starting the installation,
contact SAKMA technical service.
Debido a las continuas mejoras e innovaciones, las especificaciones pueden cambiar sin previo aviso. Todas las indicaciones enumeradas en este manual están sujetas a nuestra
política de garantía. SAKMA no es responsable por los daños causados por no seguir las instrucciones sobre el uso del producto.
Due to continuous improvements and innovations, specifications may change without notice. All the indications listed in this manual are subject to our guarantee policy.
SAKMA is not responsible for damage from failure to follow instructions regarding the product's use.
PAGODA
MI-299V1.0-21
3/6MANUAL DE INSTALACIÓN | INSTALLATION GUIDE
LVP
En caso de cualquier duda, antes de empezar la
instalación, contactar con el servicio técnico de SAKMA.
Fijar estructura con tornillos y conectar cable al chasis.
Fix structure with screws and connect wire to chassis.
MONTAJE | ASSEMBLY
13.
14. 15.
16.
Poner tapa.
Fit cover.
Fijar tapa con tornillo.
Fix cover with screw.
Pagoda.
Pagoda.
x1
* Ver apartado CONEXIONES
Check CONNECTIONS section

In case of any doubt, before starting the installation,
contact SAKMA technical service.
Debido a las continuas mejoras e innovaciones, las especificaciones pueden cambiar sin previo aviso. Todas las indicaciones enumeradas en este manual están sujetas a nuestra
política de garantía. SAKMA no es responsable por los daños causados por no seguir las instrucciones sobre el uso del producto.
Due to continuous improvements and innovations, specifications may change without notice. All the indications listed in this manual are subject to our guarantee policy.
SAKMA is not responsible for damage from failure to follow instructions regarding the product's use.
PAGODA
MI-299V1.0-21
4/6MANUAL DE INSTALACIÓN | INSTALLATION GUIDE
LVP
En caso de cualquier duda, antes de empezar la
instalación, contactar con el servicio técnico de SAKMA.
CONEXIONES PAGODA | PAGODA CONNECTIONS
1Conectar el balastro a la red eléctrica.
Connect the ballast to the main supply.
* Sección de cable 0.5-1.5mm^2
Desforrado 8-9mm^2
* Wire section 0.5-1.5mm^2
Strip length 8-9mm^2
2Desforrar cable de tierra d= 7 mm.
Strip ground wire d= 7 mm.
d
3Crimpar el terminal al cable de tierra.
Crimp the terminal to the ground wire.
1Conectar pcb de control a la red eléctrica.
Connect the control pcb to the main supply. 2Conectar pcb de control a la red DALI.
Connect the control pcb to the DALI network.
L
N
DA
DA
* Sección de cable 0.5-1.5mm^2
Desforrado 6.5mm^2
* Wire section 0.5-1.5mm^2
Strip length 6.5mm^2
* Sección de cable 0.5-1.5mm^2
Desforrado 6.5mm^2
* Wire section 0.5-1.5mm^2
Strip length 6.5mm^2
CONEXIONES PAGODA PLUS | PAGODA PLUS CONNECTIONS
3Desforrar cable de tierra d= 7 mm.
Strip ground wire d= 7 mm.
d
4Crimpar el terminal al cable de tierra.
Crimp the terminal to the ground wire.

In case of any doubt, before starting the installation,
contact SAKMA technical service.
Debido a las continuas mejoras e innovaciones, las especificaciones pueden cambiar sin previo aviso. Todas las indicaciones enumeradas en este manual están sujetas a nuestra
política de garantía. SAKMA no es responsable por los daños causados por no seguir las instrucciones sobre el uso del producto.
Due to continuous improvements and innovations, specifications may change without notice. All the indications listed in this manual are subject to our guarantee policy.
SAKMA is not responsible for damage from failure to follow instructions regarding the product's use.
PAGODA
MI-299V1.0-21
5/6MANUAL DE INSTALACIÓN | INSTALLATION GUIDE
LVP
En caso de cualquier duda, antes de empezar la
instalación, contactar con el servicio técnico de SAKMA.
PRECAUCIONES | PRECAUTIONS
• Para efectuar la instalación, y toda vez que se efectúe
alguna operación en el dispositivo, debe asegurarse que no
haya tensión eléctrica en el conductor de la red.
• La instalación y mantenimiento debe llevarse a cabo por
personal especializado o un servicio de asistencia técnica
especializado que conozca de las directivas vigentes.
• El dispositivo es solo apto para el uso en interiores.
• El dispositivo no puede ser en ningún caso modificado o
forzado. Cualquier modificación puede comprometer la
seguridad haciéndolo peligroso. SAKMA declina cualquier
responsabilidad por los productos modificados.
• Si el cable de alimentación está dañado, debe ser sustituido
por el fabricante, por su servicio postventa o por el personal
cualificado similar con el fin de evitar un peligro.
• No utilizar dispositivos con componentes dañados o rotos,
hasta no ser sustituidos por el fabricante.
• Evitar mirar directamente a la fuente de luz para prevenir
deslumbramientos u otras molestias.
• Para la limpieza del dispositivo, no usar agua ni disolventes.
Utilizar exclusivamente un paño suave.
• When installing and whenever acting on the appliance,
ensure that the power supply has been switched off.
• The installation must be done by an electrical expert or a
specialized maintenance team, who is familiar with valid
directives.
• Luminaire only suitable for indoor use.
• The appliance may in no way be modified or tampered
with, any modification may compromise safety causing
the appliance to become dangerous. SAKMA declines all
responsibility for products that are modified.
• If the cable of this luminaire is damaged, it must be replaced
exclusively by the manufacturer in order to avoid any risk.
• Do not use devices with damaged or broken components,
until they are replaced by the manufacturer.
• Avoid looking directly at the light source to prevent glare or
other discomfort.
• Use only a soft cloth to clean the appliance, do not use
water or other solvents.
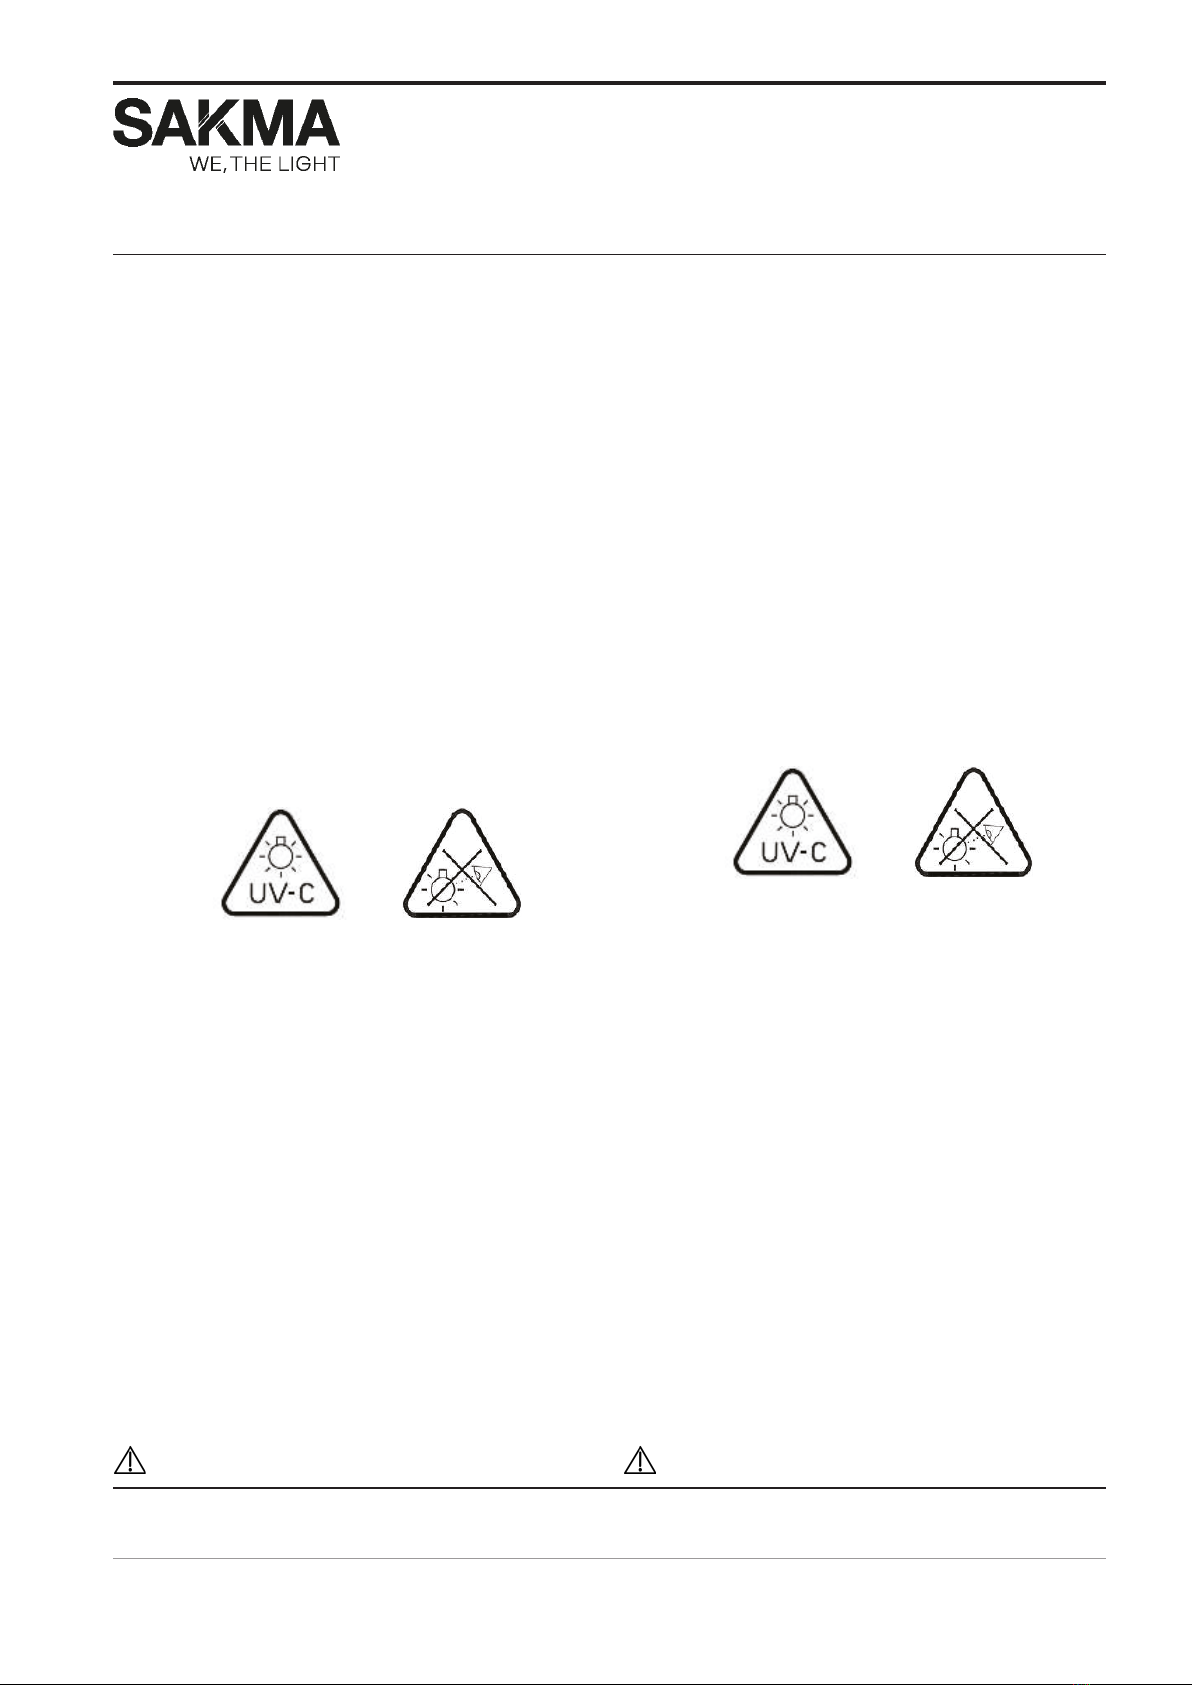
• Este aparato contiene un emisor de ultravioleta.
• El producto debe instalarse a una altura segura como se
describe en las instrucciones.
• Altura accesible. Altura que define el nivel a permanecer
por debajo durante el funcionamiento de la unidad UV-C.
Esta altura tiene un valor mínimo de 2,3 m.
• Durante el uso normal de este producto, está estrictamente
prohibido trepar, alcanzar y/o entrar por cualquier medio
en la zona que se encuentre por encima de la Altura
Accesible. Por encima de la altura accesible, la irradiación
UV-C es lo suficientemente alta como para causar lesiones
y/o representar un riesgo para la salud humana.
• El producto debe instalarse en un circuito de alimentación
que esté separado de cualquier sistema de iluminación por
su propio disyuntor.
• El interruptor de alimentación de entrada debe poder
bloquearse para un apagado seguro durante el
mantenimiento.
• This appliance contains an ultraviolet emitter.
• The product must be installed in a safe height as described
in the instructions.
• Accessible height. Height, which defines the level to stay
below during the operation of the UV-C unit. This height has
a minimum value of 2.3 m.
• During normal use of this product, it is strictly forbidden to
climb, reach and/or enter by any means into the zone which
is above the Accessible height. Above the accessible height,
UV-C irradiance is high enough to cause injury and/or pose
risk to human health.
• The product must be installed on a power circuit which
separated from any lighting system by its own circuit
breaker.
• The input power switch must be lockable for safe shutdown
during maintenance.

In case of any doubt, before starting the installation,
contact SAKMA technical service.
Debido a las continuas mejoras e innovaciones, las especificaciones pueden cambiar sin previo aviso. Todas las indicaciones enumeradas en este manual están sujetas a nuestra
política de garantía. SAKMA no es responsable por los daños causados por no seguir las instrucciones sobre el uso del producto.
Due to continuous improvements and innovations, specifications may change without notice. All the indications listed in this manual are subject to our guarantee policy.
SAKMA is not responsible for damage from failure to follow instructions regarding the product's use.
PAGODA
MI-299V1.0-21
6/6MANUAL DE INSTALACIÓN | INSTALLATION GUIDE
LVP
En caso de cualquier duda, antes de empezar la
instalación, contactar con el servicio técnico de SAKMA.
PRECAUCIONES | PRECAUTIONS
• La siguiente indicación debe colocarse en la habitación
donde está instalado el producto para distinguir y marcar
la altura accesible.
• Las indicaciones deben colocarse en las siguientes
ubicaciones en las habitaciones donde está instalado el
producto:
• Cualquier punto de entrada a la habitación donde está
instalado el producto (ejemplo: fuera de la (s) puerta (s) de
entrada).
• Debajo del propio producto o en la pared más cercana
donde esté disponible el libre acceso en la habitación. Si se
instalan varios accesorios en la misma habitación, se debe
colocar al menos 1 marca por unidad en la pared.
• Guardar estas instrucciones.
• The below marking needs to be placed into the room
where the product is installed to distinguish and mark the
accessible height.
• The marks must be placed in the following locations in the
rooms where the product is installed:
• Any entry point to the room where the product is installed
(example: outside of the door(s) of entry)
• Under the product itself or on the closest wall where free
access in the room is available. If multiple fixtures installed
in the same room, at least 1 mark per unit must be placed
on the wall.
• Save these instructions.
Other SAKMA Lighting Equipment manuals