manuals.online logo
Brands
  1. Home
  2. •
  3. Brands
  4. •
  5. Salt Dogg
  6. •
  7. Spreader
  8. •
  9. Salt Dogg WB400 User manual

Salt Dogg WB400 User manual

TM
1
Assembly Instructions
9049 Tyler Blvd. • Mentor, Ohio 44060
Phone (440) 974-8888 • Fax (440) 974-0165
Toll-Free Fax 800-841-8003 • saltdogg.com
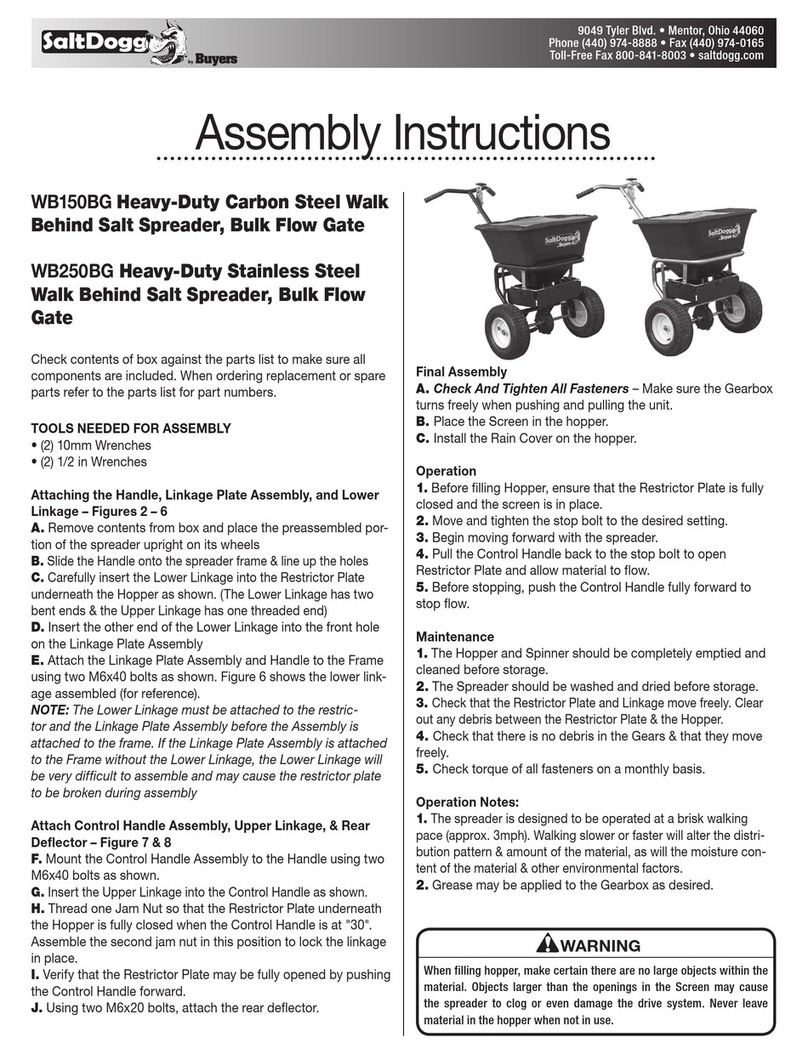
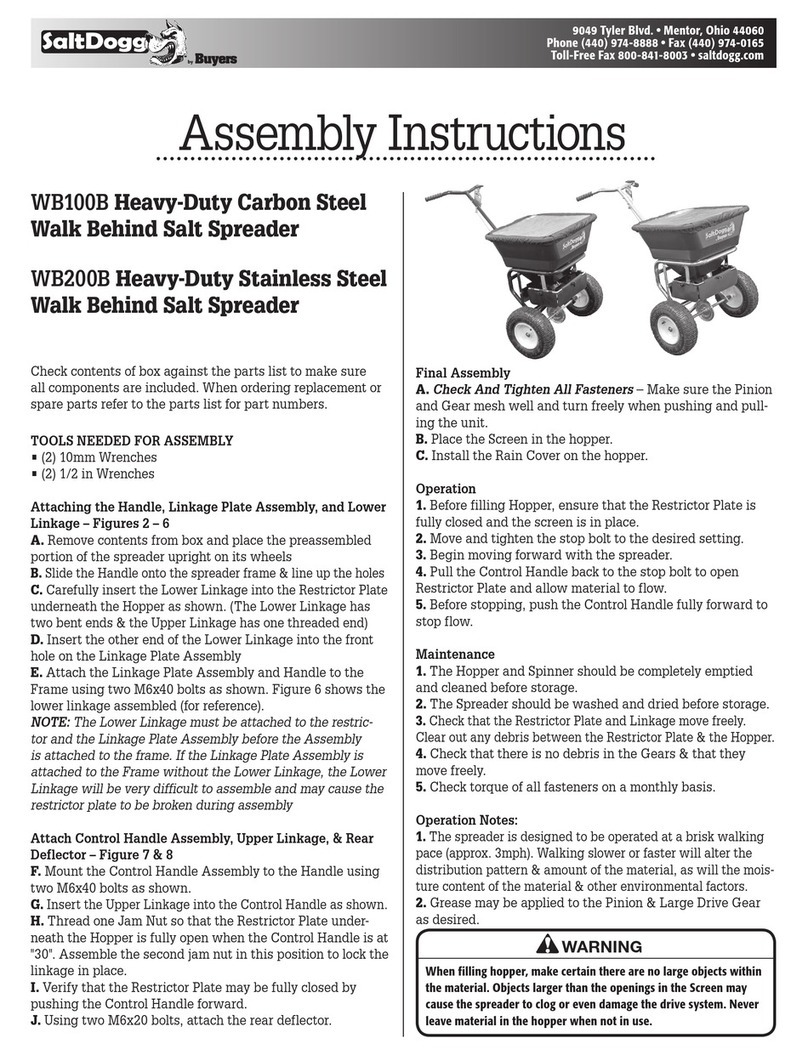
WB400
Walk Behind Drop Salt Spreader
Check contents of box against the parts list to
make sure all components are included. When
ordering replacement or spare parts refer to the
parts list for part numbers.
Tools Needed For Assembly
• (2) 7/16 Wrenches
• (2) 1/2 Wrenches
• (1) 5/32 Allen key
Assembly
Attaching the supports, and Hopper. (see fig. 1)
1. Remove contents from box and place the
preassembled portion of the spreader upright on its
wheels
2. Assemble left hand support arm (3016744) & line
up the holes, fasten with (3) 3/8-16 bolts, washers,
lock washers, and nylock nuts. Threads of bolts
should face away from wheels. Tighten fasteners.
3. Assemble left hand support arm (3016745) & line
up the holes, fasten with (3) 3/8-16 bolts, washers,
lock washers, and nylock nuts. Threads of bolts
should face away from wheel. Tighten fasteners.
Attaching the Linkage Rod (see fig. 2)
1. Insert the 90 degree end of the linkage rod in
the holes located in the lower middle of the hopper
frame. The rod will remain loose until the handles
are attached.
HOPPER ASSEMBLY
3016745
RH SUPPORT
3 BOLTS
PER SIDE
3016744
LH SUPPORT
Fig. 1
ROD (3016748)
INSERT INTO HOLES AS SHOWN
Fig. 2
TM
2
Fig. 3
Attach Handle Assembly (see fig 3)
1. Assemble handle assemble to support arms
by inserting handle tubes located under handle
housing, into support tubes. At the same time
insert the linkage rod into the hole provided at the
top of the handle assembly. With the rod handle
(3016760) inserted onto rod.
2. Align holes on handle assembly with holes in
support tubes and fasten with ¼-20 bolts, washers,
and nylock nuts.
3. Use (4) ¼-20 x 1.5” bolts on the triangular face of
the handle assembly. And use (2) ¼-20 x 2.50” on
the handle portion.
4. Tighten all fasteners.
WARNING
When filling hopper, make certain there are no large
objects within the material. Objects larger than the
openings in the Screen may cause the spreader to
clog or even damage the drive system. Never leave
material in the hopper when not in use.
1/4-20x1.5" BOLTS.
1/4-20"X2.50" BOLTS
ROD LEVER
Final Assembly
1. Check And Tighten All Fasteners
2. Place the Screen in the hopper.
3. Place grips on handles.
4. Install the Rain Cover on the hopper.
Operation
1. Before filling Hopper, ensure that the flow gate
is fully closed by rotating the rod lever to the right
(counter clockwise).
2. Ensure screen is in hopper.
3. Fill hopper with product.
4. Begin moving forward with the spreader.
5. Rotate the rod handle to open flow gate and
allow material to flow. (finding the right location
for the flow gate will depend on material used, and
use preference.)
5. Before stopping, rotate the rod handle to the left
to close the flow gate.
Maintenance
1. The Hopper should be completely emptied and
cleaned before storage.
2. The Spreader should be washed and dried before
storage.
3. Check that the flow gate and Linkage move
freely. Clear out any debris between the Augers &
the Hopper.
4. Check torque of all fasteners on a monthly basis.
5. Never leave salt in hopper. the will harden and
will be difficult to remove.
Operation Notes:
1. The spreader is designed to be operated at
a brisk walking pace (approx. 3 mph). Walking
slower or faster will alter the distribution pattern
and amount of the material, as will the moisture
content of the material & other environmental
factors.
2. Grease may be applied to the wheel axles, and
moving parts as desired.
TM
3
1 3016737 1 HOPPER
2 3016728 1 PLATE, RETAINER, REAR
3 3016727 1 PLATE, RETAINER, FRONT
4 3016730 1 DISCHARGE DOOR
5 3016749 1 CAM
6 3016751 1 WING NUT 1/2-20
7 3016736 2 WHEEL
8 3016738 1 SCREEN
9 3016744 1 SUPPORT ARM, LH
10 3016745 1 SUPPORT ARM, RH
11 3016760 1 HANDLE, ROD
Bill of Materials
item part no. qty. description item part no. qty. description
12 3016748 1 ROD
13 3009135 2 GRIP
14 3017036 1 HARDWARE KIT
15 3017962 1 HANDLE ASSEMBLY
16 3016721 1 FRAME
17 3016722 4 AUGER
18 3016734 4 BUSHING, NYLON
19 3017099 4 WASHER
20 3016735 2 AXEL
21 3017047 1 RAIN COVER
1
2
3
4
5
6
7
8
9
10 11
12
13
14
15
16
17 18
19
20
TM
4
3017037 Rev. B
Warranty
Buyers Products Co. warrants all truck/trailer hardware manufac-
tured or distributed by it, to be free from defects in material and
workmanship for a period of one year from date of shipment. Parts
must be properly installed and used under normal conditions. Any
product which has been altered, including modification, misuse,
accident or lack of maintenance will not be considered under
warranty. Normal wear is excluded. The sole responsibility of
Buyers Products Co. under this warranty is limited to repairing or
replacing any part or parts which are returned, prepaid, and are
found to be defective by Buyers Products Co. Authorization from
Buyers Products Co. must be obtained before returning any part.
No charges for transportation or labor performed on Buyers’ prod-
ucts will be allowed under this warranty.
9049 Tyler Blvd. • Mentor, Ohio 44060
Phone (440) 974-8888 • Fax (440) 974-0165
Toll-Free Fax 800-841-8003 • saltdogg.com

Other Salt Dogg Spreader manuals

Salt Dogg TGS03 User manual

Salt Dogg

Salt Dogg TGS03 User manual

Salt Dogg TGS06 User manual

Salt Dogg

Salt Dogg TGS06 User manual

Salt Dogg 4553 User manual

Salt Dogg

Salt Dogg 4553 User manual

Salt Dogg WB400 User manual

Salt Dogg

Salt Dogg WB400 User manual

Salt Dogg WB100B User manual

Salt Dogg

Salt Dogg WB100B User manual

Salt Dogg TGS03 User manual

Salt Dogg

Salt Dogg TGS03 User manual

Salt Dogg SHPE0750 Series User manual

Salt Dogg

Salt Dogg SHPE0750 Series User manual

Salt Dogg SHPE0750 Series User manual

Salt Dogg

Salt Dogg SHPE0750 Series User manual

Salt Dogg WB150BG User manual

Salt Dogg

Salt Dogg WB150BG User manual

Salt Dogg SHPE4000CH User manual

Salt Dogg

Salt Dogg SHPE4000CH User manual

Salt Dogg TGS01B User manual

Salt Dogg

Salt Dogg TGS01B User manual

Salt Dogg WB100B User manual

Salt Dogg

Salt Dogg WB100B User manual

Popular Spreader manuals by other brands

Farm Fans SCATTERGRAIN FFD-3000VS Installation and operation manual

Farm Fans

Farm Fans SCATTERGRAIN FFD-3000VS Installation and operation manual

OSHIMA J3 Operation manual

OSHIMA

OSHIMA J3 Operation manual

Sam 6 TONNE SINGLE AXLE Instructions and parts manual

Sam

Sam 6 TONNE SINGLE AXLE Instructions and parts manual

Tube-Line Nitro 275RS Operator's Manual & Parts Manual

Tube-Line

Tube-Line Nitro 275RS Operator's Manual & Parts Manual

SPX FLOW Power Team HS2000 operating instructions

SPX FLOW

SPX FLOW Power Team HS2000 operating instructions

Earth Way POLAR TECH 90365 Assembly instructions

Earth Way

Earth Way POLAR TECH 90365 Assembly instructions

Kellfri 33-JM650 manual

Kellfri

Kellfri 33-JM650 manual

The Andersons LCO-1000 Assembly, use and care

The Andersons

The Andersons LCO-1000 Assembly, use and care

SUN RUN SWR operating instructions

SUN RUN

SUN RUN SWR operating instructions

MTD Pro HWSS 100 Assembling instructions

MTD Pro

MTD Pro HWSS 100 Assembling instructions

H&S 3123 Operator's manual

H&S

H&S 3123 Operator's manual

TurfEx TS-300-1 Owner's manual and installation instructions

TurfEx

TurfEx TS-300-1 Owner's manual and installation instructions

RESQTEC X2 user manual

RESQTEC

RESQTEC X2 user manual

Western 1000 owner's manual

Western

Western 1000 owner's manual

RESQTEC X Series user manual

RESQTEC

RESQTEC X Series user manual

Moultrie Spreader user manual

Moultrie

Moultrie Spreader user manual

Meyer's VB235 INSTRUCTION AND PARTS BOOK

Meyer's

Meyer's VB235 INSTRUCTION AND PARTS BOOK

Meyer's VB375 INSTRUCTION AND PARTS BOOK

Meyer's

Meyer's VB375 INSTRUCTION AND PARTS BOOK

manuals.online logo
manuals.online logoBrands
  • About & Mission
  • Contact us
  • Privacy Policy
  • Terms and Conditions

Copyright 2025 Manuals.Online. All Rights Reserved.