!
7
SALUS&WARRANTY&
Salus Controls Inc. (“Salus”) warrants that for a period of two (2) years
(“Warranty Period”) from the date of purchase by the consumer (“Customer”),
this device, excluding batteries (“Product”), shall be free of defects in
materials and workmanship under normal use and service in accordance
with all supplied instructions. During the warranty period, Salus shall, at its
option, repair or replace any defective Products, at no charge for the device.
Any replacement and/or repaired devices are warranted for the remainder of
the original Warranty Period or ninety (90) days, whichever is longer.
This warranty does not cover removal or reinstallation costs. This warranty
does not apply to any Product (i) which has been modified, repaired, or
altered, except by Salus or an authorized Salus representative, (ii) which has
not been maintained in accordance with any handling or operating
instructions supplied by Salus, or (iii) which has been subjected to unusual
physical or electrical stress, misuses, abuse, negligence or accidents.
This warranty is the only express warranty Salus makes for the Product. Any
implied warranties, including warranties of merchantability or fitness for a
particular purpose, are limited to the Warranty Period or the shortest period
allowed by law.
SALUS SHALL NOT BE LIABLE FOR ANY LOSS OR DAMAGE OF ANY KIND,
INCLUDING ANY SPECIAL, INCIDENTAL OR CONSEQUENTIAL DAMAGES
RESULTING, DIRECTLY OR INDIRECTLY, FROM ANY BREACH OF ANY
WARRANTY, EXPRESS OR IMPLIED, OR ANY OTHER FAILURE OF THIS
PRODUCT. Some states and provinces do not allow the exclusion or
limitation of incidental or consequential damages, or limitation on the
!
4
Remove&old&thermostat&terminals&
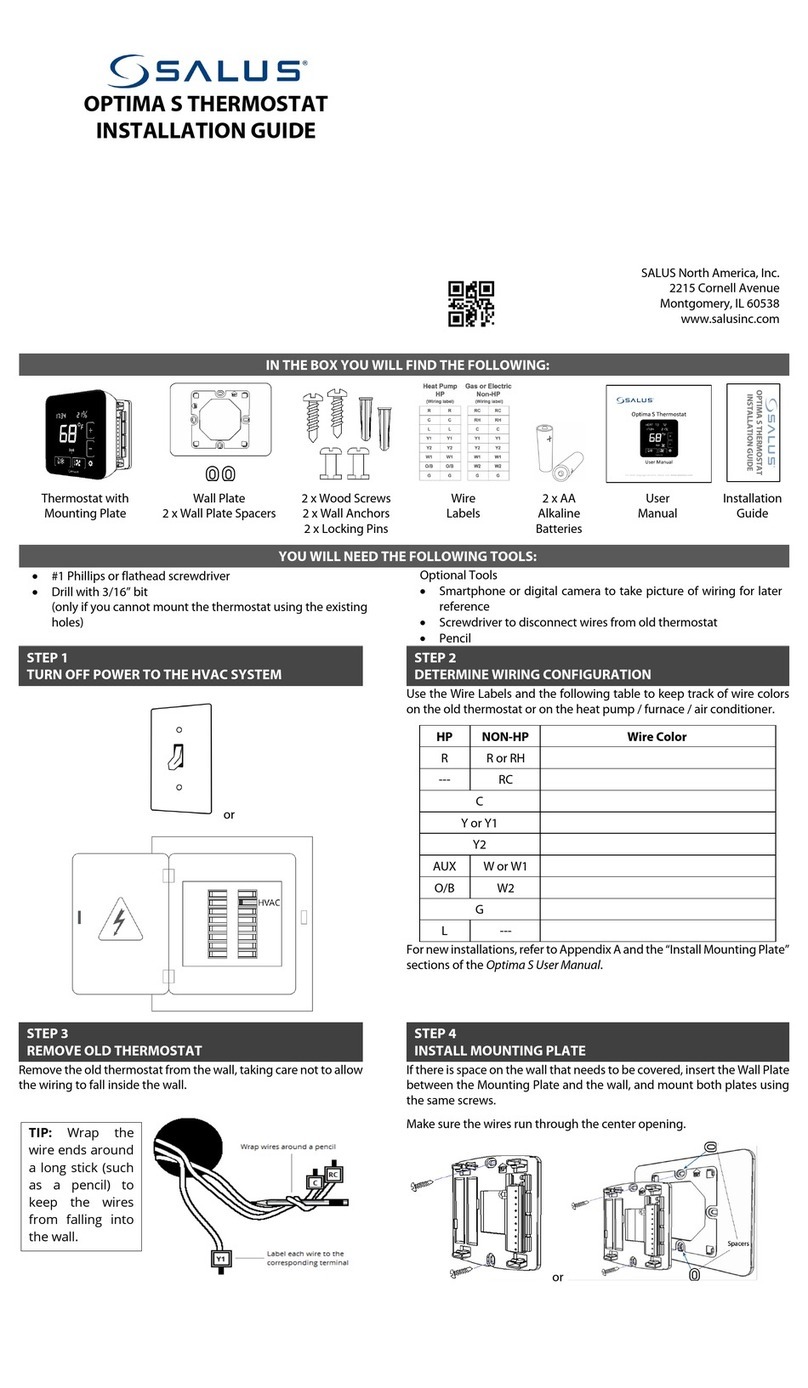
Remove the old thermostat wiring terminals
from the wall, taking care not to allow the
wiring to fall inside the wall.
Install&Mounting&Plate&
Remove the Mounting Plate from the back of
the Optima thermostat. Use the included wall
anchors and screws to attach the Mounting
Plate to the wall, making sure the wires run
through the center opening. Use the Trim Plate
vertically or horizontally if desired.
Attach&Wiring&
Before attaching the wires, match the wire
(using the labels) to its corresponding
terminal. Refer to the picture of the wiring
taken earlier if necessary.
•Open the terminal by lifting the latch up.
•Push each wire into the hole of the
terminal and push the latch down to
secure the wire.
