manuals.online logo
Brands
  1. Home
  2. •
  3. Brands
  4. •
  5. SaMASZ
  6. •
  7. Lawn Mower
  8. •
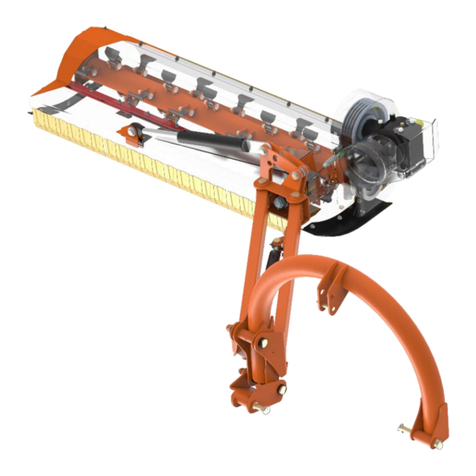
  9. SaMASZ EMU 160 User manual

SaMASZ EMU 160 User manual

This manual suits for next models

4

Other SaMASZ Lawn Mower manuals

SaMASZ KDC 300 W User manual

SaMASZ

SaMASZ KDC 300 W User manual

SaMASZ KDC 260 User manual

SaMASZ

SaMASZ KDC 260 User manual

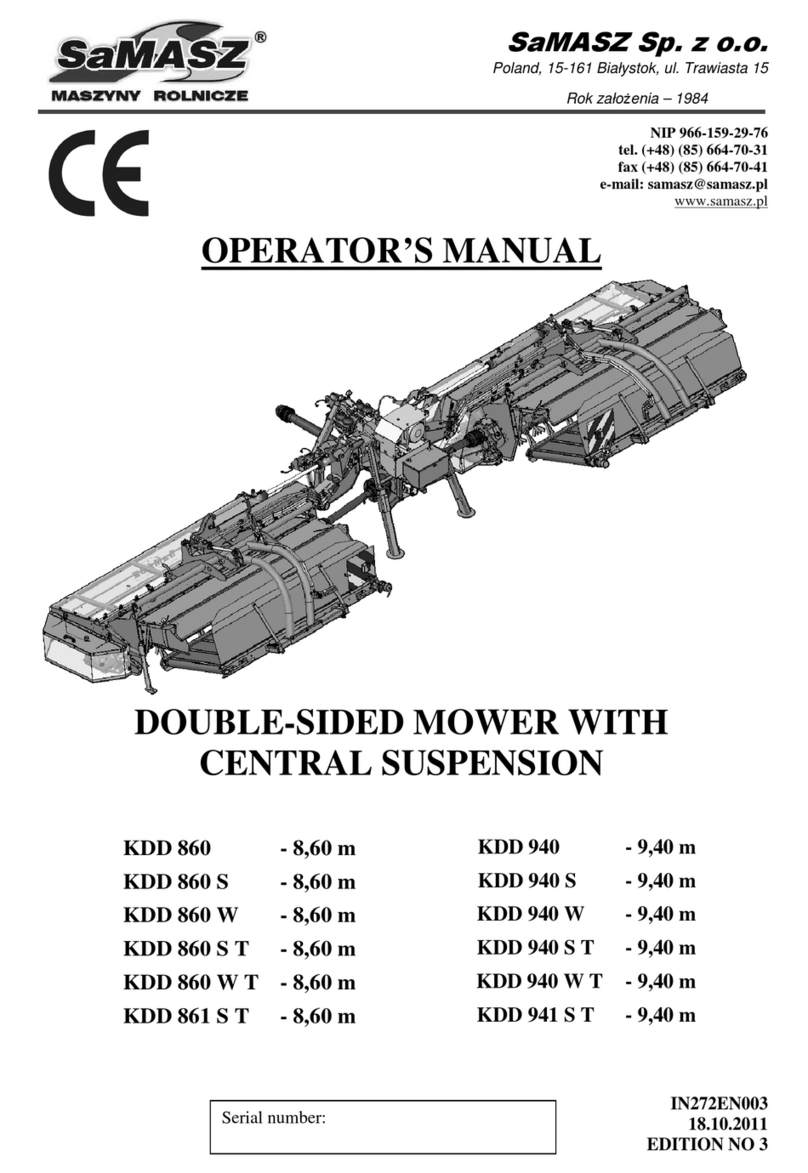
SaMASZ KDD 861 User manual

SaMASZ

SaMASZ KDD 861 User manual

SaMASZ KWT 550 User manual

SaMASZ

SaMASZ KWT 550 User manual

SaMASZ KDF 260 User manual

SaMASZ

SaMASZ KDF 260 User manual

SaMASZ KT 261 SL User manual

SaMASZ

SaMASZ KT 261 SL User manual

SaMASZ KDF 260 User manual

SaMASZ

SaMASZ KDF 260 User manual

SaMASZ TORO 260 User manual

SaMASZ

SaMASZ TORO 260 User manual

SaMASZ Z 010/1 User manual

SaMASZ

SaMASZ Z 010/1 User manual

SaMASZ KDF 390 User manual

SaMASZ

SaMASZ KDF 390 User manual

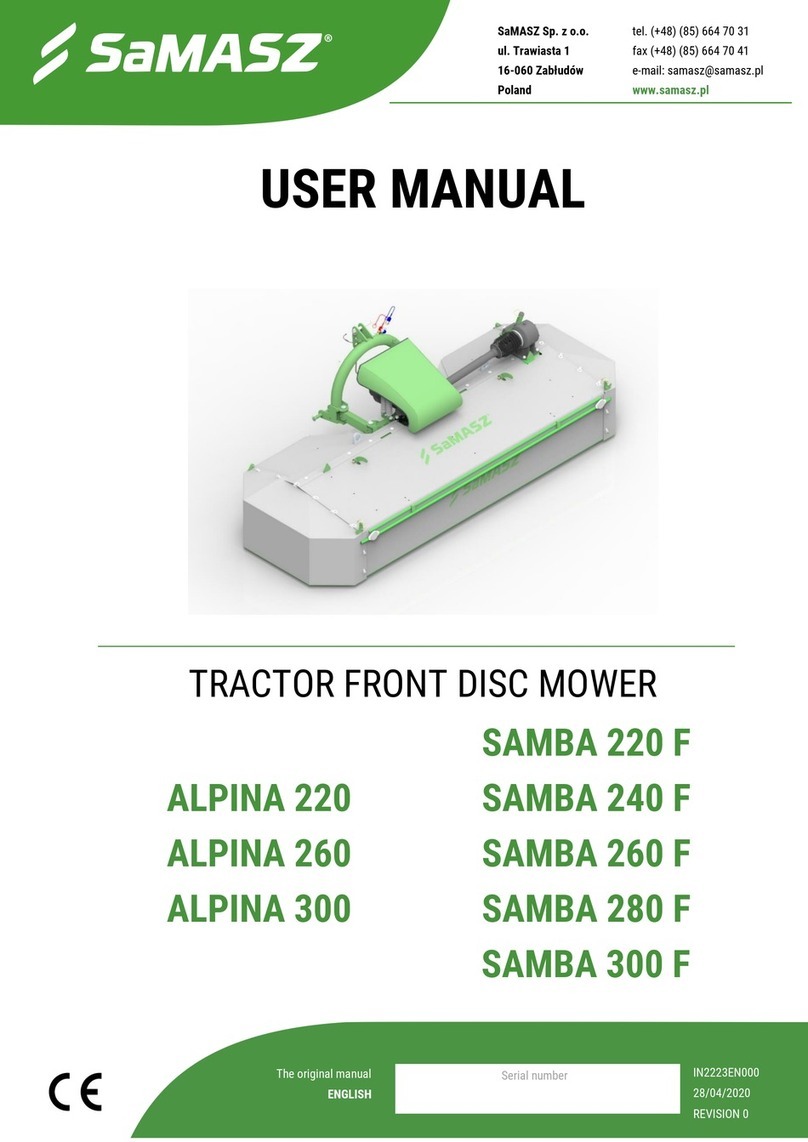
SaMASZ ALPINA 220 User manual

SaMASZ

SaMASZ ALPINA 220 User manual

SaMASZ Z 010 User manual

SaMASZ

SaMASZ Z 010 User manual

SaMASZ KDF 301 W User manual

SaMASZ

SaMASZ KDF 301 W User manual

SaMASZ KDT 180 User manual

SaMASZ

SaMASZ KDT 180 User manual

SaMASZ KDC 300 W User manual

SaMASZ

SaMASZ KDC 300 W User manual

SaMASZ NANO 150 User manual

SaMASZ

SaMASZ NANO 150 User manual

SaMASZ KDF 390 User manual

SaMASZ

SaMASZ KDF 390 User manual

SaMASZ SAMBA 240 User manual

SaMASZ

SaMASZ SAMBA 240 User manual

SaMASZ KDF 260 User manual

SaMASZ

SaMASZ KDF 260 User manual

SaMASZ KT 261 User manual

SaMASZ

SaMASZ KT 261 User manual

SaMASZ XT 390 User manual

SaMASZ

SaMASZ XT 390 User manual

SaMASZ KDD 860 User manual

SaMASZ

SaMASZ KDD 860 User manual

SaMASZ KBRP 160 User manual

SaMASZ

SaMASZ KBRP 160 User manual

SaMASZ K2BF 210 User manual

SaMASZ

SaMASZ K2BF 210 User manual

Popular Lawn Mower manuals by other brands

Toro 20047 Operator's manual

Toro

Toro 20047 Operator's manual

Toro Greensmaster TriFlex 3300 Operator's manual

Toro

Toro Greensmaster TriFlex 3300 Operator's manual

Global garden products 72 Workshop manual

Global garden products

Global garden products 72 Workshop manual

EINHELL 01045 operating instructions

EINHELL

EINHELL 01045 operating instructions

Toro Greensmaster 3120 Operator's manual

Toro

Toro Greensmaster 3120 Operator's manual

Baroness LM315GC Owner's operating manual

Baroness

Baroness LM315GC Owner's operating manual

GreenWorks Tools 25157 user manual

GreenWorks Tools

GreenWorks Tools 25157 user manual

Etesia MVEHH user manual

Etesia

Etesia MVEHH user manual

Husqvarna LTH125 owner's manual

Husqvarna

Husqvarna LTH125 owner's manual

Gravely 915034 - ZT1640 Owner's/operator's manual

Gravely

Gravely 915034 - ZT1640 Owner's/operator's manual

Jacobsen 63281 Technical manual

Jacobsen

Jacobsen 63281 Technical manual

GreenWorks Pro MO802524 Operator's manual

GreenWorks Pro

GreenWorks Pro MO802524 Operator's manual

Toro TimeMaster 20976 Operator's manual

Toro

Toro TimeMaster 20976 Operator's manual

Deutz-Allis 3000 Series parts manual

Deutz-Allis

Deutz-Allis 3000 Series parts manual

Craftsman 917.9998C owner's manual

Craftsman

Craftsman 917.9998C owner's manual

jobmate YT9108 user manual

jobmate

jobmate YT9108 user manual

Yard force GM R40A instructions

Yard force

Yard force GM R40A instructions

Husqvarna R 419TsX AWD Operator's manual

Husqvarna

Husqvarna R 419TsX AWD Operator's manual

manuals.online logo
manuals.online logoBrands
  • About & Mission
  • Contact us
  • Privacy Policy
  • Terms and Conditions

Copyright 2025 Manuals.Online. All Rights Reserved.

SaMASZ Sp. z o.o.
ul. Trawiasta 1
16-060 Zabłudów
Polska
tel. (+48) (85) 664 70 31
fax (+48) (85) 664 70 41
e-mail: [email protected]
www.samasz.pl
OPERATOR’S MANUAL
Serial no.:
The original operator’s manual
ENGLISH
IN380EN004
10.10.2017
Edition 4
FLAIL MOWERS
WITH HOPPER
EMU 160
IBIS 150
EMU 160 S
IBIS 150 UP
EMU 160 UP
2
EMU IBIS
FLAIL MOWERS WITH HOPPER
OPERATOR’S MANUAL
Well-proven design with thousands of machines in regular use in many countries and quality
materials ensure high durability and reliability of SaMASZ machines.
We congratulate you on the purchase of your new SaMASZ machine and wish you much pleasure
and the very best work results through the years to come.
GENERAL WARNING:
Instructions given in this operator’s manual marked with this
symbol and warning signs provided on the machine inform about
a risk.
WARNING!
Operation of the flail mower before reading the operator’s manual
carefully as well as operating by the unauthorized staff, especially
by children, is strictly forbidden.
WARNING!
It is forbidden to turn on the mower before it is in the correct
working position.
WARNING!
Do not operate when any person remains in the danger area
of 50 m (170').
NOTE:
Keep this manual for future reference.
3
OPERATOR’S MANUAL
FLAIL MOWERS WITH HOPPER
EMU IBIS
Table of content page
1. IDENTIFYING MACHINES ......................................................................................................... 4
2. INTRODUCTION...................................................................................................................... 4
3. DESIGNATION........................................................................................................................ 5
3.1. Technical data ..................................................................................................................................5
3.2. Design and working principle .............................................................................................................6
3.2.1. Optional equipment....................................................................................................................7
3.3. Standard equipment and spare parts..................................................................................................8
3.3.1. Flail knives applicable in mowers................................................................................................9
4. SAFETY ADVICE AND WARNING...............................................................................................11
4.1. Safety rules and regulations ............................................................................................................11
4.2. Qualifications of operator................................................................................................................12
4.3. Conditions of mounting mower on tractor ........................................................................................13
4.4. Transport........................................................................................................................................13
4.4.1. Relocating mower onto another vehicle for transport.................................................................13
4.5. Operating parts ...............................................................................................................................15
4.6. PTO shaft .......................................................................................................................................15
4.7. Hydraulic assembly.........................................................................................................................15
4.8. Residual risk ...................................................................................................................................16
4.9. Bans...............................................................................................................................................16
4.9.1. Residual risk assessment.........................................................................................................17
4.10. Safety decals and their meaning....................................................................................................17
5. OPERATION..........................................................................................................................20
5.1. Mounting mower to tractor ..............................................................................................................20
5.2. Preparing mower for transport.........................................................................................................21
5.3. Preparing mower for transport on public roads.................................................................................21
5.4. Mounting PTO shaft ........................................................................................................................21
5.5. Preparing mower for operation ........................................................................................................22
5.5.1. Adjusting the IBIS mower for scarifying of lawns.......................................................................22
5.6. Operation........................................................................................................................................23
5.6.1. Basic information on mowing ...................................................................................................23
5.6.2. Operating mower .....................................................................................................................24
5.7. Dismounting machine from tractor...................................................................................................25
6. MOUNTING AND ADJUSTMENTS..............................................................................................25
6.1. Adjusting mowing height .................................................................................................................25
6.2. Operating service ............................................................................................................................26
6.2.1. Belt gear’s V-belts tension control ............................................................................................26
6.2.2. Flail knife condition control ......................................................................................................27
6.2.3. Daily maintenance....................................................................................................................27
6.2.4. After-season maintenance........................................................................................................27
6.2.5. Restarting the machine after longer idle periods........................................................................27
7. LUBRICATING.......................................................................................................................28
7.1. Intersecting axis gear......................................................................................................................28
7.2. Bearing housing of flail shaft...........................................................................................................28
7.3. Risk present when lubricating ..........................................................................................................29
8. DEFECTS AND THEIR REPAIR ..................................................................................................29
9. REPAIR AND WITHDRAWAL FROM USE......................................................................................30
9.1. Repair.............................................................................................................................................30
9.2. Disassembly and withdrawal from use .............................................................................................30
10. WARRANTY CARD .................................................................................................................30
11. WARRANTY TERMS ...............................................................................................................31
11.1. Warranty claim procedure .............................................................................................................31
11.2. Warranty repairs record.................................................................................................................32
ATTACHMENT. DEFINING THE TOTAL WEIGHT, AXIS LOAD, TYRE LOAD CAPACITY AND MINIMUM LOAD...33
4
EMU IBIS
FLAIL MOWERS WITH HOPPER
OPERATOR’S MANUAL
1. IDENTIFYING MACHINES
Data plate is permanently mounted to the mower's main frame in place shown below in Fig. 1.
Fig. 1. Data plate placement
Data plate includes:
❑name and address of the manufacturer,
❑CE marking means, that the produce conforms to
2006/42/EC Directive and harmonized standards,
❑machine symbol,
❑date of manufacture,
❑model year,
❑version number,
❑machine weight,
❑id number,
❑barcode.
NOTE:
It is forbidden to drive the machine on public roads with damaged, illegible or
missing identification plate.
2. INTRODUCTION
❑This operator's manual should be considered the mower's basic equipment. If the mower is handed
over to other user, it should be in good condition, and have operator's manual and its basic
equipment attached.
❑Prior to operating the mower its user must familiarize himself with this manual as well as common
work safety rules.
❑The mower is manufactured in accordance with safety standards requirements.
❑Respecting recommendations herein shall ensure full operation safety.
❑If you have any questions concerning commission and operation of the mower, please contact the
manufacturer.
❑This operator’s manual is an indispensable part of any machine and is intended to familiarize future
user with principles of proper operation and use of the machine as well as the risks involved.
5
OPERATOR’S MANUAL
FLAIL MOWERS WITH HOPPER
EMU IBIS
3. DESIGNATION
Self-collecting flail mower with hopper is used for maintaining and curing of greenery, mowing
road shoulders, squares, small shrubs on uncultivated areas, weeds with moderate congestion and
agricultural works. Depending on flail type the mower shreds branches (with diameter up to approx. 4
cm).
Self-collecting flail mower with container IBIS is intended for works related to maintenance and
curing of municipal greenery, i. e. for mowing parks, squares, pitches, lawns, golf courses, etc.
Depending on flail type the mower shreds branches (with diameter up to approx. 2 cm).Owing to the
application of special knives type XII mower IBIS can be used for scarifying in order to remove old, too
thick turf and enable new grass to grow.
WARNING!
It is forbidden to use the mower for purposes other than those listed in this
instruction. Using the mower for other purposes will be classified as use not
according with the intended use and could exclude the manufacturer from
responsibility from any resulting damages.
The mower should be used, serviced and repaired only by persons familiar with
its characteristics and with safety regulations. Unauthorized modification of the
mower may release the manufacturer from responsibility for any resulting
malfunctions or damages.
3.1. Technical data
Technical data for flail mowers with hopper are provided in Tab. 1.
Tab. 1. Technical data
Mower type:
EMU 160
EMU 160 S
EMU 160 UP
IBIS 150
IBIS 150 UP
Working width [m]
1,6
1,5
Knife (flail) count [pcs.]
14
50
Tractor's PTO rears [rpm]
540
Cooperating tractor power [HP]
60
35
Length [mm]
1900
1630
Width [mm]
1890
1840
Height [mm]
1500
1250
1650
1000
1400
Weight [kg]
735
710
905
430
450
Tractor lifter category
II
I
Maximum hopper capacity [m3]
1,5
1,2
1,4
1,0
Grass discharge height [m]
-
-
2
-
2
6
EMU IBIS
FLAIL MOWERS WITH HOPPER
OPERATOR’S MANUAL
11
7
2
3
4
5
6
18
9
8
1
10
17
17
17
2
3
4
5
6
7
1
9
8
17
17
11
3.2. Design and working principle
Design and working principle of flail mower with self-collecting hopper are provided on Fig. 2, Fig.
3, Fig. 4, Fig. 5.
Flail mower with hopper (1) comprises linkage body (9), which is designed to mount the mower
to 3-point linkage (7) at tractor’s rear (Fig. 12). Mowed grass is emptied from the hopper with cylinders
(3) started by tractor's hydraulics. Drive onto flail shaft (12) is transmitted through PTO (8) onto
intersecting axis gear, which is mounted on mower's linkage body (9). Then the drive is transmitted
through belt gear onto flail shaft (12), with mounted flail knives (13) (Fig. 7). Mounting manner of flail
(cutting) knives is performed to provide protection of operating elements against overload and damage.
When operating, if resistance of an obstacle exceeds knife’s centrifugal force, it is then deflected and
obstacle is passed by. Mowing height is adjusted by modifying setting of ground following bar (11)
(Fig. 6) (p. 6.1).
Fig. 2. Overview of flail mower EMU 160, EMU 160 S
Fig. 3. Overview of flail mower
EMU 160 UP
Markings:
1–hopper
2–hopper flap
3–cylinder
4–belt gear
5–slides
6–front guard
7–3-point linkage hitch
8–PTO mounting
9–linkage body
10 –remote arm
11 –ground following bar
12 –flail shaft
13 –flail knife
14 –outlet –option
15 –jet
16 –basket cover
17 –support wheel
18 –tiller
7
OPERATOR’S MANUAL
FLAIL MOWERS WITH HOPPER
EMU IBIS
11
12
13
Fig. 4. Overview of flail mower IBIS 150
Fig. 5. Overview of flail mower IBIS 150 UP
Fig. 6. Ground following bar
Fig. 7. Flail shaft
3.2.1. Optional equipment
❑Front support wheels (for: EMU 160, EMU 160 S, EMU 160 UP, IBIS 150, IBIS 150 UP)
Front support wheels are used for ground following, the same as ground following bar. Wheel
height can be adjusted within 6 cm range by spacers. As an option, each machine has a pair of front
support wheels (2 pcs.) assigned.
In IBIS mowers support wheels are equipped with locking mechanism disabling their 360°
rotation, and when driving the machine in reverse this might cause wheel locking.
❑Rear support wheels (for: EMU 160 UP)
If mower EMU 160 UP is aggregated with tractor weighing less than 3 tons then the machine
should be equipped additionally with rear support wheels.
15
9
8
3
16
14
4
5
7
1
17
17
1
12
15
16
17
4
3
9
10
Markings:
1–hopper
2–hopper flap
3–cylinder
4–belt gear
5–slides
6–front guard
7–3-point linkage hitch
8–PTO mounting
9–linkage body
10 –remote arm
11 –ground following bar
12 –flail shaft
13 –flail knife
14 –outlet –option
15 –jet
16 –basket cover
17 –support wheel
18 –tiller
8
EMU IBIS
FLAIL MOWERS WITH HOPPER
OPERATOR’S MANUAL
For mowing rear support wheels should be lifted up as high as possible. When transported or on
headlands the wheels are lowered, so the machine is lifted up to 20 cm height which causes the tractor
to be unloaded and become more stable.
Rear support wheels enable increasing height up to 2.2 m on which hopper with mowed grass is
emptied. If mower is equipped with rear support wheels tractor can be mounted to machine with use of
lower 3-point linkage arms (or with tiller as an option) - when mowing the mower is supported on ground
following bar and when transported then on rear support wheels.
Rear support wheels are self-torsion and it is possible to lock them when driving forward (to be
used when the mower is mounted on the tractor by means of a drawbar).
❑Tiller (for: EMU 160 UP)
Tiller is mounted only when EMU 160 UP mower is equipped with rear support wheels. It
improves servicing and maneuvering of the mower.
Servicing and controlling the mower equipped with tiller and support wheels is quite the same
as in single-axis trailer.
Tiller features hydraulic control of height, so the machine can be lifted up for transport. In the
event of mounting the tiller, the machine is then equipped with longer PTO shaft.
❑Outlet (for: IBIS 150, IBIS 150UP)
The outlet is mounted on the top of container (collecting basket) as an option. It is designed to
direct the output air to the behind of the container back (to reduce dusting).
3.3. Standard equipment and spare parts
Mowers are sold with the following standard equipment:
❑warranty card,
❑operator's manual with catalogue of spare parts and declaration of conformity,
❑flail knives 2 pcs.,
❑PTO shaft,
❑spray paint (150 ml).
Optional equipment (on extra charge):
❑optional flail knife set,
❑optional set of bearings for ground following bar and flail shaft,
❑optional sealing kit for bearings for ground following bar and flail shaft,
❑front support wheels (2 pcs.),
❑rear support wheels (set),
❑tiller.
WARNING!
Optional extra equipment should be ordered separately.
9
OPERATOR’S MANUAL
FLAIL MOWERS WITH HOPPER
EMU IBIS
Tab. 2. Recommended PTO shaft by Bondioli & Pavesi
Mower
Power
Length
Momentm
Symbol
Shaft terminations
Remarks
HP
mm
Nm
Tractor
Mower
EMU 160
EMU 160 S
EMU 160 UP
35
610-825
460
7G4N061CE007096MA
1 3/8” z=6
1 3/8” z=6
right overrunning
clutch
EMU 160 UP +
tiller
35
610-825
460
7G4N091CE007096MA
1 3/8” z=6
1 3/8” z=6
right overrunning
clutch
IBIS 150
IBIS 150 UP
35
860-1200
460
7G4N086CE007007HA
1 3/8” z=6
1 3/8” z=6
Full cover
Fig. 8. PTO shaft lubrication. Mounting direction
NOTE:
PTO shaft lubrication frequency must be respected as provided in
corresponding manual. Lubricate the marked points every 50 hours. PTO shaft
shall also be lubricated prior to and after period of longer idleness.
PTO shafts of other brands with equivalent technical parameters may be used only on the SaMASZ
permission.
3.3.1. Flail knives applicable in mowers
In order to provide proper operation of mower flails need to be repalced once they are worn.
Corresponding symbol of flail knife can be found in mower's catalogue of parts.
The table below shows knives that can be mounted in mowers EMU and IBIS.
10
EMU IBIS
FLAIL MOWERS WITH HOPPER
OPERATOR’S MANUAL
Tab. 3. Flail knives
Flail knives
EMU
IBIS
KNIFE TYPE I
Application: grass,
shrub, stalks,
remnants after
trimming, stubbles
Standard
‒
KNIFE TYPE VII
Application:
grass, plants stalks
‒
Standard
KNIFE TYPE IX
Application:
grass, plants stalks,
smaller bushes,
branches
‒
Option
KNIFE TYPE XI
Application:
grass, plants stalks
LEFT
RIGHT
‒
Option
KNIFE TYPE XII
Application:
Scarifying lawns
‒
Option