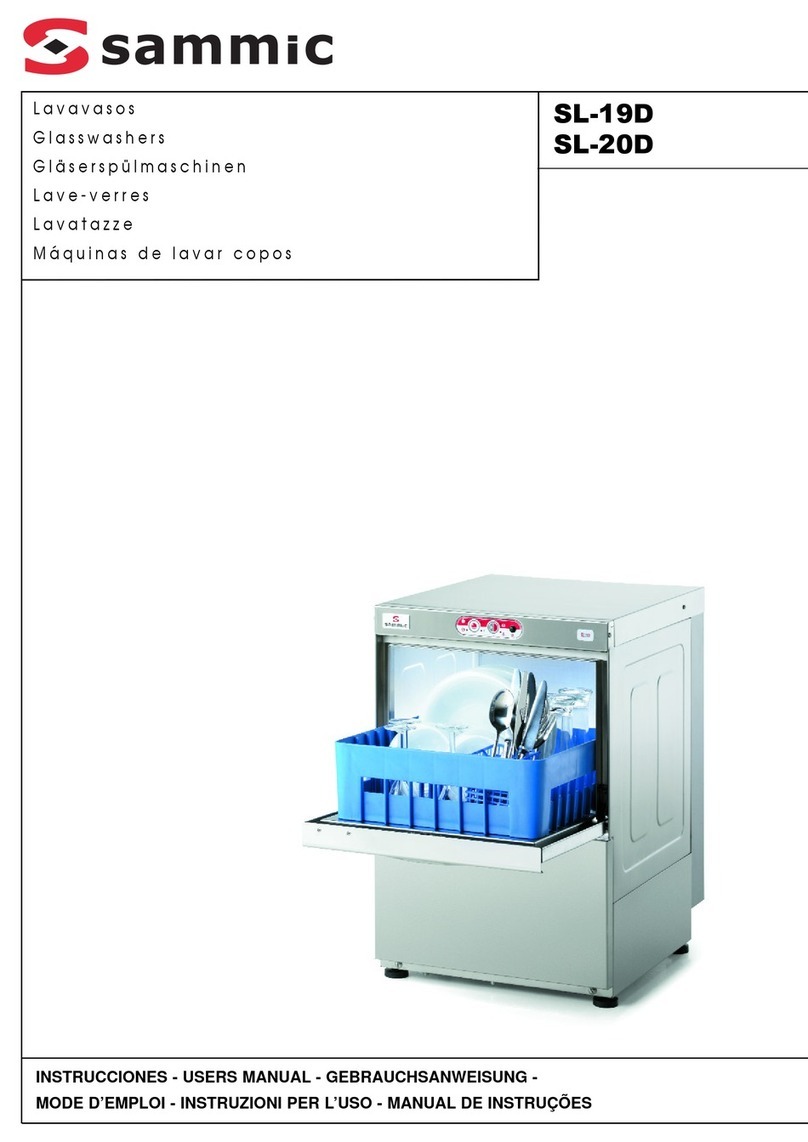
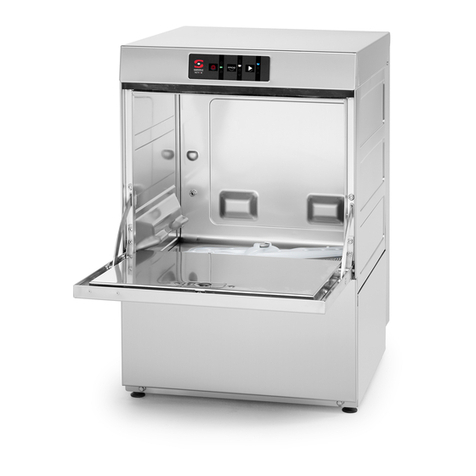
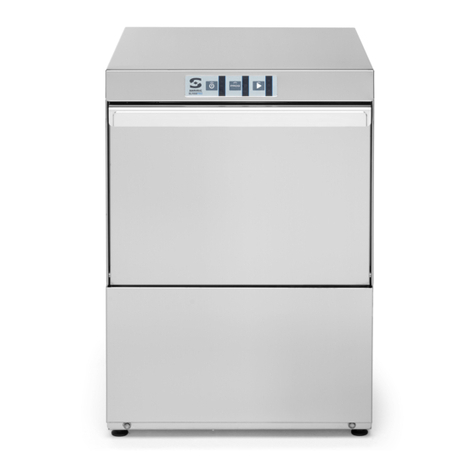
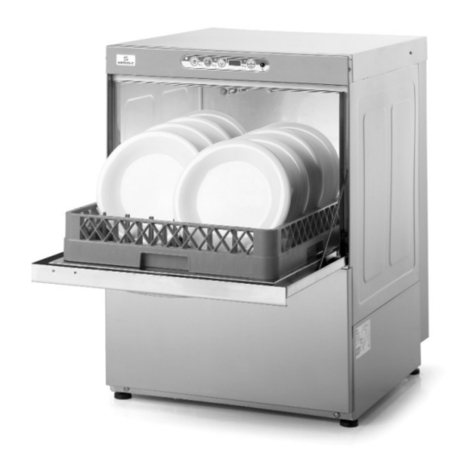
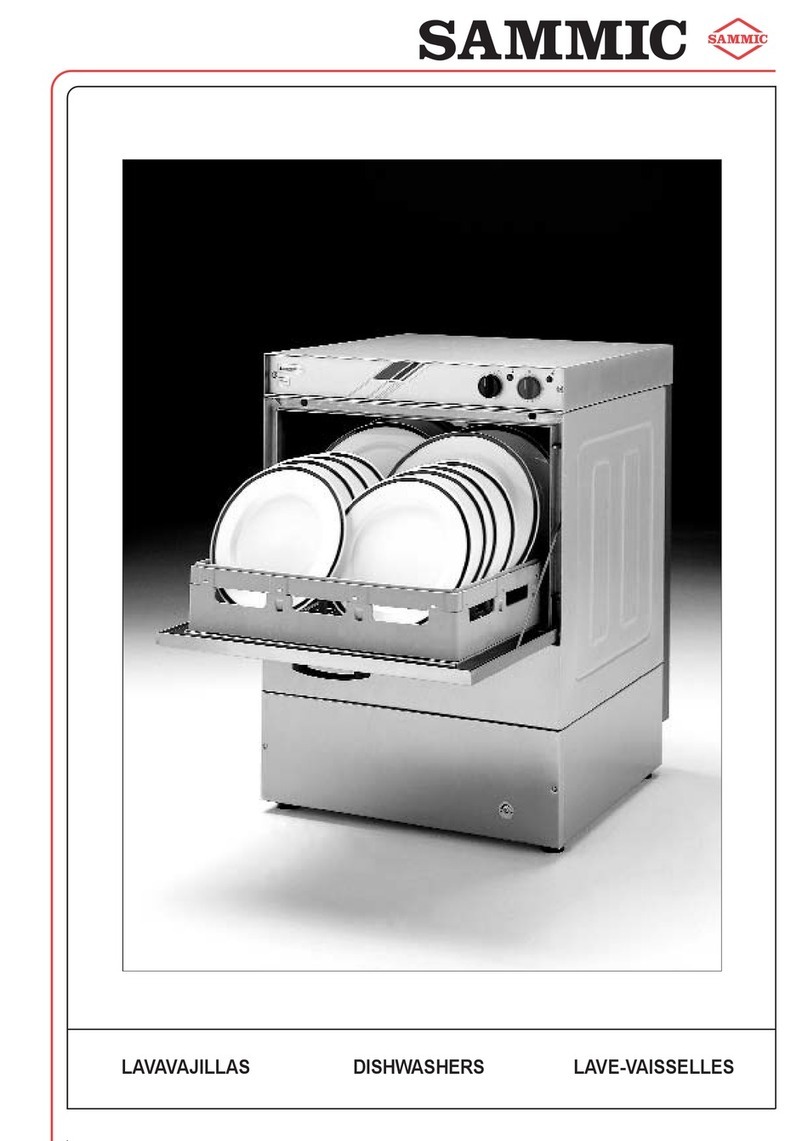
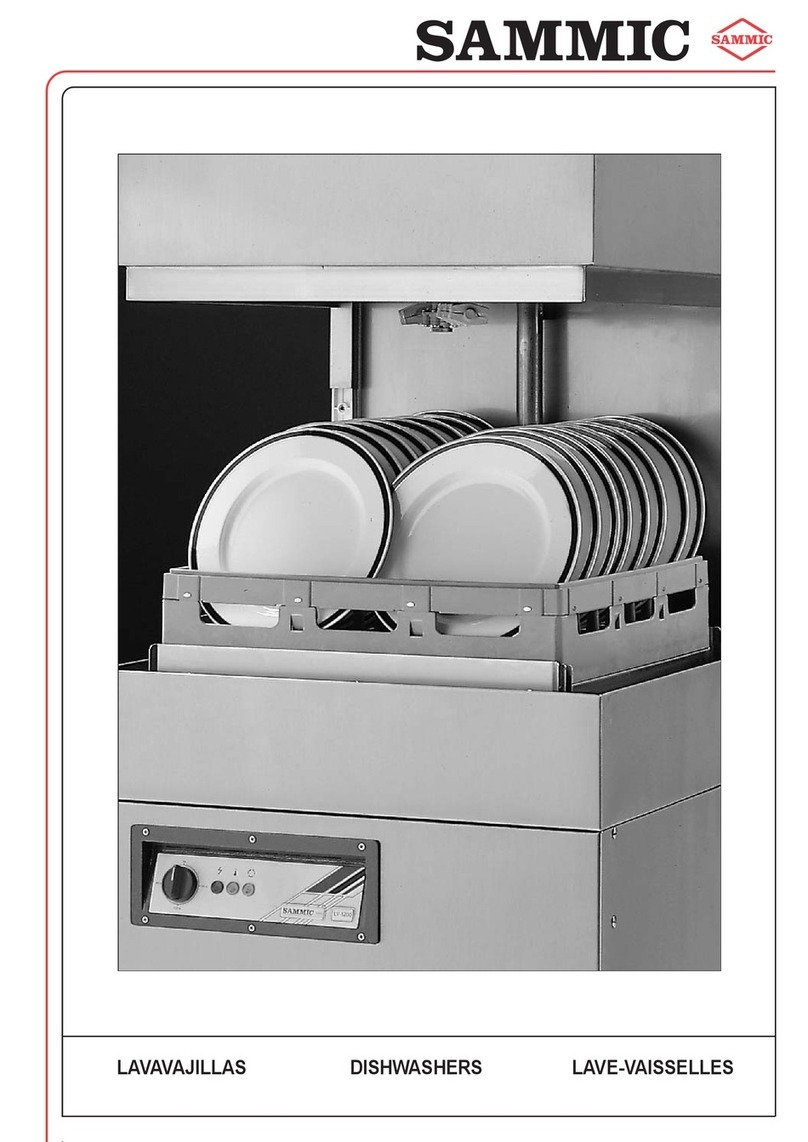
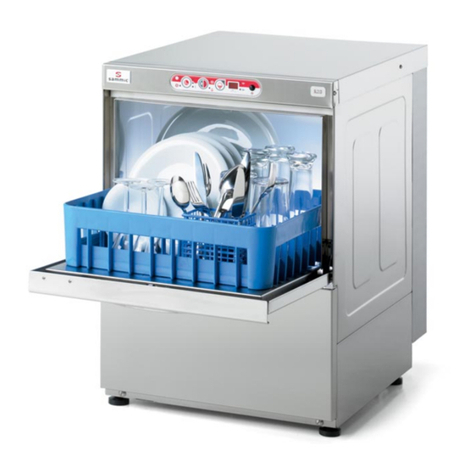
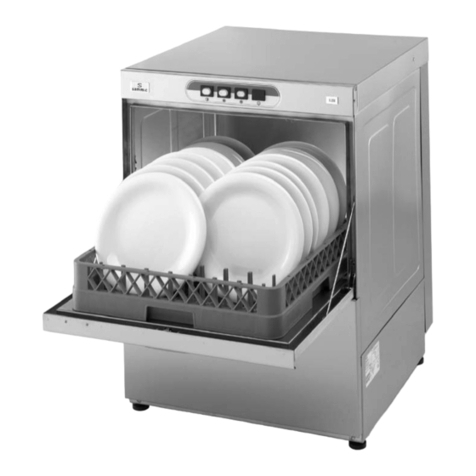
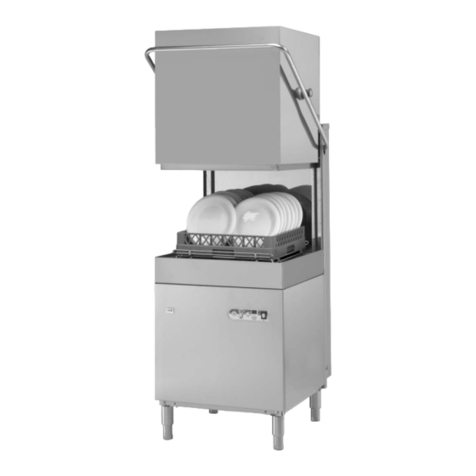
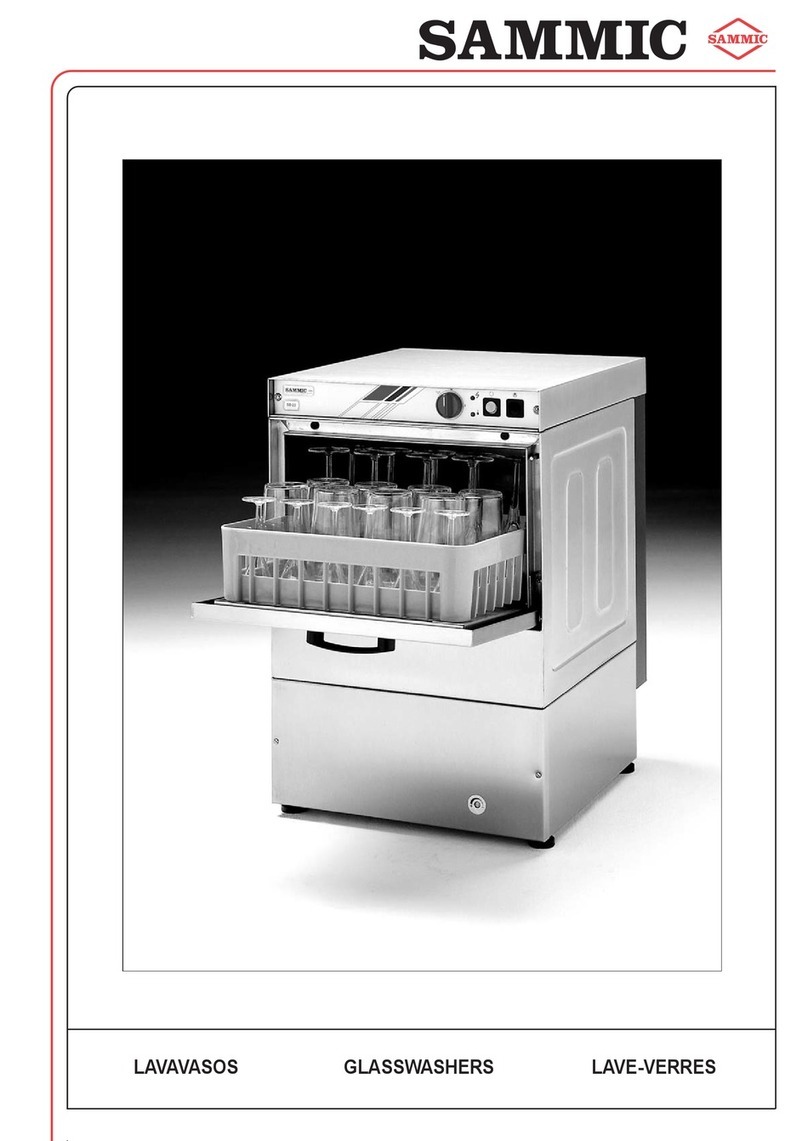
Sammic AX-50 User manual

10-22 - 2900453/2
ER 0437/1/96
2
AX-40 AX-50 AX-100
Glasswashers and dishwashers ACTIVE User’s manual
Lave-verres et lave-vaiselles ACTIVE Manuel de l'utilisateur
Gläser- und Geschirrspülmaschinen ACTIVE Benutzerhandbuch
EN
FR
DE
AR

Active AX |
2Manual de usuario — 29004532
TOC - Contact
[EN] User’s manual Active AX............................................................. 3
[FR] Manuel de l’utilisateur Active AX.............................................. 13
[DE] Benutzerhandbuch Active AX ................................................... 23
-EN-
Contact
If you have any queries or problems with the machine, please
contact your dealer.
-FR-
Contact
Pour toute question ou tout problème avec la machine, contactez
votre revendeur.
-DE-
Kontakt
Wenden Sie sich bei Fragen oder Problemen mit dem Gerät an Ihren
Fachhändler.
-AR-

About this manual
User’s manual — 2900453/2 3
EN
[en] User’s manual Active AX
About this manual ................................................................................. 3
1Safety information ........................................................................... 3
2Installation ........................................................................................ 4
2.1 Supply scope
2.2 Prerequisites and preparation for installation
2.3 Unpacking
2.4 Assembly
2.5 Electrical connection
2.6 First start-up
2.7 General machine settings
3Operation .......................................................................................... 6
3.1 Preparation for operation
3.2 Main operating elements
3.3 Turning the machine on.
3.4 Main operation
4Maintenance and troubleshooting .................................................. 8
4.1 Safety information
4.2 Machine maintenance
4.3 Troubleshooting
4.4 Spare parts and accessories
5Disposal .......................................................................................... 11
6Technical specifications ................................................................ 11
About this manual
Purpose of the manual
The user manual provides instructions on the safe operation of the
Active AX machine throughout its complete life cycle.
The machine Active AX has the variants and optional accessories of
the AX-40/B/DD glasswashers and the AX-50/B/DD and AX-
100/B/DD dishwashers.
Check your model variant and accessory code against the infor -
mation on the nameplate.
Machine nameplate
• Manufacturer’s name and address.
• Machine model and serial number.
• Approval marks.
Declaration of Conformity
The Declaration of Conformity for this machine is included with the
warranty cards that forms part of the machine’s delivery scope.
Read first, use later
Read this manual before using the machine.
Always keep the manual at hand and in good condition
Store this manual within easy access of machine users and in an
area that protects it from rapid deterioration.
Conventions of the manual
• Cross-references to other sections: ▶
• Optional functions or elements not included with the main sup -
ply: (*)
• Optional features depending on the model: [Model ...]
Trademarks and copyright
• Sammic is a registered trademark of Sammic, S.L.
1Safety information
Intended use
The machine has been designed for washing kitchenware and uten -
sils in the hospitality and catering sector, communities and agri-
food industry.
Reasonably foreseeable misuse
The use of this machine for degreasing and cleaning machined
parts is not permitted. Other professional uses of this machine,
such as for healthcare or chemical applications, are not permitted.
Limits of use
The machine must not be used in explosive atmospheres.
User qualifications
Installation qualification
The installation of this machine requires basic notions of plumbing
and basic professional training in electricity, electronics or mainte -
nance.
Qualification for operation and periodic maintenance
Operation of this machine requires basic training in the use of this
dishwasher.
This machine is not designed for use by people (including children)
with reduced physical, sensory or mental capacities or who lack the
necessary experience or knowledge unless they have received
supervision or instructions regarding the machine’s use from a
person responsible for their safety.
Qualification for troubleshooting
Troubleshooting for this machine is allowed by Sammic -approved
service companies and technicians.
Hazards inherent to the product
• Risk of trapping with the door or dome:
⇒When closing the door or dome, be careful not to get your
fingers caught in the frame or base.
⇒[Dome models] When closing or opening the dome, take care
that your clothes do not get caught in the moving parts of
the lifting mechanism.
• Risk of slips and falls in the area around the dishwashing
machine: water splashing from the machine is common.
⇒When walking near the machine, pay attention to the condi -
tion of the ground.
Neutral model variants (without accessories)
Model Specifications Boiler
power
AX 40 Glasswasher 2.5 kW
AX 50 Front dishwasher 2.8 kW
AX 100 Dome-type dishwasher 6.0 kW
Optional accessories Peristaltic
detergent dis -
penser
Drain pump
Code Applies to model variant:
AX 40 AX 50 AX 100
B✅ ✅ ✅ -✅
DD ✅ ✅ ✅ ✅ -

Active AX | Installation
4User’s manual — 2900453/2
• Airborne noise:
– For a standard machine, the noise emitted by the machine is
69 dB(A) (distance 1 m).
Safety warnings in the manual
Other warnings in the manual
2Installation
2.1 Supply scope
• Documentation:
– User manual.
– Warranty card and Declaration of Conformity.
– List of spare parts.
– Electrical circuit diagram.
• Machine
• Power supply cable
• Drain hose
2.2 Prerequisites and preparation for
installation
Tools and material required for installation
• Included in the supply:
– Power supply cable
– Drain hose
• Not included for mechanical assembly:
– Flat screwdriver
– No. 10 box spanner
– Universal pliers
– Clamp
– Pressure gauge
• Not included for electrical assembly:
– Power strip and/or European plug type "F" or three-phase plug
(depending on the installation)
– Electrical tester
Space required for installation
• Check that the water line is less than 1.50 m from the intended
location of the machine.
Electrical connections
Before installation, take note of the power input required by the
machine. [ ▶6Technical specifications p. 11 ].
Fig. 1: Machine connection points
Preparation for installation
1) Check that the installation area is flat and stable.
2) Check that the water line has a ¾" GAS shut-off valve at the end
closest to the machine.
⚠ Warning
“Warning” safety warnings could result in severe, irreversible
personal injuries or death.
⚠ Caution
“Caution” safety warnings could result in severe, reversible per -
sonal injuries.
Notice
“Notice” warnings could result in damage to the machine.
ℹ Information
The tables of “Information” contain advice on how to use the
machine correctly and efficiently.
ℹ Information
Figure with machine dimensions: see appendix at the end of the
manual.
ADrain pipe ⌀30 mm [AX50: models
without drain pump] BWater inlet ¾" GAS
A’ Drain pipe ⌀30 mm [AX50: models
with drain pump] CConnection cable
AB
AX 40
C
AA' B
C
AX 50
A B C
AX 100

Installation
User’s manual — 2900453/2 5
EN
3) Check that the dynamic pressure of the machine feed water is
within the following range of values:
⇒If the water pressure is higher than the maximum indicated,
install a pressure regulator to set the pressure between 2.5
and 4 bar (250 and 400 kPa).
⇒If the water pressure is below the minimum value, install a
back-up valve.
4) Check the following values of the feed water flow rate:
5) [Models without drain pump] Connect the drain pipe with an
outer diameter of 30 mm to the drain line [Fig. 1/ A]. For the
maximum drain height, observe the following values:
2.3 Unpacking
1) Remove the packaging that protects the machine.
2) Lower the machine from the pallet on which it is mounted.
2.4 Assembly
1) Screw the legs to the base of the machine.
2) Adjust the height of the legs so that the machine is stable and
level with the ground.
3) Place the machine at the installation site.
4) Check that the tap water pressure is within the parameters
specified in the previous chapter (use of the pressure gauge).
5) Connect the water outlet hose to the drain point.
6) Connect the water supply hose to the mains water point.
7) Insert the detergent and rinse aid inlet hoses into the corre -
sponding bottles.
2.5 Electrical connection
1) Before plugging in the machine, make sure that the mains volt -
age matches the voltage indicated on the machine nameplate.
2) Set up the machine's electrical connections, depending on the
model and configuration of the machine.
3) Disconnect the electrical power supply: unplug the circuit-
breaker on the electrical panel corresponding to the external
power supply socket of the machine.
4) Make the electrical connection according to the type of model
and electrical configuration of your machine, as explained in the
attached document "Electrical diagram" for each case.
5) Prepare a residual current circuit-breaker with a sensitivity of
30 mA and a magneto-thermal circuit-breaker as described in
the following table:
2.6 First start-up
1) Turn on the water stopcock.
2) Switch on the circuit-breaker of the electrical panel correspond -
ing to the external power supply socket of the machine.
3) Place the overflow pipe in position
Dynamic water pres -
sure
Minimum value Maximum value
All models 2 bar (200 kPa) 4 bar (400 kPa)
Water flow rate Minimum value
All models 15 L/min
Drain height Maximum value
Models with drain pump (B) 1,000 mm
Dome models without drain pump 500 mm
Other models 90 mm
⚠ Warning
Risk of trapping hands
There is a high risk of trapping your hands if you lift the ma -
chine onto the base and place it on the ground.
– To move the machine from one place to another, hold the
machine from the sides.
⚠ Warning
Risk of serious accidents if the machine cannot be
disconnected or turned off
– When installing the machine, make sure the operator will be able
to reach the switch and plug without difficulty.
Notice
Risk of water leakage
– Before installation, turn off the water stopcock.
Notice
Risk of hose clogging and/or choking
– Avoid making reductions with the hose when installing.
⚠ Caution
Risk of irritation due to chemical exchange and foam
release
If you insert the detergent and rinse aid inlet hoses into the
wrong bottles, the machine will produce excessive foam.
– Pay attention to the labelling on the chemical hoses before
inserting the hoses into the corresponding bottles.
⚠ Caution
Electric shock hazard
– The machine must be connected to earth.
– The machine has an external earth-connection screw
with the symbol shown;
ℹ Information
The connections may only be accessed by qualified personnel
[▶Installation qualification p. 3],
Model Voltage Cable sec -
tion
Total
Power
Protection
AX-40 230V/50Hz/1~
220V/60Hz/1~
3 x 2.5 mm 22.74 kW 16 A 2P
AX50 230V/50Hz/1~
220V/60Hz/1~
3 x 2.5 mm 23.35 kW 16 A 2P
AX-100 230V/50Hz/1~
220V/60Hz/1~
3 x 6.0 mm 26.75 kW 36 A 2P
400V/50Hz/3N~
380V/60Hz/3N~
5 x 2.5 mm 26.75 kW 20 A
(3P+N)
230V/50Hz/3~
220V/60Hz/3~
5 x 6.0 mm 26.75 kW 25 A 3P
This manual suits for next models
8
Table of contents
Languages:
Other Sammic Dishwasher manuals

Sammic
Sammic UX-40 User manual

Sammic
Sammic SV-19 User manual

Sammic
Sammic X-TRA X-35 User manual

Sammic
Sammic SL-1100B User manual

Sammic
Sammic S-23 User manual

Sammic
Sammic SL-19D User manual

Sammic
Sammic AX-40 User manual

Sammic
Sammic SL-21D User manual

Sammic
Sammic E-18 User manual

Sammic
Sammic SAS-5001 User manual