SATO TH2 Series User manual

RS\Mktg\InstGuides\OOB\Mar11
Help & Service for your SATO Printer 2
Setting up your Printer 3
The Keypad 6
Loading the Label Roll 7
Using the Dispenser 9
Label Formats 11
Printing Labels 13
Charging the Battery 15
Cleaning Procedures 16
THE SATO TH2 RETAIL
LABEL PRINTER
USER GUIDE

Your SATO TH2 printer will immediately provide professional labels with the
simplest of operation.
Being designed using the most up-to-date technology, the printer is fully
future-proofed and can be programmed to take care of any labelling require-
ments that your business may need.
If you should wish to upgrade your printer a number of enhancements are
available:
High Capacity Rechargeable Battery
The High-capacity rechargeable battery makes the TH2 fully portable and can
print up to 5,000 labels without re-charging. The battery can be fully recharged
in the printer in about 6 hours or even faster when using the optional charging
unit.
Barcode Scanner
Adding a Barcode Scanner enables you to scan an existing product barcode and
produce a new label without manual entry of the product details.
Anti-Microbial Keypad Cover
The casing of your TH2 is manufactured from anti-microbial material which dis-
courages the growth of bacteria. A keypad cover with the same properties can
be added to prevent ingress of food and dust into the keypad.
Automatic Calculations
Automatic calculation of percentage reductions can be added as well as
Best Before date printing and product database options . Indeed, The TH” can
be programmed to perform almost any business function. Please do not hesi-
tate to contact us with your requirements.
About your SATO Retail Printer
1

Assistance for your SATO Printer
You should find that your SATO printer is straightforward to operate. However, if
you should experience any difficulty, please contact our Helpdesk for assistance:
Call: 01255 252828
or
Ordering more labels
The high quality TH2 labels are manufactured by SATO in the UK and have been
especially developed to give the best results in the TH2 printer. These labels are
relied upon by many household name stores in UK retail.
Label Type Size SATO Product
Code
Yellow 45 X 34.925mm
P70011017451
Permanent Adhesive
White 32x 25.4mm P70010101601
Peel adhesive
Red & White
Reduced 28 x 33mm P70010109921
Peel adhesive
Red & White
Sale 28 x 33mm P70010109961
Peel adhesive
Orange
40mm circular P70011014331
Peel adhesive
Red
23mm circular
P70010144861
Peel adhesive
White 45 X 47.625mm
P70010101571
Peel adhesive
2

Setting up your SATO Printer (1)
Inside the box:
- TH2 Retail Label Printer
- Quick Guide
- Mains AC Adaptor
- Mains Cable
LCD Display
Battery Cover
Top Cover
Open Latch
Label Out
Dispenser
Label Out
Top cover
Carrying Handle
Scanner
Connector cover
Battery
Charge LED
DC Input
from Power
Adaptor
Dispenser
Sensor
Print head
Print head cover
Media compartment
Label roll guides
Platen Roller
Dispenser plate
Dispenser frame
Printer Parts
Power connector
Cover Open Parts
3

Setting up your SATO Printer (2)
Mains Power Cable
AC Adaptor
Power Connection
1. Plug the Mains Power Cable into the AC
Adaptor
2. Plug the DC Output plug into it’s socket at the
rear of the printer.
THIS PLUG ONLY FITS ONE WAY ROUND! The flat
area of the plastic plug should be upwards.
3. Plug the Mains Power Cable into the
Mains supply socket.
Flat of the
plug to top!
AC Adaptor
DC input
connector
4

5
Notes:

The Printer Keypad
Power
Power On:
Power Off:
Menu/Page Up
Menu:
Up 1 level:
Delete
Select Dispense Mode
Pause/Feed
In Print Mode:
Feed Mode:
Select Alphanumerics
Full Stop/Space
6

Loading the Label Roll
1
2
1. Push the handle fully back. Press the Cover
Open Latch (1) and lift up the cover (2).
Ensure that the cover is in the “up” position.
Media
Guides 2. Adjust the spacing of the Media Guides to
the widest position.
3. Place the new label roll into the Media
Compartment. Labels upwards.
Adjust the Media Guides inwards until the
Guides press lightly against the roll.
SELECT THE TYPE OF LABEL THAT YOU WISH
TO PRINT AND INSTALL INTO THE PRINTER
AS FOLLOWS:
7

5. Close the top cover until it clicks into
position.
Power
Feed
4. Position the edges of the labels under the
Label Guides and pull the end of the roll out
of the front of the printer.
6. Press the Power key for 1 second if the
printer is turned off.
Press <Enter> then the <Feed> key to feed
and align the first label.
8

Using the Label Dispenser
This feature will print and dispense a single label. As soon as the label is removed the
printer will issue the next label. This procedure will set up the printer for dispenser
use.
2. Open the printer Top Cover.
Place two fingers at the top of the Dispenser
Cover and pull forward to release the cover.
3. Fit the label roll into the printer and remove
the first few labels from the backing paper.
Position the edges of the roll underneath the
two label guides.
Label
Guides
9
1. SWITCH TO THE DISPENSE MODE:
- Press the <F1> key.
- Select 2. Profile and press <Enter>.
- Select 1. Dispense and Press <Enter> to
return to the Format menu .
- The printer is now set to Label dispensing
Dispenser
Cover

5. Close the Dispenser Cover until it locks into
position.
Tighten the label roll if it is slack.
6. Firmly close the Top Cover until it clicks into
position.
Switch the printer on and press the <FEED>
key until the first label is dispensed.
You are now ready to print your labels.
Dispenser
Cover
10
4. Thread the label backing paper underneath
the black rollers and out of the front of the
printer.
To return to Normal label mode
1. SWITCH TO THE NORMAL MODE:
- Press the <F1> key.
- Select 2. Profile and press <Enter>.
- Select 2. Normal and Press <Enter> to
return to the Format menu .
- The printer is now set to output labels on
the backing paper
ENSURE THAT THE LABELS ARE LOADED AS
SHOWN ON PAGES 8 & 9

Printing Labels
Label
Format No. Function Label Type Label Re-
order Code
1 Price, VAT & 1 x
Description field
P70010101601
32x25
2 Price, VAT &
2 x Item Code
P70010101571
45x47
3 Price, VAT & Item
Code
P70011017451
45x35
4 Price Only
P70010101601
32x25
5 Price Only,
rotated P70010101571
45 x 47
6 Price Only
P70011017451
45x35
There are 13 common label formats provided with your TH2 printer. Select the function
and label required from the table below.
Label Formats
11

Printer For-
mat No. Function Label Type Label Re-
order Code
7 Price, Description
& Barcode
P7001010160
1 32 x 25
8 Price, Description
& Barcode
P70010101571
45 x 47
9 Price, Description
& Barcode
P70011017451
45x35
10 Was/Now
pricing
P70010144711
28X33
11 Was/Now
pricing
P70010109961
28X33
12 Price Only
P70010144861
23X23
13 Was/Now
pricing
P70011014331
40X40
12

1
1. Ensure that the printer is switched ON.
(Hold the Power key for 1 second).
Select the required label format number by
scrolling the list or by entering the Format
number.
Press <ENTER>
Printing Labels
Printing labels is done by selection of the required label format and following the on-
screen prompts. Label Format 9, text, price and barcode is used in this example.
2. Input the first line of text as requested. This may
be a code or a description etc. The maximum num-
bers of characters is 10.
Use the <Select Alphanumerics > key to choose either
upper or lower case letters, or numbers. The type of
character selected is shown in the top right corner of
the display.
Press ENTER>
Indicates
Selection:
3. Enter the article price using the <FULL STOP>
key to input the decimal point.
Press <ENTER>
13

1
4. Input the Barcode data. The standard EAN13
code requires 12 digits. Press <ENTER>
The 13th digit is calculated automatically.
5. Enter the required number of labels and
press <ENTER>.
Your labels will be printed immediately.
6. The printer will returns to screen 1 of the
selected format. If you wish to select a new
label format press the <Page Up> key
to return to the Label Format selection screen.
NOTE that for safety reasons, there is no
serrated edge to tear your labels.
Tear off the labels using a downwards and
sidewards motion.
PAGE UP key
14

Optional Battery Installation & Charging
Put the terminal end of the battery
into the compartment first.
Push the battery inwards until it is
locked in place by the Blue Locking
Tab. Close the battery cover.
Removing the Battery
Fitting the Battery
Charging the Battery
Connect the AC Power Adaptor to the
printer and to the mains power supply.
The charge LED will illuminate to
indicate charging and go out when the
battery is fully charged.
AN EXHAUSTED BATTERY WILL NEED ABOUT 6
HOURS TO ACHIEVE FULL CHARGE.
The battery can now be removed.
Lower the Battery Compartment
Cover on the right-hand side of the
printer.
Slide the Blue Locking Tab to release
the battery.
1
15

1
Cleaning Procedures
Using a new cleaning wipe, carefully
clean the surface of the print head
removing any adhesive or label debris.
The product code for SATO cleaning
wipes is Y70190103786
3
Clean the Label Sensor cover using a
wipe.
4
1
2
Switch off the printer.
Press the Cover Open Latch (1).
Lift up the cover fully (2).
1
Ensure that the cover is in the
“up” position.
Remove the label roll.
2
Regular cleaning will ensure that your SATO printer always produces high
quality labels. Please follow the procedure below each month.
Continued on next page 16

Cleaning Procedures continued
1
Clean the length of the rubber Platen
Roller. Rotate the roller to clean the
whole surface.
5
Install the label roll and position the
sides of the labels under the Label
Guides. Close the Top Cover and the
printer is ready for use.
6
17
Assistance for your SATO Printer
Call: 01255 252828
or
For effective cleaning use SATO Cleaning wipes,
Product Code Y70190103786

Other manuals for TH2 Series
1
Table of contents
Other SATO Label Maker manuals
SATO
SATO CX200 Instruction Manual
SATO
SATO TG3 Series User manual
SATO
SATO GY412 User manual
SATO
SATO MB 200i User manual
SATO
SATO CX Series User manual
SATO
SATO CL4NX RIDF User manual

SATO
SATO HT200e User manual
SATO
SATO CLLM Basic 412e User manual
SATO
SATO GL408e User manual
SATO
SATO Argox D4 Series User manual
SATO
SATO PB1 Series User manual
SATO
SATO CG408 DT/TT User manual

SATO
SATO Argox LK-200 Series User manual
SATO
SATO s84ex User manual
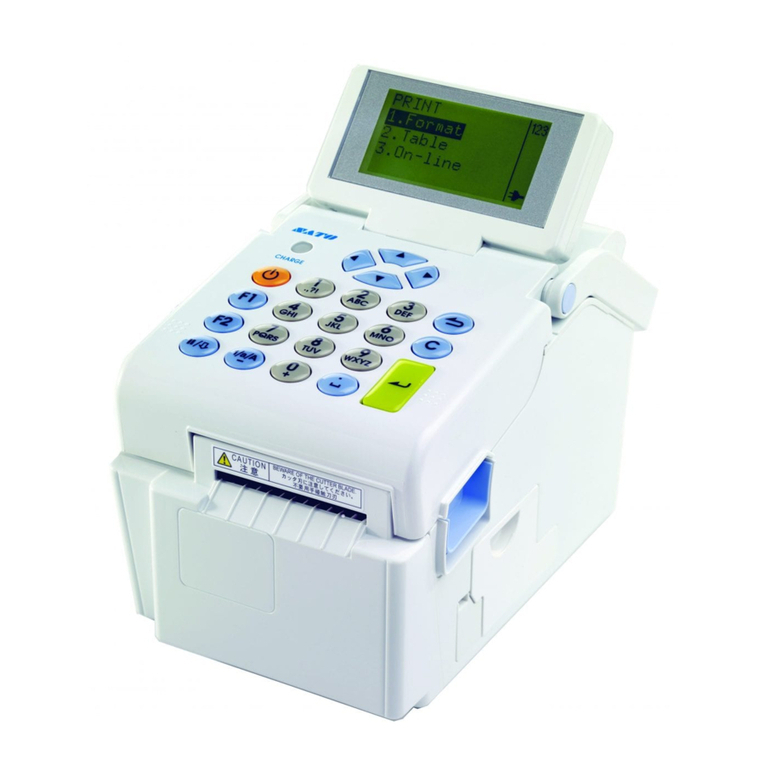
SATO
SATO TH208 User manual
SATO
SATO PB2-180 User manual
SATO
SATO CT 400 Instruction Manual
SATO
SATO CX208 User manual

SATO
SATO s84ex User manual
SATO
SATO CT400i Series User manual
