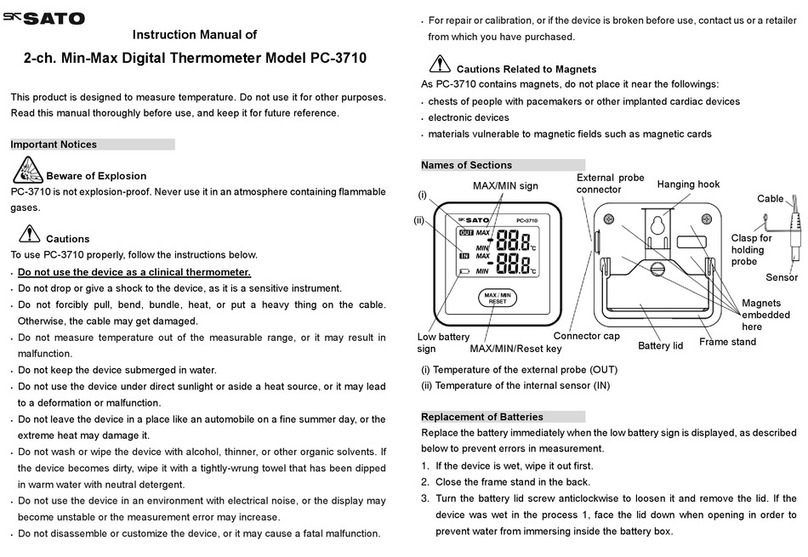
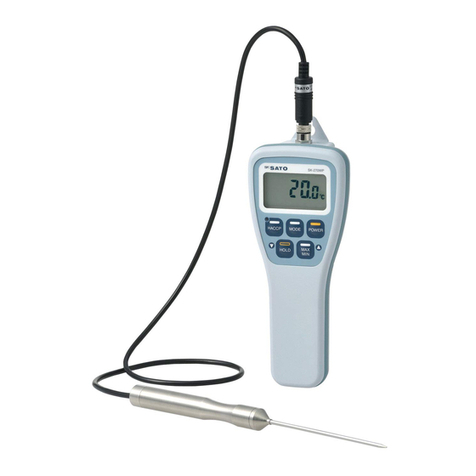
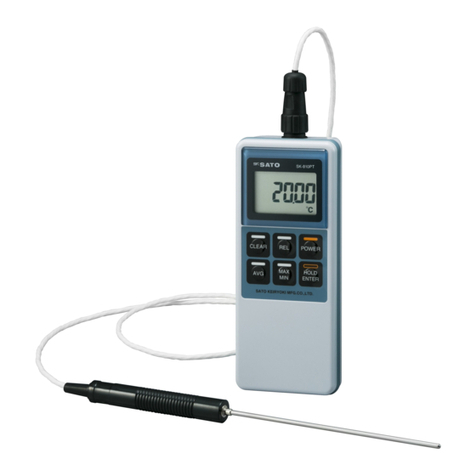
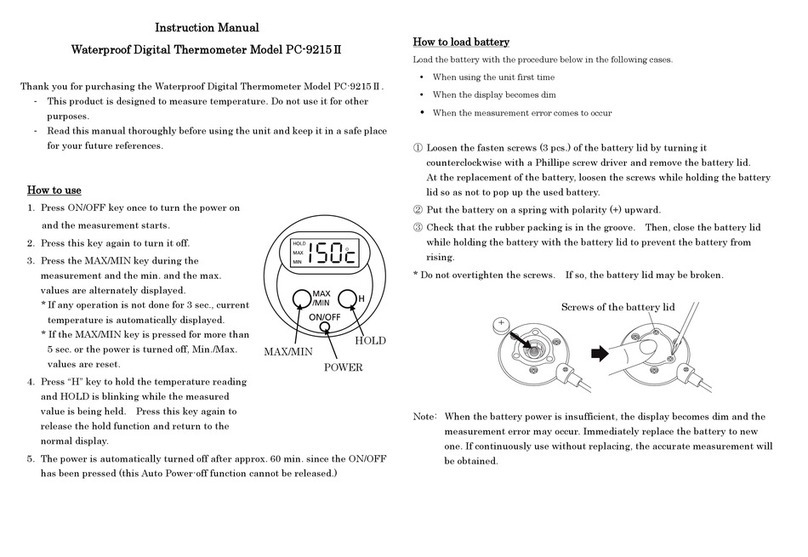
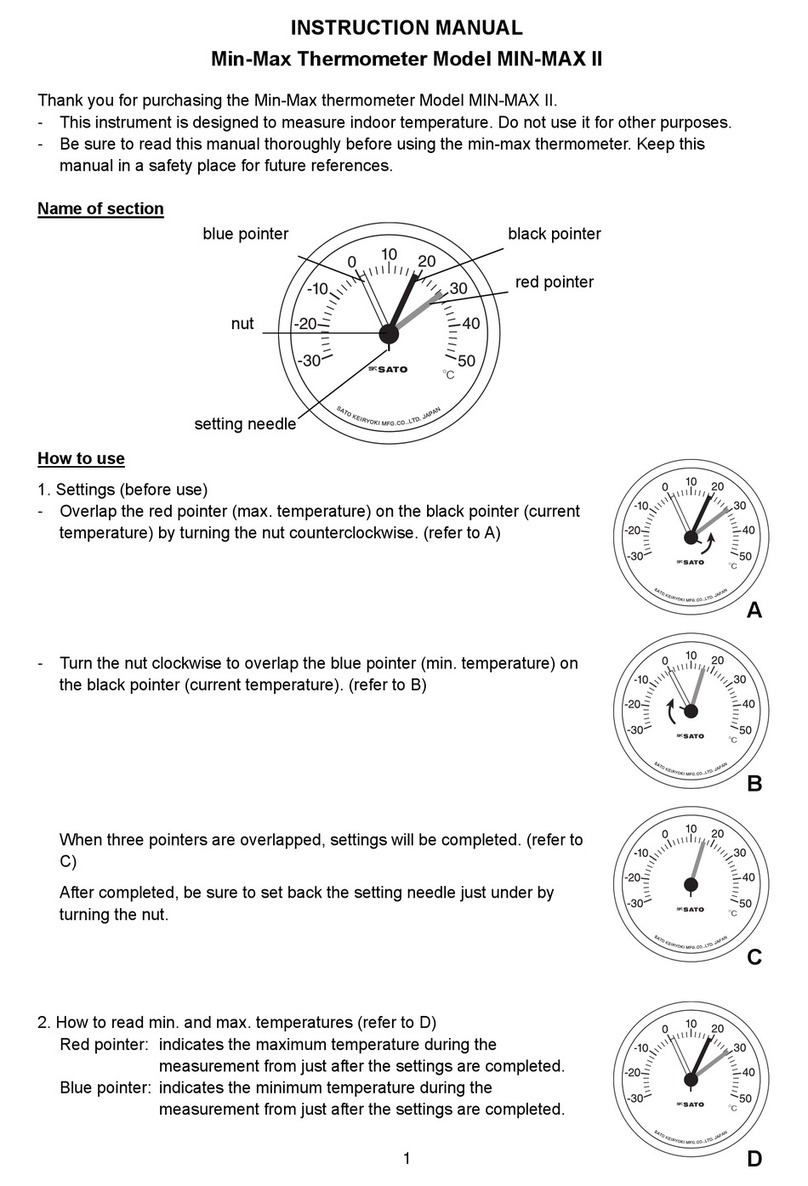
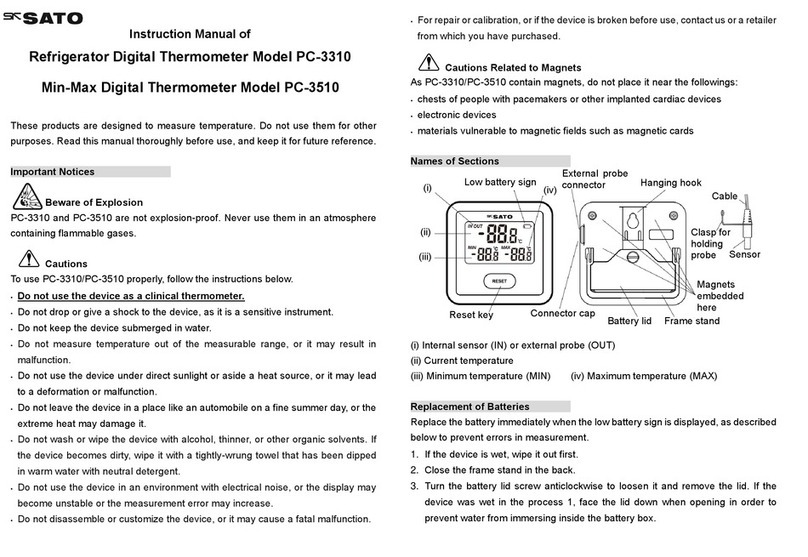
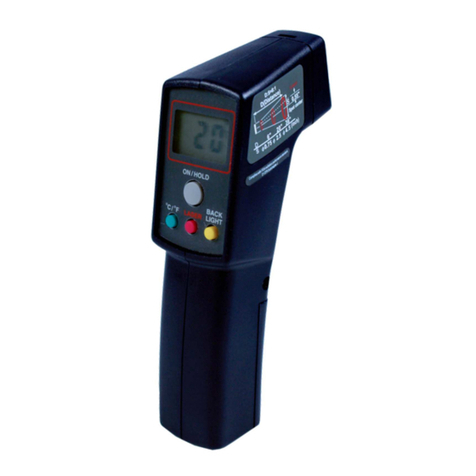
SATO SK-8300 User manual

Instruction Manual
No.8268-00 Infrared Thermometer
Model SK-8300
The SK-8300 complies with Portable Laser Applied Device of Consumer Product Safety Act and
carries PSC mark.
3-4, Kanda-kajicho, Chiyoda-ku, Tokyo 101-0045 Japan
URL: http://www.sksato.co.jp/english/
N.10


1
Thank you for purchasing the Infrared Thermometer Model SK-8300.
This product is designed to measure surface temperature of an object using a non-contact method. Do
not use it for any other purposes. Read this manual thoroughly before using the SK-8300 and keep it in a
safe place for future references.
WARNING
Beware of explosion!
The SK-8300 is not explosion-proof. Never use it in an atmosphere containing flammable gases.
Beware of laser!
It is dangerous if the laser beam gets into an eye. (Class II Laser Product)
① Do not look directly into the laser emitting window.
② Do not point the laser at people.
③ Keep the instrument out of the reach of children.
* If there is anything unclear about the instrument, contact us or a local dealer from which you
purchased the instrument.
CAUTIONS
Make sure to observe the following precautions in order to use this instrument correctly.
- Do not use the instrument as a clinical thermometer.
- This instrument is a non-contact thermometer. Do not let the unit in touch with a measuring object.
Especially if the instrument gets in contact with an object of extremely high temperature, a measuring
error or failure may occur resulting in a critical damage.
- Never disassemble or modify the unit or use different types of batteries other than indicated as these
actions may result in measuring failure and/or breakdown of the instrument, even exposure of radiation.
- As the SK-8300 is a precision instrument, be cautious not to drop it or apply any vibration or impact to it.
- This instrument is not waterproof. Do not allow the unit to get wet.
- If the instrument gets condensed, turn the power off immediately and let it dry in room temperature
before using it again.
- Never use the instrument out of its measuring range. Doing so may cause break down of the unit.
- Do not use the instrument in a place exposed to direct sunlight or near heating equipment. Doing so
may cause not only measuring errors but deformation of the casing or a breakdown of the instrument.
- Leaving the instrument in a car during a very hot summer day could cause a breakdown of the
instrument. Do not leave the instrument in such a place.
- Do not use alcohol, thinner or any other chemical solvents to clean the instrument. When the
instrument needs to be cleaned, use a towel dampened in warm water with a neutral detergent after
tightly wrung.
- Avoid using the instrument in dusty environment. If dust gets into the temperature measuring section

2
(the infrared lens), the measuring accuracy may be compromised. Clean the lens if it is dirty. Refer to
“Maintenance” for more details.
- Do not let any sharp or hard object in contact with the infrared lens of the instrument. If the lens is
scratched, the measuring accuracy may be compromised.
- Pay attention obstacles such as steam, dusts, smoke and etc. These interfere in accurate temperature
measurement.
- Do not use this instrument in an environment where electrical noise is generated or near a charged
object. The indications may be unstable, causing large accuracy errors.
- Remove battery if the instrument is not used for a long period of time. Leaving battery in the
instrument could cause battery fluid leakage, resulting damaging the instrument.
- Keep the battery out of the reach of children. In case the battery was ingested, consult a medical
doctor immediately.
NB: For repairs and calibrations, contact us or the dealer from which the unit was purchased.
Overview
The SK-8300 is non-contact type infrared thermometer, which detects the infrared energy emitted from an
object and converts it into a temperature reading. The product can instantly measure a surface
temperature of an object without any direct contact with the object.
Features
- Wide range of temperature from -30 to 1550°C
- Adjustable emissivity:
It is available to set the emissivity in accordance to the material or surface status of the object.
- LCD with backlighting:
The backlit LCD facilitates reading even in dark places.
- Auto Power-Off function:
Conserving battery power even if you forget to turn the power off
- Various indications:
MAX (Maximum temperature value), MIN (Minimum temperature value), AVG (Average
temperature value), ΔT (Difference between maximum and minimum temperature values)
- Alarm function
Upper and lower thresholds for alarm are settable.
The alarm will sound to alert when the measured value exceeds the upper or lower set value.
- Data Memory function
Store and load to display up to 10 data
- Auto Measurement function
Continuous measurement when the hand is off the unit.
- Tripod fixable

3
Names of Components
Main Unit
1. Display section
2. key : Store data (Data Memory)
3. MODE key : Select measurement and setting items
4. key : Load a stored data and use to change a value in measurement mode
5. key : Switch ON/OFF for auto-measurement and alarm
6. Loop for wrist strap
7. Laser emitting window
8. Temperature measurement section (lens)
9. Battery compartment button: Push this button to open the battery compartment cover.
10. Measurement trigger : Pull the trigger to turn the unit’s power on and measure temperature.
11. Laser ON/OFF switch : Turn the laser marker ON or OFF with this switch.
12. Connecting socket for a tripod (bottom)
13. Battery compartment cover

4
LCD Display
1. HOLD : Light up when measured value is being held
2. SCAN : Blink while taking measurements
3. : Low battery mark, light up when the battery power is consumed
4. : Laser emissivity mark: light up when the laser marker setting is ON and blink while
emitting the laser
5. : Light up when the alarm is set ON
6. Temperature displaying area (large) : Display a measured value
7. : Display a number assigned for a stored data
8. : Light up during ∆T mode
9. Є : Light up while setting emissivity
10. HAL : Light up while setting upper threshold for alarm
11. LAL : Light up while setting lower threshold for alarm
12. AUTO : Light up while setting auto-measurement
13. Unit : Display a temperature unit
14. MAX : Light up during MAX mode
15. MIN : Light up during MIN mode
16. AVG : Light up during AVG mode
17. Temperature displaying area (small)
: Display a measurement mode of this unit or value of setting mode
Warning Label
This label based on JIS C 6802 Radiation Safety Standards for Laser
Product and Japan’s Consumer Product Safety Act.

5
Loading the battery
Load a new battery according to the following procedure when using the unit for the first time or when the
low battery mark lights up.
1. Open the battery compartment cover by pressing the battery compartment button.
2. Remove the exhausted battery when replacing the battery.
3. Insert the battery with its polarities in correct directions.
4. Reinstall the cover and push in to fasten with a click.
Cautions
- Replace the battery with a new one immediately when the low battery mark is on.
- Always use a new battery for replacement.
- Never dispose an exhausted battery into a fire.
- For environmental conservation purpose, dispose of the used battery in accordance with local
rules and regulations.
Setting Laser Marker
It is possible to set the laser marker ON or OFF.
If the laser marker is ON, lights up in the LCD, when the power is ON. The laser beam will be
emitted with the blinking when the measurement trigger is pulled.
① Open the battery compartment cover by pressing the battery compartment button.
② Set the laser switch to ON. (The factory-set is to ON.)
③ Reinstall the cover and push in to fasten with a click.
The relationship between the setting distance and the laser marker emitted area
This instrument is a single laser emitting type. The laser marker indicates almost the center of the
measurement area of 1 m away.
“Class II” is defined as follows:
A visible light of a wavelengths in the visible region, 400nm through 700nm, with an output lever,
approximately 1mW or less, that is normally regarded harmless with respect to humans’ physical
defense capabilities. - Standard for Safe Use of Laser Applied Products (JIS C 6802:2005) -
Setting the Backlight
This instrument has a backlight function which is convenient to take a measurement in dark.
When the measurement trigger is pulled, the power is turned on and the backlight lights up. The backlight
turns off automatically when there has not been operated for more than 6 seconds.
When you need the backlight on during an automatic measurement, pull the trigger or press any keys on
the unit.

6
Measurements and Settings
The power is turned on and a measured value is displayed on the LCD when the trigger is pulled.
Press the MODE key to select a measurement or setting mode. The sequences for measurement or
setting modes are as follow:
Note: The instrument stores the selected mode at the time of turning the power OFF.
∙ Normal Mode: Measurement mode at normal
∙ MAX Mode: To display a maximum value
∙ MIN Mode: To display a maximum value
∙ AVG Mode: To display an average value
∙ ΔT Mode: To display a ΔT value that is a difference between maximum and
minimum values
∙ DATA Display: To display a stored data
∙
ε: Setting an emissivity
∙ HAL: To set an upper threshold for alarm
∙ LAL: To set a lower threshold for alarm
LAL
HAL
ε
DATA
Settin
g
Mode
ΔT
AVG
MIN
MAX
Normal
Measurement Mode

7
Taking Measurements
∙ Measurement with the trigger
1. Face the temperature measurement section to an object of measurement and pull the trigger.
The power turns on and a measured value is displayed on the larger temperature displaying area
of the LCD.
Note: A measurement can be taken even a measurement or setting category is being selected.
2. A continuous measurement is taken if you keep pulling the trigger.
Note: “SCAN” character blinks during a continuous measurement.
3. Once the trigger is released, the unit holds the last measured value for approximately 6 seconds
then automatically turns off the power.(Auto Power-Off function)
∙ Auto Measurement Function
It is possible to take a continuous measurement without keep pulling the trigger.
1. Face the temperature measurement section to an object of measurement and pull the trigger.
The power turns on and a measured value is displayed on the larger temperature displaying area
of the LCD.
2. Select any one of following measurement mode categories: Normal, MAX, MIN, AVG or ΔT
Note: Auto Measurement cannot be set during a Setting mode.
3. Press the key.
“AUTO” is displayed on the LCD and a continuous measurement starts.
“SCAN” character blinks during a continuous measurement.
4. Press the key once more to end the Auto measurement.
Caution: If the battery power runs out during Auto Measurement, the low battery mark lights on and
after 30 seconds, the power turns off automatically.
Measurement Modes
A measured value is displayed on the larger measurement displaying area and the value by selected
mode is displayed on the smaller one.
∙Normal Mode:
This is a measurement mode for general measurements. A measured value is displayed in the larger
measurement displaying area. The same value is displayed on the smaller one.
∙ MAX Mode:
The “MAX” character lights up and the maximum measured value is displayed in the smaller
measurement displaying area. A maximum value is the highest temperature value taken since the
MAX Mode is turned on.
∙ MIN Mode:
The “MIN” character lights up and the minimum measured value is displayed in the smaller
measurement displaying area. A minimum value is the lowest temperature value taken since the MIN
Mode is turned on.

8
∙ AVG Mode:
The “AVG” character lights up and an average value is displayed on the smaller measurement
displaying area. An average value is a mean temperature value since the AVG Mode is turned on.
Note: The data that can be used to calculate the average is the maximum 256. When the
number of data exceeds 256, the average value is calculated again from them.
∙ ΔT Mode:
The “ΔT” character lights up and the “ΔT” value is displayed on the smaller measurement displaying
area. A “ΔT” value is a difference between the maximum and minimum temperature values among
the measured data after switching to the ΔT Mode.
Caution: Once a value is held using the HOLD function and the trigger is pulled to retake a
measurement, all values, MAX, MIN, AVG and ΔT, are reset and displays a new set of values
for all modes. Also all values are reset once the power is turned off.
Setting Mode
A measured value is displayed on the larger measurement displaying area and a setting value is
displayed on the smaller one. All setting values are stored even the battery is taken out.
∙ DATA display
: The “DATA” character lights up and a stored value is loaded on the smaller measurement
displaying area. Refer to “Storing Data Function” for details.
∙ ε : This enables the emissivity setting.
Use and keys to set a emissivity value.
Refer to “About Emissivity” for more information.
∙ HAL: Set an upper threshold for alarm.
Use and keys to set an upper threshold value. When a measured value exceeds
the set value, the alarm sounds for alert.
∙ LAL:Set a lower threshold for alarm.
Use and keys to set a lower threshold value. When a measured value undergoes
the set value, the alarm sounds for alert.
* About Setting Alarm Sound
It is possible to set the alarm sound to be ON or OFF for both upper and lower thresholds.
1. Select either HAL or LAL in the Setting Mode.
2. Switch the alarm sound ON or OFF by pressing the key.
When the alarm sound is set to ON, the lights up.

9
Data Storing (Memory) Function
A measured value displayed in the smaller measurement displaying area can be stored and
loaded later on. The instrument can store up to 10 data.
All stored data do not get deleted even the battery is taken out from the unit.
Storable Data
Measurement Mode Setting Mode
Normal Mode Measured values
MAX Mode MAX values
MIN Mode MIN values
AVG Mode AVG values
∆T Mode ∆T values
Note: Data cannot be stored during operating a setting mode.
∙ Storing Data
1. Select a Measurement Mode for the data to be stored.
The “DATA” character blinks during the Measurement Mode to indicate the unit is enabled to
store data.
2. Press the key.
After a beep, the data displayed in the smaller measurement display area is stored.
* About Data Numbers
Select a data number (from 1 to 9 and A) where the data is to be stored by using and keys.
The data numbering sequence is as follows:
DATA1, DATA2, …, DATA9, DATA A
If a data number is not selected, a stored data is automatically numbered according to the
sequence above. If there is already a data stored, the data will be overwritten.
3. After data is stored, the system automatically switches to the Measurement Mode.
∙ Loading Data
1. Select the “DATA” from the Setting Mode.
2. Select a data by using and keys.
∙ Deleting Data
1. Select the “DATA” from the Setting Mode.
2. Select the “DATA0”. “-CL-“ is displayed on the smaller measurement display area.
3. Press the key. The selected data is deleted after beep-beep.
4. After data is deleted, the system automatically switches to the Measurement Mode.
Note: The Delete Data function deletes all data stored in the unit. Individual delete is not possible.

10
Cautions on Measurement
Measurement Spot Size
The measurement spot size of SK-8300 changes in accordance with the measurement distance as below:
S(diameter) @ D (distance)
The diameter of the measurement spot shown above is defined on the basis of the area that receives
90% or more of energy. A measured value is the average temperature of the measurement area.
An object needs to be larger than its measurement area. To perform more accurate measurement, make
sure to have the size of the object at least twice as large as the measurement spot.
Caution: If the area of the object is much smaller than the measurement spot size, the accuracy of
measurement is affected inclusion of the temperature measurements of unwanted parts,
resulting incorrect readings.
Emissivity
All objects emit infrared radiation in accordance to surface temperature, but the emissivity value can differ
depending on surface types of the object.
Setting the emissivity by types of object could lead to more accurate measurement.
Emissivity Table
The emissivity varies with the temperature and surface condition of the object; the values are given for
reference only.
Object Emissivity
(ε) Object Emissivity
(ε) Object Emissivity
(ε) Object Emissivity
(ε)
Iron 0.85 Ceramics 0.80 Paper 0.92 Meat/Fish 0.98
Cast iron 0.85 Tiles 0.80 Fabrics 0.75 Vegetables 0.98
Aluminum 0.30 Asbestos 0.90 Plastics 0.95 Bread/Cookies 0.98
Copper 0.80 Asphalt 0.85 Rubber 0.95 Grains 0.98
Brass 0.60 Concrete 0.95 Carbon 0.98 Oil 0.98
Nichrome 0.60 Soil 0.95 Skin 0.97
Glass 0.85 Wood 0.98 Water 0.98
Oxidized metals only.

11
∙ In case the emissivity is not clear
In case you are not clear about the emissivity of an object, refer to the following method.
1. Have the object coated with the material which its emissivity is known.
In case coating the object is allowed, using any of following coating material could solve
the problem.
- Product Name: Nippe Home Paint “Heat-resisting Spray Paint”
Emissivity: 0.97 to 0.98 at 200°C
Heat-resisting temperature: 600°C
- Product Name: Asahi Pen “Heat-resisting Paint, Black Shine Remover”
Emissivity: 0.96 to 0.98 at 200°C
Heat-resisting temperature: 600°C
* These products can be purchased at a home center near you.
2. Use of a “contact” type thermometer
Take a measurement of the surface temperature of the object with a “contact” type thermometer.
Then while taking temperature measurement with the SK-8300, adjust the emissivity on the
SK-8300 to meet the temperature value read from the contact type thermometer.
The emissivity found from this procedure could be used as a standard emissivity for the object.
Cautions on Measurement
∙ Measuring through a glass
The infrared radiation emitted from the SK-8300 does not go through glass, thus taking measurement
through a glass cannot be performed. (The instrument measures the temperature of the glass surface.)
∙ Measuring High Temperature
It is dangerous to take a measurement of an object with high temperature because of possibility of
getting a burn from being in contact with the object or being close enough to be in effect of radiant heat.
Use the instrument with a caution to have safe distance from the object.
∙ Changes in Ambient Temperature
Suddenly moving the instrument to a warm place or cold place could cause errors in the accuracy of the
instrument.
Use the instrument after it fully adapts to the surrounding ambient. When the ambient temperature
changes more than 10°C higher or lower, let the unit sit for at least 30 minutes before use.

12
Maintenance
The measuring accuracy could be compromised if the lens is not clean.
Use a camera blower to clean the lens. If it is still dirty, use a cotton swap soaked in a lens cleaning
solution to wipe the stain away.
Caution: Never use water or any other cleaning solvent to clean the lens. Doing so could damage the
lens, causing the efficiency of the lens and measurement accuracy to fall.
Error Messages
Message Cause Solution
Measured value is higher
than 1550°C.
Use the unit within the measuring range.
If doing so still does not solve the problem, there is a
possibility that the unit has other issues.
Stop using the unit and consult us or the dealer from which
the unit was purchased for assistance.
Measured value is lower
than -30°C.
Trouble Shooting
Trouble Possible cause Solution
The power cannot be turned on. The battery is exhausted. Replace with a new battery.
Laser marker does not work. The laser marker setting
is OFF.
Switch the laser marker setting to ON.
Abnormal value is displayed.
Measurement area does
not suit the measurement
object.
Check the relationship between
measurement distance and
measurement area.
There was a change in
temperature when
measuring the object.
Check the measured value after taking
measurements of objects with stable
temperature.
Dust or a stain was on the
lens.
Clean the lens.
There was an extreme
temperature change in the
ambient.
Let the instrument adapt to the
ambient before use.
Emissivity setting was
inappropriate.
Use a correct emissivity.
If the problem is not solved, there is a possibility that the unit is defective.
Please contact us or the dealer from which the unit was purchased for assistance.

13
Specifications
Name Infrared Thermometer
Cat. No. 8268-00
Model SK-8300
Measuring range -30ºC to 1550°C
Accuracy ± 3ºC at -30ºC to -20.1°C
(at 23ºC ± 5ºC) ± 2ºC at -20ºC to 100°C
± 2% Reading at other than above ranges
Calibrated by Black body emissivity at 0.95
Resolution 0.1°C
Repeatability ±1.0°C
Emissivity Adjustable at 0.01 steps in 0.10 to 1.00
Distance to Spot size (D:S) approx. 50:1
Optical parts Si lens
Detector Thermopile
Spectral response 8 to 14μm
Response time 0.5 second (90% response)
Laser sighting 1 point (red) ・Class II Laser
Output: less than 1mW
Wave length 650 nm
Operating ambient 0 to 50ºC for temperature less than 85%rh for humidity (no condensing)
Storage ambient -10 to 50ºC for temperature, less than 85%rh for humidity
(no condensing)
Power requirements one 9VDC battery
Battery life approx. 8 hours (Laser & Backlight ON) with an alkali battery
Backlight Standard
Dimensions 51(W) x 166(D) x 200(H) mm
Weight approx. 280 g (with battery)
Materials Unit: ABS resin
Standard accessories Carrying case, 9V battery, Hand strap
Warranty Policy
Warranty
Our products are warranted to be free from defects in materials and workmanship for a period of one
year from date of shipment. If repair or adjustment is necessary and has not been the result of abuse
or misuse within the one-year-period, please return the units on - Freight Prepaid – basis and correction
of the defect will be made without charges. We alone will determine if the product problem is due to
deviations or customer misuse.
Out-of-warranty products will be repaired on charge basis.
Return of items
Authorization must be obtained from us before returning items for any reason. When applying for
authorization, please include data regarding the reasons the items are to be returned.
Please note that we reserve the right to make improvements in design, construction and appearance of
our products without notice.

Table of contents
Other SATO Thermometer manuals
Popular Thermometer manuals by other brands
Isotech
Isotech microK-400 user manual

ACU-RITE
ACU-RITE 00609 instruction manual
Outdoorchef
Outdoorchef GOURMET CHECK user guide
ACU-RITE
ACU-RITE 01184 instruction manual

Kyoritsu Electrical Instruments Works, Ltd.
Kyoritsu Electrical Instruments Works, Ltd. KEW 5515 instruction manual
No Touch
No Touch 960 instruction manual
