SATO PC-3310 User manual

Instruction Manual of
Refrigerator Digital Thermometer Model PC-3310
Min-Max Digital Thermometer Model PC-3510
These products are designed to measure temperature. Do not use them for other
purposes. Read this manual thoroughly before use, and keep it for future reference.
Important Notices
Beware of Explosion
PC-3310 and PC-3510 are not explosion-proof. Never use them in an atmosphere
containing flammable gases.
Cautions
To use PC-3310/PC-3510 properly, follow the instructions below.
Do not use the device as a clinical thermometer.
Do not drop or give a shock to the device, as it is a sensitive instrument.
Do not keep the device submerged in water.
Do not measure temperature out of the measurable range, or it may result in
malfunction.
Do not use the device under direct sunlight or aside a heat source, or it may lead
to a deformation or malfunction.
Do not leave the device in a place like an automobile on a fine summer day, or the
extreme heat may damage it.
Do not wash or wipe the device with alcohol, thinner, or other organic solvents. If
the device becomes dirty, wipe it with a tightly-wrung towel that has been dipped
in warm water with neutral detergent.
Do not use the device in an environment with electrical noise, or the display may
become unstable or the measurement error may increase.
Do not disassemble or customize the device, or it may cause a fatal malfunction.
For repair or calibration, or if the device is broken before use, contact us or a retailer
from which you have purchased.
Cautions Related to Magnets
As PC-3310/PC-3510 contain magnets, do not place it near the followings:
chests of people with pacemakers or other implanted cardiac devices
electronic devices
materials vulnerable to magnetic fields such as magnetic cards
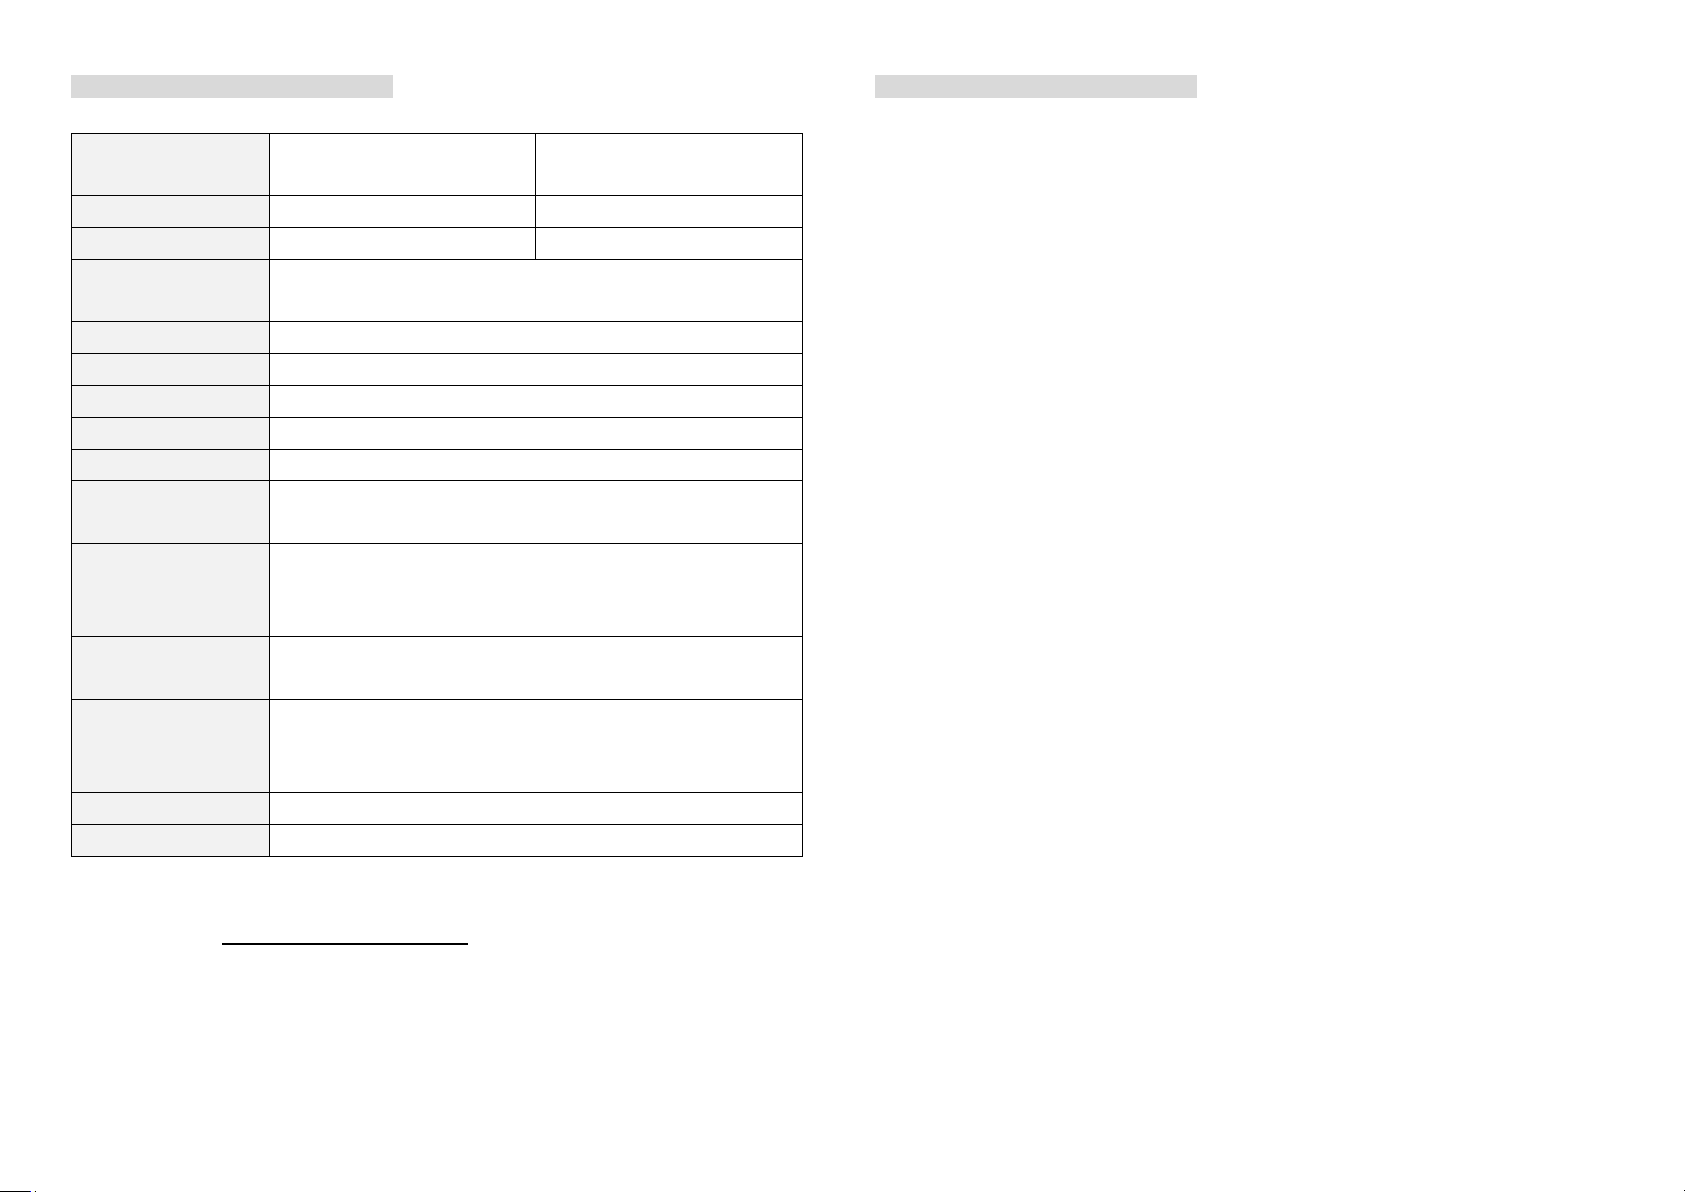
Names of Sections
(i) Internal sensor (IN) or external probe (OUT)
(ii) Current temperature
(iii) Minimum temperature (MIN) (iv) Maximum temperature (MAX)
Replacement of Batteries
Replace the battery immediately when the low battery sign is displayed, as described
below to prevent errors in measurement.
1. If the device is wet, wipe it out first.
2. Close the frame stand in the back.
3. Turn the battery lid screw anticlockwise to loosen it and remove the lid. If the
device was wet in the process 1, face the lid down when opening in order to
prevent water from immersing inside the battery box.
Connector cap
External probe
connector
Reset key
Cable
Hanging hook
Battery lid
Clasp for
holding
probe
Low battery sign
Frame stand
Sensor
(i)
(ii)
(iii)
(iv)
Magnets
embedded
here

Be sure that the screw is designed not to drop from the lid.
4. Exchange the batteries according to the description in the battery box.
5. Confirm that the black packing seal is firmly put into the groove, then tighten the
screw until the screw head comes under the body surface.
Maximum and minimum temperatures are initialized after replacing batteries.
Cautions Related to Batteries
Do not dispose of batteries in a fire, or it may explode to hurt you.
For environmental conservation purposes, dispose of batteries in compliance with
local rules and regulations.
Keep batteries out of the reach of children. If they are swallowed accidentally,
consult a doctor immediately.
If battery fluid leaks out, wipe it away immediately without touching it directly.
Remove the battery if not used for a long period, or it may lead to fluid leakage and
malfunction.
Do not use rechargeable batteries, or a sealed structure of PC-3310/PC-3510 can
accumulate gas leaked from the battery to cause a fire or explosion.
Attach the battery lid firmly to the body with the packing seal put into the groove,
and secure the screw. Otherwise, the device may fail to be waterproof and result
in malfunction, short-circuit, battery leakage, extreme heat, or explosion.
How to Use
1. Refer to “Replacement of Batteries” to open the battery lid and remove an
insulation sheet. The measurement begins immediately.
2. Install the device using either the frame stand, hanging hook, or the magnets
embedded in the back. Carefully check if it is placed safely.
3. Let the device adapt to the ambient environment for more than 30 minutes.
Internal Sensor
When the external probe is not connected, an indicator of “IN” is lit and temperature
of the internal sensor is displayed. Connector cap must be closed.
Note that the indication of internal sensor is no valid if it falls below −5°C or
exceeds 50°C, even if it the value is shown. Use the external probe in such case.
External Probe
When the external probe is inserted to the connector, an
indicator of “OUT” is lit and the temperature of the external
probe is displayed.
As illustrated in the right, an ultra-thin cable can be inserted
to a refrigerator or incubator through a gap of the door. Then,
hooking the clasp attached to the cable on somewhere helps
the probe get fixated.
Cautions When in Use
The device accepts water splashes, but it does not mean that the body and the
probe can be submerged in water.
Do not pull the probe when it runs through the door, or it may break.
Do not let the probe touch other working electric circuits, or it can cause electrical
shock.
The sensor part made of stainless steel may get deteriorated when it contacts with
corrosive liquid. Do not measure temperature of such liquid.
Measurement error can be enlarged when your hand touches the cable.
A sign of “HHH” or “LLL” is indicated when the temperature is out of range.
For better management, it is recommended to compare the measured value with
that of a standard thermometer to check accuracy once in a year. We offer
traceable calibration service.
Max/Min Temperatures
PC-3310/PC-3510 permanently shows the highest and lowest temperatures.
Their logging is initialized in the cases below:
when the battery is replaced
when the reset key is pressed
Switching between the internal sensor and the external probe does not affect the
logging.
Specifications
Product name
Refrigerator Digital
Thermometer
Min-Max Digital
Thermometer
Model no.
PC-3310
PC-3510
Catalog no.
1830-00
1840-00
Measuring range
Internal sensor: −5.0 to 50.0°C
External probe: −50.0 to 70.0°C
Accuracy
±1.0°C (0.0 to 40.0°C), ±2.0°C (other)
Resolution
0.1°C
Sampling time
Approx. 10 seconds
Operating ambient
−5 to 50°C, less than 80%rh without condensing
Power
AAA battery x 1
Battery life
2 years under room temperature, with an alkaline battery
Attached batteries are for test purpose and may last shorter.
Waterproof rating
IPX5 (resists water stream of room temperature)
The rating is valid only when the connector cap is closed, or the external
probe is connected.
Dimensions
Body: 67 (W) x 65 (H) x 22 (D) mm
External probe: sensor part Ø 5.5 mm, cable 3 m long
Materials
Body: ABS resin with antimicrobial, silicone rubber
Sensor part of external probe: SUS304, PE resin
Cable part of external probe: PVC resin
Weight
71 g including a battery
Accessories
AAA battery x1, clasp for holding external probe x1
Specifications and appearance are subject to change for improvement.
Visit our website https://www.sksato.co.jp/en/ for the latest information.
Warranty Policy
Our products are warranted to be free from defects in materials and workmanship
for a period of one year from date of delivery. If repair is necessary and has not been
the result of misuse, force majeure, or transportation arranged by yourself within the
one-year period, please return the products on freight prepaid basis. Correction of
the defect will be made without charges. We alone will determine if the product
problem is due to deviations or customer misuse.
Out-of-warranty products will be repaired for a fee.
Before returning, request for our acknowledgement first.
For details, contact us or a retailer from which you have purchased.
SATO KEIRYOKI MFG. CO., LTD.
3-4, Kanda-kajicho, Chiyoda-ku, Tokyo 101-0045, Japan
https://www.sksato.co.jp/en/
Ver. V.05
As of Nov. 2022
This manual suits for next models
1
Other SATO Thermometer manuals


Popular Thermometer manuals by other brands


Stanley
Stanley STHT0-77365 user manual

Hartmann
Hartmann Veroval DS 22 Instructions for use

Maverick
Maverick Redichek PRO ET-32 Specification sheet

Exergen
Exergen TemporalScanner TAT-5000 Reference manual

Dostmann Electronic
Dostmann Electronic TC 309 instruction manual

Digoo
Digoo DG-TH3330 quick start guide