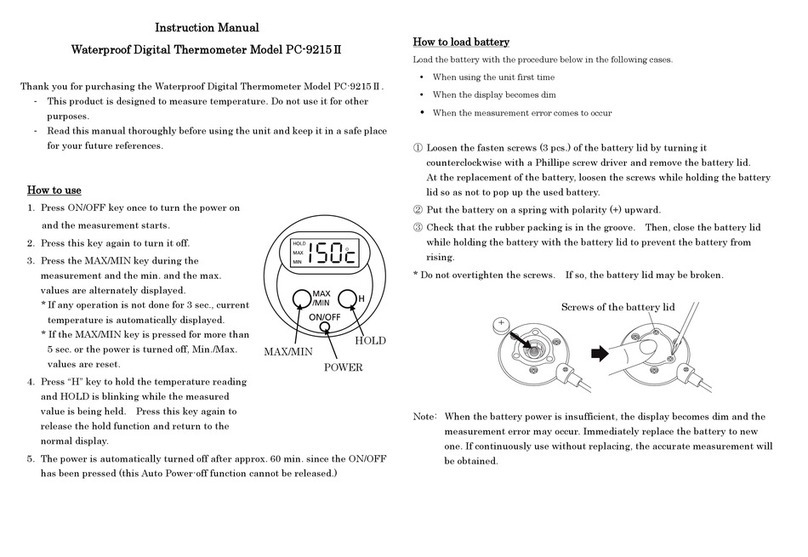
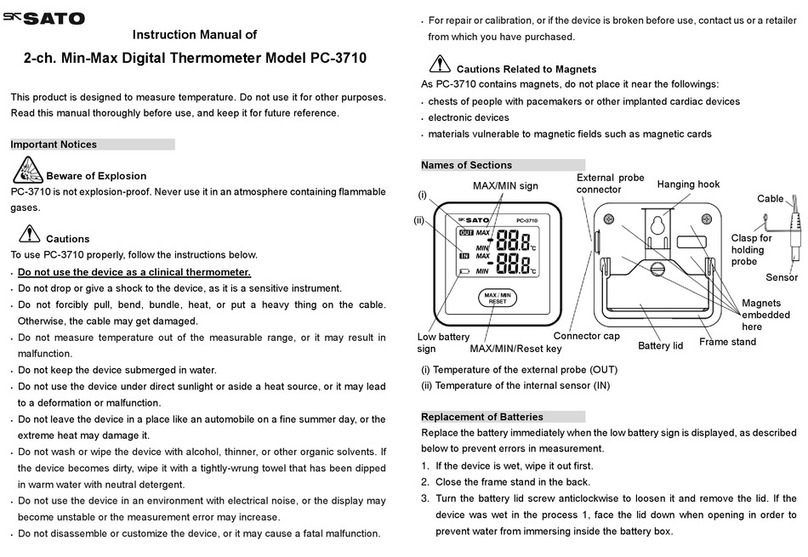
SATO SK-8920 User manual

Instruction Manual
for
No.8264-00 Infrared Thermometer
Model SK-8920
3-4, Kanda-kajicho, Chiyoda-ku, Tokyo 101-0045 Japan
URL: http://www.sksato.co.jp/english/
M12


1
Introduction
Thank you for purchasing the Infrared Thermometer Model SK-8920.
. This product is designed to measure temperature using a non-contact method. Do not use it for
other purposes.
. Read this manual thoroughly before using. Keep the manual in a safe place for future references
whenever necessary.
WARNING
Beware of explosion!
The SK-8920 is not explosion-proof. Never use it in an atmosphere containing flammable gases.
Do not look into the laser marker or point it at anybody's eyes. Doing so may damage
your eyes.
Keep the unit out of reach of children.
Notes on Use
Be sure to observe the following precautions in order to use this unit correctly.
- Do not use this unit as a clinical thermometer.
- This is a non-contact thermometer. Do not let the unit touch the object to be measured. If the unit
touches a hot object, it may result in measurement errors or failure.
- Never disassemble or modify this unit. Doing so may result in failure.
- Do not drop this unit or apply vibration/impact to it. This unit is a precision instrument.
- This thermometer is designed for use in the ambient temperature range of 0 to 50ºC at 80% RH or
less. Using the unit outside the specified range will result in failure.
- Do not use this unit in a place exposed to direct sunlight or near heating equipment. Doing so may
result in measurement errors or deformation/discoloring of the casing
- Do not use this unit in a dusty environment. The accuracy of measurement is affected by dust or
dirt on the lens. Always wipe off dust and dirt after each use. For details, refer to "Maintenance".
- Do not touch the measurement window with a sharp or hard object. Doing so may damage the lens,
causing loss of measurement accuracy.

2
- Do not use this unit in an environment where electrical noise is generated. Doing so may result in
unstable display or larger errors. Also, do not bring the unit close to a charged object.
- Never allow the unit to become wet, as it is not waterproof.
- If this unit is not going to be used for a long time, always remove the battery from the unit.
Otherwise, the battery may leak fluid, resulting in failure.
- Do not dispose of the used battery in a fire.
- Keep the battery out of the reach of children. If you have swallowed the battery accidentally, consult
a doctor immediately.
- For environmental conservation purposes, dispose of the used battery in compliance with local
rules and regulations.
- Do not wash or wipe this unit with alcohol, thinner, or other organic solvents. If the unit becomes
dirty, wipe it with a tightly-wrung gauze or the like that has been dipped in warm water with neutral
detergent.
- Do not wipe the temperature measurement section (infrared lens) directly with gauze. For details,
refer to "Maintenance".
- Glass does not transmit wavelengths used by this thermometer. Therefore, when an object is
placed beyond glass, this unit detects the temperature of the glass and displays its temperature
reading.
- If the ambient temperature fluctuates excessively, the measurement accuracy may be affected.
Wait for a while for the unit to properly adapt to the ambient temperature. For a change of
temperature of 10ºC or more, wait for at least 30 minutes before measurement.
- For repair or calibration, contact the dealer from which the unit was purchased, or our service
network.
Overview
The SK-8920 is a non-contact type infrared thermometer, which detects the infrared energy emitted
from an object and converts it into a temperature reading. The product can measure the temperature
of the surface instantly without touching the object.

3
Features
Measures surface temperature instantly:
The advantage of the non-contact infrared method is quick-response measurement, and the
single-hand-held unit allows easy operation by using trigger type measurement button.
Non-contact, clean measurement:
Ideal for food processing industries where clean and hygienic measurement is required.
Selectable emissivity
Emissivity is selectable by button among 0.98, 0.92 and 0.85.
Easily visible measurement spot
With the laser marker set on, a laser sighting is output so that you can instantly identify the
spot being measured.
Auto power-off function:
The power will be turned off automatically if the unit is not operated for approximately six
seconds, thus conserving battery power if you forget to turn the power off.
Auto Hold function:
A measured value of temperature is automatically held (fixed) for approximately six seconds.
Putting the cover on top and grip of the unit will protect the unit from becoming dirty during use
and absorb shock in case the unit is dropped accidentally.
Top and grip covers
Protects the unit from dirt or dust.

4
1. Names and Functions of Components
1-1. Main unit
(1) Temperature measurement (infrared radiation sensing) section
: Detects the infrared energy emitted from the object.
(2) Laser sighting section
: Pressing the measurement key and the laser marker key simultaneously activates laser
sighting.
(3) Lens cap
: Used to protect the lens from dust or foreign matter in the measurement window. Also, it
protects users from viewing the laser in case the laser marker is activated accidentally.
(4) Measurement trigger
: Pull the trigger to turn on and activate temperature measurement.
(5) LCD: Displays the temperature reading and other related information.
(6) Laser marker レーザ key: Sets the laser marker function on or off.
(7) Mode 測定物選択 key: Use this key to select emissivity
(8) Battery lid: Houses a 9-V battery 6F22 (006P).
(9) Hand strap: Use this strap thought your wrist.
1-2. LCD
(10) 7-segment display : Displays the temperature reading.
(11) Low-battery mark : Lit when battery power is insufficient.
(12) Laser sighting mark : Lit while laser marker is activated.
(13) Unit of measurement : Temperature is displayed in Celsius
(14) Emissivity setting mark : The emissivity selected is displayed.

5
2. Loading the Battery
When using the unit for the first time or when the low battery mark lights up, replace the
battery with a new one as described below.
(1) Open the battery lid.
(2) Check both polarities (+/-) of the battery snap
fasteners and a 9V battery 6F22 (006P).
Insert the battery in place.
(3) Close the battery lid so that it clicks.
Cautions
Replace the battery immediately when the low-battery mark on the LCD lights.
Measurements while the low-battery mark is lit may affect the accuracy, possibly resulting in
malfunction of the thermometer.
Do not dispose of the used battery in a fire.
The battery is a factory set. The battery was used for monitoring and its battery life may be
shortened
3. Putting Vinyl Cover on Thermometer
It is recommended to use the thermometer putting the vinyl cover on top and grip of the unit. The
cover will help absorb shock in case the unit is dropped accidentally, and protect the unit from
becoming dirty during use. The thermometer is shipped being put the cover on.
1) Hold the opening of the cover wide when inserting the unit.
2) Fix the snap fastener (button) on the cover to secure the unit.
NB. * When removing the cover, take off the lens cap first from the hand strap. Be careful not to
lose it.
NB. * When using the cover, static electricity may be charged inside the cover, and the indicated
value may become unstable. In that case, remove the cover and use.

6
4. How to Measure
(1) Remove the lens cap.
(2) Prior to measurement, set the laser marker and emissivity.
(3) Direct the thermometer at an object and pull the trigger. Then, the measured temperature is
displayed on the LCD.
NB.: Infrared rays in this measurement wavelength range do not penetrate glasses. When
measuring the object through the glass, it detects the surface temperature of the glass.
(4) Release the trigger. The measured value can be held for approximately six seconds after the
trigger is released.
* Keep pulling the trigger to continuously measure temperature every one second.
(5) After six seconds, the power is automatically turned off (auto power-off function).
* Auto-power function cannot be released.
(6) After the measurement, put the lens cap on the measurement window
4-1. Measurement Spot Size
The measurement spot size of this thermometer changes in accordance with the distance as
shown below.
The diameter of the measuring spot shown above is defined on the basis of the area that receives
90% or more of the energy. The D:S ratio, which is the ratio of the distance between the object and
the thermometer to the size of the spot, is preset at 10:1 (D = measuring distance, S = diameter of
spot). For example, for the distance of 200 mm, a spot circle of diameter 20 mm can be measured.
If the object is too small, make the distance smaller by bringing the thermometer closer to the
object. For higher accuracy, make sure that the area of the object is at least twice as large as the
spot being measured.
Note: If the area of the object is much larger than the spot size,
the accuracy of measurement is affected. Also, if the area
of the object is much smaller than the spot size, the
accuracy of measurement may be affected by inclusion of
a part that is not supposed to be measured.
D
Distance
S
Diameter

7
4-2. High-Temperature Measurement
Operating the thermometer continuously to measure a high-temperature (200ºC or more) object at a
short distance (30 mm or less) for a long time (three minutes or more) may cause a drop in the
performance of the infrared lens. When measuring a hot object of 200ºC or more, the distance
should be 30 mm or more and operation should be completed within a short time.
There is also the risk of burning your hand by accidental contact with an excessively hot object.
Secure a safe distance from the object if the object is known to be hot.
Note: Measuring high temperature object may damage the infrared lens and cause loss of
measurement accuracy. Never measure an object whose temperature is outside the allowable
temperature range state.
4-3. Low-Temperature Measurement
The operation ambient is 0 to 50ºC. The measurement in the lower than 0 ºC state such as in a
refrigerator cannot be done.
If the ambient temperature fluctuates excessively, the measurement accuracy may be affected. Wait
for a while for the unit to properly adapt to the ambient temperature. For a change of temperature of
10ºC or more, wait for at least 30 minutes before measurement.
5. Emissivity
The emissivity of this thermometer is preset at 0.92.
Infrared radiation is naturally emitted from all objects, but the emissivity value depends on the type of
object to be measured. For accurate measurement, see the table 1.
5-1. Setting the emissivity
Emissivity is selectable among 0.98, 0.92 and 0.85. While pulling the trigger, select the emissivity
with MODE 測定物選択 key.
5-2. Emissivity
Table 1
Emissivity
0.98
0.92
0.85
Object
Meat Fish
Vegetable
Fruit
Bread
Wheat Grain
Paper
Drink box
Frying pan
Cast-Iron pan

8
6. Setting the Laser Marker
While pulling the trigger, press the laser marker レーザ key simultaneously to set the laser marker
on or off. While the laser marker レーザ key is ON, the laser marker can be output. While the laser
marker key is OFF the laser marker is not output.
NB. Laser sighting mark is lit while laser marker is activated. When the laser marker key is OFF,
the laser marker is not output even if the trigger is pulled.
6-1. Positional Relation Between Distance and Sighting Point
This is a one-point laser-sighting thermometer. The laser mark is sighted approximately 14 mm
below the center of the spot.
Example: When the distance is approximately 280 mm
Measurement spot (circle of diameter 28 mm)
Laser marker sighting point
When the measurement distance is approximately 280 mm, the laser marker is output aiming at the
point illustrated above. Refer to the figure as a guide.
Do not look into the laser marker or point it at anybody's eyes. Doing so may damage
your eyes.
Keep the unit out of reach of children.
Standard for Safe Use of Laser Products (JIS C6802): "Class II" is defined as follows:
A visible light (of wavelengths in the visible region: 400 nm through 700 nm) with an output level
(approx. 1 mW or less) that is normally regarded harmless with respect to humans' physical defense
capabilities.
7. Maintenance
The accuracy of measurement is affected by dust or dirt on the surface of the infrared lens. Prevent
dirt or dust from adhering to the surface of the lens during use or storage.
When removing dirt from the infrared lens, use a blower for camera lenses. If stubborn stains persist,
clean the surface of the lens softly with a swab moistened with lens cleaning liquid.
NB: Never clean the infrared lens with water or detergent. Doing so may affect the performance of
the lens and cause inaccurate measurements.

9
8. Error Message
When an abnormality occurs in the unit error message is displayed on the LCD.
Error message Cause and Countermeasure
Measuring temperature is lower than -40.1ºC or higher than 301 ºC
.
The possible measuring range is -40ºC and 300ºC. The temperature of
the object must be within the measuring range
~
The element inside the unit may have been damaged. Contact with the
deal from which the product was purchased or our service network.
9. Specifications
Cat. No. : 8264-00
Name : Infrared Thermometer
Model : SK-8920
Measuring range : -40 ºC to 250 ºC
Accuracy : -40 ºC to -20 ºC : ± 3 ºC
(at 23 ºC ± 5 ºC) -19.9 ºC to 250 ºC : ± 2 ºC
(Calibrated by Black body emissivity at 0.95)
Resolution : 1 ºC at higher than 100 ºC
0.1 ºC at other than above
Emissivity : Selectable among 0.98, 0.92 and 0.85
Distance to Spot size (D:S) : 10 : 1
Detector : Thermopile
Spectral response : 8 to 14μm
Response time : 0.5 second
Laser sighting : 1 point・Class II Laser (use less than 1mW of power)
Wave length : 650 nm
Output : less than 1mW
Operating ambient : 0 to 50 ºC, less than 80% of R. humidity
Storage ambient : -20 to 50 ºC, less than 90% of R. humidity (no condensing)
Power requirements : One 9-V battery (included)
Power consumption : Max. 28mA (when Laser ON)
Battery life : approx. 8 hours (Laser ON)
(at normal temperature) approx. 70 hours (Laser OFF)
Dimensions : 46(W) x 78(D) x 160(H) mm
Weight : approx. 157g (with a battery)
Materials : Unit: ABS resin Covers: PVC resin
Standard accessories : 2 pcs. of 9-V battery (One pc. is factory set), Hand strap
soft pouch, vinyl cover (top and grip cover)

This manual suits for next models
1
Table of contents
Other SATO Thermometer manuals

