manuals.online logo
Brands
  1. Home
  2. •
  3. Brands
  4. •
  5. saunalife
  6. •
  7. Plumbing Product
  8. •
  9. saunalife G11 User manual

saunalife G11 User manual

Model G11 Sauna Room
Installation Manual
(FRO 01)
saunalife.com
800.957.2862
saunalife
saunalife
G11 Sauna Model Installation & Owner's Manual
Congratulations on your purchase of the SaunaLife G11 unit. If you have questions
during assembly or ownership, please call us at 1-800-957-2962 or send an email to
[email protected]
Our regular business hours are 8am-5pm CST, Monday through Friday, excluding US holidays.
These instructions are for the constructor, electrician, and ultimately the owner of the SaunaLife
G11
unit. Please read the whole manual before assembly and keep it accessible after.
Table of Contents:
SaunaLife G11 Kit Contents..................................................................................p.2
Sauna Assembly: Step by Step Guide..................................................................p.5
Wall Assembly..........................................................................................p.7
Door installation.......................................................................................p.13
Bench installation.....................................................................................p.17
Front porch assembly...............................................................................p.20
Underlay felt & roof installation ..........................................................................p.21
1
1
G11 Sauna Model Details list 1 of 3 pages.
1
x6
128".5" x 3.94" x 1.85
SM
A2
A1
B
x4
x4
x16
L=161.42"
L=275.59"
1a
x5
3a
118.11" x 1.65"
x1
STL
3b
118.11" x 1.65"
x1
STL
4c
4b
4a
4
x2
x2
x2
x1
3e
118.11" x 1.65"
STL
3f
118.11" x 1.65"
STL
7a
90.43" x 1.65" x 1.1"
x1
7
PL
x31
10
x1
10b
10a
HL1
HL1
X * 1.69" x 0.71"
X * 1.69" x 0.71"
x2
x2
x1
11
11b
11a
HL1
X * 1.69" x 0.71"
X * 1.69" x 0.71"
x4
x2
HL1
13
x1
X * 1.69" x 0.71"
13a
13b
X * 1.69" x 0.71"
HL1
HL1
x2
x2
12a
12b
x1
x1
G
F
x2
x4
32
118.11" x 1.97" x 1.97"
x2
22b
x1
22a
x1
23b
x1
23a
45.67" x 14.96" x 2.44"
x1
HP
44.09" x 1.73"
HP2
20.07" x 3.94" x 1.85"
x38
x38
90.16" x 1.73" x 1.73"
90.43" x 4.41" x 1.1"
90.31" x 14.96" x 2.44"
2
2
G11 Sauna Model Details list 2 of 3 pages.
M
4,5x90
x90
H
4,5x60
I
4,0x50
J
3x40
x500
x75
x170
K
3x30
x25
~660
L
N
x11
O
x125
25a
L=28.78"
x8
25b
L=25.21"
x4
25c
L=19.61"
25d
L=30.94"
C
L=250
x8
E1
x8
x8
x16
E2
D
15b
x6
15a
27.95" x 1.73" x 1.73"
16a
x2
x2
HP2
34.25" x 1.73" x 1.73"
x1
16
90.31" x 36.61" x 2.83"
15
90.01" x 29.53" x 2.83"
x1
19
33.86" x 33.46" x 2.83"
x1
18
46.06" x 21.65" x 2.83"
x1
19a
31.89" x 1.73" x 1.73"
x1
HP2
18a
20.08" x 1.73" x 1.73"
HP2
x1
15c
HP2
x4
W3
85.04" x 2.2" x 1.73"
x5
W4
90.43" x 2.2" x 1.73"
x1
W1
37.4" x 2.2" 1.73"
W5
16.1" x 2.2" x 1.73"
W2
25.59" x 2.2" x 1.73"
x1
x1
x4
20
90.43" x 3.54" x 0.71"
x3
HL2
W12
90.43" x 3.86" x 0.71"
x10
W10
37.4" x 3.86" x 0.71"
25.59" x 3.86" x 0.71"
W11
x46
x46
VL1
VL1
VL1
x2
x1
x5
x4
21b
21a
23.34" x 23.43" x 0.39"
49.21" x 23.43" x 0.39"
Minerit
Minerit
21
L
26
89.37" x 15.35" x 2.2"
x1
24a
27.56" x 27.56" x 2.83"
x1
44.09" x 27.56" x 2.83"
31.1" x 27.56" x 2.83"
x1
x2
24b
24c
6.69" 1.73" x 1.73"
11.41" x
1.73" x 1.73"
HL1
HL2
47.24" x 1.69" x 0.71"
23.43" x 3.54" x 0.71"
x4
x8
3
3
G11 Sauna Model Details list 3 of 3 pages.
27b
62.99"x 11.81" x 0.71"
x1
27a
39.37" x 23.23" x 0.71"
x1
28a
x1
x6
28b
128.5" x 3.74" x 1.1"
TL1
TL1
129.92" x 3.74" x 1.1"
31b
x1
29a
x3
21.34"x 1.73" x 1.73"
14.96" x 1.73" x 1.73"
30c
22.44" x 21.26" x 2.83"
x1
31a
x3
T
28.15" x 3.74" x 1.1"
30a
22.44" x 20.47" x 2.83"
30d
32.28" x 22.44" x 2.83"
x1
x1
29b
x1
26.77" x 1.73" x 1.73"
Underlay
felt
55.77'
30b
22.44" x 21.26" x 2.83"
x1
saunalife.com
800.957.2862
4
4
1.
I
Step 1. Room Layout
5.91"
5.91"
Front side
Back side
109.72"
123"
44.37"45.28"20.47"
61.41" 61.41"
DET 4
DET 1
6x H
Top and bottom
on same level.
in=in
II
in=in
Same line
DET A1
4xDET A1
3xDET 1
5xDET 1a
~3.94"
20x M
Divide equally!
Lay out the foundational pieces and begin setting up
your new space.
Match lengths
on each side.
5
5
2.
Step 2. Setting the Foundation
I
8x M
DET 3a
DET 3b
8x M
⚠Fix side boards
into the DET 1.
DET 1
II
2xDET 1
Fix also all beams
from top. Be careful that
screws do not emerge
from the other side!
Place DET 1 in the middle
of two side beams.
Use waterlevel.
Fix also all beams
from top. Ensure that
screws do not extend
through the other side.
10x M
10x M
DET A1
DET A1
DET 1
Align levels and corners to assemble your
foundational flooring.
6
6
3.
Step 3. Wall Assembly
I
2xDET 4a
2xDET 4b
2xDET 4c
2x
Cut boards
from pallet.
18x I
Not longer than
bottom board.
2x
4x M
Drill holes 0.16"
before screws.
DET 3e
DET 3f
Fix temporarily
to support walls.
4x H
Cut some boards from
pallet to support walls,
if necessary.
II
Fix DET 3e and 3f, or use pallet wood to temporarily support
the walls. Pre-drill holes before installing 4x M screws.
Use a rubber
mallet to fix
columns in
place
7
7
4.
Step 4. Raise and Set the Walls
I
DET 3e
DET 3f
H
X
Remove
H
On both sides:
Regular wood X= 0.28" - 0.31"
Thermo wood X= 0.12" - 0.16"
DET 3e
DET 3f
H
II
H
See next page for joining instructions.
X
Drill according to the pattern in
diagram I & II for ultimate results.
8
8
5.
Step 5. Size and Cut the Top
I
A/2
II
Drill holes 0.16"
before screws.
Glue
Use wood glue
between boards
6x H(M)
Lift nose slightly up before
installing combined detail.
A/2
DET 3f
DET 3e
A
DET 3f
DET 3e
Measure and size your A board pieces and cut them to size. Use
wood glue to join them, and a rubber mallet to combine the pieces.
9
9
6.
Step 6. Tighten Bands and Bolts
I
~5.9"
DET A1
2xDET A2
~9.45 in.
DET A2
DET A2
II
4x DET C
8x DET D
4x DET E1
4x DET E2
DET B
Use gloves and practice caution when handling steel bands. Bind
using DET bolts and a strong wrench.
10
10
7.
Step 7. Remove screws and measure door
I
⚠If Your sauna is from thermowood, leave the
screws where they are. Other wood such as spruce
will require screw removal to tighten the bands.
2x DET A2
Proceed the same way as
described on previous page.
II
X
Y
~22"
7.87"
.39"+X+.39"
.39"+X+.39"
Measure the door and add
extra 0.39 in. to each
side.
Mark door opening
Use level.
Cut door opening,
follow the guidelines
DET 10
Remove
screws if
wood is not
thermowood
11
11
8.
Step 8. Remove brackets; add screws
I
Remove all
brackets
II
1xDET 7a
28xDET 7
75x H
Fix screws over the one board,
diagonally in every board.
X
X
36°
5x H
DET 7
12
12
9.
Step 9. Door Installation
I
38x J
1xDET 10
Place door from inside.
Use waterlevel.
Vertically fix screws
in every board.
18x J
2xDET 10a
2xDET 10b
61.02"
Mark window opening
29.13"
r=19.65"
Cut window opening,
follow the guidelines
II
1xDET 12b
1xDET 12a
8x I
Drill holes 0.12 in.
before screws.
Place doors from inside the G11 sauna unit. Vertically fix screws
in each board and outer frame to match the diagrams below.
13
13
10.
Step 10. Window and Bench placement
I
1xDET 13
Measure the window and add
extra 0.39" to each side.
Use waterlevel.
Mark window opening
8.66"
50.39"
X
Y
Cut window opening,
follow the guidelines
Place window from inside.
.39" + Y + .39"
.39" + X + .39"
16x J
1xDET 13
Vertically fix screws
in every board.
10x J
2xDET 13a
2xDET 13b
II
22x H
2xDET 15a
4xDET 15b
2xDET 16a
1xDET 15
1xDET 16
11.42"
25.7"
11.81"
Divide gaps equally!
Place benches but
don´t fix them yet.
14
14
11.
Step 11. Vent & Foundational placements
12x K
Upper vent
Lower vent
2xDET F
4xDET G
6x K
~17.72" ~17.72"
for ventilation.
1xDET 20
6x J
Sauna midpoint
~32.68"
Sauna midpoint
I
II
14x H
.71" .71"
Sauna midpoint
1xDET W4
5xDET W3
4xDET W5
27.56"
1xDET W2 1xDET W1
11.42"
25.47"
16x H
2x M
II
Match the correct vents to their height placement in the sauna
room. Add the foundational setting in to separate rooms.
Make 3 holes Ø4.33"
15
15
12.
Step 12. Stack doorway boards and level set benches
I
DET W10
DET W12
X
X
DET W12
74.8"
DET W11
Start with
this board
X
X
DET W10
DET W11
14x J
2xDET 20
II
Saunaroom
2xDET 15b
11x H
1xDET 18a
1xDET 19a
11.42"
25.67"
16
16
13.
Step 13. Installing Benches
I
1xDET 18
1xDET 19
3x H
2x H
3x M
3x M
6x H
6x H
Saunaroom
Saunaroom
4xDET 15c
Drill holes 0.16 in.
before screws.
8x H
II
1xDET 21a
10x J
5xDET 21
.59"
Leave the gap
between wall and boards
.59"
23.43"
4x J
Pre-drilling for 0.16" holes guarantees proper screw placement.
Match the screws with the diagrams for bench completion.
17
17
14.
Step 14. Placing heater panels, heater, and final doors
2xDET L
23.43"
2x J
23.43"
2x J
2xDET L
I
1xDET 21b
6x I
Cut on
right size
6x I
1xDET 21b
Cut out, follow
window shape.
Place the
heater.
Saunaroom
1xDET 26
2x M
Use waterlevel.
Push door up!
Drill holes Ø 0.16".
before screws.
1xDET 11
10x H
Remove door bottom frame and
cut pieces to cover bottom gap.
2xDET 11b
4xDET 11a
Cut on
right size
30x J
II
III
18
18
15.
Step 15. Inner room finishing touches
I
1xDET 22a
4x H
26.57"
1.73"
1xDET 23a
1xDET 22b
6x H
1xDET 23b
6x H
II
8x H
1xDET 24a
3x H
III
1xDET 24b
2xDET 24c
Dressing room
1xDET 27a
1xDET 27b
Sauna room
19
19

Other saunalife Plumbing Product manuals
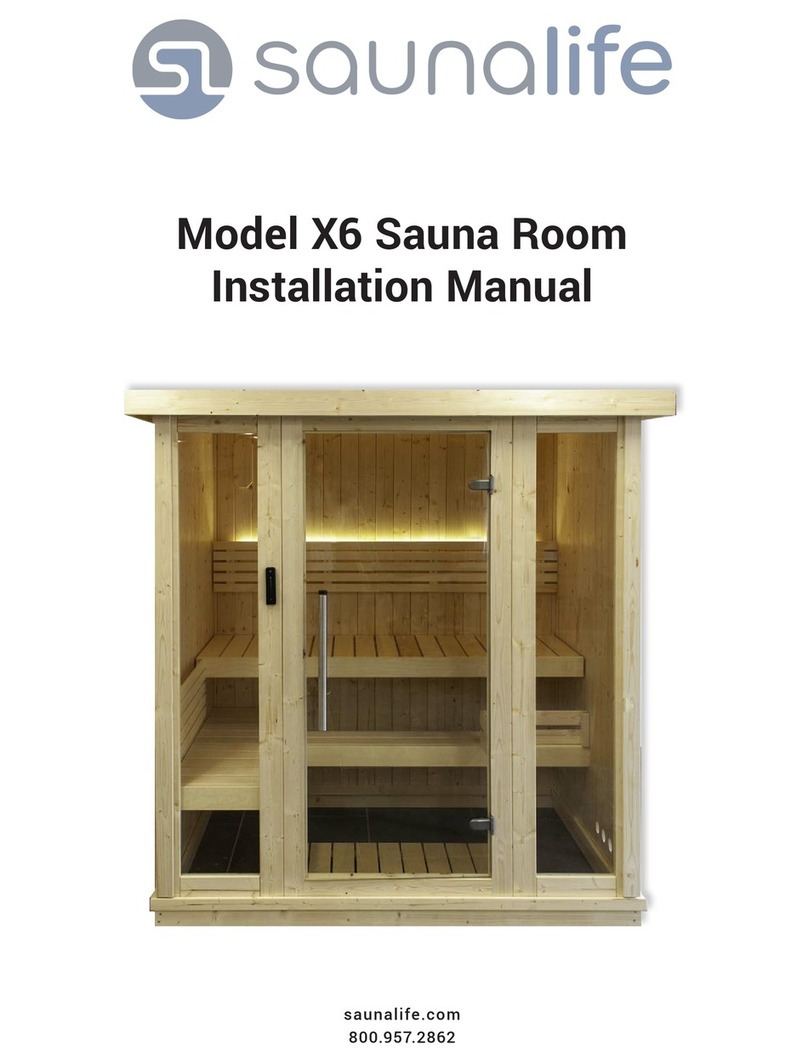
saunalife Sconce Plus User manual

saunalife

saunalife Sconce Plus User manual

saunalife Xperience Series User manual

saunalife

saunalife Xperience Series User manual

saunalife X7 User manual

saunalife

saunalife X7 User manual

saunalife Ergo Series User manual

saunalife

saunalife Ergo Series User manual
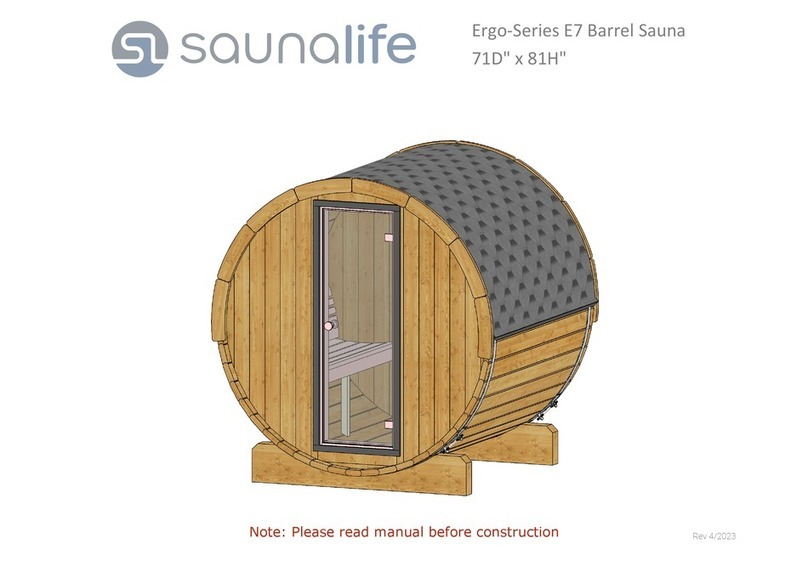
saunalife E6 User manual

saunalife

saunalife E6 User manual

saunalife X7 User manual

saunalife

saunalife X7 User manual

saunalife X6 User manual

saunalife

saunalife X6 User manual

saunalife Garden Series User manual

saunalife

saunalife Garden Series User manual

saunalife Ergo Series User manual

saunalife

saunalife Ergo Series User manual

saunalife Ergo Series User manual

saunalife

saunalife Ergo Series User manual

saunalife Ergo E7 Series User manual

saunalife

saunalife Ergo E7 Series User manual
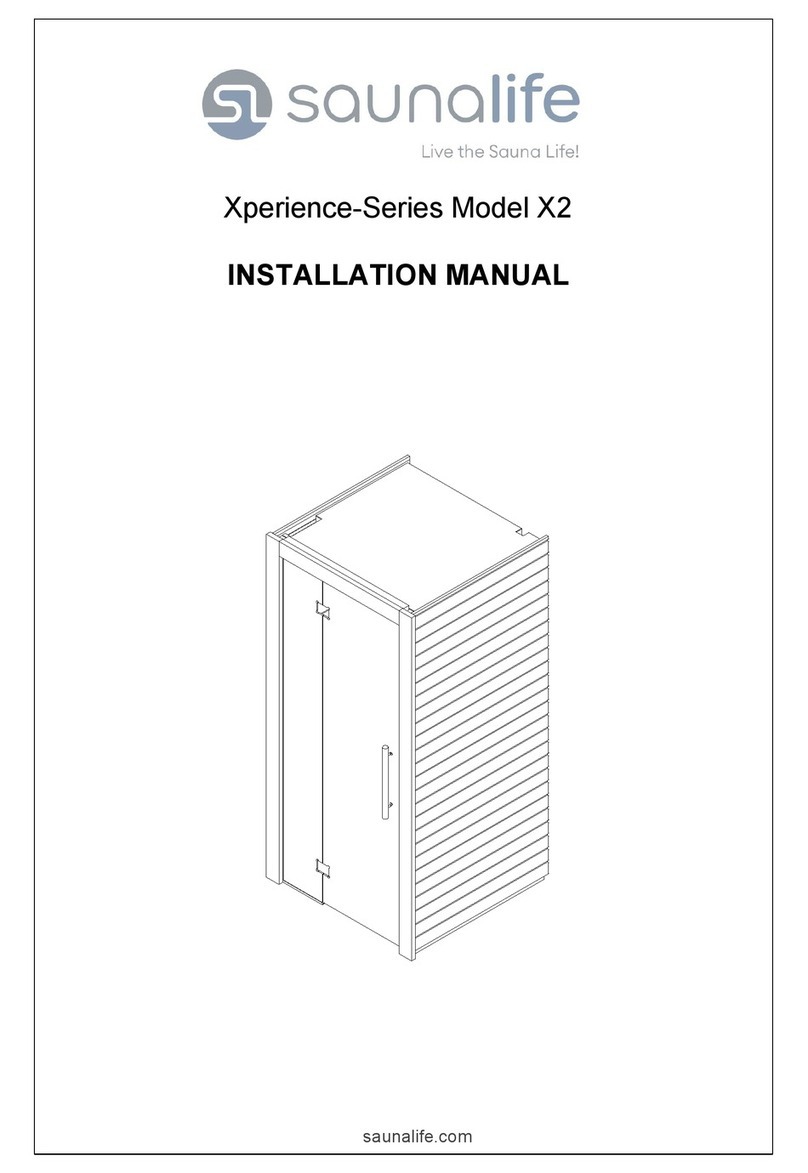
saunalife Ergo Series User manual

saunalife

saunalife Ergo Series User manual

saunalife Garden Series User manual

saunalife

saunalife Garden Series User manual

saunalife X6 User manual

saunalife

saunalife X6 User manual

saunalife Garden G7 User manual

saunalife

saunalife Garden G7 User manual

Popular Plumbing Product manuals by other brands

Delta 4380T-DST manual

Delta

Delta 4380T-DST manual

Delta Broadmoor 15765LF PD Series manual

Delta

Delta Broadmoor 15765LF PD Series manual

Delta PORTWOOD 25770LF quick start guide

Delta

Delta PORTWOOD 25770LF quick start guide

Delta Riosa C43906-WH-RSL Series Installation

Delta

Delta Riosa C43906-WH-RSL Series Installation

Delta 2497LF Series installation instructions

Delta

Delta 2497LF Series installation instructions

Delta 74024 Specification sheet

Delta

Delta 74024 Specification sheet

Delta 567LF-SSPP manual

Delta

Delta 567LF-SSPP manual

Dreamline DL-6150 installation instructions

Dreamline

Dreamline DL-6150 installation instructions

Delta IN2ITION 58470 Series manual

Delta

Delta IN2ITION 58470 Series manual

Delta 25720LF Series quick start guide

Delta

Delta 25720LF Series quick start guide

Delta 35999LF Series quick start guide

Delta

Delta 35999LF Series quick start guide

Delta 15766LF manual

Delta

Delta 15766LF manual

Delta TRINSIC 9659-DST manual

Delta

Delta TRINSIC 9659-DST manual

Delta 1725-LHP Specification sheet

Delta

Delta 1725-LHP Specification sheet

Delta 75609 manual

Delta

Delta 75609 manual

Delta 15960T-DST Series manual

Delta

Delta 15960T-DST Series manual

Range Master TCOSL1 instructions

Range Master

Range Master TCOSL1 instructions

Delta 23025 quick start guide

Delta

Delta 23025 quick start guide

manuals.online logo
manuals.online logoBrands
  • About & Mission
  • Contact us
  • Privacy Policy
  • Terms and Conditions

Copyright 2025 Manuals.Online. All Rights Reserved.