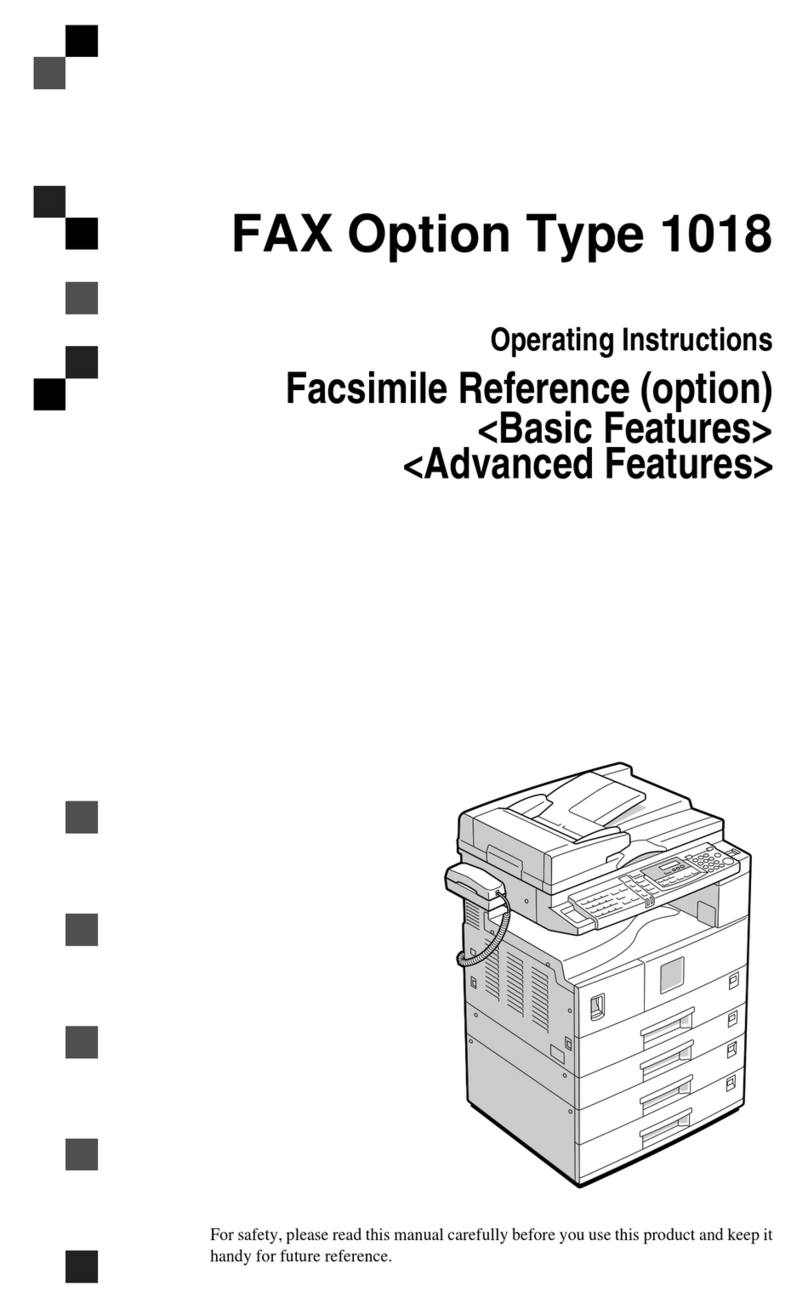
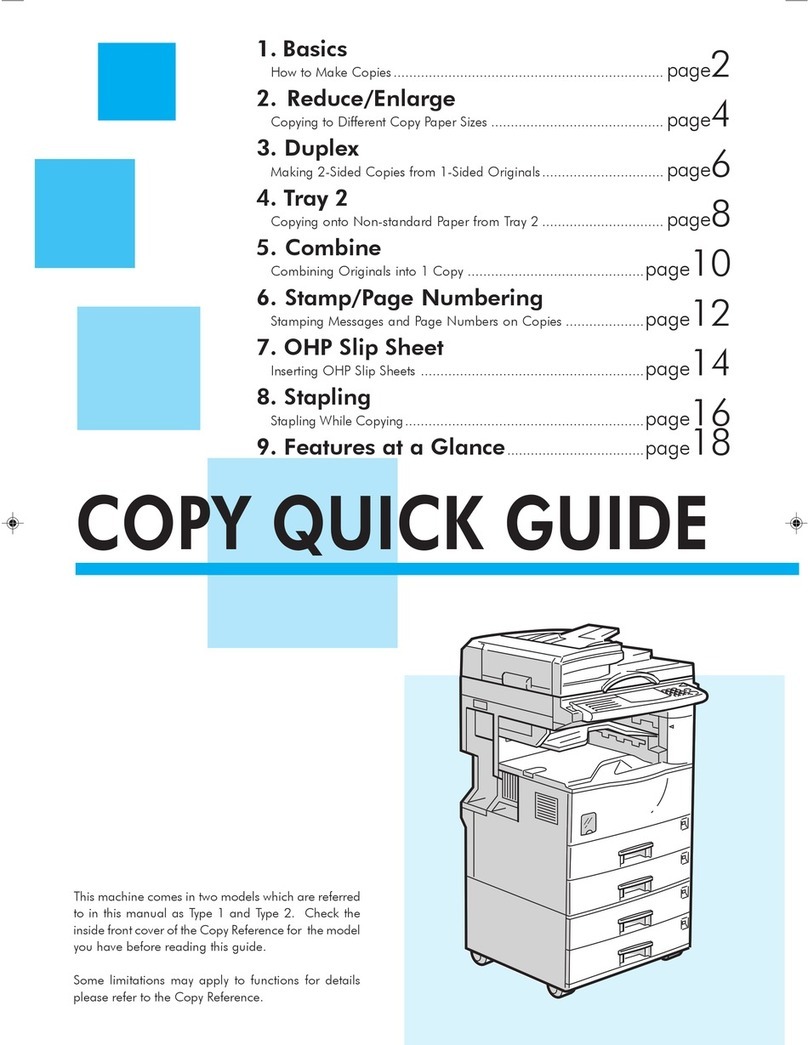
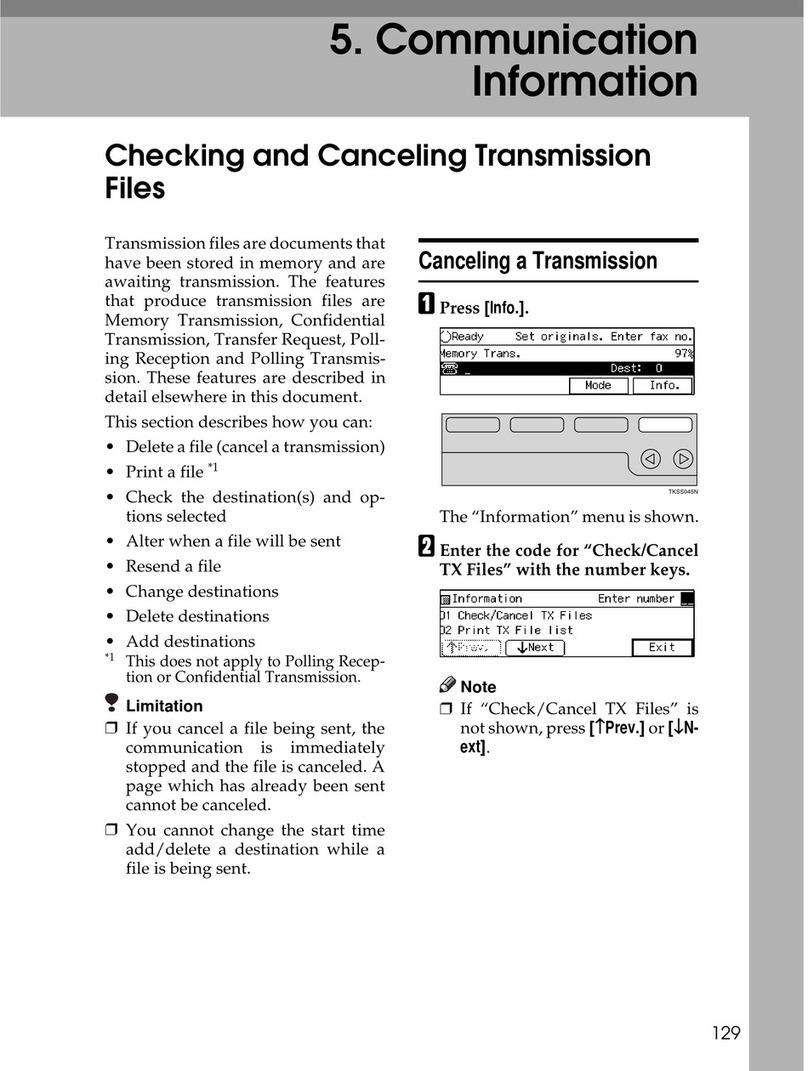
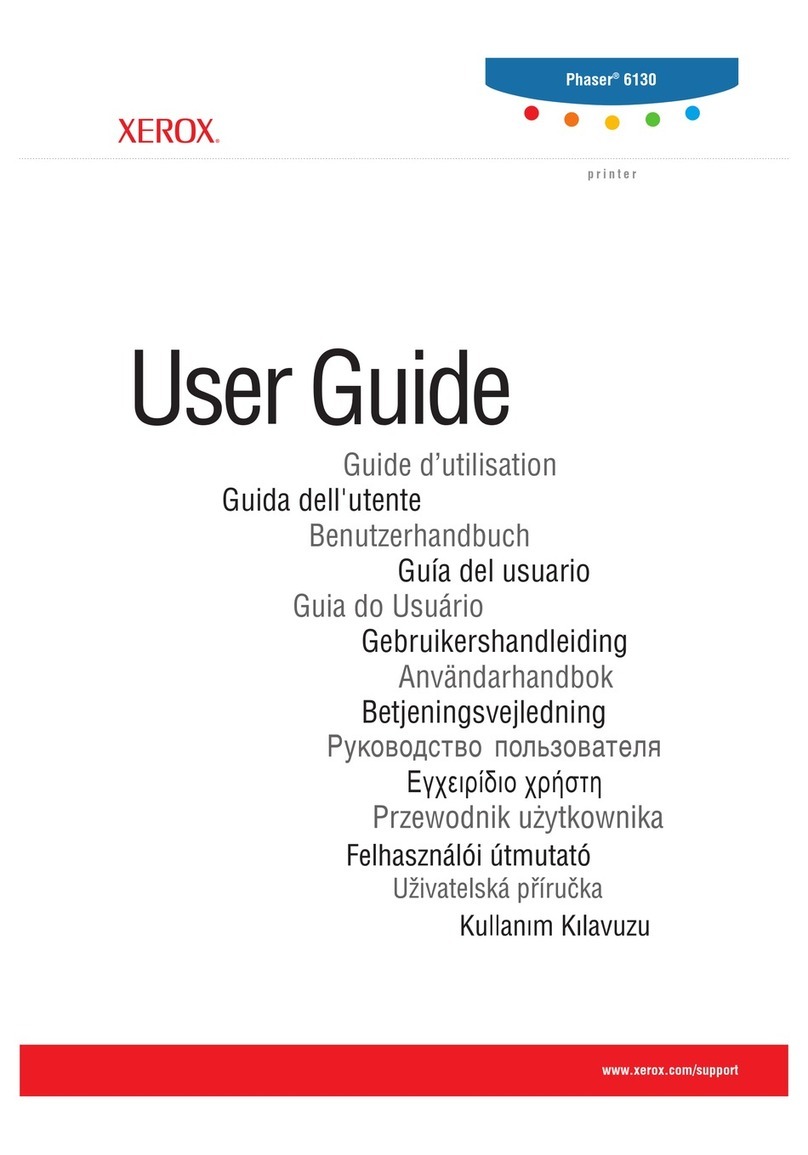
Savin 3699 User manual

229
9. Key Operator Tools
Key Operator Tools
These settings allow you to set up functions you frequently use as well as store
important information, such as your fax machine's identification. In addition,
you can also customize the default settings of each function to suit your require-
ments. The Key Operator Tools settings are split into the following three catego-
ries:
❖
System Settings
⇒
P.230
Use to store your own name and fax number, the type of line your machine is
connected to, Polling ID and other IDs, Internet Fax Settings (option required)
etc.
Also use to adjust the sounds that the machine makes, change the date and
time, and check on how many pages the machine as sent or received.
❖
Initial Set Up
⇒
P.259
Use to set up Collate, Authorized Reception, Specified Tray, Memory Lock,
TX/RX File In HD, Specified Senders, Backup File Transmission, Program
Scan Area etc.
❖
Box Settings
⇒
P.289
With these settings you can register, edit and delete Personal Boxes, Informa-
tion Boxes, and Transfer Boxes.
Note
❒For the order in which the Key Operator Tools settings are displayed,
seeP.322
“Function List”.
❒For detailed information on the above functions, refer to the page reference
given.
❖
Navigating Menus
• To access the Key Operator Tools, enter the code for "Kep Op. Tools"
from the User Tools main menu, then press the {
#
}key within 3 sec-
onds.
• Press [↑
Prev.
]or [
Next
↓]to switch between screens.
• Press [
PrevMenu
]to move to the previous menu.
• When you have finished, press [
OK
]. If you do not press [
OK
], any chang-
es to the Key Operator Tools settings you have made are not applied.
• Press [
Cancel
]to cancel the current setting and return to the previous
menu.

Key Operator Tools
230
9
System Settings
Counters
This function allows you to check the
total number of transmitted, received,
scanned, and printed pages on the
display.
• Transmissions
: Total number of transmitted pag-
es
• Receptions
: Total number of received pages
•Scanning
: The combined total number of
pages that have been scanned in
when copying and sending faxes.
•Printing
: The combined total number of
pages that have been printed
through fax reception, copying,
and PC printing (option).
AMake sure that the machine is in
standby mode.
Note
❒If the “Fax Features” or “Key
Op. Tools” screen is shown,
press the {
User Tools
}key. If any
other display is shown, press
the {
Clear Modes/Energy Saver
}
key.
BPress the {
User Tools
}key.
CEnter the code for “Key Op.
Tools” with the number keys.
Then press the {
#
}key.
The “Key Op. Tools” main menu
appears.
DEnter the code for “System Set-
tings” with the number keys.
EEnter the code for “Counter” with
the number keys.
The totals are displayed.
FWhen you have checked the total
pages, press [
OK
].
Note
❒Press [↑
Prev.
]or [↓
Next
]to
switch between page 1 and 2.
Page 1 shows the total number
of pages sent and received, page
2 shows the total number of
pages scanned and printed.
GPress [
PrevMenu
]twice.

System Settings
231
9
HPress [
Exit
]to return to standby
mode.
Monitor Volume
You can change the volume of the fol-
lowing sounds the machine makes:
❖
On Hook
Sounds made when the {
On Hook
Dial
}key has been pressed.
❖
Transmission
Sounds made when the machine is
sending a message.
❖
Reception
Sounds made when the machine is
receiving a message.
❖
Dialling
Sounds made after pressing the
{
Start
}key while establishing a
connection with the other party.
❖
Scroll Key
Sound made when an operation
panel key is pressed.
❖
Alarm
Sound made when a cover is
opened etc.
AMake sure that the machine is in
standby mode.
Note
❒If the “Fax Features” or “Key
Op. Tools” screen is shown,
press the {
User Tools
}key. If any
other display is shown, press
the {
Clear Modes/Energy Saver
}
key.
BPress the {
User Tools
}key.
CEnter the code for “Key Op.
Tools” with the number keys.
Then press the {
#
}key.
The “Key Op. Tools” main menu
appears.
DEnter the code for “System Set-
tings” with the number keys.
EEnter the code for “Monitor Vol-
ume” with the number keys.
FSelect an item you want to adjust
pressing [↑
Prev.
]and [↓
Next
].
Note
❒On Hook, Transmission, Recep-
tion, Dialling, Scroll Key, and
Alarm are shown in that order.

Key Operator Tools
232
9
❖
On Hook
GAdjust the volume using the 0or
1keys and press [
OK
].
Note
❒When you press [
Cancel
], the
volume setting is canceled and
the display shown in Eappears
again.
❒Lowest = OFF
HPress [
PrevMenu
]twice.
IPress [
Exit
]to return to the stand-
by mode.
Adjusting the Display Contrast
Follow these steps to adjust the con-
trast of the operation panel display.
Eight levels of contrast are available.
AMake sure that the machine is in
standby mode.
Note
❒If the “Fax Features” or “Key
Op. Tools” screen is shown,
press the {
User Tools
}key. If any
other display is shown, press
the {
Clear Modes/Energy Saver
}
key.
BPress the {
User Tools
}key.
CEnter the code for “Key Op.
Tools” with the number keys.
Then press the {
#
}key.
DEnter the code for “System Set-
tings” with the number keys.
EEnter the code for “Display Con-
trast” with the number keys.

System Settings
233
9
Note
❒If the item you require is not
displayed, press [↑
Prev.
]or [↓
N-
ext
]until it is.
FPress the 0or 1keys to adjust
the contrast.
GPress [
OK
].
Note
❒If you press [
Cancel
], the display
in step Ereappears.
HPress [
PrevMenu
]twice.
IPress [
Exit
]to return to the stand-
by mode.
Date/Time
Use this function to set your ma-
chine's internal clock to the current
time and date.
Reference
P.20 “Date/Time”
Summer Time/DST
Whenever local custom requires ad-
vancing the clock or setting the clock
back, use this feature.
Reference
P.21 “Summer Time/DST”
Registering the Economy
Transmission Time
Economy Transmission allow you to
take advantage of off-peak line rates
by delaying transmission of messages
until a later time.
Use the procedure below to program
the Economy Transmission Time for
when your phone rates are cheaper.⇒
P.104 “Send Later”
Limitation
❒You can program only one Econo-
my Transmission time.
AMake sure that the machine is in
standby mode.
Note
❒If the “Fax Features” or “Key
Op. Tools” screen is shown,
press the {
User Tools
}key. If any
other display is shown, press
the {
Clear Modes/Energy Saver
}
key.
BPress the {
User Tools
}key.
CEnter the code for “Key Op.
Tools” with the number keys.
Then press the {
#
}key.
The “Key Op. Tools” main menu
appears.

Key Operator Tools
234
9
DEnter the code for “System Set-
tings” with the number keys.
EEnter the code for “Economy TX”
with the number keys.
FEnter the economy transmission
time with the number keys. To
change AM/PM, press [
AM
↔
PM
]
(North America only). When the
setting is correct, press [
OK
].
Note
❒If you press [
Cancel
], the en-
tered time is canceled and the
display shown in Eappears
again.
GPress [
PrevMenu
]twice.
HPress [
Exit
]to return to the stand-
by mode.
Night Timer
Use this feature to have the machine
turn it's heater on and off automati-
cally at the times that you prescribe.
For example, by having the heater
turned off during the evening, on hol-
idays or at other times when you are
absent, you can cut on power costs.
Note
❒You can program the timer to turn
on or off twice daily over a 1-week
cycle.
❒Incoming faxes are received to
memory (Substitute Reception)
when the heater is off and not
printed until the heater comes back
on.
❒To edit settings already stored for
this feature, follow the same proce-
dure for storing settings (the fol-
lowing procedure).
AMake sure that the machine is in
standby mode.
Note
❒If the “Fax Features” or “Key
Op. Tools” screen is shown,
press the {
User Tools
}key. If any
other display is shown, press
the {
Clear Modes/Energy Saver
}
key.
BPress the {
User Tools
}key.
CEnter the code for “Key Op.
Tools” with the number keys.
Then press the {
#
}key.
The Key Op. Tools menu appears.
System Settings
235
9
DEnter the code for “System Set-
tings” with the number keys.
EEnter the code for “Night Timer”
with the number keys.
Note
❒If the item you require is not
displayed, press [↑
Prev.
]or [↓
N-
ext
]until it is.
FPress the 0or 1keys to turn the
timer on or off.
To turn the timer Off
APress the arrow keys to select
“Off”.
BPress [
OK
].
CPress [
PrevMenu
]twice, then
press
[
Exit
].
GPress [
Set
].
HPress [↓
Next
]to scroll through the
days of the week and timers (1 or
2).
IPress the {
Stop
}key to clear the
current timer setting.
JEnter the time in 24-hour format
on the number keys.
Note
❒If you make a mistake, press the
{
Clear
}key and enter it again.
KPress the 0or 1keys to select
whether to turn the heater on or
off at this time.

Key Operator Tools
236
9
Note
❒If you are programming both
timers for this day, then press
[↓
Next
]to display the other tim-
er (e.g. “Set 2”) and repeat this
procedure.
❒To set a timer for another day,
press [↓
Next
]to display the tim-
er and adjust it as necessary.
LPress [
OK
].
MPress [
OK
].
NPress [
PrevMenu
]twice.
OPress [
Exit
]to return to standby
mode.
Changing the User Parameters
The User Parameters allow you to customize various settings to match your
needs.
Preparation
Access to some User Parameter Settings requires installation of optional
equipment or that other settings be made beforehand.
❖
Switches and Bits
User Parameters are divided into switches, and each switch is divided into
eight bits. The right most bit is bit 0 and the left most is bit 7.
Switch0001000000
↓↓↓↓↓↓↓↓
76543210

System Settings
237
9
❖
User Parameter List
*: Default Settings
Switch Bit Item 0 1
00 0 Stamp home position Off* On
3,2,1 Image density adjustment level home position
000: Normal*, 001: Lighten, 010: Darken
5,4 Resolution home position
00: Standard*, 01: Detail, 10: Fine
6 Transmission Mode home position Memory
Transmis-
sion*
Immediate
Transmission
7 Halftone home position Off* On
01 7 Return the machine to the home set-
tings after each communication Off On*
02 0 Forwarding Mark Off On*
1 Center Mark Off* On
2 Print RX Time Off* On
3 TSI Print Off* On
4 Checkered Mark Off On*
5 CIL Print (optional G4 Unit re-
quired) Off On*
6 TID Print (optional G4 Unit re-
quired) Off* On
03 0 Print Communication Result Report
(Memory Transmission) automati-
cally
Off On*
2 Print File Reserve Report (Memory
Transmission) automatically Off* On
3 Print File Reserve Report (Polling
Reception) automatically Off* On
4 Print Communication Result Report
(Polling Reception) Off On*
5 Print Transmission Result Report
automatically Off On*
6 Print Polling Transmission Clear Re-
port automatically Off On*
7 Print Journal automatically Off On*

Key Operator Tools
238
9
04 0 Print Confidential File Report auto-
matically Off On*
1 Print Fax On Demand Report auto-
matically (optional Fax On Demand
required)
Off* On
7 Print portion of image on some re-
ports Off On*
05 0 Substitute Reception Off On*
1 Memory Reception if no RTI or CSI
received Possible Not possible*
3 High Temperature Standby mode Off* On
5,4 Restricted Access
00: Off*, 01: On, 10: On when the Night Timer is on
7,6 Energy Saver Mode
00: Low Power Standby mode*, 01: Fax Standby mode, 11: Do not
change to Energy Saver Mode
06 0 Print the TTI or CIL (optional G4
Unit required) on messages at the
other end
Off On*
2 ID Transmission Off* On
4 Batch Transmission Off On*
5 Skip Transmission home setting (op-
tional Function Upgrade Card re-
quired)
Off* On
6 ISDN Directory Number Select
(SPID) Off On*
7 Backup File Transmission Off* On
07 2 Parallel Memory Transmission Off On*
3 Auto Reduction Off On*
7,6 Fax On Demand (optional Fax On Demand required)
00: Off*
01: The other party is not required to enter the password to access
the Fax On Demand service
10: The other party is required to enter the password to access the
Fax On Demand service
Switch Bit Item 0 1

System Settings
239
9
08 1,0 Collate
00: Off*
01: Messages from senders whose RTI/CSI/G4 TIDs are pro-
grammed are collated
11: Messages from senders whose RTI/CSI/G4 TIDs are not pro-
grammed are collated
3,2 Authorized Reception
00: Off*
01: Receive messages only from senders whose RTI/CSI/G4 TIDs
are programmed
11: Receive messages only from senders whose RTI/CSI/G4 TIDs
are not programmed
5,4 Specified Tray Selection
(optional Paper Supply Unit required)
00: Off*
01: Messages from senders whose RTI/CSI/G4 TIDs are pro-
grammed are printed from the main paper tray
11: Messages from senders whose RTI/CSI/G4 TIDs are not pro-
grammed are printed from the main paper tray
7,6 Forwarding
00: Off*
01: Forward Messages only from senders whose RTI/CSI/G4 TIDs
are programmed
11: Forward Messages only from senders whose RTI/CSI/G4 TIDs
are not programmed
09 1,0 Memory Lock
00: Off*
01: Messages from senders whose RTI/CSI/G4 TIDs are pro-
grammed are not printed unless you enter the Memory Lock ID
11: Messages from senders whose RTI/CSI/G4 TIDs are not pro-
grammed are not printed unless you enter the Memory Lock ID
3,2 TX/RX File In HD
(optional 40M Expanded Memory Card and optional Function Up-
grade Card are required)
00: Off*
01: Messages from senders whose RTI/CSI/G4 TIDs are pro-
grammed are stored in the memory disk
11: Messages from senders whose RTI/CSI/G4 TIDs are not pro-
grammed are stored on the memory disk
Switch Bit Item 0 1

Key Operator Tools
240
9
How to set the User Parameters
This example shows how to change
the default transmission mode when
the machine is shipped from Memory
Transmission to Immediate Trans-
mission. To do this, we must change
switch 00 bit 6 from 0 to 1.
Important
• We recommend that you print
the User Parameter list and
keep it when you register or
change a user parameter.⇒
P.242 “Printing the User Parame-
ter List”
• Do not change any bit switches
other than those shown on the
previous pages.
AMake sure that the machine is in
standby mode.
10 1 Two in One Off* On
2 Image Rotation Off* On
3 Page Reduction Off* On
4 Rotate Sort Off* On
7 Halftone mode Standard
Mode* Speed Mode
11 0 Transfer Request By Tonal Signals Off* On
1 Selection of tone (PB) or UUI after
tone (·) (when the optional G4 Unit
is installed)
UUI PB*
5 Whether "To" prefixes the label
when Label Insertion is turned on. No Yes*
6 Print Forwarded Messages Locally Off On*
7 Polling Files After Transmission Delete* Standby
12 2 Toner Saving Mode Off* On
4,3 Print Image Density
00: Normal*, 01: Lighten, 10: Darken
7 Copying Possible* Not Possible
13 1,0 Use the main G3 line as an internal extension, or an outside line.
00:Outside Line, 01:Extension (PREFIX), 10:Extension (GND),
11:Extension (FLASH)
3,2 Use the extended G3 line as an internal extension, or an outside line.
00:Outside Line, 01:Extension (PREFIX), 10:Extension (GND),
11:Extension (FLASH)
Switch Bit Item 0 1

System Settings
241
9
Note
❒If the “Fax Features” or “Key
Op. Tools” screen is shown,
press the {
User Tools
}key. If any
other display is shown, press
the {
Clear Modes/Energy Saver
}
key.
BPress the {
User Tools
}key.
CEnter the code for “Key Op.
Tools” with the number keys.
Then press the {
#
}key.
The “Fax Features” menu appears.
DEnter the code for “System Set-
tings” with the number keys.
EEnter the code for “User Parame-
ters” with the number keys.
FMake sure that switch 00 is dis-
played.
Note
❒To show other switches, press
[↑
Switch
]or [↓
Switch
].
GPress number key {
6
}to change
bit 6 to 1.
Note
❒Each time your press number
key 6, the value will switch be-
tween 1 and 0.
❒The bits are displayed in as-
cending order from right to left,
the right most bit being bit 0.
❒You can adjust several bits at
the same time from this screen.
HPress [
OK
].
Note
❒If you press [
cancel
], the display
in step Ereappears.
IPress [
PrevMenu
]twice.

Key Operator Tools
242
9
JPress [
Exit
]to return to the stand-
by display.
Printing the User Parameter List
Print this list to see the current User
Parameter settings.
AMake sure that the machine is in
standby mode.
Note
❒If the “Fax Features” or “Key
Op. Tools” screen is shown,
press the {
User Tools
}key. If any
other display is shown, press
the {
Clear Modes/Energy Saver
}
key.
BPress the {
User Tools
}key.
CEnter the code for “Key Op.
Tools” with the number keys.
Then press the {
#
}key.
The “Fax Features” menu appears.
DEnter the code for “System Set-
tings” with the number keys.
EEnter the code for “Prt. User.
Param.” with the number keys.
FPress the {
Start
}key to print the
list.
Note
❒If you press [
Cancel
]before
printing starts, the printing
stops and the display shown in
Eappears again.
GPress [
PrevMenu
]twice.
HPress [
Exit
]to return to the stand-
by display.
File Retention
If a connection could not be made to
the other party during a Memory
Transmission even though the num-
ber was redialed the stipulated num-
ber of times, this setting specifies
whether or not the file/document is
preserved in memory.
If a file/document is stored in memo-
ry, you can easily resent it without
having to scan it in again.
AMake sure that the machine is in
standby mode.

System Settings
243
9
Note
❒If the “Fax Features” or “Key
Op. Tools” screen is shown,
press the {
User Tools
}key. If any
other display is shown, press
the {
Clear Modes/Energy Saver
}
key.
BPress the {
User Tools
}key.
CEnter the code for “Key Op.
Tools” with the number keys.
Then press the {
#
}key.
DEnter the code for “System Set-
tings” with the number keys.
EEnter the code for “File Reten-
tion” with the number keys.
Note
❒If the item you require is not
displayed, press [↑
Prev.
]or [↓
N-
ext
]until it is.
FPress the 0or 1keys to select
the time or turn this feature off.
GPress [
OK
].
HPress [
PrevMenu
]twice.
IPress [
Exit
]to return to standby
mode.
RTI/TTI
The RTI (Receive Terminal Identifica-
tion) is used to identify your machine
to the other party when communicat-
ing with machines of the same make.
The TTI (Transmitter Terminal Identi-
fication) is printed on the header of
every fax you send and aids the other
party identify your fax messages.
Reference
P.21 “Registering your RTI and TTI”
G3-1 Analog Line
You need to register the following
items before you connect the machine
to a G3 analog line:
• PSTN Line Type
Select whether the connected line
uses tone or pulse dialing.
• CSI (up to 20 digits)
The CSI (Called Station Identifica-
tion) is passed to the other party
when you send or receive a fax.

Key Operator Tools
244
9
When the CSI is received, it is
shown on the display or printed on
reports on the receiver's or send-
er's machine. The CSI works even
if the receiver or sender uses a dif-
ferent make machine. The CSI can
be up to 20 characters long and
contain a plus sign (+), numbers
and spaces. Register your country
code, area code (minus the leading
zero) and your fax number in that
order.
Note
❒The CSI feature is not available in
some countries.
❒When using sending to Transfer
Stations or machines set up with
Transfer Boxes, you need to regis-
ter the CSI with your own analog
number (the telephone number to
which your machine is connected)
so that the transfer station can re-
turn the Transfer Result report to
you. Be sure to enter a pause after
the area code.
AMake sure that the machine is in
standby mode.
Note
❒If the “Fax Features” or “Key
Op. Tools” screen is shown,
press the {
User Tools
}key. If any
other display is shown, press
the {
Clear Modes/Energy Saver
}
key.
BPress the [
User Tools
]key.
CEnter the code for “Key Op.
Tools” with the number keys.
Then press the {
#
}key.
The “Fax Features” menu appears.
DEnter the code for “System Set-
tings” with the number keys.
EEnter the code for “G3-1 Analog
Line” with the number keys.
FEnter the code for “PSTN Line
Type” with the number keys.
GSelect your line type with the ar-
row keys then press [
OK
].
HEnter the code for “CSI” with the
number keys.

System Settings
245
9
IEnter your CSI then press [
OK
].
JPress [
PrevMenu
]three times.
KPress [
Exit
]to return to the stand-
by mode.
G3-2 Analog Line
This function requires the optional G3
Unit.
You need to register the following
items before you connect the machine
to a second G3 analog line:
•PSTNLineType
Select whether the connected line
uses tone or pulse dialing.
• CSI (up to 20 digits)
The CSI (Called Station Identifica-
tion) is passed to the other party
when you send or receive a fax.
When the CSI is received, it is
shown on the display or printed on
reports on the receiver's or send-
er's machine. The CSI works even
if the receiver or sender uses a dif-
ferent make machine. The CSI can
be up to 20 characters long and
contain a plus sign (+), numbers
and spaces. Register your country
code, area code (minus the leading
zero) and your fax number in that
order.
Note
❒The CSI feature is not available in
some countries.
❒When using sending to Transfer
Stations or machines set up with
Transfer Boxes, you need to regis-
ter the CSI with your own analog
number (the telephone number to
which your machine is connected)
so that the transfer station can re-
turn the Transfer Result report to
you. Be sure to enter a pause after
the area code.
AMake sure that the machine is in
standby mode.
Note
❒If the “Fax Features” or “Key
Op. Tools” screen is shown,
press the {
User Tools
}key. If any
other display is shown, press
the {
Clear Modes/Energy Saver
}
key.
BPress the {
User Tools
}key.
CEnter the code for “Key Op.
Tools” with the number keys.
Then press the {
#
}key.
The Key Op. Tools menu appears.
Key Operator Tools
246
9
DEnter the code for “System Set-
tings” with the number keys.
EEnter the code for “G3-2 Analog
Line” using the number keys.
FEnter the code for “PSTN Line
Type” using the number keys.
GSelect the desired line type and
press
[
OK
].
HEnter the code for “CSI” with the
number keys.
IEnter your CSI and press [
OK
].
JPress [
PrevMenu
]three times.
KPress [
Exit
]to return to the stand-
by mode.
G3 Digital Line
This function requires the optional G4
Unit.
The following settings are available
for G3 communications over ISDN:
• Own Fax Number 1
Enter the number of the line the
machine is connected to.
• SPID (Own Fax Number 2)
Enter the number of SPID. If the
“ISDN Directory Number Select
(SPID)” setting in the User Param-
eters is turned off, the display
shows "Own Fax Number 2" in-
stead of "SPID". These settings are
identical.
• Sub-address
• CSI (maximum 20 characters)
Enter the international identifica-
tion number that is transferred to
the other party during transmis-
sion or reception.
Note
❒Before storing the sub-address,
store the sub-address function in a
User Function key.⇒P.211 “As-
signing User Function Keys”
❒The CSI is an international identifi-
cation number that is transferred
to the other party during transmis-
sion or reception. This information
appears on the display of the other
party's fax machine and is printed
on their lists and reports. The CSI
feature works with other manufac-
turer's fax machines that support
this feature.

System Settings
247
9
❒The CSI can obtain digits 0-9, “+”
and spaces.
AMake sure that the machine is in
standby mode.
Note
❒If the “Fax Features” or “Key
Op. Tools” screen is shown,
press the {
User Tools
}key. If any
other display is shown, press
the {
Clear Modes/Energy Saver
}
key.
BPress the {
User Tools
}key.
CEnter the code for “Key Op.
Tools” with the number keys.
Then press the {
#
}key.
DEnter the code for “System Set-
tings” with the number keys.
EEnter the code for “G3 Digital
Line” with the number keys.
Note
❒If the item you require is not
displayed, press [↑
Prev.
]or [↓
N-
ext
]until it is.
Registering your Own Fax
Number 1
AEnter the code for “Own Fax
Number 1” with the number
keys.
BEnter the fax number.
CPress [
OK
].
Registering a SPID (or Own Fax
Number 2)
AEnter the code for “SPID” with
the number keys.
Note
❒When “Own Fax Number 2”
is displayed, the following
screen appears. Enter the
code for "Own Fax Number
2" with the number keys.
BEnter the fax number.

Key Operator Tools
248
9
Note
❒If you choose “Own Fax
Number 2”, the following
screen appears. Enter your
second fax number with the
number keys.
CPress [
OK
].
Registering the Sub-address
AEnter the code for “Sub-ad-
dress” with the number keys.
BEnter the sub-address.
CPress [
OK
].
Registering the CSI
AEnter the code for “CSI” with
the number keys.
BEnter the CSI.
CPress [
OK
].
FPress [
PrevMenu
]three times.
GPress [
Exit
]to return to standby
mode.
G4 Digital Line
This function requires the optional G4
unit.
Register these settings before con-
necting to the ISDN. You can store the
following items:
• Own Fax Number 1
Enter the fax number of the PSTN
the machine is connected to.
• SPID (Own Fax Number 2)
Enter the number of SPID. If the
“ISDN Directory Number Select
(SPID)” setting in the User Param-
eters is turned off, the display
shows "Own Fax Number 2" in-
stead of "SPID". These settings are
identical.
• Sub-address
• TID (maximum 22 characters)
AMake sure that the machine is in
standby mode.
Note
❒If the “Fax Features” or “Key
Op. Tools” screen is shown,
press the {
User Tools
}key. If any
other display is shown, press
the {
Clear Modes/Energy Saver
}
key.
BPress the {
User Tools
}key.
Other manuals for 3699
3
Table of contents
Other Savin All In One Printer manuals

Savin
Savin 2045 - Type Print Server User manual

Savin
Savin 3699 Use and care manual

Savin
Savin 9025b User manual

Savin
Savin 1045 User manual

Savin
Savin SP 311SFNw User manual

Savin
Savin 3651 User manual

Savin
Savin 3355 User manual

Savin
Savin 9020 User manual

Savin
Savin MP 301SPF User manual

Savin
Savin 4800WD User manual