manuals.online logo
Brands
  1. Home
  2. •
  3. Brands
  4. •
  5. Saxby Lighting
  6. •
  7. Light Fixture
  8. •
  9. Saxby Lighting Sirio 75505 Manual

Saxby Lighting Sirio 75505 Manual

This manual suits for next models

5

Other Saxby Lighting Light Fixture manuals

Saxby Lighting Seran 55689 Manual

Saxby Lighting

Saxby Lighting Seran 55689 Manual

Saxby Lighting Atlantis 14018 User manual

Saxby Lighting

Saxby Lighting Atlantis 14018 User manual

Saxby Lighting Recon User manual

Saxby Lighting

Saxby Lighting Recon User manual

Saxby Lighting Linear Pro 72364 Manual

Saxby Lighting

Saxby Lighting Linear Pro 72364 Manual

Saxby Lighting Eyot Wall EL-YG-5006 Manual

Saxby Lighting

Saxby Lighting Eyot Wall EL-YG-5006 Manual

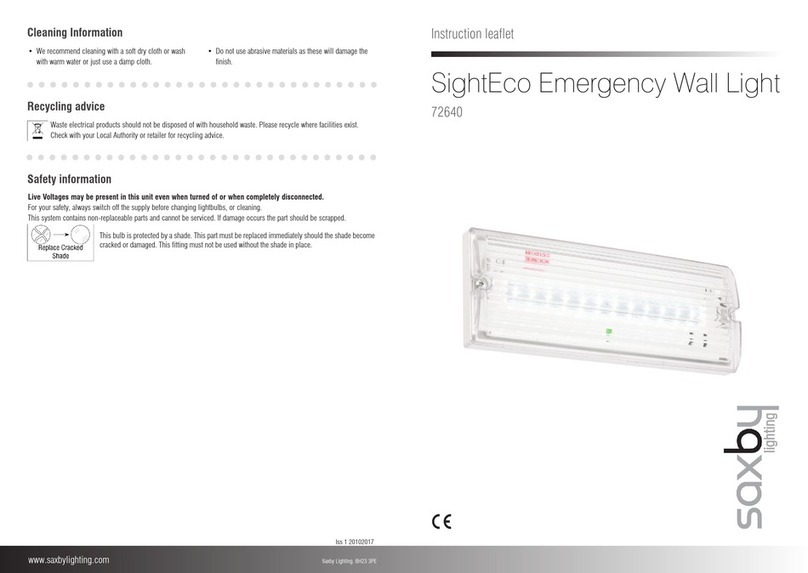
Saxby Lighting SightEco 72640 Manual

Saxby Lighting

Saxby Lighting SightEco 72640 Manual

Saxby Lighting Aqualine 52309 Manual

Saxby Lighting

Saxby Lighting Aqualine 52309 Manual

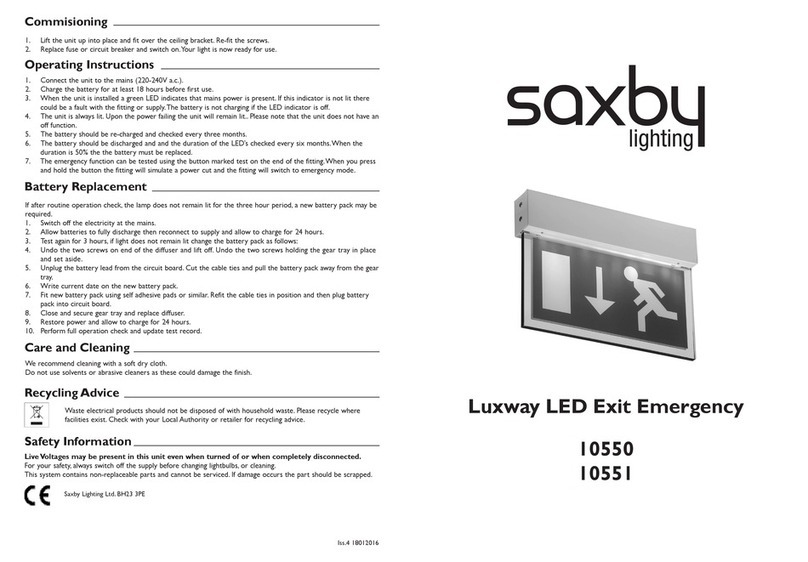
Saxby Lighting Luxway User manual

Saxby Lighting

Saxby Lighting Luxway User manual

Saxby Lighting 1818S Manual

Saxby Lighting

Saxby Lighting 1818S Manual

Saxby Lighting Cody track 79219 Manual

Saxby Lighting

Saxby Lighting Cody track 79219 Manual

Popular Light Fixture manuals by other brands

Veko Magnus manual

Veko

Veko Magnus manual

Cooper Lighting Halo L10538 specification

Cooper Lighting

Cooper Lighting Halo L10538 specification

Emos CLASSIC ZY1431T manual

Emos

Emos CLASSIC ZY1431T manual

Westinghouse Outdoor Lighting Fixture owner's manual

Westinghouse

Westinghouse Outdoor Lighting Fixture owner's manual

Hedler C 12 silent Operation manual

Hedler

Hedler C 12 silent Operation manual

Blizzard Lighting Puck: CSI manual 

Blizzard Lighting

Blizzard Lighting Puck: CSI manual 

Energetic Lighting ELYSL-5004 Series installation instructions

Energetic Lighting

Energetic Lighting ELYSL-5004 Series installation instructions

Lightmaxx Shaft 5R user manual

Lightmaxx

Lightmaxx Shaft 5R user manual

Triarch 31083 Assembly instructions

Triarch

Triarch 31083 Assembly instructions

Philips 32614 Series user manual

Philips

Philips 32614 Series user manual

IKEA TIVED Assembly instructions

IKEA

IKEA TIVED Assembly instructions

Lightolier LP200 specification

Lightolier

Lightolier LP200 specification

Chauvet Professional ROGUE R1 BEAM WASH user manual

Chauvet Professional

Chauvet Professional ROGUE R1 BEAM WASH user manual

Martin MAC 250 Krypton user manual

Martin

Martin MAC 250 Krypton user manual

Cooper Lighting Halo L3232E Specification sheet

Cooper Lighting

Cooper Lighting Halo L3232E Specification sheet

Stageline ODW-2410RGBW instruction manual

Stageline

Stageline ODW-2410RGBW instruction manual

Lightolier Paralyte 2424 PLA2G9LS26U specification

Lightolier

Lightolier Paralyte 2424 PLA2G9LS26U specification

Lightolier Lytespan 83ED17S specification

Lightolier

Lightolier Lytespan 83ED17S specification

manuals.online logo
manuals.online logoBrands
  • About & Mission
  • Contact us
  • Privacy Policy
  • Terms and Conditions

Copyright 2025 Manuals.Online. All Rights Reserved.

Instruction leaflet
Sirio Recessed
75505, 75506, 75507, 75509, 75512, 75515
www.saxbylighting.com
For your safety, always switch off the supply before cleaning.
Waste electrical products should not be disposed of with household waste. Please recycle where facilities
exist. Check with your Local Authority or retailer for recycling advice.
Recycling advice
Safety information
Saxby Lighting,. BH23 3PE
• Werecommendcleaningwithasoftdrycloth.Donotusesolventsorabrasivecleanersasthesecoulddamagethe
finish.
• Ensure that the product is sitting properly on the
suspended ceiling frame (See Fig. 4). Replace any
other ceiling tiles.
• Replacefuseor circuitbreaker andswitch on.Your
light is now ready for use.
Commissioning
• TheLEDsinthisproductarenonreplaceable.
Fitting/replacing bulbs
Iss.2 25012018
Fig. 4
Accessories Available
Daylight Harvest Sensor - 74258
• Only for use with 75505/75506/75507/75512/75515
• Thissensorwillallowthelightoutputtoactivelychangedependingonhowbrightthe
surrounding space is.
• Tofitthissensor,themagneticcoveronthebackoftheSiriowillneedtoberemoved
andreplacedwiththesensor.Detailedinstructionswillbeincludedwith74258
Surface Mount Kit - 75519/75520/75521
• 75519 - for use with 75505/75506/75507
• 75520 - for use with 75509
• 75521 - for use with 75512/75515
• Thiskitwillallowthepanelstobemountedtotheceilingwhennotbeingusedina
suspended ceiling.
Suspension Kit - 75518
• Thiskitwillallowthepanelstobesuspendedupto1metrefromtheceiling.
Thankyouforpurchasingthislightfitting.Pleasereadtheinstructionscarefullybeforeusetoensuresafeand
satisfactory operation of this product. Please retain these instructions for future reference.
Warning
This light fitting is Double Insulated and does
not require connection to an Earth circuit.
Please read these instructions carefully before
commencing any work.
Thisunitmustbefittedbyacompetentandqualified
electrician.
Install in accordance with IEE Wiring regulations and
current Building Regulations.
Topreventelectrocutionswitchoffatmainssupply
before installing or maintaining this fitting. Ensure
other persons cannot restore the electrical supply
without your knowledge.
Thislightfittingshouldbeconnectedtoafusedcircuit.
If replacing an existing fitting, make a careful note of
the connections.
Thissystemcontainsnon-replaceablepartsand
cannot be serviced. If damage occurs the part should
be scrapped.
Thisproductisnotsuitablefordimming.
Waste electrical products should not be disposed of
with household waste. Please recycle where facilities
exist. Check with your local authority or retailer for
recycling advice.
Specification
Voltage: AC 220-240V 50Hz
Lamp: 75505:40WLEDmodule-3000K
 75506:40WLEDmodule-4000K
 75507:40WLEDmodule-6000K
 75509:60WLEDmodule-4000K
 75512:40WLEDmodule-4000K
 75515:40WLEDmodule-4000K
IP rating: 20
Layout
• Planthedesiredlayoutofthesefittingscarefully,
ensuring the cables will reach the distances between
theLEDDriverandeachlightfitting.
• EnsurethatthereisadequateventilationfortheLED
Driver.
• Avoidlocatinganycablesinpositionsthatwould
cause a hazard. Position cables and junction boxes
(not supplied) away from areas where they may be
at risk from being cut, trapped or damaged.
• Themainssupplycablemusthaveaminimumcross
sectional area of 1.0mm².
• Thesefittingsaredesignedtobefittedintoa
suspended ceiling.
• PanelsareratedasTP(b)accordingtoBuilding
Regulations B2.
Existing fittings must be completely removed before
installation of a new product. Before removing the
existing fitting, carefully note the position of each set
of wires
• Ifthereisaceilingtileinpositionthenensurethatit
is removed (See Fig. 1).
• WireLEDdriverasshownbelowandconnectdriver
cable to panel using push & twist connector (See
Fig. 2)
• RefitthecoverontheLEDdriver.
.•Placepanelfittingintotheceiling.Ensurethat
thefittingissittingproperlyontheTbarofthe
suspended ceiling and is not fouling any of the
supporting bars (See Fig. 3).
Installation
Wiring
Check that...
• Youhavecorrectlyidentifiedthewires.
• Theconnectionsaretight.
• No loose strands have been left out of the connection
block.
Having correctly identified the wiring from your existing
light fitting, pull the wire through the hole and connect
totheconnectionblockinsidetheLEDdriverinthe
following way:
Thisunitisdoubleinsulatedandmustnotbeearthed.If
there are any incoming earth cables, they must be joined
togetherandwellinsulatedwithgoodqualityinsulation
tape.Thisistoensureearthcontinuitythroughoutyour
property.
Fig. 1 Fig. 2 Fig. 3