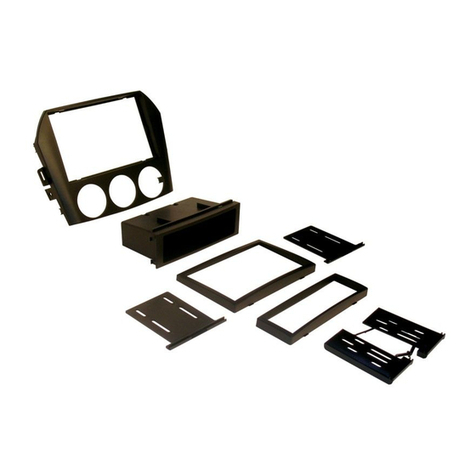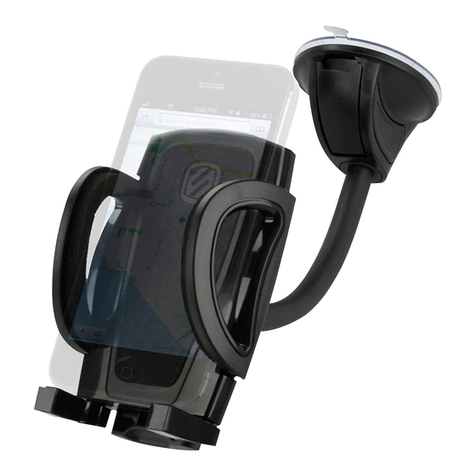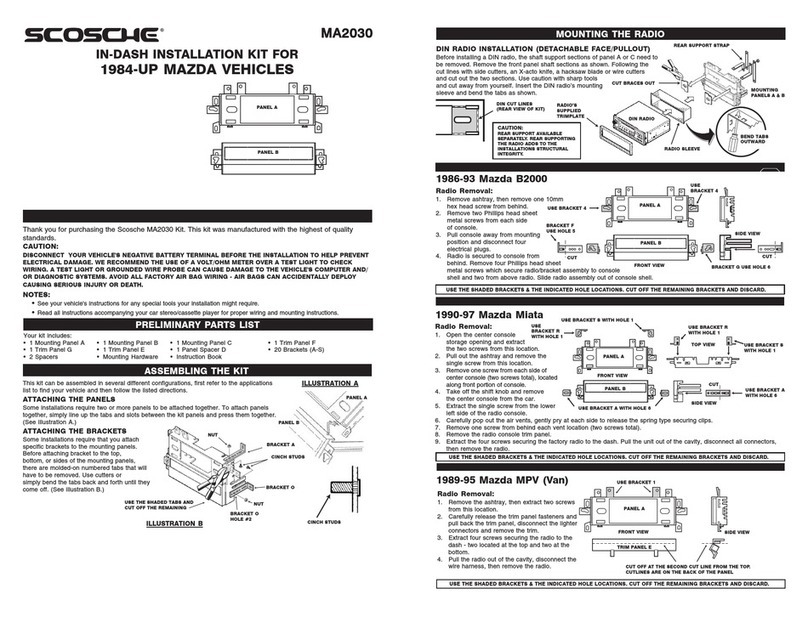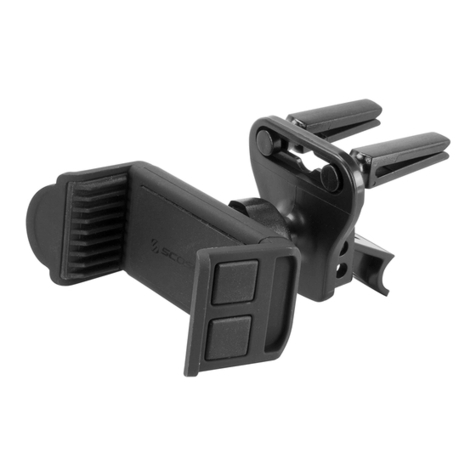
Modification
Required:
Please
read
complete
instructions
before
proceeding.
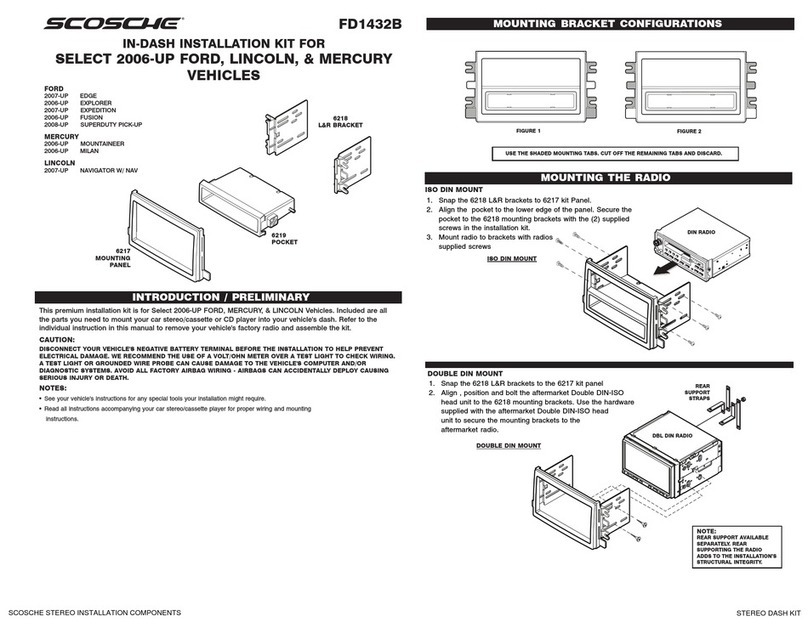
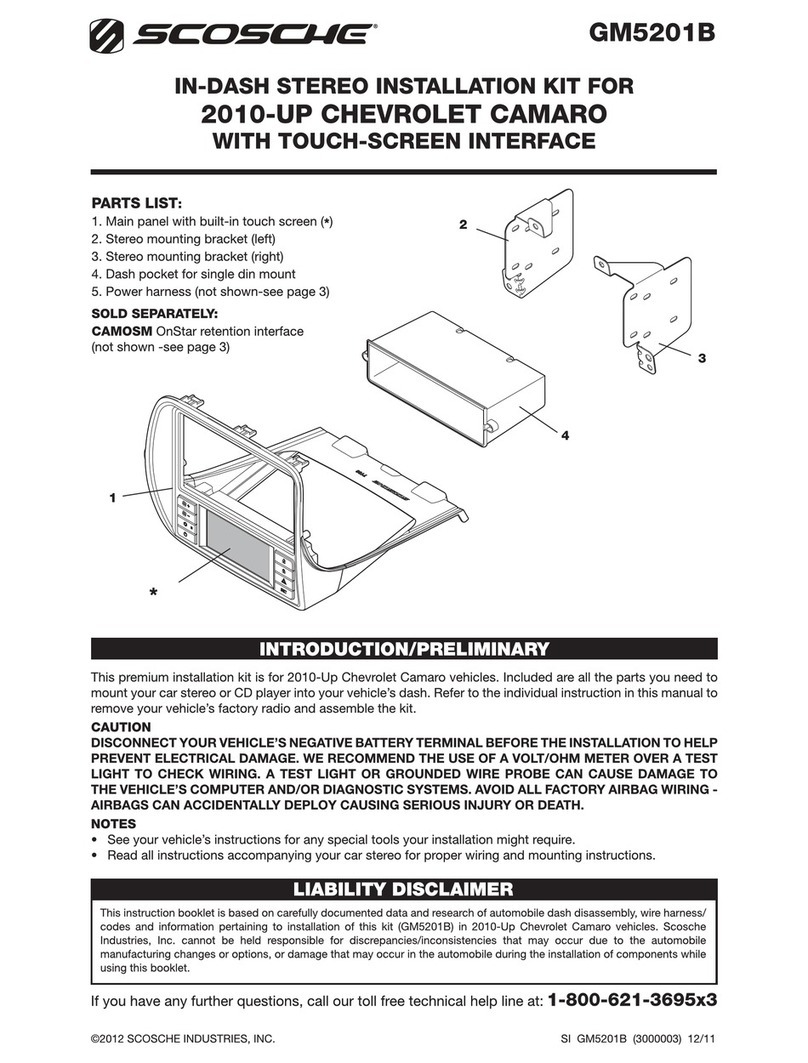
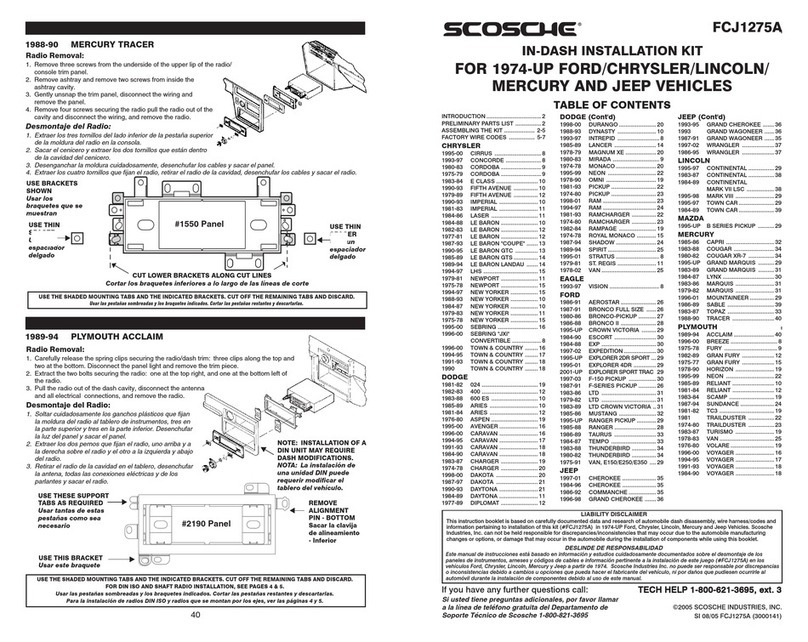
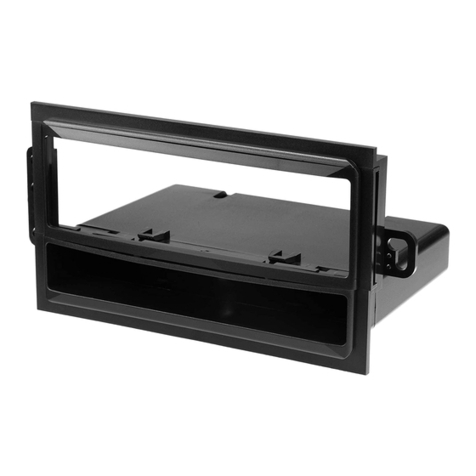
Location modification required for this installation, proceed with caution.
If you are unsure or feel that the installation is
to
difficult, we recommend you seek
professional installation. Note that additional installation fees may apply and vary
by
location. Scosche is not responsible or liable for any additional fees or modification done
by
the installer.
Caution!
Before beginning the disassembly make sure
of
the following:
Negative battery terminal is disconnected.
Parking brake is ON.
Gear shifter is set to a lower gear.
1. Using a panel removal tool, carefully pry
and remove the speaker grille located on
Q,,-------
,.,
,..l!illil_
the
top
of
the dash. Second, unscrew the
(2)
7mm hex screws exposed. Third, using
a panel removal tool, unclip the
top
panel
(highlighted) and unplug/unclip any wiring
then set aside for re-installation. Fourth,
remove the
(2)
7mm screws exposed
(securing the stereo face panel).
2. Using a panel removal tool carefully
pry and pull the radio face panel away
and disconnect it from the center dash.
Second, remove the lower plastic trim
panel being held
by
two
screws (trim not
shown
see
screw
locations
on
illustration
#2).
Third, unscrew the
(4)
7mm screws
securing the CD player and unplug/unclip
any wires, then carefully set aside for
re-installation. Fourth open the lower acc.
tray compartment door.
3. If not already done, place the parking
13'--------------
brake
ON
and set the gear shift to neutral
~
(illustration 3, #1). Open the center
console's arm rest and carefully pry
(illustration 3,
#2)
the cup holder/shifter
panel from the center console. Once the
panel is loose, carefully pull the panel back
and
upwards
away
from
location,
then
set
aside for re-installation.
4
•
•
•
Accessing 12V Power VEHICLE DISASSEMBLY
1
(2) Front 7mm hex screws
are exposed after the top
panel is removed
2
