manuals.online logo
Brands
  1. Home
  2. •
  3. Brands
  4. •
  5. Scotts
  6. •
  7. Spreader
  8. •
  9. Scotts SS-2 User manual

Scotts SS-2 User manual

Spreader
information
BENEFITS
1. Hopper capacity: 46 litres
2. Spreader width: 91 cm
3. Exact setting of fertilizer application rates
4. Can also be used for grass seed and sand
5. Easy to handle because of large wheels with broad pneumatic tyres
6. Stainless steel frame, hopper and fasteners provide outstanding durability and
corrosion resistance
7. Extended handle with grips for added comfort
8. Lift handles in the front and bank for easier loading and unloading
SS-2
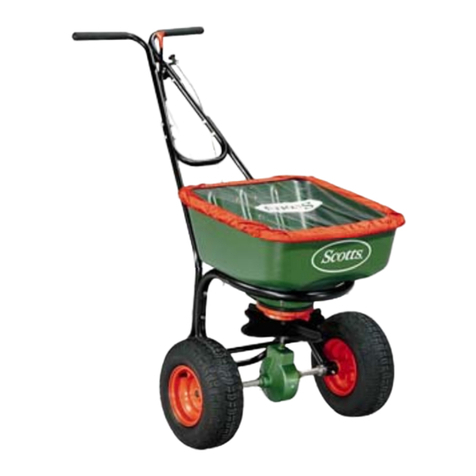
Professional Drop Spreader
SPREADER SETTING GUIDELINES
Settings for SINGLE PASS application at full rate
Spreader setting at full label rates. Amount of product (g/m2) applied after one run:Product Name Effective
width (m) 5 10 15 20 25 30 35 40 45 50 55
Sierraform GT 0,91 3,25 3,75 4,25 4,75 5,25 5,75 6,25 6,50 6,75
Sportsmaster 0,91 3,75 4,25 4,75 5,25 6,00 6,25 6,75 7,00 7,25 7,75
Sportsmaster Organic 0,91 4,00 5,00 6,00 7,00 8,00 9,00 10,00 11,00 12,00
Greenmaster Organic 0,91 4,25 4,75 5,00 5,50 6,00 6,25 6,50 6,75 7,25
Greenmaster Pro-Lite 0,91 3,75 4,00 4,50 5,00 5,25 5,50 6,00 6,25 6,50
H2Pro granules 0,91 2,00 2,75 3,25
STEP 091 3,75 4,25 4,75
Coated products aren’t suitable for drop spreaders.
The spreader settings are guidelines only. The spreader should be calibrated
prior to application to ensure accuracy. The spreader settings are based on a
walking speed of 5 km/hour. Walking faster or slower than 5 km/hour
will alter the spread width and application rate. Exact rates are dependent
upon the spreader itself and the accuracy of the person operating it.
Scotts International B.V.,
Scotts Professional
P.O. Box 40, 4190 CA Geldermalsen,
The Netherlands
Tel.: +31 (0)418 655 700
Fax: +31 (0)418 655 795
E-mail: info@scottsprofessional.com
Internet: www.scottsprofessional.com
ASSEMBLY
4. Stand spreader upright on wheels. Attach upper handle
assembly to handle brace (make sure handle is positioned as
shown) using four 1/4-20 X 1 1/2” hex bolts, eight curved
washers, and four locknuts. Tighten securely. Install handle
grips onto upper handle. Slide handle lever assembly between
handle brackets and secure with 1/4 diameter clevis and cotter
pin. Make sure lever pivots freely.
1. Remove spreader and components from carton.
Place hopper on its front panel, insert two 1/4-20 X
1/2” hex head bolts through the leg; flattened end of
handle brace and holes in hopper as shown. Install
hex locknuts but do not tighten. Repeat on opposite
side.
2. Slide wheels onto each end of axle with the longer
portion of the wheel facing the hopper. Secure
wheels with 3/16 dia. x 2” cotter pins.
3. Install control tube between the control tube
braces and secure with two 1/4-20 X 1 1/2” hex bolt
and locknuts.
Handle Lever
Assembly
Handle Brace Curved
Washers Handle Grip
¼ - 20 x ½”
5. Slide the ends of the control tube braces over the studs on
the shutoff bar brackets; secure with cotter pins. Attach
opposite end of control tube to the handle lever using 1/4
diameter clevis and cotter pin. Make sure handle lever operates
freely. Tighten all Nuts left loose in Step #1. Install hopper
handle on front of spreader using two 1/4-20 X 1/2” hex bolts
and locknuts.
6. To check spreader for completed shutoff, pull the handle
lever back to the “OFF” position. Turn spreader over to see if
the shutoff bar completely covers the holes in the bottom of
the hopper. If not, stand the spreader upright on wheels and
push the handle lever forward to the “ON” position. Loosen
the bolts in the hopper holding the handle brace. Push down on
the handle brace and the front of the Hopper. Retighten bolts
and check the shutoff.
LocknutLeg Hex Bolt
¼ - 20 X ½”
Locknut ¼ - D. Clevis Cotter Pin
3/16 x 2”
Hopper Handle Locknut
¼ - D. Clevis ¼ - 20 x ½”
Drive Wheel
Cotter Pin
Control Tube
Locknut
¼ - 20 x 1 ½”
Hex Bolt
MAINTENANCE
1. Never store unused material in spreader. Return unused product to its original container.
2. Set rate slide on the highest number, open spreader and spin wheels to remove excess material.
3. Wash out hopper thoroughly after each use to remove material clinging to surfaces. Pay close attention
to area between the shutoff bar and the hopper. Allow spreader to completely dry.
4. Oil bottom of hopper, control housing spring and agitators at the center bearing. Lubricate axle.
“Open”
Oil
Oil
Oil
Grease
HOW TO USE RECOMMENDED WALKING PATTERN
1. Before filling hopper, make sure spreader handle lever is in the
“OFF” position. Always fill spreader on sidewalk or drive, not on
the lawn.
Optimum distribution at full rate
and single pass.
2. Loosen rate control knobs and move the tie bar to setting
recommended for the product applied. Retighten knobs. If setting
is not known, refer to “Determing Application Rates” section of
this book.
3. Always push spreader, do not pull. Start spreader in motion and
as it passes over the area to be treated, push handle lever to the
“ON” position. Close handle lever at the end of each pass.
4. Operate spreader at 3 MPH pace. (33.3 feet in 7.5 seconds)
5. Apply two header strips at each end of area to treated and then
proceed lengthwise between the header strips. Be sure to overlap
the wheel tracks slightly to prevent streaking.
6. When applying lime, do not use limestone that is so finely
ground that it will pack inside the hopper, or use hard, abrasive
particles, which will damage the spreader. Use only compacted,
free-flowing, non-abrasive lime products.

Other Scotts Spreader manuals

Scotts ACCUGREEN 1000 User manual

Scotts

Scotts ACCUGREEN 1000 User manual

Scotts AccuPro 2000 User manual

Scotts

Scotts AccuPro 2000 User manual

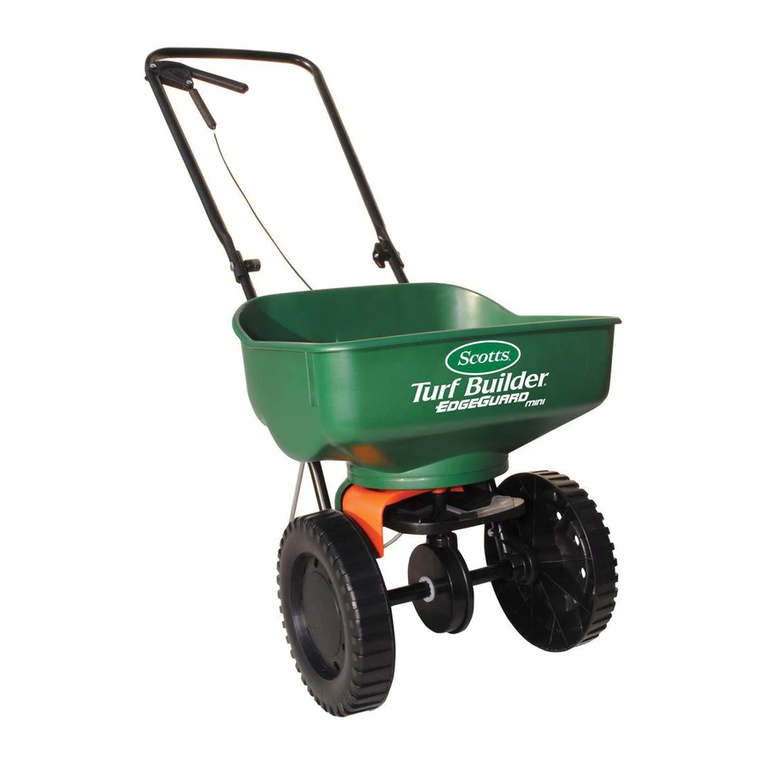
Scotts Turf Builder EdgeGuard MINI User manual

Scotts

Scotts Turf Builder EdgeGuard MINI User manual

Scotts AccuGreen 3000 User manual

Scotts

Scotts AccuGreen 3000 User manual

Scotts ACCUGREEN 2000 75345 User manual

Scotts

Scotts ACCUGREEN 2000 75345 User manual

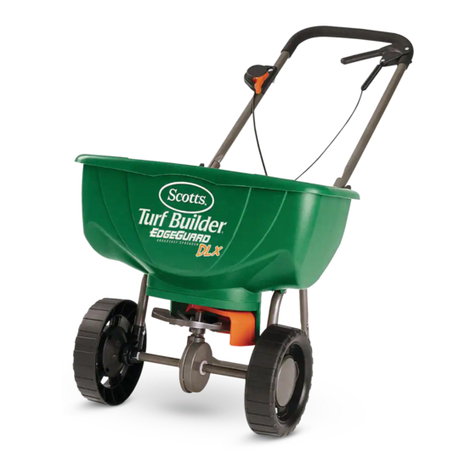
Scotts Turf Builder EdgeGuard DLX User manual

Scotts

Scotts Turf Builder EdgeGuard DLX User manual

Popular Spreader manuals by other brands

Buyers Salt Dogg SHPE1500 installation instructions

Buyers

Buyers Salt Dogg SHPE1500 installation instructions

PANDROL 02800A Operation and maintenance manual

PANDROL

PANDROL 02800A Operation and maintenance manual

Shearwell Data SDL 440S user manual

Shearwell Data

Shearwell Data SDL 440S user manual

TOPMAQ BS0700 Instructions & assembly

TOPMAQ

TOPMAQ BS0700 Instructions & assembly

SnowEx SP-7550 Owner's/operator's manual

SnowEx

SnowEx SP-7550 Owner's/operator's manual

Salt Dogg WB100B Assembly instructions

Salt Dogg

Salt Dogg WB100B Assembly instructions

DMC Econo-Mizer 982 owner's manual

DMC

DMC Econo-Mizer 982 owner's manual

Western Striker Series Mechanic's Guide

Western

Western Striker Series Mechanic's Guide

Roda R2000 Truck manual

Roda

Roda R2000 Truck manual

Roda 810 manual

Roda

Roda 810 manual

Trynex International SnowEx Bulk Pro 1875 owner's manual

Trynex International

Trynex International SnowEx Bulk Pro 1875 owner's manual

Venture Products Ventrac SS300 Operator's manual & parts drawings

Venture Products

Venture Products Ventrac SS300 Operator's manual & parts drawings

LEHNER VINERO Operating instructions with parts list

LEHNER

LEHNER VINERO Operating instructions with parts list

FHM FH-25G Operations & parts manual

FHM

FHM FH-25G Operations & parts manual

Neilsen CT2207 user manual

Neilsen

Neilsen CT2207 user manual

Shindaiwa RS600 Operator's manual

Shindaiwa

Shindaiwa RS600 Operator's manual

Oypla GARDEN 4306 user manual

Oypla GARDEN

Oypla GARDEN 4306 user manual

Rauch AXEO 2.1 instruction manual

Rauch

Rauch AXEO 2.1 instruction manual

manuals.online logo
manuals.online logoBrands
  • About & Mission
  • Contact us
  • Privacy Policy
  • Terms and Conditions

Copyright 2025 Manuals.Online. All Rights Reserved.