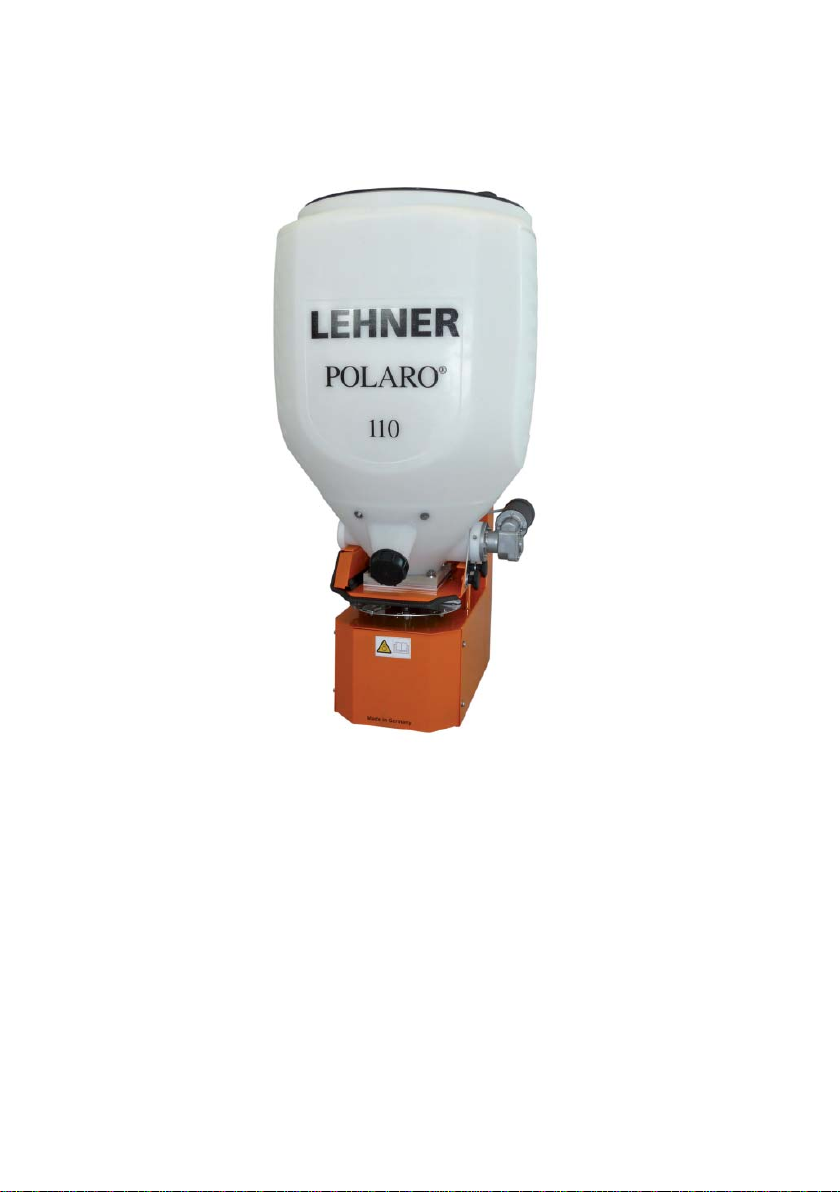
LEHNER POLARO Datasheet

LEHNER
POLARO®
Operating instructions with parts list
Status: January 2011
Serial number: .................................................................
Original operating instructions


English
LEHNER Maschinenbau GmbH
Haeuslesaecker 14
D-89198 Westerstetten, Germany
Tel.: +49 7348 9596-22
Fax: +49 7348 9596-40
www.lehner.eu
It is prohibited to distribute or duplicate this document and to utilise or
disseminate its content without express permission. Non-compliance
shall result in claims for damages. All rights for patents, utility patents
and industrial patents are reserved by Lehner.

4
Table of Contents
Content
1 What you should know......................................................6
1.1 Foreword ................................................................................................ 6
1.2 About these operating instructions......................................................... 6
1.3 Description of the POLARO®................................................................. 7
1.4 Intended use........................................................................................... 9
1.5 Reasonably foreseeable misuse ............................................................ 9
1.6 Warranty................................................................................................. 9
1.7 For your safety ..................................................................................... 10
2 Mounting and operation..................................................11
2.1 Mounting the frame .............................................................................. 11
2.2 Mounting the hopper ............................................................................ 12
2.3 Electrical connection ............................................................................ 13
2.4 Filling the spreading material hopper ................................................... 14
3 Operating the POLARO®..................................................15
3.1 Controls on the control panel ............................................................... 15
3.2 Switching the spreading disc and agitator on and off........................... 16
3.3 Setting the speed ................................................................................. 18
3.4 Setting the slide opening...................................................................... 18
3.5 Opening/closing the slide ..................................................................... 19
3.6 Setting the spreading width.................................................................. 20

5
Table of Contents
4 Settings.............................................................................21
4.1 Turning ................................................................................................. 21
4.2 Determining the spreading width.......................................................... 22
5 Maintenance and cleaning..............................................23
5.1 Maintenance......................................................................................... 23
5.2 Cleaning ............................................................................................... 26
5.3 Transport and storage .......................................................................... 26
6 Appendix...........................................................................27
6.1 EC Declaration of Conformity............................................................... 27
6.2 Identification ......................................................................................... 28
6.3 Distribution box terminal assignment ................................................... 29
6.4 Troubleshooting.................................................................................... 30
6.5 List of spare parts................................................................................. 31
6.5 List of spare parts................................................................................. 32

6
1 What you should know
1.1 Foreword
With the POLARO®, you have purchased a high-quality and innovative
product. Thank you for choosing a Lehner product.
Thanks to its advanced design, meticulous material selection, state-of-the-
art manufacturing techniques and the precision work of our employees, this
machine meets all efficiency, quality, reliability and value requirements.
Maintenance and care in accordance with the operating instructions
ensure the safety of the machine and retain the value of your POLARO®.
1.2 About these operating instructions
These operating instructions are part of the POLARO®and must always
be kept to hand. All persons who work with the POLARO®must read,
understand and observe the operating instructions.
The operating instructions should be retained for subsequent use. If at a
later date you at decide to sell your POLARO®, you must also hand over
these operating instructions; they are an integral part of your machine.

7
1 What you should know
Warning notices
Warning notices in these operating instructions are identified as follows:
Danger!
Warning against immediate danger. Non-compliance with
measures can result in death, severe personal injury or
serious damage to property.
Warning!
Warning against possible danger. Death, severe personal
injury or serious damage to property are possible.
Caution!
Warning against possible dangerous situations. Minor
personal injury or damage to property is possible.
1.3 Description of the POLARO®
The POLARO®is a spreader for spreading de-icing salt, grit, sand and
granulated fertiliser. It consists of a solid frame, a spreading material
hopper and the electrical components. The spreading disc with slide/
dosing device is part of the frame. The electrical components include
the drive motor, speed sensor, distribution switch box, control panel
cable, control cable, battery cable, control panel and automatic
spreader-bar release.
A separate motor drives a slow-running agitator for grit, sand, free-flowing
salt or granulated fertiliser. For salt that is moist or not free-flowing, there
is a special agitator for refined salt which is available as an alternative
accessory. The agitator is fitted vertically in the hopper.
A control panel regulates the speed of the spreading disc and the slide
from the driver's cab.
The POLARO®can be attached to the front or the rear of approved
carrier vehicles.

8
1 What you should know
Technical data
POLARO®70 POLARO®110 POLARO®170
Dimensions L/W/H 570/485/870
mm
570/485/1050
mm
700/626/1070
mm
Unladen weight 29 kg 38 kg 42 kg
Volume 70 l 110 l 170 l
Salt capacity 90 kg 130 kg 220 kg
Operating voltage 12 to 15 V
Fuse 25 A
Power of drive motor
(spreading disc)
60 W
Power of agitator
motor
150 W
Speed range 40 to 600 rpm
Speed of standard
agitator
54 rpm
Speed of refined salt
agitator
27 - 29 rpm
Power consumption
of motor
Start up to 25 A
Normal operation up to 13 A
Operating
temperature
-10 °C to +70 °C
Storage temperature -30 °C to +70 °C
Length of battery
cable
3 m 5 m 5 m
Length of control
panel cable
2 m 2 m 2 m
Length of control
cable
3 m 6 m 6 m

9
1.4 Intended use
The POLARO®is a spreader for spreading de-icing salt, grit, sand and
granulated fertiliser.
1.5 Reasonably foreseeable misuse
Only use on approved carrier vehicles with suitable vehicle electrics and
sufficient stability.
Only use for the approved media. The machine must not be used to
spread pesticides.
1.6 Warranty
We provide a guarantee of 6 months and warranty of 12 months on the
POLARO®.
Warranty repairs must be coordinated with the manufacturer before any
work is started.
For replacement parts, additional expenses are automatically
charged for any changes made to cables and plugs by the customer.
Replacement parts are to be returned carriage paid.
Any change to cable or plug connections without factory approval
automatically invalidates the entire warranty. Rusted bearings are not
subject to the manufacturer's warranty. Motors may not be opened or
dismantled.
Upon receipt:
Check your POLARO®for any damage caused in transit. Any such
damage must be reported to the manufacturer within 24 hours of receipt.
1 What you should know

10
1.7 For your safety
Carefully read these operating instructions before use and observe•
them. Always keep these instructions to hand at the point of use.
Adhere to the accident prevention regulations, safety and operating•
regulations and the regulations for environmental protection.
Adhere to all applicable standards and guidelines.•
Follow the safety instructions.•
Before operation, check that the hopper is correctly positioned in•
the hopper platform and that the spreader is securely and properly
fastened to the carrier vehicle.
Do not operate the spreader if there are any safety-related defects.•
Immediately resolve any safety-related defects.•
When travelling on public roads and streets, follow the road traffic•
regulations.
No persons must be in the spreading zone.•
Switch off the motor to remedy faults.•
Disconnect from the power supply for repair work.•
Never open the hopper when the agitator is running.•
Do not touch the hopper during operation.•
Never touch running or blocked spreading discs when the drive motor•
is running.
Observe the relevant spreading material manufacturer's instructions.•
Contact the relevant spreading material manufacturer for spreading•
tables and other information about the spreading material used.
LEHNER Agrar GmbH accepts no liability for the storage•
and application of spreading material.
1 What you should know

11
2 Mounting and operation
2.1 Mounting the frame
Warning!
Risk of injury due to high component weight
The spreader is much heavier when the hopper is full. For
this reason, ensure that the spreader is mounted correctly
on the carrier vehicle and check the carrying capacity of
the platform gates or other consoles. Mount with support if
necessary.
Warning!
Risk of injury
The load capacity should be in line with the specifications
for load lifting appliances.
Warning!
Risk of injury
Do not operate the spreader if there are any safety-related
defects.
The POLARO®can be attached on the front or rear of the tractor, off-
road vehicle or ATV.
The POLARO®can be mounted using an auxiliary bracket. Mounting
holes are provided for this purpose on the back of the frame.
Remove the hopper during the mounting process.
The recommended delivery height is 0.40 - 1.00 m.
For information about disassembly, see chapter 5.1 - Maintenance.

12
2 Mounting and operation
2.2 Mounting the hopper
Warning!
Risk of injury and damage to the spreader
For salt that is not free-flowing, there is a special agitator for
refined salt which is available as an alternative accessory.
This agitator is not suitable for grit and sand.
Mount the hopper.1.
Check whether the hopper fits well in the hopper platform. (See arrow)2.
Check that the3. POLARO®is securely attached.

13
2.3 Electrical connection
Caution!
Risk of malfunctions
Defective plugs and cables or those of the wrong size can
lead to malfunctions.
Use original or cables and plugs approved by the
manufacturer only.
Caution!
Risk of short-circuit
Ensure that the cable is not routed over any sharp edges.
Any change to cable or plug connections without factory approval
automatically invalidates the entire warranty. Changes to cables
undertaken by the customer will be charged in the case of repair.
1
3
Mount support for the control panel in the vehicle cab.1.
Plug the control panel cable into the 3-pin plug2. 1of the carrier vehicle.
If the plug 1 is not available, use the battery cable supplied:
Connect terminal• 2to the negative pole of the battery (not to the
body).
Connect terminal• 3(with fuse 4) to the positive pole of the battery
Insert cable end with plug• 1into the carrier vehicle.
2 Mounting and operation

14
Plug the spreader cable into the 16-pin plug of the control panel.3. The battery cable supplied must be used to ensure an optimum
power supply.
Caution!
Risk of short-circuit
Observe the adapter manufacturer's mounting instructions.
When mounting a 12/24 V adapter (available as an accessory), a
separate on/off switch must be connected in the 24 V supply line,
because the adapter needs power in standby mode.
The machine is now ready to operate.
2.4 Filling the spreading material hopper
Caution!
Health risk
Observe the spreading material manufacturer's
specifications.
Warning!
Risk of injury
Never open the hopper or touch the spreading disc when
the drive motor is running.
Add the spreading material immediately before starting work.1.
Lock the hopper after filling.2.
2 Mounting and operation

15
3 Operating the POLARO®
3.1 Controls on the control panel
Rocker switch - opening the slide (rocker switch at bottom) and1
closing the slide (rocker switch at top)
Display2
Rocker switch - switching on and off3
Speed controller for spreading disc4

16
3 Operating the POLARO®
3.2 Switching the spreading disc and agitator on and off
Danger!
Risk of injury due to accident
When travelling on public roads and streets, follow the road
traffic regulations.
Warning!
Risk of injury
When the spreader is switched on, the drive motor starts up
immediately. Ensure that no-one is in the danger zone when
the spreader is switched on.
Warning!
Risk of injury
Do not operate the spreader if there are any safety-related
defects.
Activate the rocker switch on the front of
the control panel.
The speed of the spreading disc is
indicated on the display.
170
Before switching off the spreader, the slide should be closed.
If this message is shown in the display, a sensor
or a cable is damaged, a plug disconnected or
magnets on the spreading disc are missing.
ERR

17
3 Operating the POLARO®
Autostart/automatic freewheeling
If an agitator motor is difficult to start due to heavy loads, the motor
starts up to 10 times in alternating motor direction. The slide must be
open for this so the material flows off.
If the agitator or spreading disc cannot break
free, the motor is automatically switched off. The
following message appears in the display:
ERR
Warning!
Risk of injury due to agitator or spreading disc starting
up unexpectedly
Switch off the motor to remedy the fault.
To eliminate the blockage:
Switch off1. the machine.
Manually turn the spreading disc or empty the hopper.2.
For more information, see chapter 6.4 - Troubleshooting.

18
3 Operating the POLARO®
3.3 Setting the speed
The speed of the setting disc can be set on
a continuous scale using the rotary knob
on the control panel.
170
The value indicated on the display is the desired value which the
machine will attempt to maintain. If this value cannot be achieved due
to the motor having too high a load or the power supply being weak, the
value actually achieved is displayed once the motor has been powered
up.
The displayed values are not speed indicators, but set values.
3.4 Setting the slide opening
Ensure that the slide is closed.1.
Set the slide controller on the spreader to the desired2.
application rate.
In position 0, the slide is closed, and in position 20,
it is opened as far as possible. In the area in between, the slide
opening can be
set on a continuous scale.

19
3 Operating the POLARO®
3.5 Opening/closing the slide
Before opening the slide, ensure that the POLARO® is switched off,
otherwise spreading material is spread immediately.
Activate the rocker switch on the left of the control panel to
open or close the slide.
The switch position indicates whether the slide is open or
closed.
Before switching off the spreader, the slide should be closed.
Re-adjusting the slide
The slide elements are spaced so that no spreading material gets stuck.
To prevent the slide from sliding into the discharge opening during
vibrations and thereby causing wear, a pulse adjusts the slide according
to the "on" or "off" position roughly every 60 seconds. However, this only
happens when the main switch is switched on.
For information about troubleshooting, see chapter 6.4 -
Troubleshooting.

20
3 Operating the POLARO®
3.6 Setting the spreading width
The spreading width depends on the condition of the spreading material
and the speed of the spreading disc. The more coarse the spreading
material, the larger the possible spreading width.
Other manuals for POLARO
2
This manual suits for next models
3
Table of contents
Other LEHNER Spreader manuals

LEHNER
LEHNER POLARO User manual

LEHNER
LEHNER SuperVario X Guide

LEHNER
LEHNER POLARO User manual

LEHNER
LEHNER SuperVario User manual

LEHNER
LEHNER SuperVario Guide

LEHNER
LEHNER VINERO Datasheet

LEHNER
LEHNER AgroDos Datasheet

LEHNER
LEHNER Polaro L Datasheet

LEHNER
LEHNER POLARO E Datasheet

LEHNER
LEHNER Vento User manual