manuals.online logo
Brands
  1. Home
  2. •
  3. Brands
  4. •
  5. SDHQ
  6. •
  7. Automobile Accessories
  8. •
  9. SDHQ 53-1202-G3 Series Configuration guide

SDHQ 53-1202-G3 Series Configuration guide

Latest Revision: 11/5/2019
For questions or help with the installation, please call SDHQ Offroad @ 480-633-2929
Mon.–Fri. 8:00am–5:30pm and Sat. 8:00am–3:30pm Arizona Time. www.sdhqoffroad.com
Page 1of 7
Product Packing List
Product:
SDHQ-53-1202-G3
Description: 14-20 Tundra Behind the Grille 40” Light
Mount
(1) Driver Side Mount SDHQ-53-1202-G3-A
(1) Passenger Side Mount SDHQ-53-1202-G3-B
(1) Hardware Package SDHQ-53-1202-G3-C
(2) ¼” – 20 x ¾” S.S. Hex Head Bolts
(4) ¼” Large S.S. Fender Washers
(2) ¼” – 20 S.S. Lock Nuts
(6) M6 –1.0 S.S. Flange Nuts
Inspected and Packaged By: Date:
For questions or help with the installation, please call SDHQ Offroad @ 480-633-2929
Mon.–Fri. 8:00am–5:30pm and Sat. 8:00am–3:30pm Arizona Time. www.sdhqoffroad.com
Page 2of 7
For questions or help with the installation, please call SDHQ Offroad @ 480-633-2929
Mon.–Fri. 8:00am–5:30pm and Sat. 8:00am–3:30pm Arizona Time. www.sdhqoffroad.com
Page 3of 7
INSTALLATION INSTRUCTIONS
Product:
SDHQ-53-1202-G3
Description: 14-20 Tundra Behind The Grille 40” Light
Mount
Tech Notes
Use Medium Strength Loctite on all hardware.
Rigid E Series Light Bars also fit where Baja Designs Onx6 fits.
*Baja Designs OnX6 requires SDHQ Center Support Kit (SDHQ-53-1110-G3)(OnX6 only fits TRD Pro and 18’ standard grilles)
*Installing Baja Designs S8 in TRD Pro top opening requires SDHQ Center Support Kit (SDHQ-53-1110-G3) (minor trimming
required)
Parts List
Hardware List
Required Tools
(1) Driver Side Mount
SDHQ-53-1202-G3-A
(1) Passenger Side Mount
SDHQ-53-1202-G3-B
(1) Hardware Package
SDHQ-53-1202-G3-C
(2) ¼” – 20 x ¾” S.S. Hex Head Bolt
(4) ¼” S.S. Large Fender Washers
(2) ¼” – 20 S.S. Lock nuts
(6) M6 –1.0 S.S. Flange Nuts
10mm and 7/16” sockets
Ratchet
7/16” wrench
6” extension
Flat head screw driver
Medium Strength Loctite
For questions or help with the installation, please call SDHQ Offroad @ 480-633-2929
Mon.–Fri. 8:00am–5:30pm and Sat. 8:00am–3:30pm Arizona Time. www.sdhqoffroad.com
Page 4of 7
***READ ALL INSTRUCTIONS THOROUGHLY FROM START TO FINISH BEFORE BEGINNING INSTALLATION! ***
Installation Instructions:
1. Remove the Grille- Using a 10mm socket and ratchet, remove the (4) screws on top of the
grille. There is also (2) clips that will need to be removed with a flat head screw driver.
2. The grille is now ready to be removed. There are (2) clips on each side of the grille underneath
each head light and (3) clips along the bottom of the grille. Start on the driver side and grab
underneath the grille below the headlight and pull out to separate the grille from the body. The
grille will need to be pushed down towards the ground to release the second clip underneath
the headlight. Work your way along the bottom towards the passenger side and release the
bottom (3) clips. Release the last (2) clips on the passenger side underneath the headlight.
For questions or help with the installation, please call SDHQ Offroad @ 480-633-2929
Mon.–Fri. 8:00am–5:30pm and Sat. 8:00am–3:30pm Arizona Time. www.sdhqoffroad.com
Page 5of 7
3. The air dam behind the grille needs to be removed before
installing the brackets. There are (4) push in clips that will
need to be removed with a flat head screw driver. Circled in
red to the right are the push in clips. Once these are removed,
the air dam can be removed. The air dam can be discarded
as it will not be used.
4. If the Center Support Kit (SDHQ-53-1110-G3) was
purchased, continue with those Install Instructions.
5. Installing the Brackets –Starting on the driver side, remove
the (3) nuts pictured below using a 10mm socket and ratchet.
Align the driver side bracket over the studs as pictured. Use
(3) of the supplied M6 –1.0 Flange nuts with medium strength
Loctite and tighten them just enough so the mount doesn’t fall. These will be tightened down
later.
6. Place (1) large fender washer over a
¼” – 20 x ¾” hex head bolt. Place the
hex head bolt and washer through the
rear mounting location connecting the
light mount to the core support. Place
another large fender washer on the
back side of the bolt and begin
threading the lock nut into place with
Loctite. Use a 7/16” wrench on the lock
nut and a 7/16” socket with the 6”
extension and ratchet to tighten.
Tighten just enough so the mount is
supported. This will be tightened later.
Repeat steps 6-7 for the passenger
side.
For questions or help with the installation, please call SDHQ Offroad @ 480-633-2929
Mon.–Fri. 8:00am–5:30pm and Sat. 8:00am–3:30pm Arizona Time. www.sdhqoffroad.com
Page 6of 7
7. Install your light bars into the proper locations outlined at the top of the second page. Tighten
the mounting bolts for the light bars to the mounts. Align the middle of the light bars to the core
support brace so the light bars are centered in the grille. The (6) M6 –1.0 Flange nuts and (2)
¼” – 20 x ¾” bolts can now be tightened down.
8. Wire up the lights and install the grille in the reverse order it was removed.
For questions or help with the installation, please call SDHQ Offroad @ 480-633-2929
Mon.–Fri. 8:00am–5:30pm and Sat. 8:00am–3:30pm Arizona Time. www.sdhqoffroad.com
Page 7of 7
***Double check all hardware is installed correctly and tight***
***Re-torque ALL bolts after 100 miles***
190 S McQueen Rd
Ste 109 Gilbert, AZ 85233
Phone: 480-633-2929 | Fax: 480-633-1791
www.sdhqoffroad.com
Follow us on:
Facebook Instagram

This manual suits for next models

2

Other SDHQ Automobile Accessories manuals

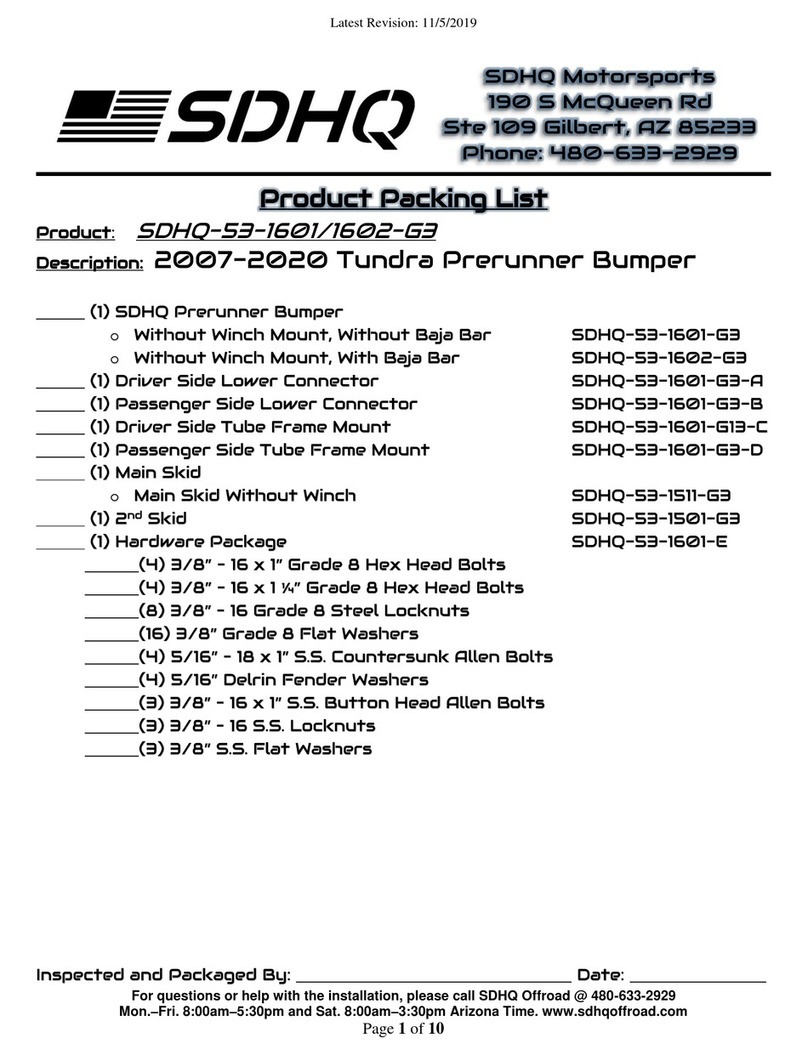
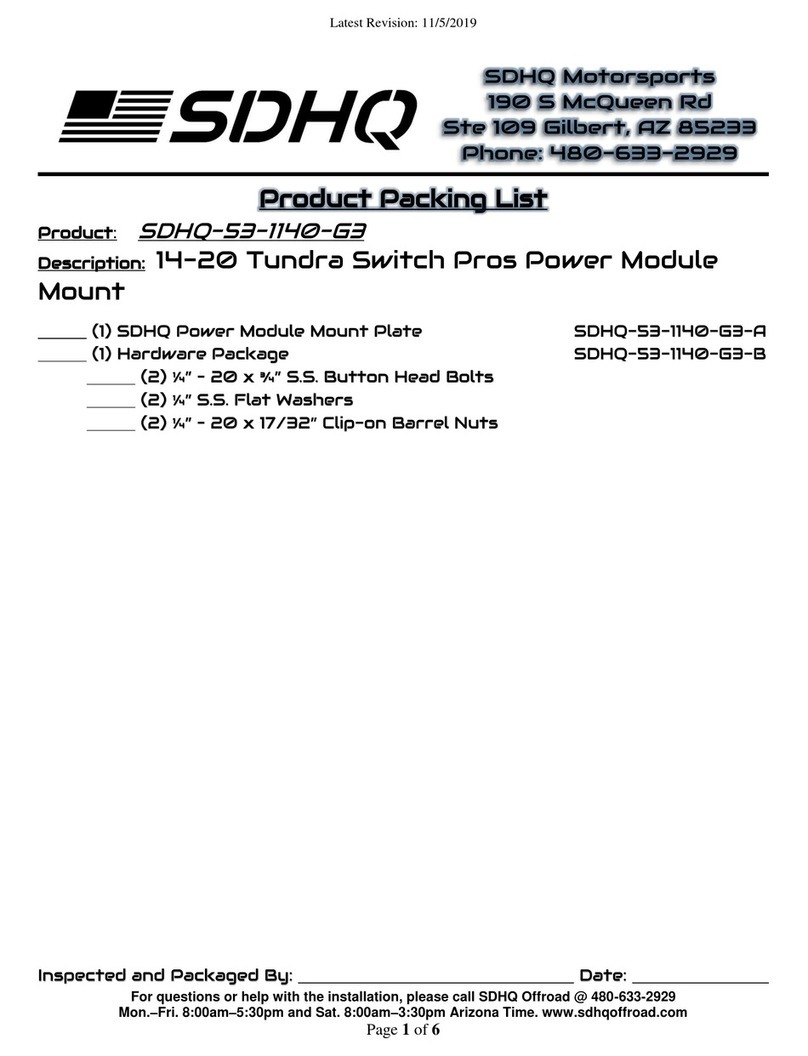
SDHQ SDHQ-53-1140-G3 User manual

SDHQ

SDHQ SDHQ-53-1140-G3 User manual

SDHQ 53-1601-G3 Configuration guide

SDHQ

SDHQ 53-1601-G3 Configuration guide

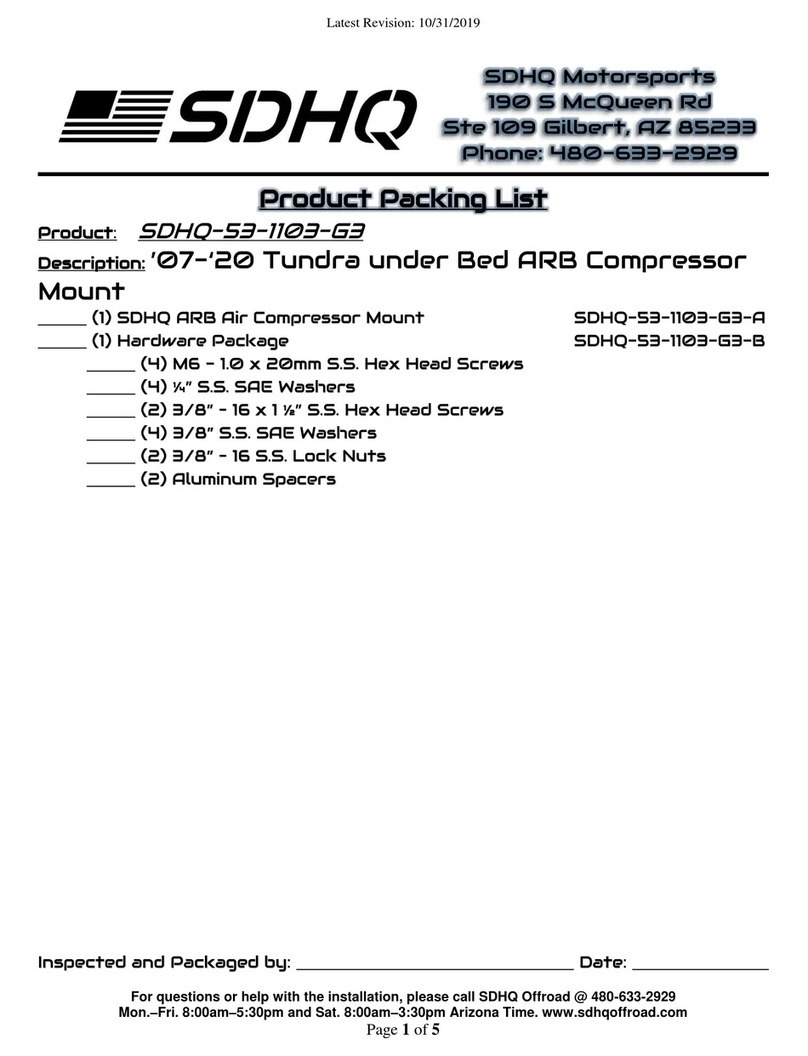
SDHQ 53-1103-G3 Configuration guide

SDHQ

SDHQ 53-1103-G3 Configuration guide

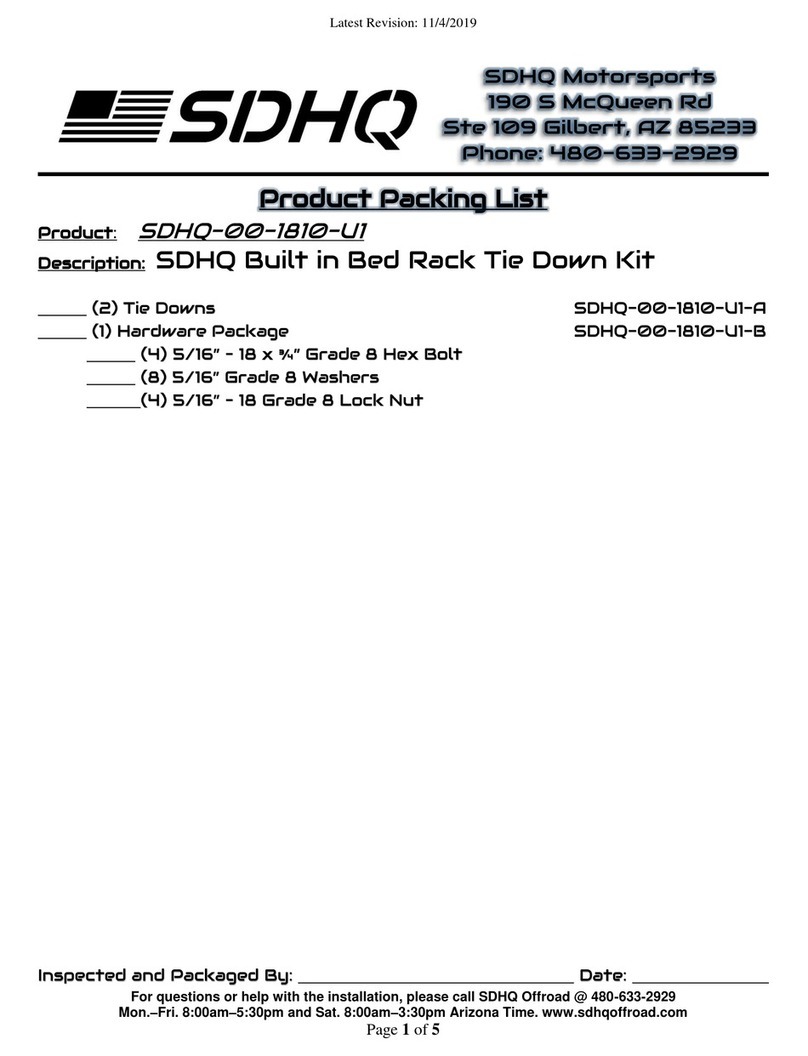
SDHQ SDHQ-00-1810-U1 User manual

SDHQ

SDHQ SDHQ-00-1810-U1 User manual

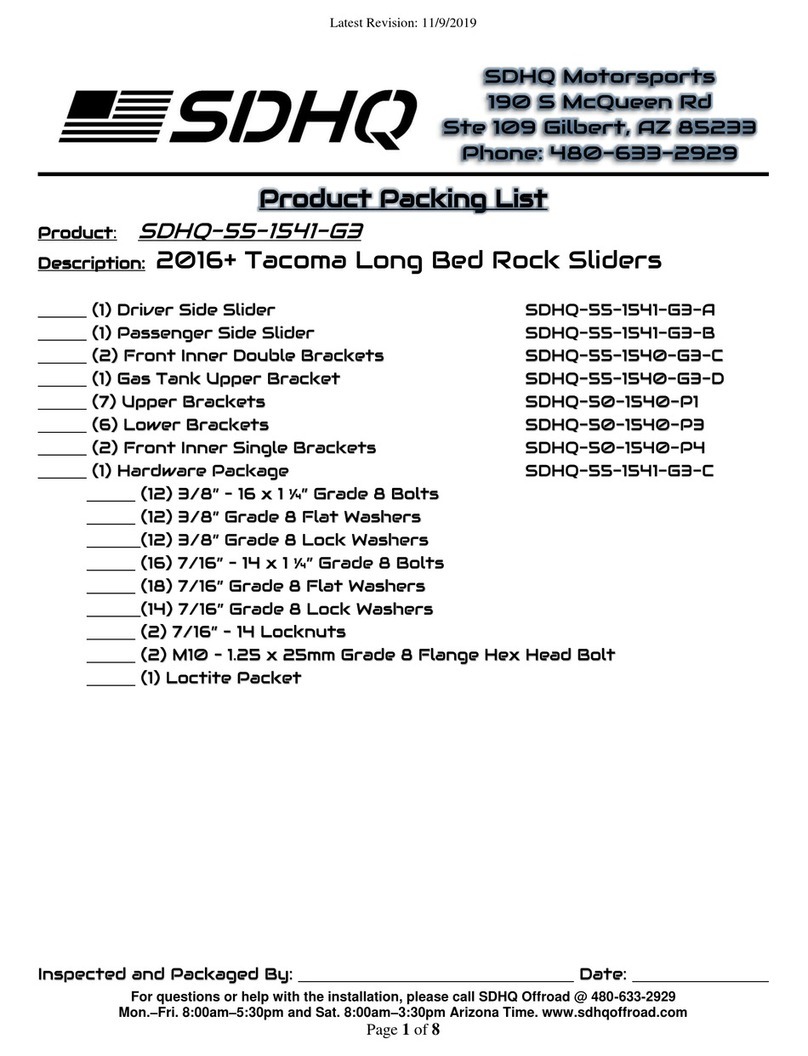
SDHQ SDHQ-55-1541-G3 User manual

SDHQ

SDHQ SDHQ-55-1541-G3 User manual

Popular Automobile Accessories manuals by other brands

Jaeger 21060530 Fitting instructions

Jaeger

Jaeger 21060530 Fitting instructions

Weissenfels TECNA instructions

Weissenfels

Weissenfels TECNA instructions

Dakota Digital LED Tail Lights for 1955 Chevy Car LAT-NR190 installation instructions

Dakota Digital

Dakota Digital LED Tail Lights for 1955 Chevy Car LAT-NR190 installation instructions

CHIEF BMW X3 Adapters user manual

CHIEF

CHIEF BMW X3 Adapters user manual

Herd IN27BG installation guide

Herd

Herd IN27BG installation guide

ARB AC08C Fitting instructions

ARB

ARB AC08C Fitting instructions

Phonocar VM257 instruction manual

Phonocar

Phonocar VM257 instruction manual

AVS Ventvisor installation instructions

AVS

AVS Ventvisor installation instructions

Dynojet Power commander V installation instructions

Dynojet

Dynojet Power commander V installation instructions

EVSE 3722 Series User manual and installation guide

EVSE

EVSE 3722 Series User manual and installation guide

WALMEC 40101 AL quick start guide

WALMEC

WALMEC 40101 AL quick start guide

Omix-Ada 13216.01 quick start guide

Omix-Ada

Omix-Ada 13216.01 quick start guide

Flowmaster 817512 Installation

Flowmaster

Flowmaster 817512 Installation

Ironman4x4 SLIDE-AWAY installation guide

Ironman4x4

Ironman4x4 SLIDE-AWAY installation guide

Whispbar S11W Fitting instructions

Whispbar

Whispbar S11W Fitting instructions

Alexo Sweden Opel Vectra B Caravan 1996 Installation and operating instructions

Alexo Sweden

Alexo Sweden Opel Vectra B Caravan 1996 Installation and operating instructions

Calix group MVP 900 Assembly instructions

Calix group

Calix group MVP 900 Assembly instructions

Car Solutions MB 2015 PAS-TDC2 manual

Car Solutions

Car Solutions MB 2015 PAS-TDC2 manual

manuals.online logo
manuals.online logoBrands
  • About & Mission
  • Contact us
  • Privacy Policy
  • Terms and Conditions

Copyright 2025 Manuals.Online. All Rights Reserved.