For questions or help with the installation, please call SDHQ Offroad @ 480-633-2929
Mon.–Fri. 8:00am–5:30pm and Sat. 8:00am–3:30pm Arizona Time. www.sdhqoffroad.com
Page 6of 8
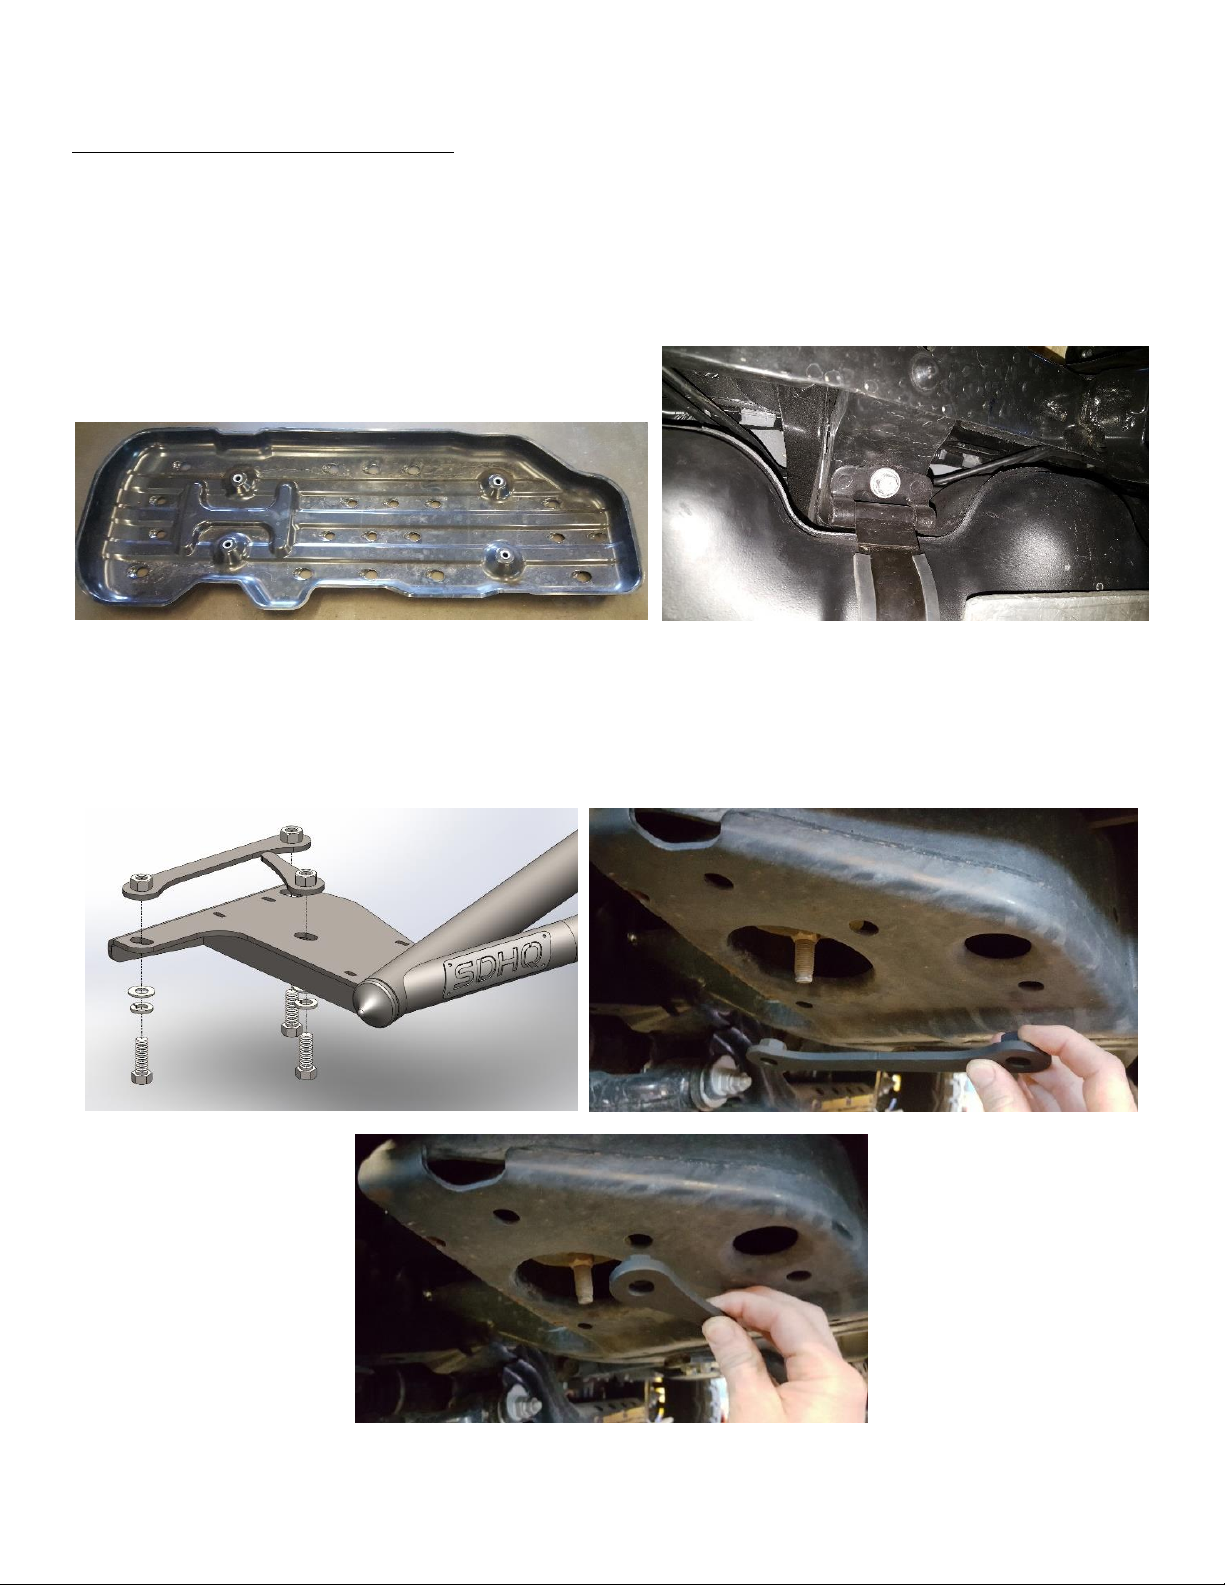
3. Installing the Sliders. Lift the
Driver side Slider into position and
install (3) Upper Brackets with
7/16” bolts, washers and lock
washers. This will hold the sliders
up while you line up and install the
rest of the hardware. Starting at
the second mount from the front,
install (1) Lower Bracket with 3/8”
bolts and washers as pictured
below. The third mount will utilize
(1) 7/16” bolt, (2) 7/16” washers,
and (1) 7/16” lock nut through the
bottom of the mount and frame as pictured. The fourth mount will be similar to the second
mount with the Lower Bracket and 3/8” hardware. Leave all hardware slightly loose. Use red
Loctite on all hardware. For 2WD vehicles, you will need to use (1) M10 –1.25 x 20mm bolt in
place of the 7/16” bolt on the third mount. This will replace the cross member bolt.
4. Thread (3) 7/16” bolts, washers and lock
washers into the Front Inner Single Bracket
and Front Inner Double Bracket. Leave these
slightly loose for now and use red Loctite.
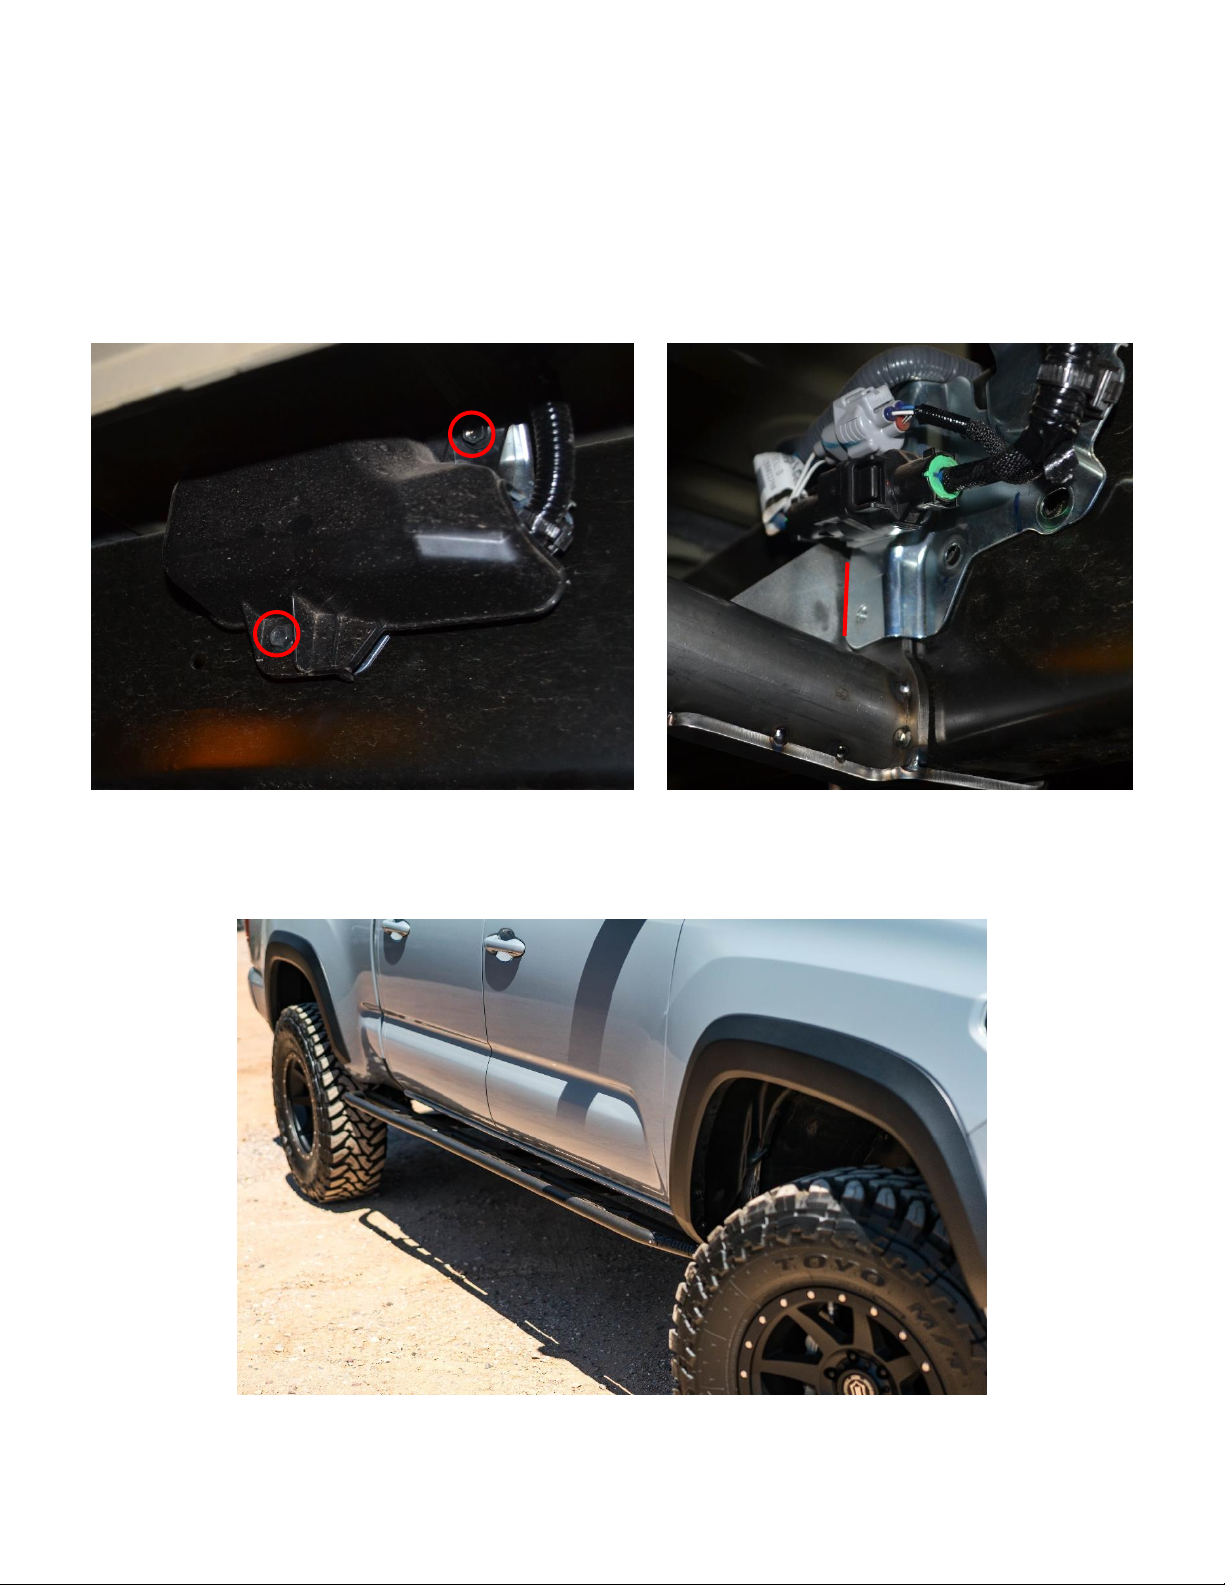
5. While moving the tank as far out of the way as
possible, insert the Upper Gas Tank Mount
into the inside of the frame and thread the
7/16” bolt and washers in from the outside.
The Upper Gas Tank Mount should fit behind
the brake and gas lines, but it is a tight fit. Make sure your lines are not positioned in a way
that they can chafe on any bracket. Now install the inner rear bracket with the (2) 3/8” bolts
and washers. It may be helpful to lower the spare tire and insert the bracket form the back
side.