manuals.online logo
Brands
  1. Home
  2. •
  3. Brands
  4. •
  5. SDHQ
  6. •
  7. Automobile Accessories
  8. •
  9. SDHQ SDHQ-53-1140-G3 User manual

SDHQ SDHQ-53-1140-G3 User manual

Latest Revision: 11/5/2019
For questions or help with the installation, please call SDHQ Offroad @ 480-633-2929
Mon.–Fri. 8:00am–5:30pm and Sat. 8:00am–3:30pm Arizona Time. www.sdhqoffroad.com
Page 1of 6
Product Packing List
Product:
SDHQ-53-1140-G3
Description: 14-20 Tundra Switch Pros Power Module
Mount
(1) SDHQ Power Module Mount Plate SDHQ-53-1140-G3-A
(1) Hardware Package SDHQ-53-1140-G3-B
(2) ¼” – 20 x ¾” S.S. Button Head Bolts
(2) ¼” S.S. Flat Washers
(2) ¼” – 20 x 17/32” Clip-on Barrel Nuts
Inspected and Packaged By: Date:
For questions or help with the installation, please call SDHQ Offroad @ 480-633-2929
Mon.–Fri. 8:00am–5:30pm and Sat. 8:00am–3:30pm Arizona Time. www.sdhqoffroad.com
Page 2of 6
For questions or help with the installation, please call SDHQ Offroad @ 480-633-2929
Mon.–Fri. 8:00am–5:30pm and Sat. 8:00am–3:30pm Arizona Time. www.sdhqoffroad.com
Page 3of 6
INSTALLATION INSTRUCTIONS
Product:
SDHQ-53-1140-G3
Description: 14-20 Tundra Switch Pros Power Module
Mount
Tech Notes
Use anti-seize on all stainless steel hardware.
Make sure terminal crimps are tight to avoid damage and fire hazard.
When installing the Power Module Mount, it may be easier to remove the battery.
*Optional Relay Pack Upgrade is purchased separately.
**Approx install time = 1 hour (not including wiring)**
Parts List
Hardware List
Required Tools
Standard Mounting Kit:
(1) SDHQ Power Module Mount Plate
SDHQ-53-1140-G3-A
(1) Mounting Plate Hardware Package
SDHQ-53-1140-G3-B
Optional Relay Pack Upgrade*:
(1) Sealed Relay Module Package
SDHQ-02-1141-U1
Mounting Plate Hardware Package:
SDHQ-53-1140-G3-B
(2) ¼” - 20 x ¾” S.S. Button Head Bolts
(2) ¼” S.S. Flat Washers
(2) ¼”-20 Clip-on Barrel Nuts
1/8” Allen Wrench
4mm Allen Wrench
Open Barrel Crimping Tool
Wire Strippers
10mm socket and ratchet
Flat head screw driver
For questions or help with the installation, please call SDHQ Offroad @ 480-633-2929
Mon.–Fri. 8:00am–5:30pm and Sat. 8:00am–3:30pm Arizona Time. www.sdhqoffroad.com
Page 4of 6
***READ ALL INSTRUCTIONS THOROUGHLY FROM START TO FINISH BEFORE BEGINNING INSTALLATION! ***
Installation Instructions:
1. Place the Switch Pros Power Module on top of the SDHQ Switch Pros Power Module Mount
as pictured. Using the Switch Pros included hardware, bolt the Power Module to the Mount.
2. It is not completely necessary, but removing the battery may help with ease of installation. On
your core support, locate the two holes circled below from inside the engine bay.
For questions or help with the installation, please call SDHQ Offroad @ 480-633-2929
Mon.–Fri. 8:00am–5:30pm and Sat. 8:00am–3:30pm Arizona Time. www.sdhqoffroad.com
Page 5of 6
3. Place the (2) Clip on Barrel Nuts over those holes with the threaded ended pointing towards
the front of the truck.
4. Place the Switch Pros Power Module and Mount over the Barrel Nuts and bolt into place with
the ¼” - 20 x ¾” bolts and ¼” washers as pictured. The Power Module can now be wired up.
Wiring:
Once the Switch-Pros power module is mounted, but BEFORE it is connected to anything else, do
the following:
1. Reinstall battery (if battery was removed during installation), and secure factory connections.
Start vehicle and confirm that battery is properly installed, connected and grounded.
2. Connect the Switch-Pros Ground wire lug to the negative terminal on the battery (grounding
elsewhere will not properly filter noise and will void your product warranty).
3. Plug the 16-pin harness into the power module; be sure it locks in.
4. Connect the red Battery Cable to the positive terminal on the battery. Tighten down both ends,
to prevent lug from rotating and possibly causing friction or spark.
For questions or help with the installation, please call SDHQ Offroad @ 480-633-2929
Mon.–Fri. 8:00am–5:30pm and Sat. 8:00am–3:30pm Arizona Time. www.sdhqoffroad.com
Page 6of 6
***Double check all hardware is installed correctly and tight***
***Re-torque ALL bolts after 100 miles***
190 S McQueen Rd
Ste 109 Gilbert, AZ 85233
Phone: 480-633-2929 | Fax: 480-633-1791
www.sdhqoffroad.com
Follow us on:
Facebook Instagram

Other SDHQ Automobile Accessories manuals

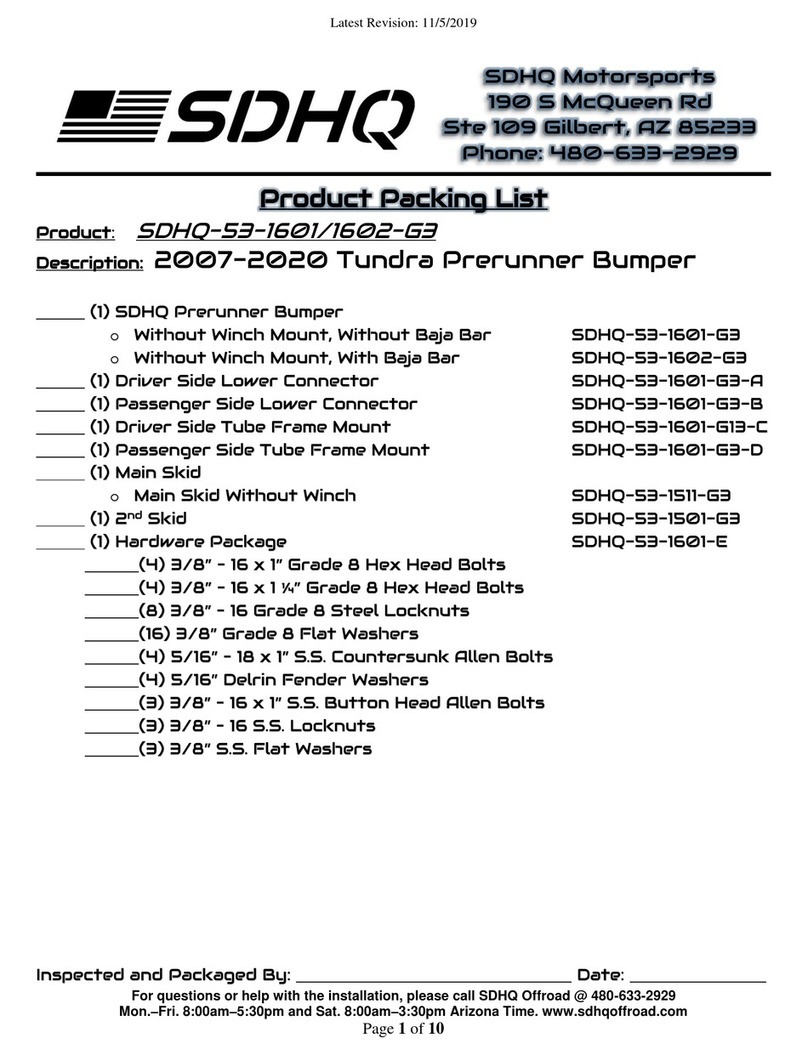
SDHQ 53-1601-G3 Configuration guide

SDHQ

SDHQ 53-1601-G3 Configuration guide

SDHQ 53-1202-G3 Series Configuration guide

SDHQ

SDHQ 53-1202-G3 Series Configuration guide

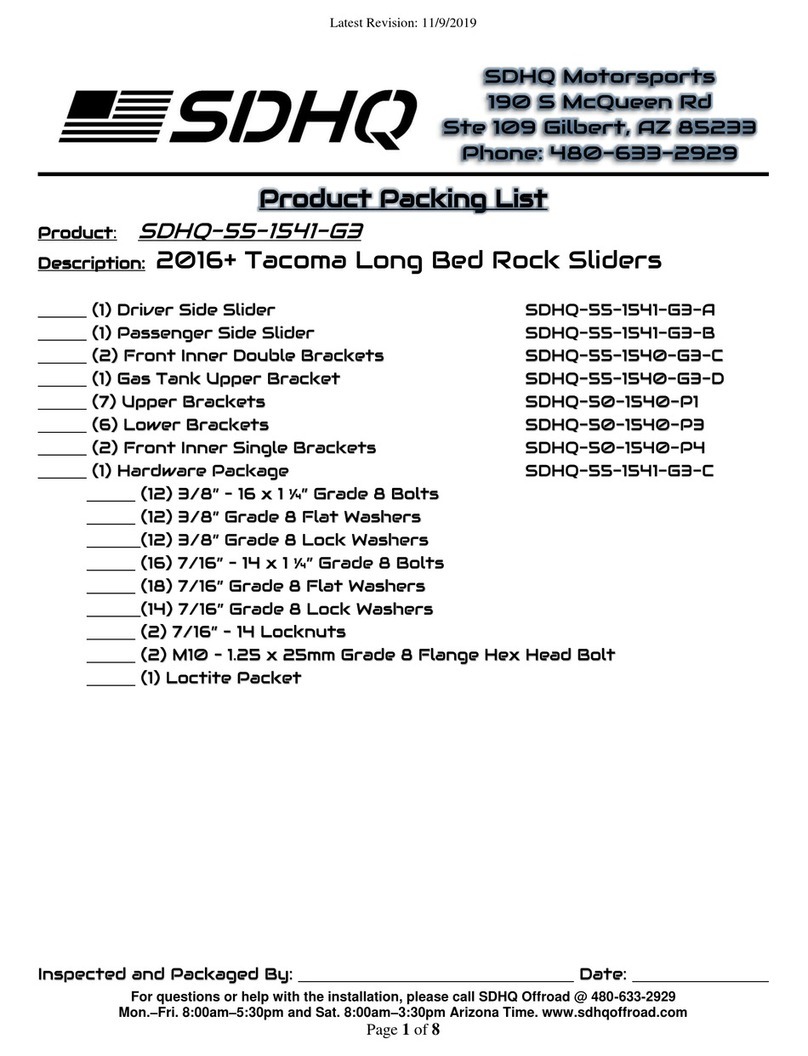
SDHQ SDHQ-55-1541-G3 User manual

SDHQ

SDHQ SDHQ-55-1541-G3 User manual

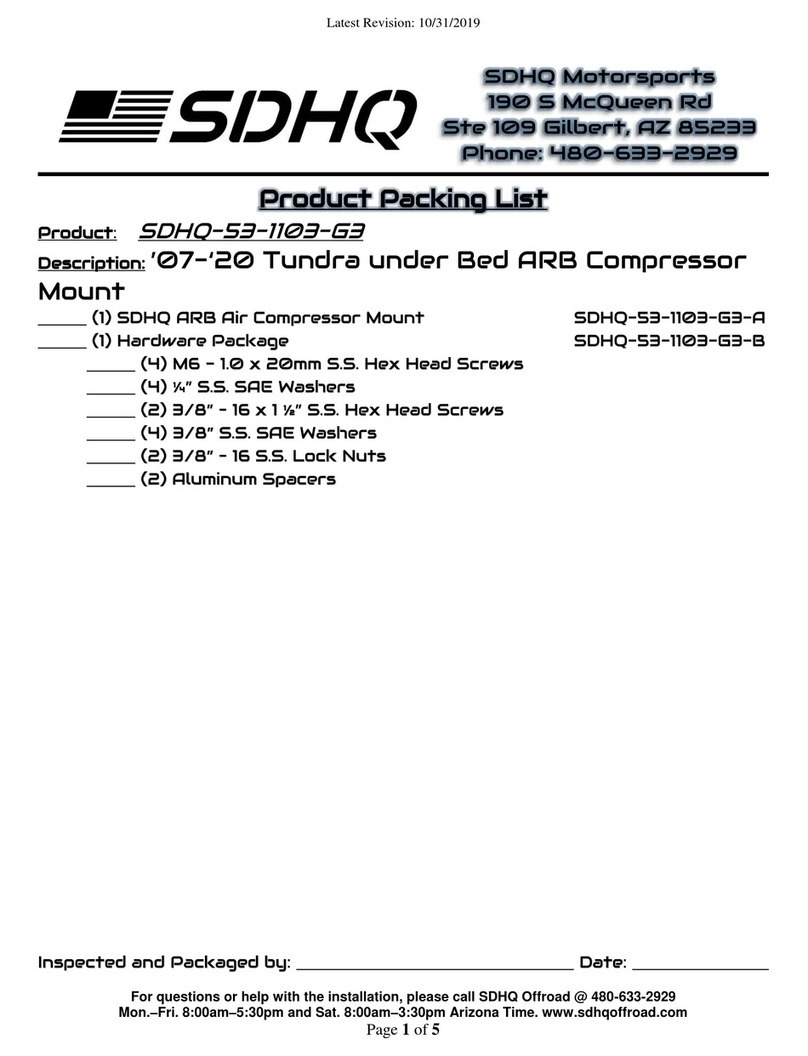
SDHQ SDHQ-00-1810-U1 User manual

SDHQ

SDHQ SDHQ-00-1810-U1 User manual

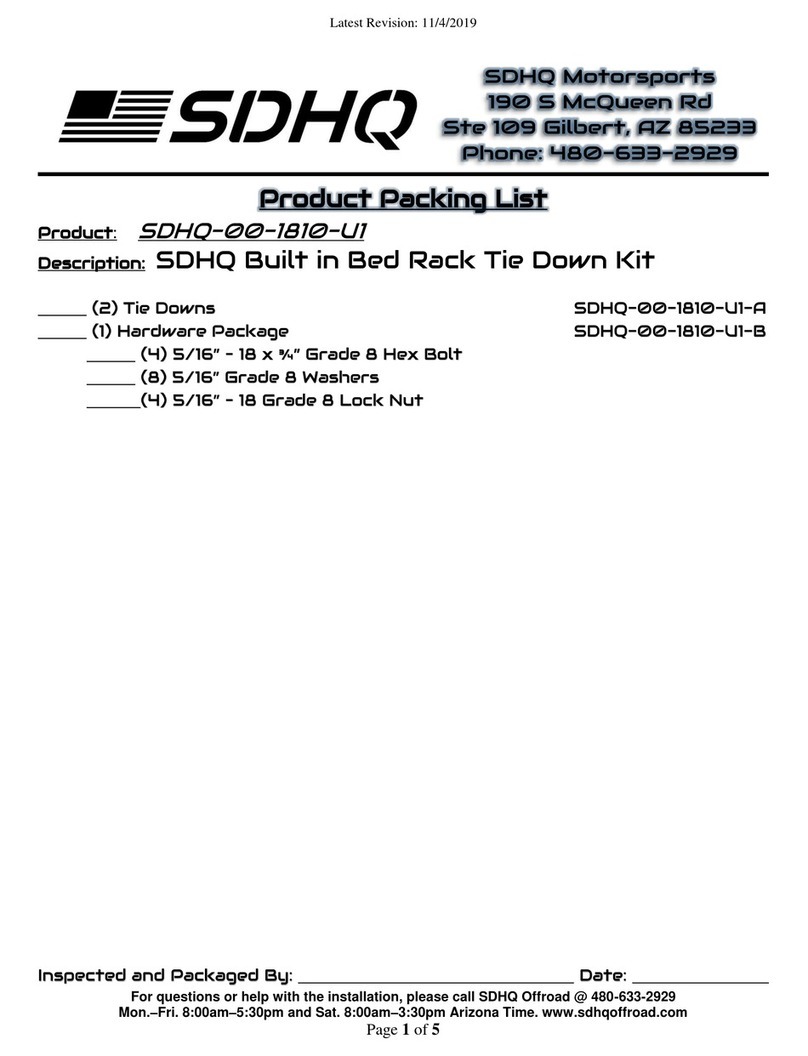
SDHQ 53-1103-G3 Configuration guide

SDHQ

SDHQ 53-1103-G3 Configuration guide

Popular Automobile Accessories manuals by other brands

Jaeger 21060530 Fitting instructions

Jaeger

Jaeger 21060530 Fitting instructions

Weissenfels TECNA instructions

Weissenfels

Weissenfels TECNA instructions

Dakota Digital LED Tail Lights for 1955 Chevy Car LAT-NR190 installation instructions

Dakota Digital

Dakota Digital LED Tail Lights for 1955 Chevy Car LAT-NR190 installation instructions

CHIEF BMW X3 Adapters user manual

CHIEF

CHIEF BMW X3 Adapters user manual

Herd IN27BG installation guide

Herd

Herd IN27BG installation guide

ARB AC08C Fitting instructions

ARB

ARB AC08C Fitting instructions

Phonocar VM257 instruction manual

Phonocar

Phonocar VM257 instruction manual

AVS Ventvisor installation instructions

AVS

AVS Ventvisor installation instructions

Dynojet Power commander V installation instructions

Dynojet

Dynojet Power commander V installation instructions

EVSE 3722 Series User manual and installation guide

EVSE

EVSE 3722 Series User manual and installation guide

WALMEC 40101 AL quick start guide

WALMEC

WALMEC 40101 AL quick start guide

Omix-Ada 13216.01 quick start guide

Omix-Ada

Omix-Ada 13216.01 quick start guide

Flowmaster 817512 Installation

Flowmaster

Flowmaster 817512 Installation

Ironman4x4 SLIDE-AWAY installation guide

Ironman4x4

Ironman4x4 SLIDE-AWAY installation guide

Whispbar S11W Fitting instructions

Whispbar

Whispbar S11W Fitting instructions

Alexo Sweden Opel Vectra B Caravan 1996 Installation and operating instructions

Alexo Sweden

Alexo Sweden Opel Vectra B Caravan 1996 Installation and operating instructions

Calix group MVP 900 Assembly instructions

Calix group

Calix group MVP 900 Assembly instructions

Car Solutions MB 2015 PAS-TDC2 manual

Car Solutions

Car Solutions MB 2015 PAS-TDC2 manual

manuals.online logo
manuals.online logoBrands
  • About & Mission
  • Contact us
  • Privacy Policy
  • Terms and Conditions

Copyright 2025 Manuals.Online. All Rights Reserved.