Sealey SDH20.V5 User manual

20L DEHUMIDIFIER
MODEL NO: SDH20.V5
Thank you for purchasing a Sealey product. Manufactured to a high standard, this product will, if used according to these instructions,
and properly maintained, give you years of trouble free performance.
IMPORTANT: PLEASE READ THESE INSTRUCTIONS CAREFULLY. NOTE THE SAFE OPERATIONAL REQUIREMENTS, WARNINGS & CAUTIONS. USE
THE PRODUCT CORRECTLY AND WITH CARE FOR THE PURPOSE FOR WHICH IT IS INTENDED. FAILURE TO DO SO MAY CAUSE DAMAGE AND/OR
PERSONAL INJURY AND WILL INVALIDATE THE WARRANTY. KEEP THESE INSTRUCTIONS SAFE FOR FUTURE USE.
SDH20.V5 Issue 1 07/04/21
Original Language Version
© Jack Sealey Limited
Refer to
instructions
Indoor use only
1. SAFETY
1.1. ELECTRICAL SAFETY
WARNING! It is the user’s responsibility to check the following:
Check all electrical equipment and appliances to ensure that they are safe before using. Inspect power supply leads, plugs and all
electrical connections for wear and damage. Sealey recommend that an RCD (Residual Current Device) is used with all electrical
products. You may obtain an RCD by contacting your local Sealey stockist.
Ifthedehumidierisusedinthecourseofbusinessduties,itmustbemaintainedinasafeconditionandroutinelyPAT(Portable
ApplianceTest)tested.
Electrical safety information, it is important that the following information is read and understood.
1.1.1. Ensure that the insulation on all cables and on the appliance is safe before connecting it to the power supply.
1.1.2. Regularly inspect power supply cables and plugs for wear or damage and check all connections to ensure that they are secure.
1.1.3. Important:Ensurethatthevoltageratingontheappliancesuitsthepowersupplytobeusedandthattheplugisttedwiththecorrect
fuse - see fuse rating in these instructions.
8DO NOT pull or carry the appliance by the power cable.
8DO NOT pull the plug from the socket by the cable.
8DO NOT use worn or damaged cables, plugs or connectors. Ensure that any faulty item is repaired or
replacedimmediatelybyaqualiedelectrician.
1.1.4. ThisproductisttedwithaBS1363/A13Amp3pinplug.
If the cable or plug is damaged during use, switch the electricity supply and remove from use.
Ensurethatrepairsarecarriedoutbyaqualiedelectrician.
ReplaceadamagedplugwithaBS1363/A13Amp3pinplug.Ifindoubtcontactaqualiedelectrician.
a) Connect the GREEN/YELLOW earth wire to the earth terminal ‘E’.
b)ConnecttheBROWNlivewiretotheliveterminal‘L’.
c)ConnecttheBLUEneutralwiretotheneutralterminal‘N’.
Ensure that the cable outer sheath extends inside the cable restraint and that the restraint is tight.
Sealeyrecommendthatrepairsarecarriedoutbyaqualiedelectrician.
1.2. GENERAL SAFETY
9 Checkthatthedehumidierisinsoundconditionandgoodworkingorder.Takeimmediateactiontorepairorreplacedamagedparts.
9 Userecommendedpartsonly.Unauthorisedpartsmaybedangerousandwillinvalidatethewarranty.
9 Appliancesshallbeinstalled,operatedandstoredinaroomwithaworkingspaceof
NOTE: TheunitislledwithR290.
8DO NOT perforate any of the components in the refrigerant circuit. Refrigerant gas may be odourless.
8DO NOTattemptanyrepairsormaintenanceunlesssuitablyqualied.
8DO NOT stand or place any object within 10cm from the front of the unit, 20cm from the rear and sides of the unit, and 30cm above
the unit.
8DO NOTobstructtheairintakesoroutletsofthedehumidier.
8DO NOT cover the unit.
8DO NOT get wet.
8DO NOT place any object into the outlets - the unit has a fan running at high speed, contact with this will cause injury.
8DO NOToperatethedehumidierwhenyouaretiredorundertheinuenceofalcohol,drugsorintoxicatingmedication.
8DO NOTswitchthedehumidierobydisconnectingitfromthemains.ALWAYSswitchtothe“OFF”positionrst.
8DO NOTremovetheoatleverfromthewatercollectiontank.
8DO NOT connect or disconnect the plug from the mains with wet hands.
8DO NOT use an extension lead.
9 Unplugbeforemoving.
9 Placeonatlevelgroundwhichcanholddehumidierandfullwatertankweight
9 Alwaysdiscardthewaterfromthecollectiontank,DO NOT use it for any other purpose.
9 Topreventwaterfromfreezing,donotusethedehumidieratambienttemperaturesbelow0°C.
8DO NOTusethedehumidieroutside.
9When using continuous draining, make sure that the drain hose is positioned correctly.
9 Ensurethatheatingappliancesarenotexposedtotheowofairfromthedehumidier.
9 Beforeattemptingtomovethedehumidier,emptythecontentsofthecollectiontank.Usetopcarryinghandlewhenmovingunit.
Recommended fuse rating
10Amp
Caution:
Riskofre
Do not cover

9 Switchoanddisconnectitfromthemainsbeforecleaningorothermaintenancework.
9 Ensurethatthedehumidieriscorrectlyturnedowhennotinuse,andstoredinasafe,dryarea,outofreachofchildren.
Thisapplianceisnotintendedforusebypersons(includingchildren)withreducedphysical,sensoryormentalcapabilitiesor
lack of experience and knowledge, unless they have been given supervision or instruction concerning the use of the appliance by a
person responsible for their safety. Children should be supervised to ensure that they do not play with the appliance.
Thisappliancecanbeusedbychildrenagedfrom8yearsandaboveandpersonswithreducedphysical,sensoryormental
capabilities or lack of experience and knowledge if they have been given supervision or instruction concerning use of the appliance
inasafewayandunderstandthehazardsinvolved.Childrenshallnotplaywiththeappliance.Cleaningandusermaintenanceshall
not be made by children without supervision.
2. INTRODUCTION
Compact,ecientandportableunitthatextractsupto20litresofwaterperday.Removesexcessmoisturefromairtopreventbuild-upof
mildewandmould.Indicatorlightonfrontpanelchangescolourtoshowcurrenthumiditylevelinroom.Touchscreencontrolpanelallowsthe
usertoselectthemode,setthedesiredhumiditylevelandatimerrangingfrom1to24hours.Automaticallyturnsowhentankisfull,forsafety.
RefrigerantisenvironmentallyfriendlyR290.Suppliedwitha300mmdrainhoseforcontinuousoperationalongwithfourswivelwheelsallowing
the unit to be easily manoeuvred.
3. SPECIFICATION
Model no:............................................................. SDH20.V5
Power (Max / Rated) ............................................420 / 320W
Supply:...........................................................................230V
Dehumidifying capacity: ................... 20L/day (30oCRH80%)
Maximumairow: .....................................................195m³/hr
Refrigerant: ................................................................... R290
Mass ................................................................................ 60g
Condensate tank:............................ 6.5L(withAutoShutO)
SteamingPressure(Max): .........................................1.2MPa
WorkingTemperature:................................................. 5-32oC
FreezingPressure(Max)............................................2.5MPa
IPRating: ....................................................................... IPX0
Working Space:..............................................................30m2
4. OPERATION
4.1. SITING REQUIREMENTS
4.1.1. Make sure there is at least 20cm of space on all sides and at least
30cmabovethedehumidierforoperation.
4.1.2. Placeonaat,solidsurfacecapableofwithstandingtheloadof
thedehumidierwithafulltank.
4.1.3. Closealldoorsandwindowswhenthedehumidierisworking.
Dampairfromoutdoorswillincreasetheworkloadofdehumidier.
4.1.4. DO NOTusethedehumidierinaplacewhereroomtemperature
islowerthanthemachine’sminimumoperationtemperature5°C(41°F),
andamaximumtemperaturenotexceeding32°C(90oC).
4.2. OPERATION
4.3. Check that the water tank is empty and in place.
4.3.1. Checkoperationaltemperature5°-32°C.
4.3.2. Plugtheunitintothemainssupply.
4.3.3. Eachtimethemainssupplyisswitchedoorinterrupted,thecontrolswillgobacktotheiroriginalsetting.
4.3.4. TheLEDringonthefrontpanelwillilluminatetoadviseonthehumiditylevelintheenvironment.Redindicates70%+,Green
indicates50-70%,blueindicatesbelow50%.
NOTE: Use minimal pressure when pressing control buttons. Buttons are touch sensitive and not mechanically operated.
4.3.5. PresstheStand-bybuttontoturnthedehumidieron(thepowerlightislit)(g.2).
4.3.6. Usethecontrolstoselectyouroperationasillustratedanddescribedbelow.
Original Language Version
© Jack Sealey Limited SDH20.V5 Issue 1 07/04/21
fig.2
fig.1
Control panel and LED Display
Humidity
Indicator LED
Red=70%+
Green=50-70%
Blue=<50%
Air Inlet
On
Rear face

4.4. SETTING HUMIDITY VALUE
4.4.1. Pressthe‘HUMIDITYSETTING’buttontocyclefrom30%to80%in5%increments.
4.5. SETTING DEHUMIDIFYING MODE
4.5.1. Pressthe‘DEHUMIDIFYMODE’buttontosequentiallystepthrough‘ManuallySetDehumidify’mode , ‘Continuous mode’ ,
‘HighDehumidicationn’ , and ‘Drying (clothes) mode’ .
4.6. SETTING FAN SPEED
4.6.1. Thefanhastwospeeds.Pressthe‘FanSpeed’buttontocyclebetween‘LowSpeedFan’and‘HighSpeedFan’ .
4.7. SETTING TIMER FUNCTION
4.7.1. Tosetdelayedpower-otime,oncemachineisworkingpressthe‘TIMER’buttontocyclethroughtherangeofhourspermitted0-
24hours).Tosetpower-ontime,pre-selecttherequiredtimebeforesettingmode.
4.8. SLEEP FUNCTION
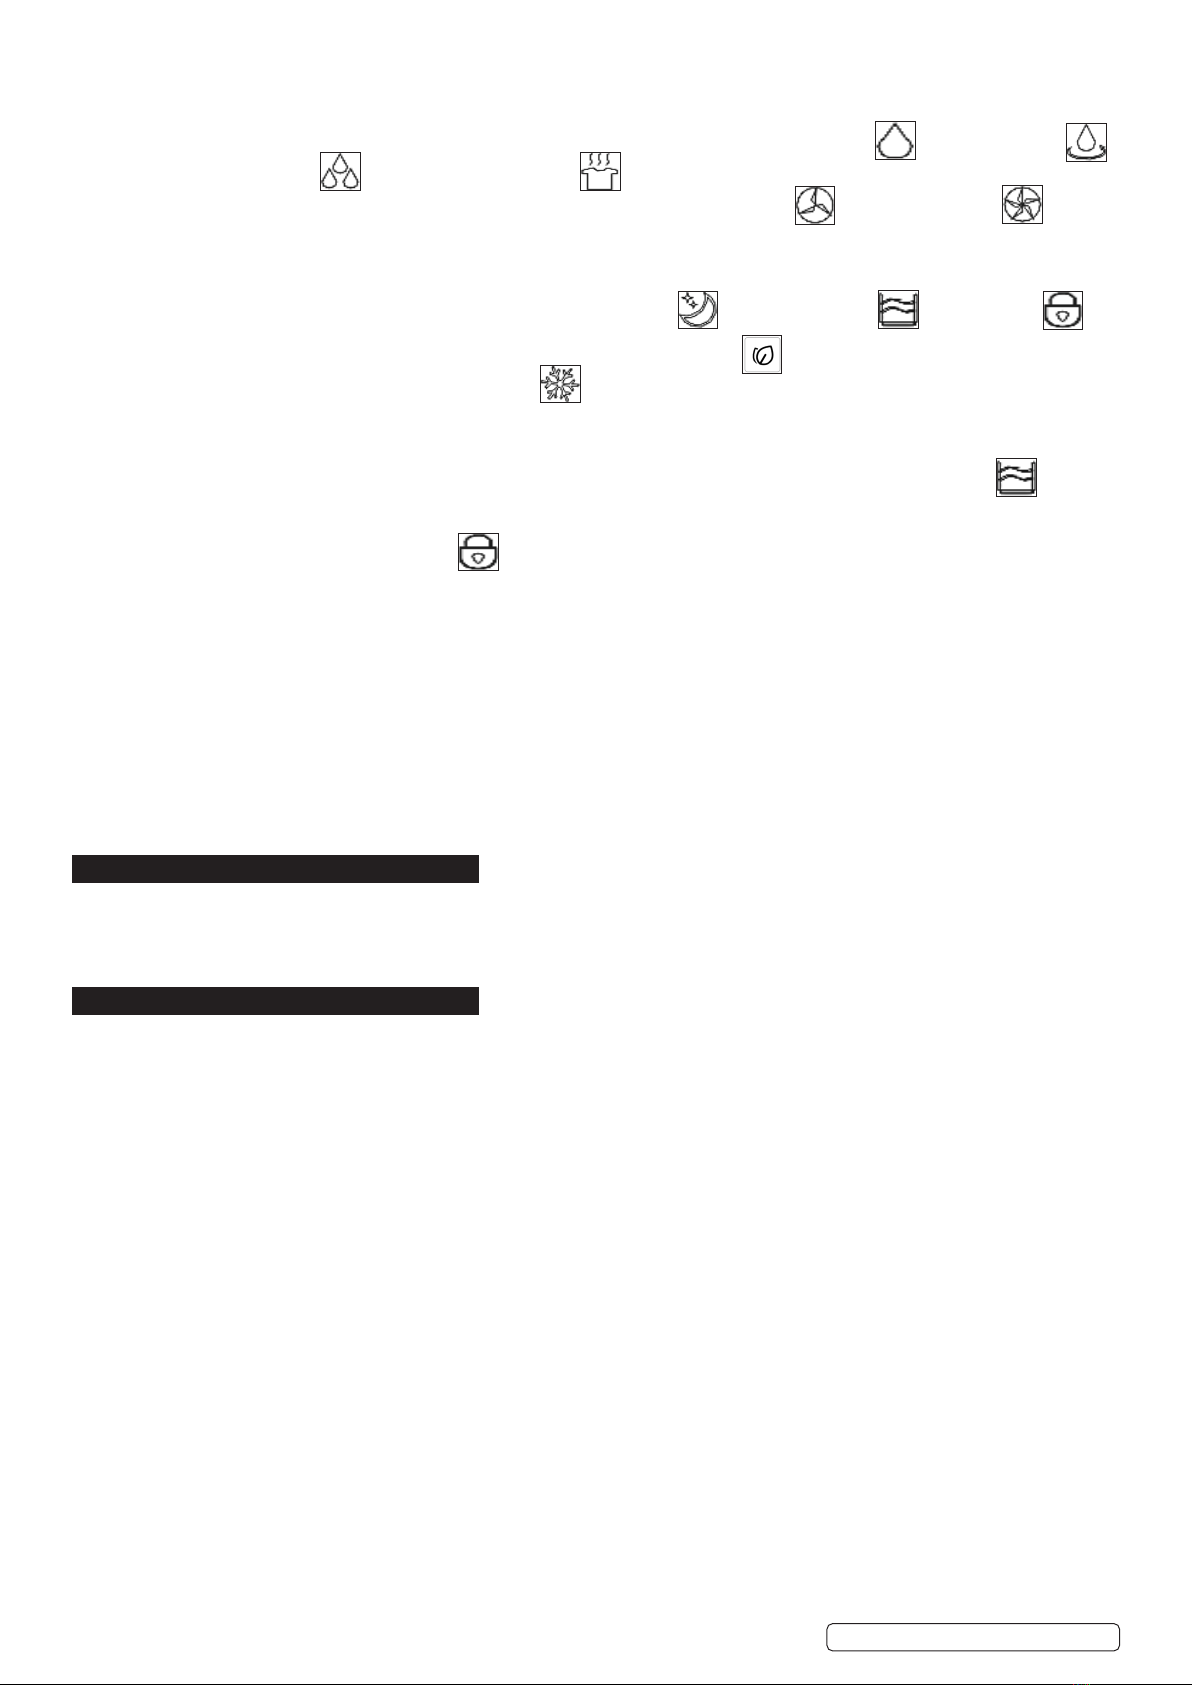
4.8.1. The‘SLEEP’willcausethedisplaytoturnoEXCEPTforthe‘Sleep’icon,WaterTankFullicon and Child Lock .
4.9. AIR CLEAN
Toruntheaircleaningoption,pressthe‘AirClean’buttonandtheiconwilldisplay .
4.10. AUTO-DEFROST
4.10.1. Theunitwillautomaticallydefrostwhenrequired.Thesymbolwilldisplayonthescreenandwillswitchooncedefrosted.
If the ambient temperature is above 24oCnodefrostingwilloccur.Between23oC and 5oC, the unit will operate normally but
interleavedwith5minutedefrostcycles.Below5oCtheunitwillnotoperateexceptfortheairpuricationmode.
4.11. WATER TANK
4.11.1. Whenthewatertankisfull,theunitwillstopworking,soundanaudiblealarmanddisplaytheWaterTankFullsymbol .
4.12. CHILD LOCK
4.12.1. ToengagetheChildLockrestangerontheCHILDLOCKbuttonforapproximately5seconds.Repeatthistounlockunit.
When the child lock is engaged the symbol is lit.
4.13. DRAIN HOSE CONNECTION (WATER OUTLET)
4.13.1. Thedrainhosecanbepermanentlyconnectedtotheoutletontherearfaceoftheunitandtheunitrundehumidiercontinuously.
4.13.2. Remove water tank and insert the water pipe onto the water outlet.
4.13.3. Placetheotherendintoaoordrain.
4.13.4. If the water pipe is not being used, remove the water pipe.
4.13.5. Whetherthewateroutlethoseisusedornot,thewatertankmustbeinpositionotherwisethedehumidierwillnotoperate.
4.14. AIR FILTER
4.14.1. Thelterneedstobecleanedeverytwoweeksforeectiveoperationofthedehumidier.
4.14.2. Remove the plug from the mains supply.
4.14.3. Placengerintotherecessonthebottomedgeoftheltercoverandliftupandremovetoallowltertoberemoved.
4.14.4. DO NOTuseanyliquidtowashthelter.Onlydryindirectsunlight.Itisrecommencedtoreplacetheltereverysixmonths
depending on usage levels.
4.14.5. Replace in reverse order as above.
5. MAINTENANCE
WARNING: Disconnect from mains supply before attempting any cleaning or maintenance.
5.1. Useawetclothtocleantheoutside.DO NOTsplashwaterontothedehumidier.
5.2. Cleantheinsideofthewatertankwithanantibacterialcleanereveryfewweekstoavoidthebuildupofbacteria.Thetankhasa
waterlevelwarningandmustbeplacedintherightposition.Thedehumidierwillnotworkifthewaterlevelistoohigh.
6. TROUBLESHOOTING
Dehumidier does not work:
-Isdehumidierpluggedin
- Check that water tank is in the correct position
-Checkthatwatertankisnotfull(empty)andthatoatballisincorrectposition
The pipe is frozen:
-Thedehumidierhasadefrostingfunction.Thefankeepsworkingafterthecompressorstopsworking.Thiswillsolvetheproblemof
afrozenpipe.Whenthedefrostingdevicereachesroomtemperature,thedehumidierwillresumeoperation.
The dehumidier ‘runs’ without dehumidifying:
(Thedehumidierwillblowwarmerairwhenitisworkingproperly).
-Powerlightlightsoncepersecondwhenitisdefrosting
-Powerlightlightsforthreesecondsthengoesoutforonesecondorlightsforonesecondthengoesoutmeansthereisafaultwith
the humidity sensor - contact Sealey stockist
The dehumidier runs as soon as it is switched on:
-Checkifthedehumidierisdefrosting.Afterdefrostingthedehumidierwillrestartautomaticallyafterdefrosting.
Dehumidifying capacity is too weak:
-Checkiflternetisblocked-clean
- dehumidifying capacity will be weaker if the temperature and humidity levels are too low
- check if air inlet is blocked - clean
Expected humidity takes a long time to be reached:
- check whether doors and windows are open
- check if anything is producing vapour
- check whether the volume of the room is too large
Original Language Version
© Jack Sealey Limited SDH20.V5 Issue 1 07/04/21

Dehumidier is noisy:
- Check if surface it is placed on is smooth
Original Language Version
© Jack Sealey Limited SDH20.V5 Issue 1 07/04/21
Sealey Group, Kempson Way, Suffolk Business Park, Bury St Edmunds, Suffolk. IP32 7AR
01284 757500 01284 703534 sales@sealey.co.uk www.sealey.co.uk
ENVIRONMENT PROTECTION
Recycleunwantedmaterialsinsteadofdisposingofthemaswaste.Alltools,accessoriesandpackagingshouldbesorted,takento
a recycling centre and disposed of in a manner which is compatible with the environment. When the product becomes completely
unserviceable and requires disposal, drain any fluids (if applicable) into approved containers and dispose of the product and fluids
according to local regulations.
WEEE REGULATIONS
DisposeofthisproductattheendofitsworkinglifeincompliancewiththeEUDirectiveonWasteElectricalandElectronicEquipment
(WEEE). When the product is no longer required, it must be disposed of in an environmentally protective way. Contact your local solid
waste authority for recycling information.
Note: It is our policy to continually improve products and as such we reserve the right to alter data, specifications and component parts without prior
notice. Pleasenotethatotherversionsofthisproductareavailable.Ifyourequiredocumentationforalternativeversions,pleaseemailorcall
ourtechnicalteamontechnical@sealey.co.ukor01284757505.
Important: No Liability is accepted for incorrect use of this product.
Warranty: Guarantee is 12 months from purchase date, proof of which is required for any claim.
Table of contents
Other Sealey Dehumidifier manuals

Sealey
Sealey SDH30.V3 User manual

Sealey
Sealey SDH30 User manual

Sealey
Sealey XRC25 User manual

Sealey
Sealey SDH102 User manual

Sealey
Sealey SDH101 User manual

Sealey
Sealey SDH20.V4 User manual

Sealey
Sealey SDH30.V2 User manual

Sealey
Sealey SDH50.V2 User manual

Sealey
Sealey SDA01 User manual

Sealey
Sealey SDH50110V User manual